数据距离估计
本实验介绍jupyter notebook中运行的KITTI数据距离估计代码
场景简介
本实验介绍:jupyter notebook中运行的KITTI数据距离估计代码
实验室资源方式简介
进入实操前,请确保阿里云账号满足以下条件:
个人账号资源
使用您个人的云资源进行操作,资源归属于个人。
平台仅提供手册参考,不会对资源做任何操作。
确保已完成云工开物300元代金券领取。
已通过实名认证且账户余额≥100元。
本次实验将在您的账号下开通实操所需计算型实例规格族c7a,费用约为:25元(以实验时长2小时预估,具体金额取决于实验完成的时间),需要您通过阿里云云工开物学生专属300元抵扣金兑换本次实操的云资源。
如果您调整了资源规格、使用时长,或执行了本方案以外的操作,可能导致费用发生变化,请以控制台显示的实际价格和最终账单为准。
领取专属权益及创建实验资源
在开始实验之前,请先点击右侧屏幕的“进入实操”再进行后续操作

领取300元高校专属权益优惠券(若已领取请跳过)
实验产生的费用优先使用优惠券,优惠券使用完毕后需您自行承担。

实验步骤
1、服务部署
点击链接,进入部署页面
按弹窗提示进行权限申请。其中【姓名】、【电话】、【邮箱】为必填项,完成填写后点击【确定】
说明请填写您的学校邮箱(.edu),便于审核

提交申请后将提示
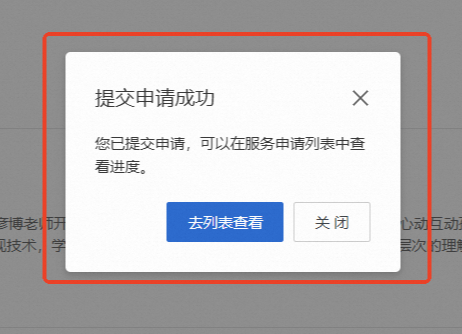
当申请通过后,将会收到短信提示可以进行部署

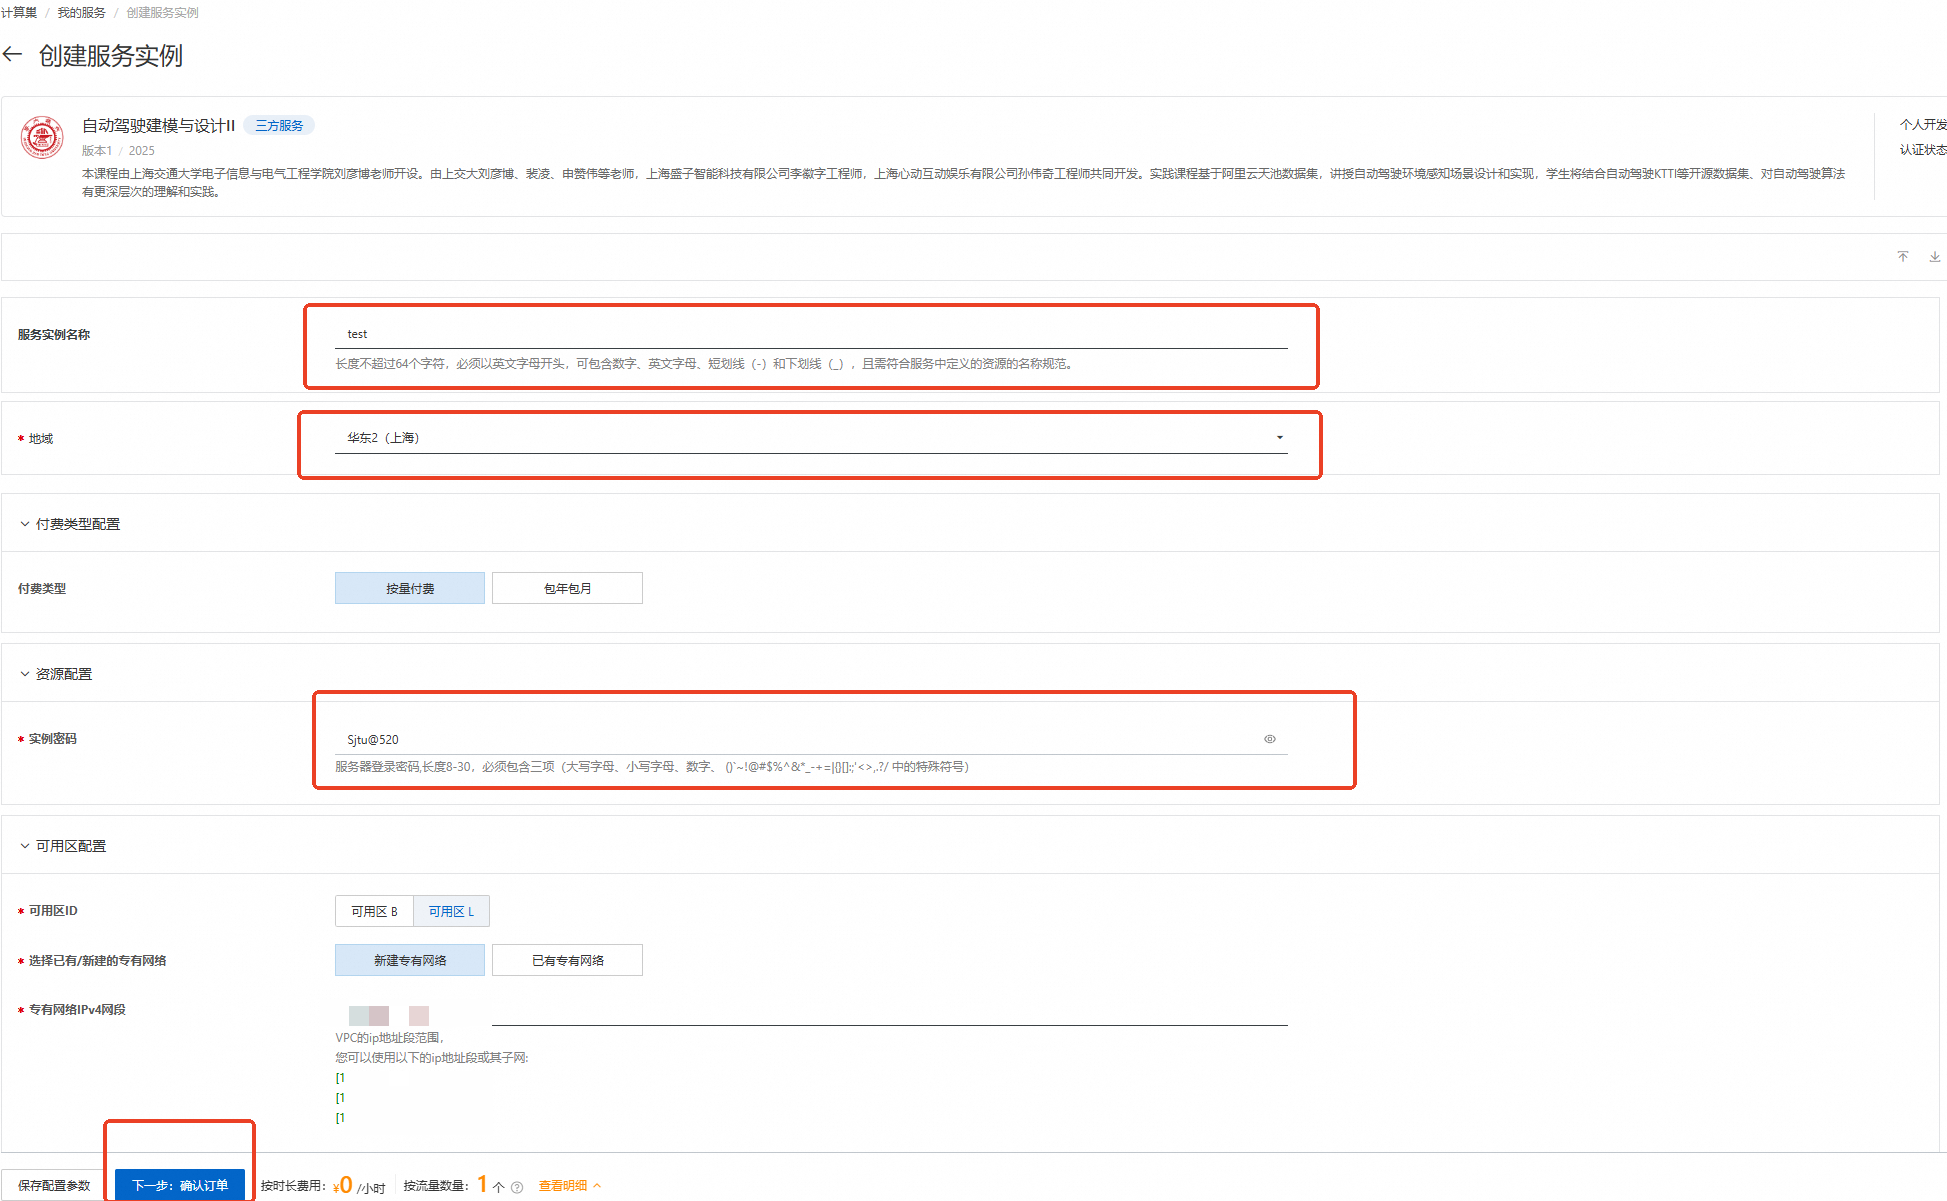
刷新部署页面,按下图设置【服务实例名称】、【地域】、【实例密码】
服务实例名称:test(可自定义命名)
地域:华东2(上海)
实例密码:Sjtu@520
说明输入实例密码时请注意大小写,请记住您设置的实例名称及对应密码,后续实验过程会用到。
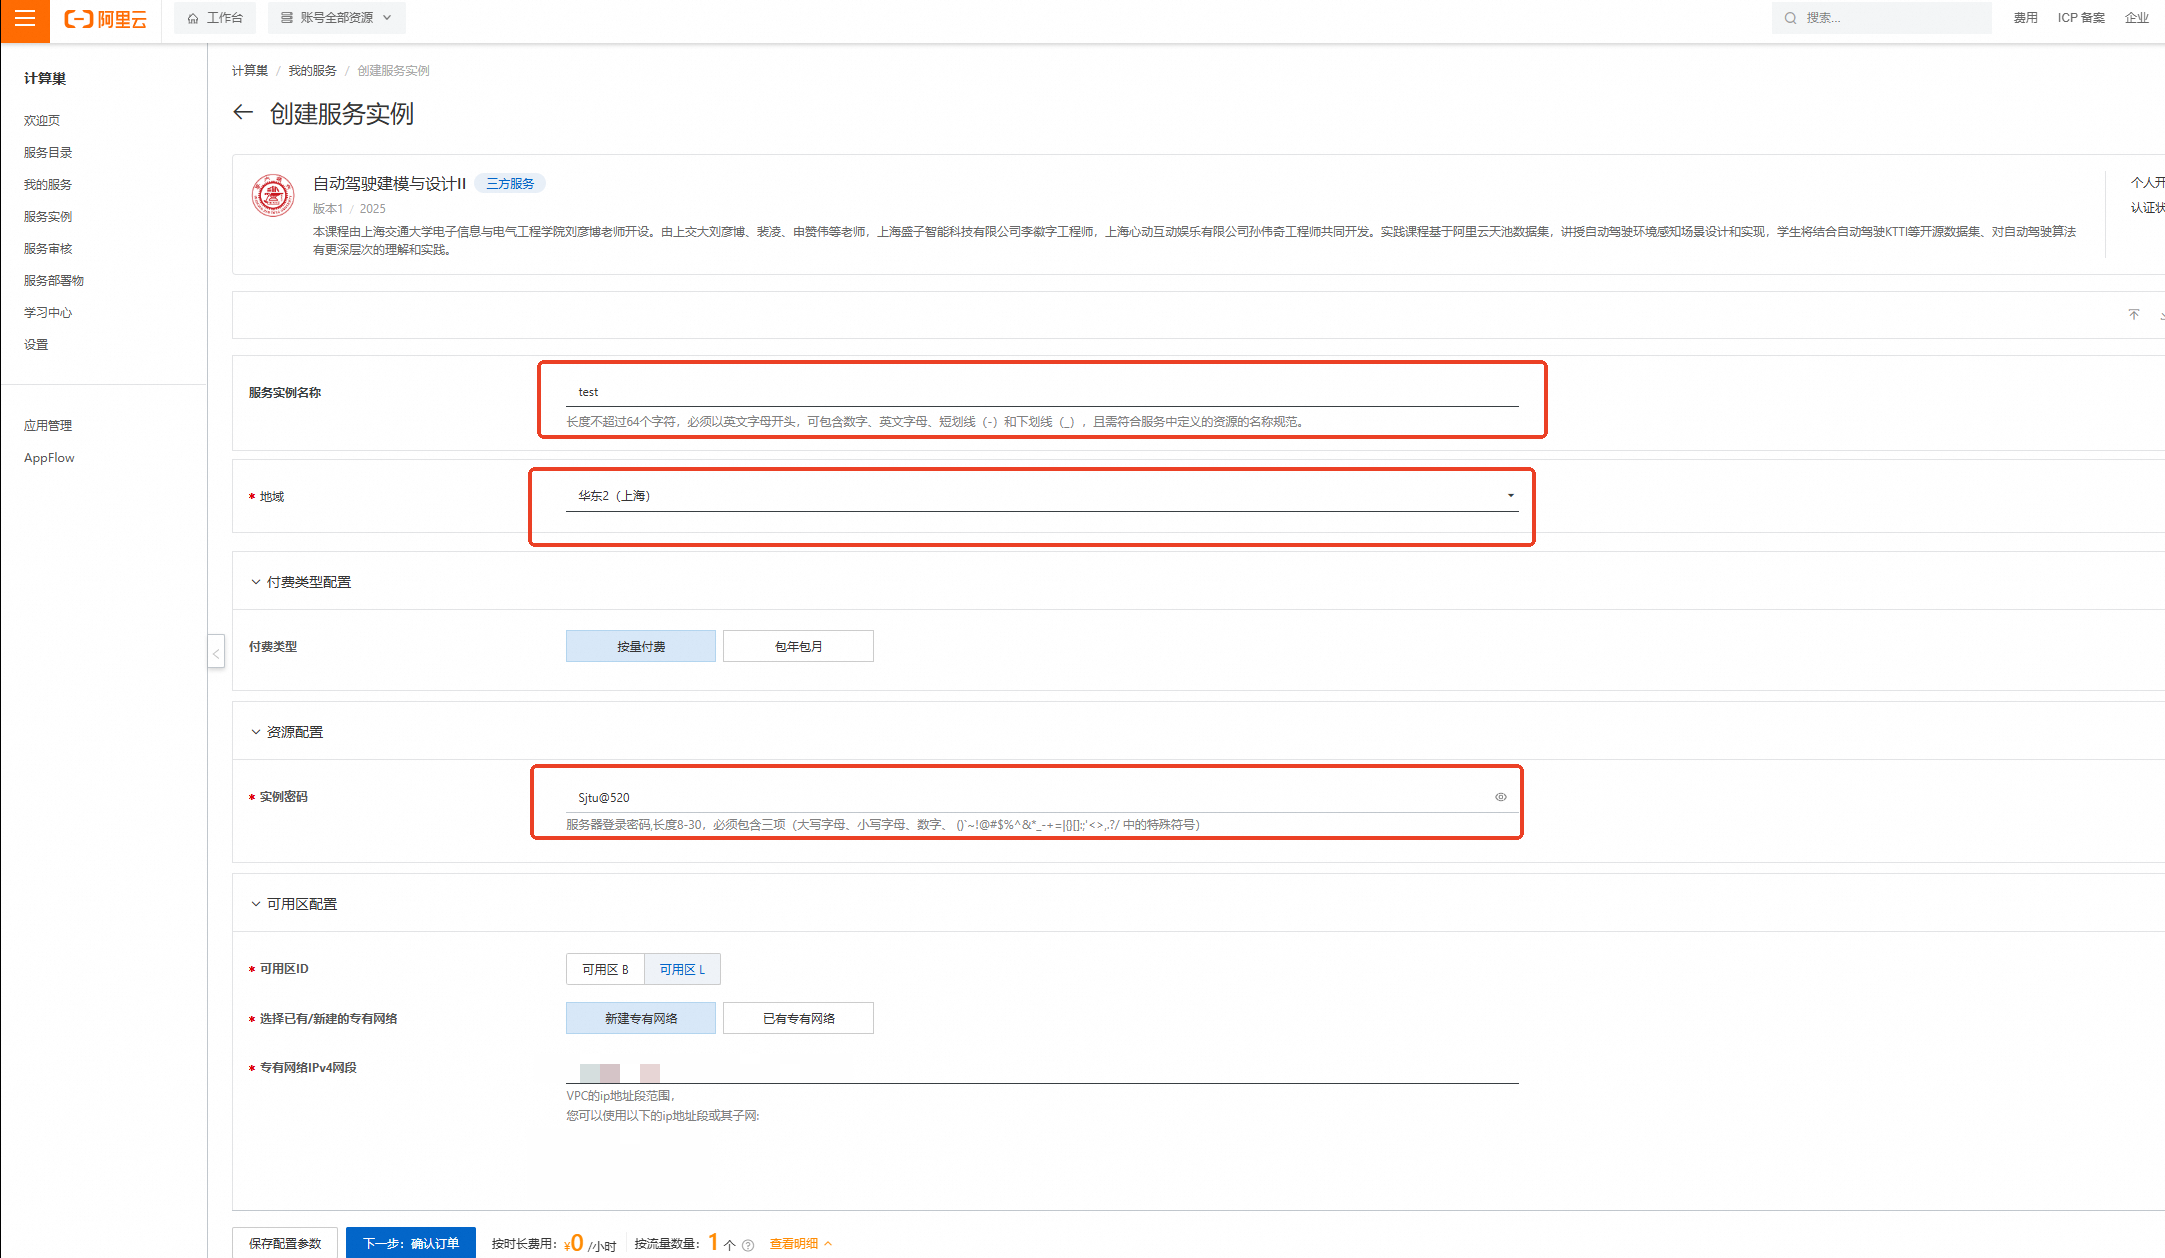
完成填写后点击【下一步:确认订单】
核对实例信息及价格预览,无误请点击【立即创建】
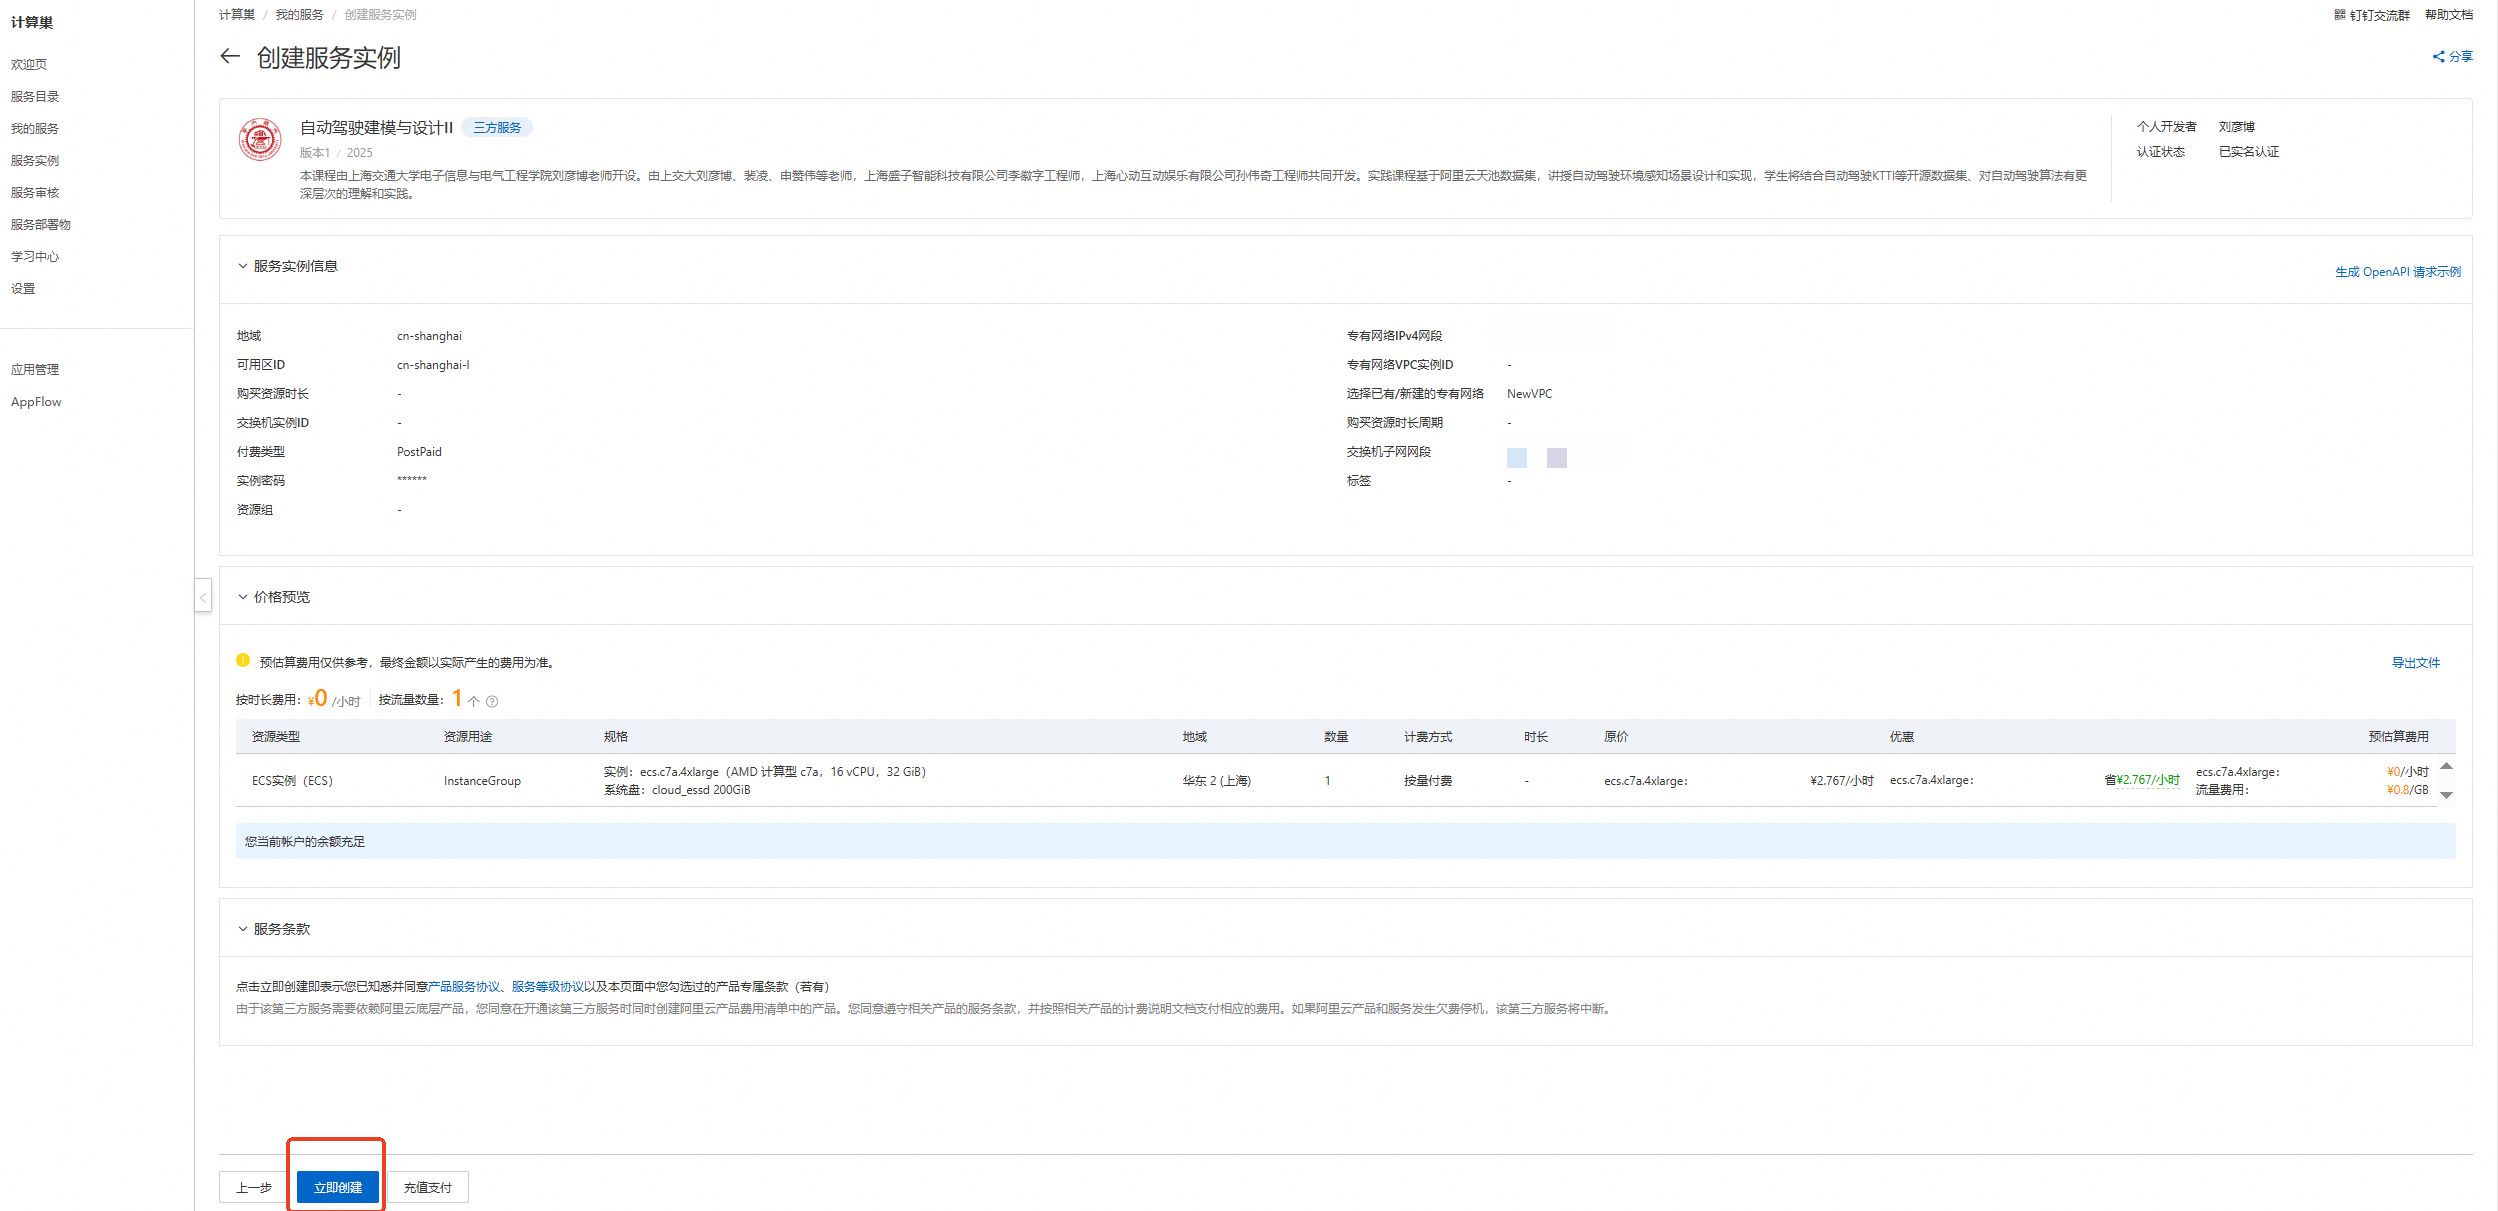 重要
重要领取300元优惠券后,资源应为0元/小时,且会提示【您当前账户的余额充足】!若提示余额不足等,请检查是否正确领取优惠券
创建成功,点击【去列表查看】

查看实例,点击左侧的图标展开目录
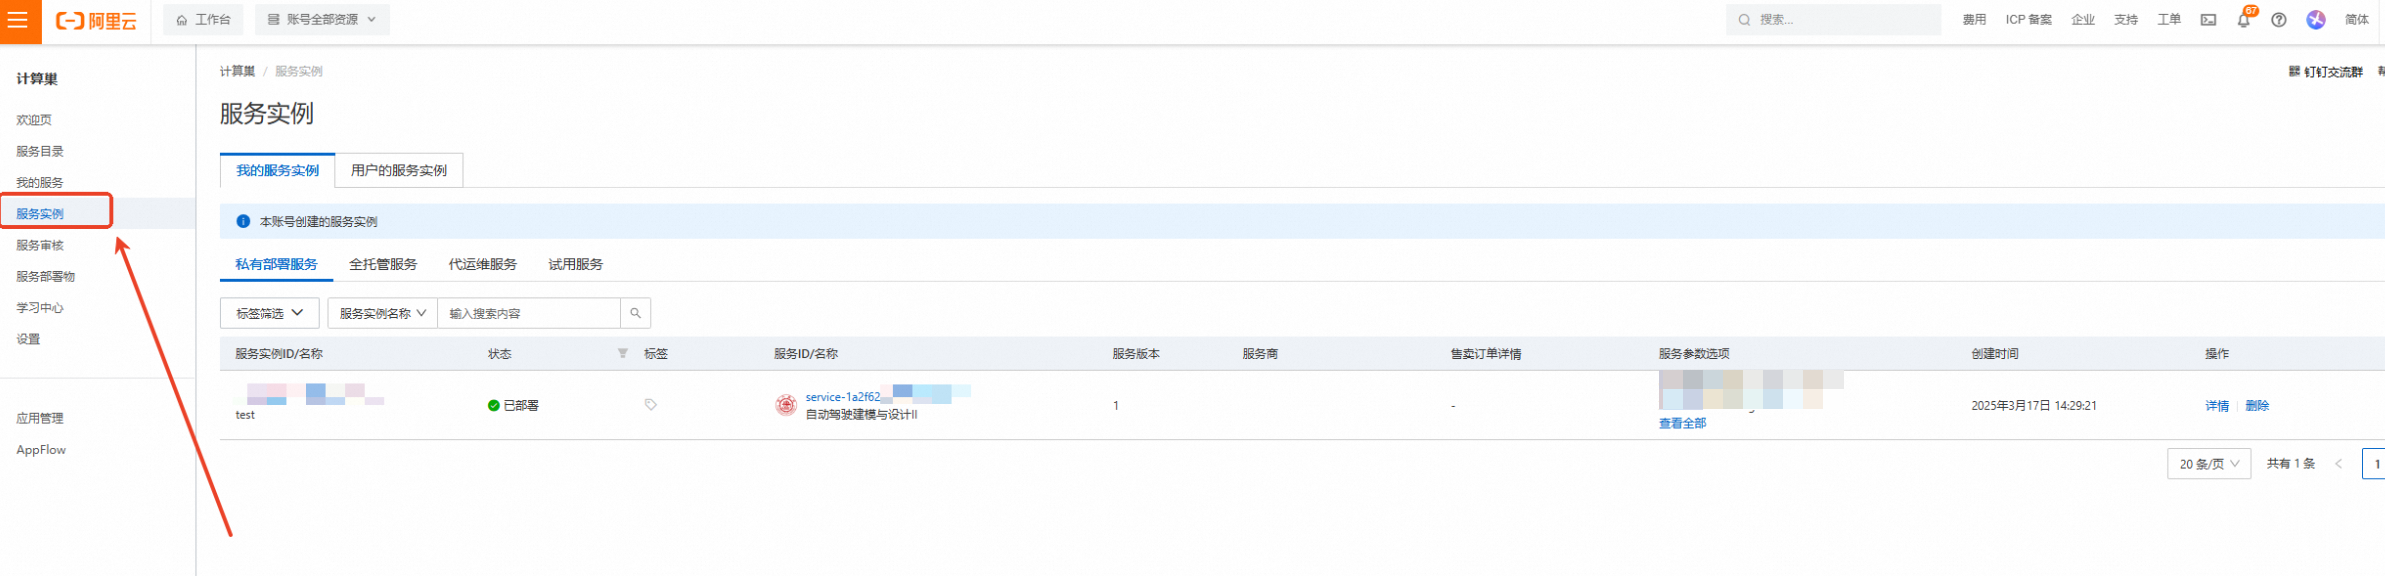
选择目录中的【云服务器ECS】

云服务器ECS—实例—远程连接
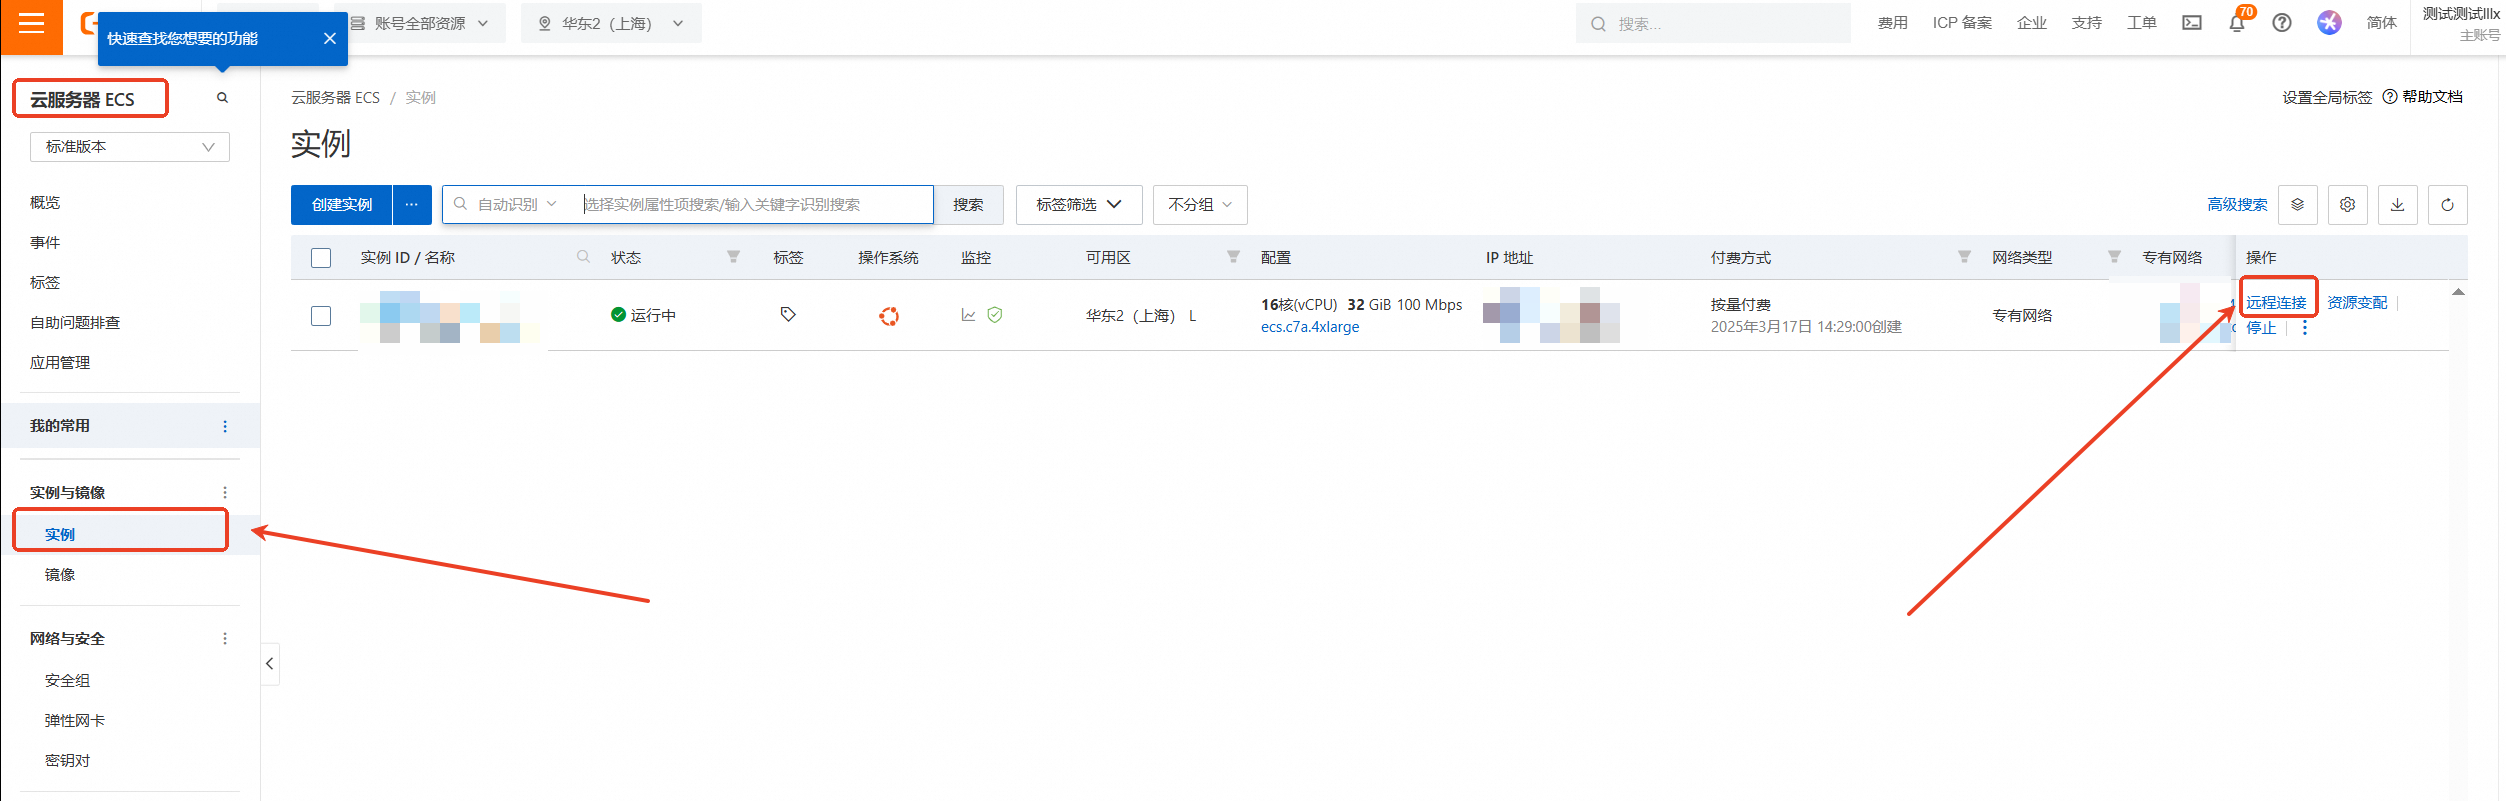
下拉展开更多登录方式,选择【通过VNC远程连接】

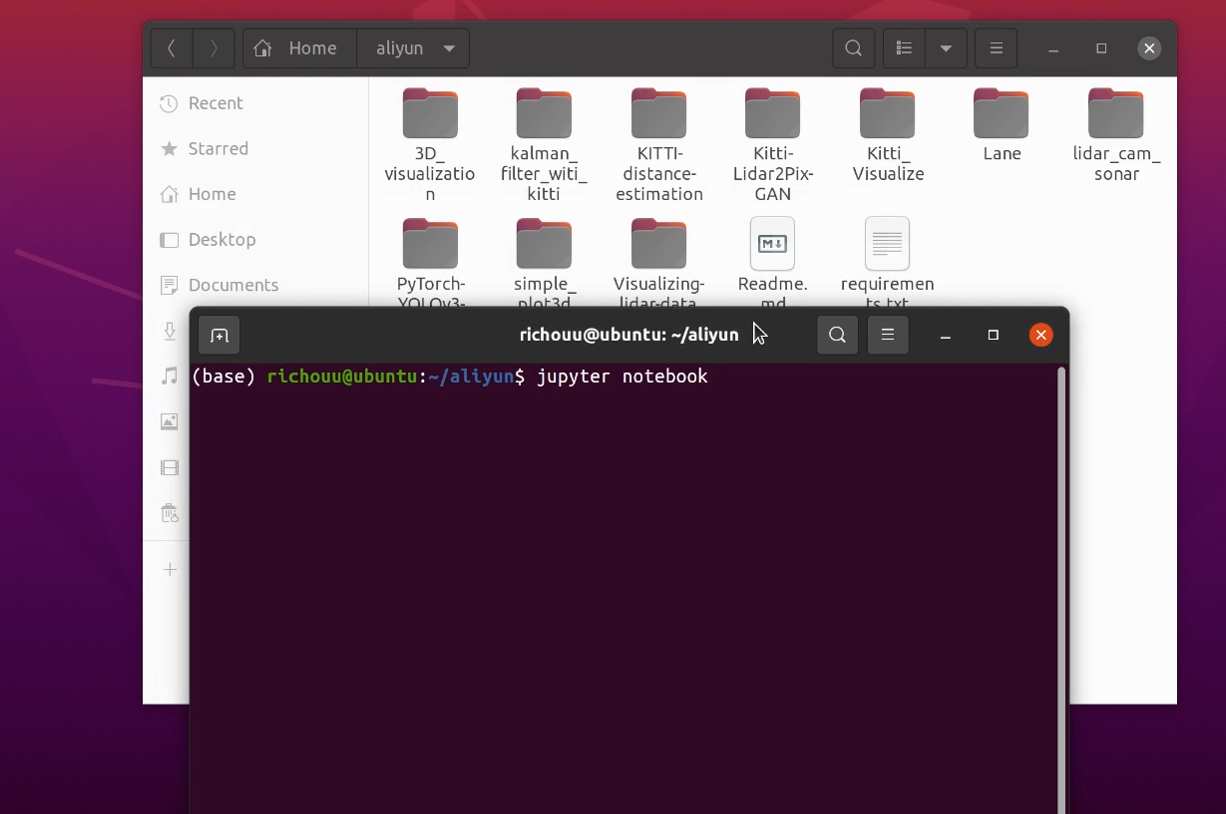
输入实例密码:Sjtu@520(请输入您设置的密码)后回车

进入Ubuntu20.04系统后打开aliyun文件夹,在文件夹中右键开启终端并输入 /jupyter notebook 命令,用户名前面的(base)表示此时处于anaconda的base环境中
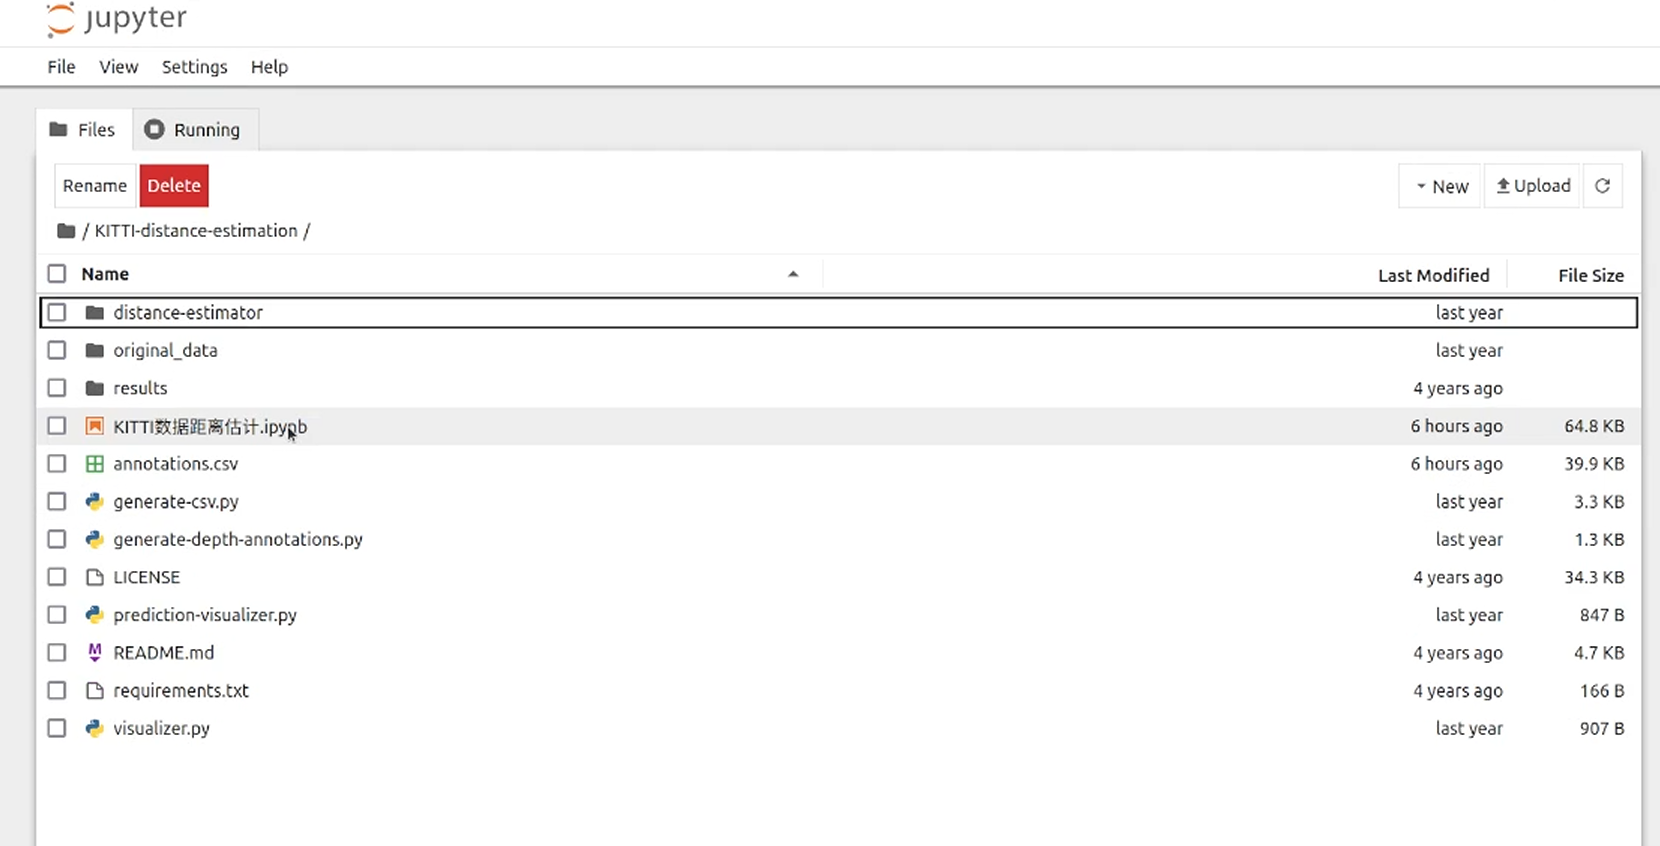
2、打开文件并运行
在自动弹出的浏览器页面中选择/KITTI-distance-estimation/KITTI数据距离估计.ipynb并打开
点击此选项可按步运行

3、Label_2数据转换为csv文件
import pandas as pd
import os
from tqdm import tqdm

INPUTDIR = "/home/ecs-user/aliyun/KITTI-distance-estimation/original_data/train_annots/"
FILENAME = "/home/ecs-user/aliyun/KITTI-distance-estimation/annotations.csv"


df = pd.DataFrame(columns=['filename', 'class', 'truncated', 'occluded', 'observation angle', \
                           'xmin', 'ymin', 'xmax', 'ymax', 'height', 'width', 'length', \
                           'xloc', 'yloc', 'zloc', 'rot_y'])

def assign_values(filename, idx, list_to_assign):
    df.at[idx, 'filename'] = filename

    df.at[idx, 'class'] = list_to_assign[0]
    df.at[idx, 'truncated'] = list_to_assign[1]
    df.at[idx, 'occluded'] = list_to_assign[2]
    df.at[idx, 'observation angle'] = list_to_assign[3]

    # bbox coordinates
    df.at[idx, 'xmin'] = list_to_assign[4]
    df.at[idx, 'ymin'] = list_to_assign[5]
    df.at[idx, 'xmax'] = list_to_assign[6]
    df.at[idx, 'ymax'] = list_to_assign[7]

    # 3D object dimensions
    df.at[idx, 'height'] = list_to_assign[8]
    df.at[idx, 'width'] = list_to_assign[9]
    df.at[idx, 'length'] = list_to_assign[10]

    # 3D object location
    df.at[idx, 'xloc'] = list_to_assign[11]
    df.at[idx, 'yloc'] = list_to_assign[12]
    df.at[idx, 'zloc'] = list_to_assign[13]

    # rotation around y-axis in camera coordinates
    df.at[idx, 'rot_y'] = list_to_assign[14]

all_files = sorted(os.listdir(INPUTDIR))
pbar = tqdm(total=len(all_files), position=1)

count = 0
for idx, f in enumerate(all_files):
    pbar.update(1)
    file_object = open(INPUTDIR + f, 'r')
    file_content = [x.strip() for x in file_object.readlines()]

    for line in file_content:
        elements = line.split()
        if elements[0] == 'DontCare':
            continue

        assign_values(f, count, elements)
        count += 1

df.to_csv(FILENAME, index=False)
4、生成用于深度估计的数据集
import pandas as pd
from tqdm import tqdm
import os
import numpy as np

df = pd.read_csv('/home/ecs-user/aliyun/KITTI-distance-estimation/annotations.csv')
new_df = df.loc[df['class'] != 'DontCare']
result_df = pd.DataFrame(columns=['filename', 'xmin', 'ymin', 'xmax', 'ymax', \
                           'angle', 'xloc', 'yloc', 'zloc'])

pbar = tqdm(total=new_df.shape[0], position=1)
print(new_df)
for idx, row in new_df.iterrows():
    pbar.update(1)
    #if os.path.exists(os.path.join("labels", row['filename'])):
    if os.path.exists(os.path.join("/home/ecs-user/aliyun/KITTI-distance-estimation/original_data/train_annots", row['filename'])):
        result_df.at[idx, 'filename'] = row['filename']

        result_df.at[idx, 'xmin'] = int(row['xmin'])
        result_df.at[idx, 'ymin'] = int(row['ymin'])
        result_df.at[idx, 'xmax'] = int(row['xmax'])
        result_df.at[idx, 'ymax'] = int(row['ymax'])

        result_df.at[idx, 'angle'] = row['observation angle']
        result_df.at[idx, 'xloc'] = int(row['xloc'])
        result_df.at[idx, 'yloc'] = int(row['yloc'])
        result_df.at[idx, 'zloc'] = int(row['zloc'])

mask = np.random.rand(len(result_df)) < 0.9
train = result_df[mask]
test = result_df[~mask]

train.to_csv('/home/ecs-user/aliyun/KITTI-distance-estimation/distance-estimator/data/train.csv', index=False)
test.to_csv('/home/ecs-user/aliyun/KITTI-distance-estimation/distance-estimator/data/test.csv', index=False)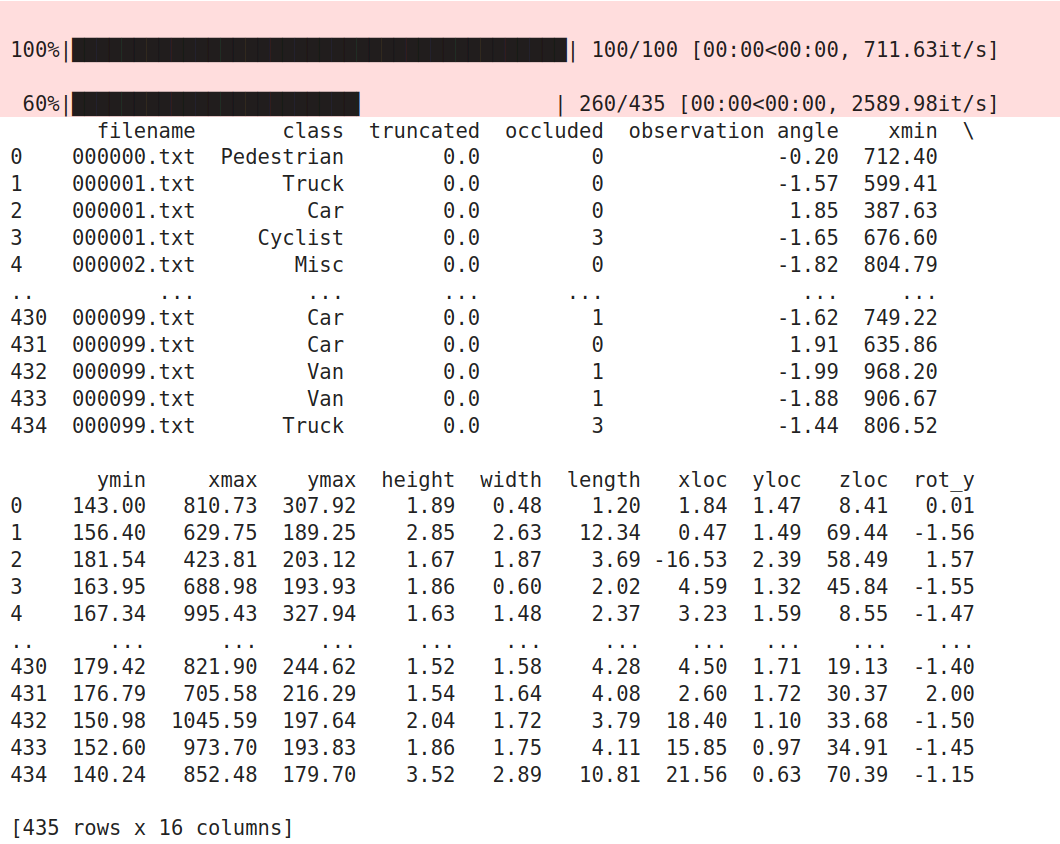
5、可视化用于深度估计的数据集
使用cv2.imshow函数依次可视化用于深度估计的图片数据。
import os
import cv2
import pandas as pd
df = pd.read_csv("/home/ecs-user/aliyun/KITTI-distance-estimation/distance-estimator/data/train.csv")
for idx, row in df.iterrows():
    #if os.path.exists(os.path.join("original_data/train_images/", row['filename'])):
    if os.path.exists(os.path.join("/home/ecs-user/aliyun/KITTI-distance-estimation/original_data/train_annots/", row['filename'])):
        fp = os.path.join("/home/ecs-user/aliyun/KITTI-distance-estimation/original_data/train_images/", row['filename'].replace('.txt', '.png'))
        im = cv2.imread(fp)

        x1 = int(row['xmin'])
        y1 = int(row['ymin'])
        x2 = int(row['xmax'])
        y2 = int(row['ymax'])

        cv2.line(im, (int(1224/2), 0), (int(1224/2), 370), (255,255,255), 2)
        cv2.rectangle(im, (x1, y1), (x2, y2), (0, 255, 0), 3)
        string = "({}, {})".format(row['angle'], row['zloc'])
        cv2.putText(im, string, (int((x1+x2)/2), int((y1+y2)/2)), cv2.FONT_HERSHEY_SIMPLEX, 1, (0, 0, 255), 2, cv2.LINE_AA)
        cv2.imshow("detections", im)
        cv2.waitKey(100)
cv2.destroyWindow("detections")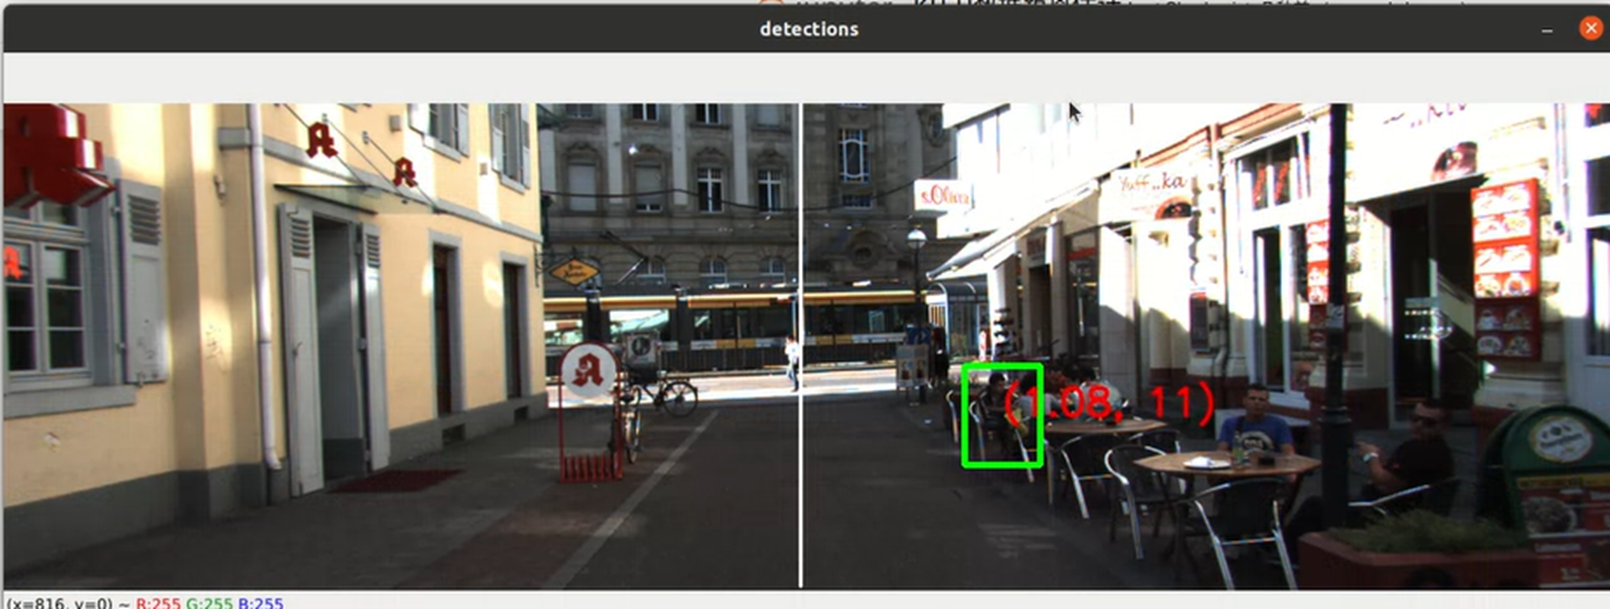
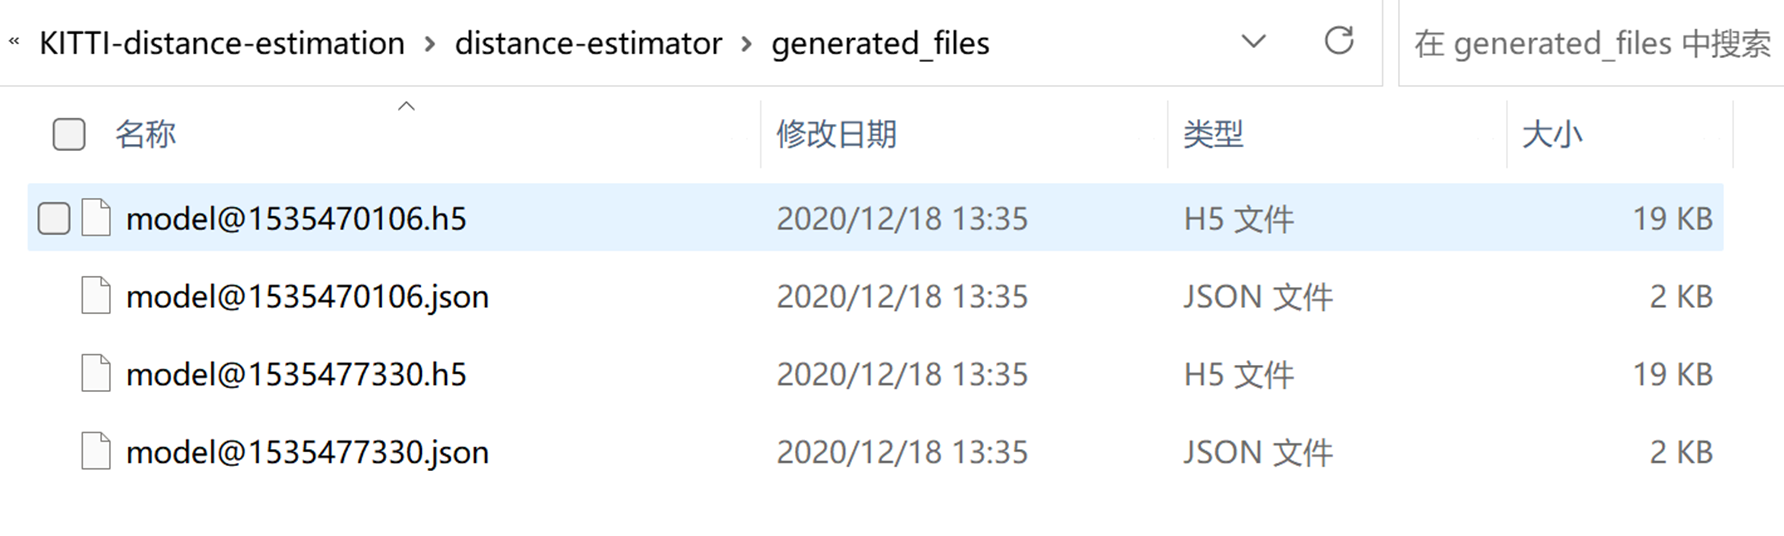
6、为测试集生成预测值
为节省时间,我们直接使用训练好的模型对测试数据集进行预测,文件放置在distance-estimator/generated_files中。或者也可以使用hyperopti.py和train.py文件训练自己的模型。
import pandas as pd import argparse from tensorflow.python.keras.models import model_from_json from tensorflow.python.keras.models import Sequential, Model from sklearn.preprocessing import StandardScaler MODEL = "model@1535470106" WEIGHTS = "model@1535470106" def main(): # get data df_test = pd.read_csv('/home/ecs-user/aliyun/KITTI-distance-estimation/distance-estimator/data/test.csv') X_test = df_test[['xmin', 'ymin', 'xmax', 'ymax']].values y_test = df_test[['zloc']].values # standardized data scalar = StandardScaler() X_test = scalar.fit_transform(X_test) y_test = scalar.fit_transform(y_test) # load json and create model json_file = open('/home/ecs-user/aliyun/KITTI-distance-estimation/distance-estimator/generated_files/{}.json'.format(MODEL), 'r') loaded_model_json = json_file.read() json_file.close() loaded_model = model_from_json( loaded_model_json ) #model.save('/home/richouu/aliyun/KITTI-distance-estimation/distance-estimator/generated_files/model.keras') #loaded_model = keras.models.load_model("/home/richouu/aliyun/KITTI-distance-estimation/distance-estimator/generated_files/model.keras") # load weights into new model loaded_model.load_weights("/home/ecs-user/aliyun/KITTI-distance-estimation/distance-estimator/generated_files/{}.h5".format(WEIGHTS)) print("Loaded model from disk") # evaluate loaded model on test data loaded_model.compile(loss='mean_squared_error', optimizer='adam') y_pred = loaded_model.predict(X_test) # scale up predictions to original values y_pred = scalar.inverse_transform(y_pred) y_test = scalar.inverse_transform(y_test) # save predictions df_result = df_test df_result['zloc_pred'] = -100000 for idx, row in df_result.iterrows(): df_result.at[idx, 'zloc_pred'] = y_pred[idx] df_result.to_csv('/home/ecs-user/aliyun/KITTI-distance-estimation/distance-estimator/data/predictions.csv', index=False) if __name__ == '__main__': main()7、可视化预测值
import os
import cv2
import pandas as pd

df = pd.read_csv("/home/ecs-user/aliyun/KITTI-distance-estimation/distance-estimator/data/predictions.csv")
for idx, row in df.iterrows():
    if os.path.exists(os.path.join("/home/ecs-user/aliyun/KITTI-distance-estimation/original_data/train_annots/", row['filename'])):
        fp = os.path.join("/home/ecs-user/aliyun/KITTI-distance-estimation/original_data/train_images", row['filename'].replace('.txt', '.png'))
        im = cv2.imread(fp)

        x1 = int(row['xmin'])
        y1 = int(row['ymin'])
        x2 = int(row['xmax'])
        y2 = int(row['ymax'])

        cv2.line(im, (int(1224/2), 0), (int(1224/2), 370), (255,255,255), 2)
        cv2.rectangle(im, (x1, y1), (x2, y2), (0, 255, 0), 3)
        string = "(act: {}, pred: {})".format(row['zloc'], row['zloc_pred'])
        cv2.putText(im, string, (int((x1+x2)/2), int((y1+y2)/2)), cv2.FONT_HERSHEY_SIMPLEX, 0.5, (0, 0, 255), 2, cv2.LINE_AA)
        cv2.imshow("detections", im)
        cv2.waitKey(1000)
cv2.destroyWindow("detections")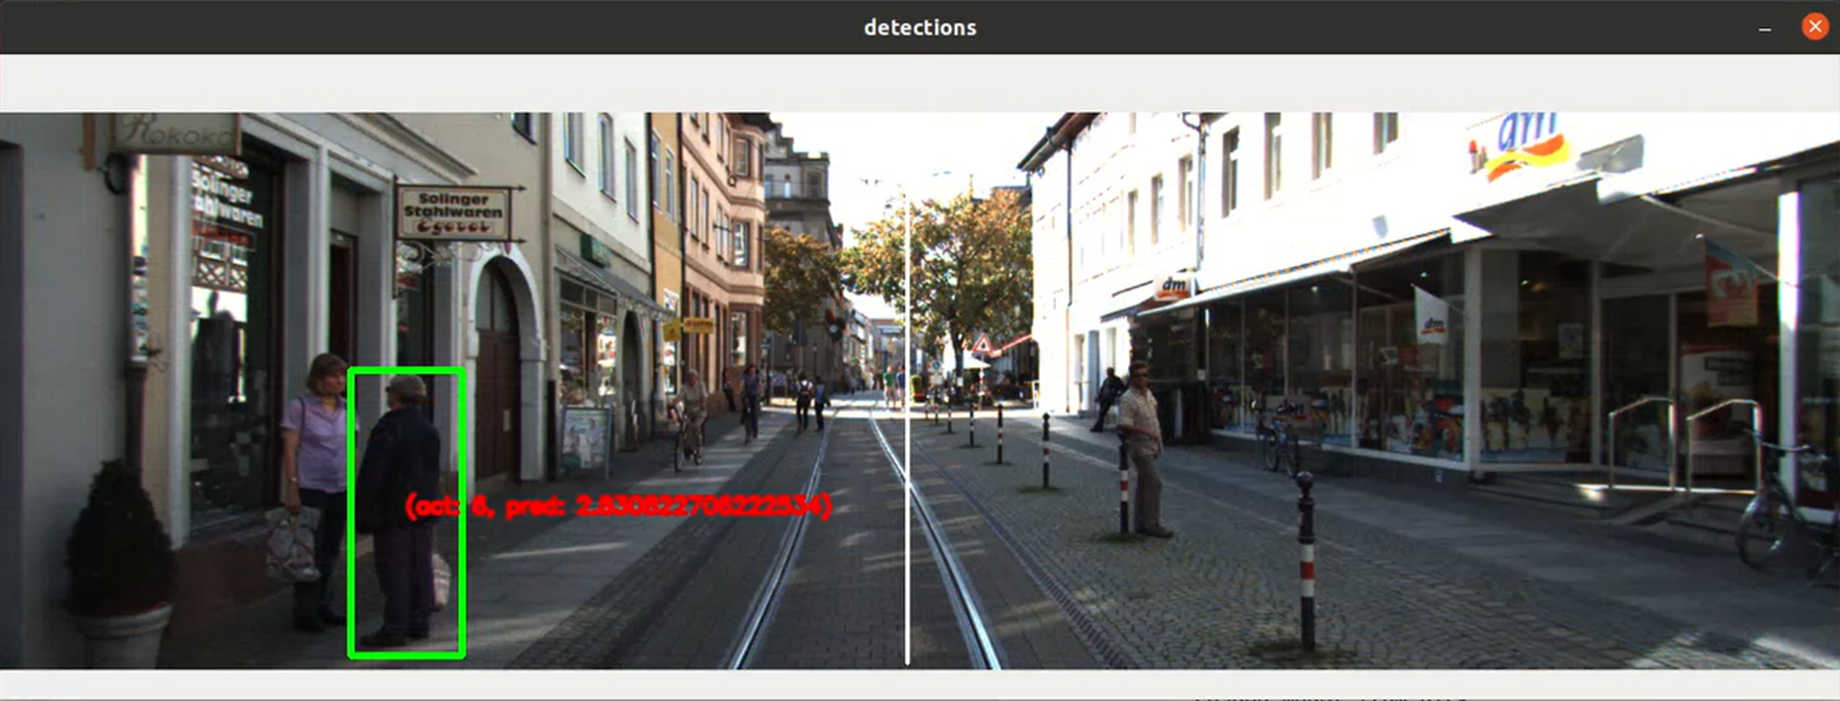
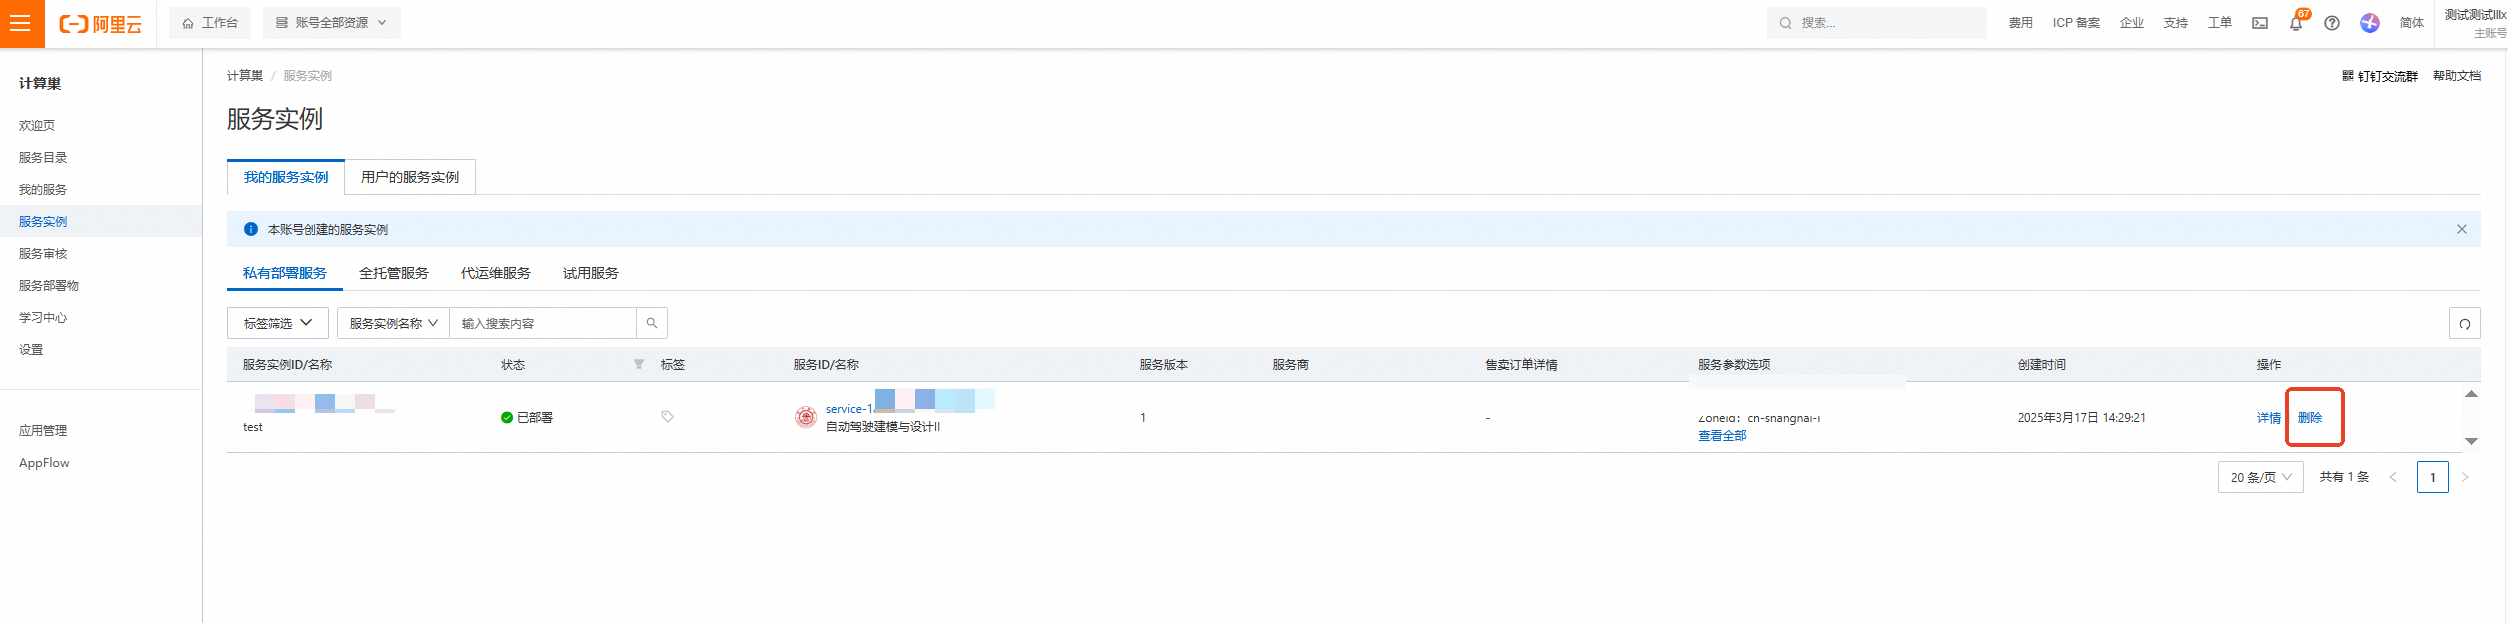
清理资源
计算巢—服务实例—复制服务实例ID,点击【删除】
在弹窗粘贴服务实例ID,并进行勾选,点击【确定删除】

完成安全验证后,即可成功释放实例。

回到云服务器ECS——实例,检查是否成功释放资源

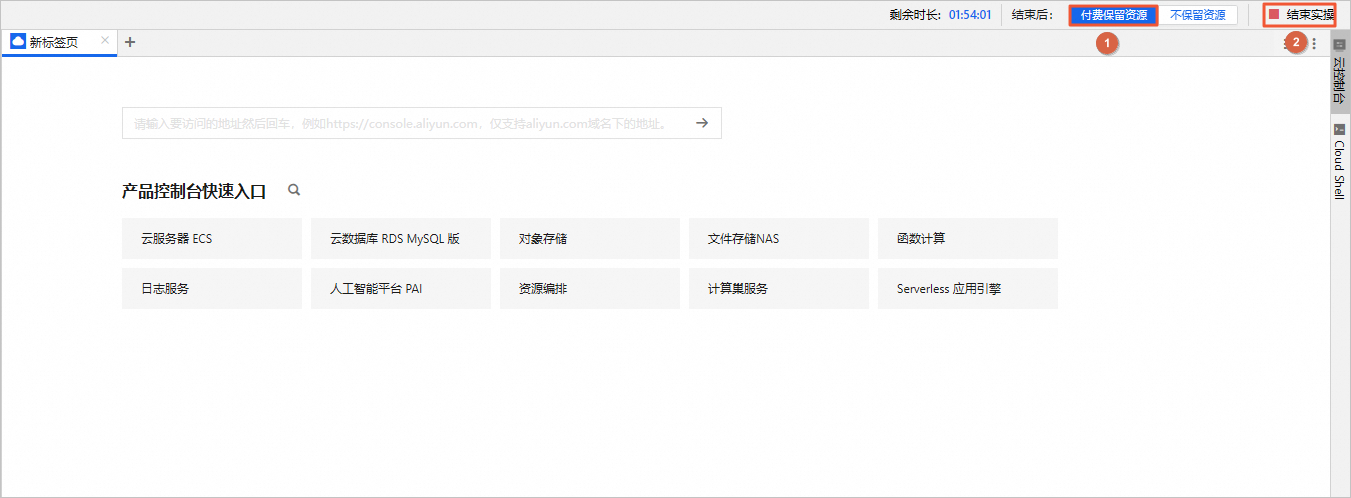
关闭实验
在完成实验后,如果无需继续使用资源,选择不保留资源,单击结束实操。在结束实操对话框中,单击确定。
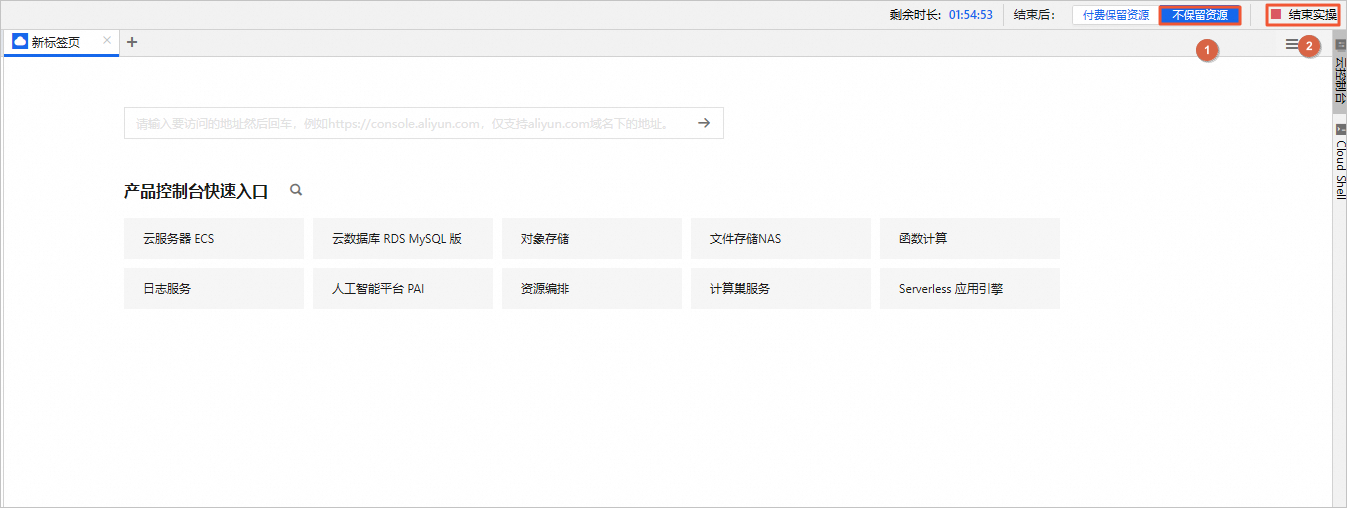
在完成实验后,如果需要继续使用资源,选择付费保留资源,单击结束实操。在结束实操对话框中,单击确定。请随时关注账户扣费情况,避免发生欠费。