Use instance-level access control
API Gateway uses access control lists (ACLs) to restrict Internet-based access to dedicated instances by IPv4 or IPv6 address. You can configure an ACL as a blacklist or whitelist to control which IP addresses can reach all API groups on the instance.
Instance-level ACLs apply to dedicated instances only. For API-level IP filtering, use the IP address-based access control plug-in instead.
How it works
An ACL is a list of IP address entries bound to a dedicated instance. After you bind an ACL, it takes effect immediately across all API groups on that instance.
Whitelist — Only IP addresses in the ACL can access the instance. All other requests are denied at the access layer; the client receives a timeout error.
Blacklist — IP addresses in the ACL are blocked. All other requests pass through normally.
If no entry is added to an ACL, the associated blacklist or whitelist has no effect.
Instance-level ACL vs. IP address-based access control plug-in
|
Feature |
Instance-level ACL |
IP address-based access control plug-in |
|
Scope |
Entire dedicated instance (all API groups) |
Specific APIs |
|
Configuration |
Console > Instances page |
Console > Plug-ins page |
Limits
|
Item |
Limit |
|
ACLs per region |
5 |
|
ACLs per dedicated instance |
1 |
|
Entries added at a time |
50 |
Prerequisites
Before you begin, make sure you have:
A dedicated API Gateway instance
(IPv6 only) Inbound IPv6 traffic enabled on the instance
Create an ACL
Log on to the API Gateway console. In the left-side navigation pane, click Instances.
On the Instances page, click the Access Control List tab.
Click Create Access Control List.
-
In the Create Access Control List dialog box, configure the following:
Enter a name for the ACL.
Select IPv4 or IPv6 based on the address type you want to control.
Click Confirm.
Add entries to an ACL
After the ACL is created, add IP address entries:
On the Access Control List tab, find the ACL and click Manage ACL in the Actions column.
Add one or more IP address entries. Up to 50 entries can be added at a time.
Configure a blacklist or whitelist for a dedicated instance
Configure an IPv4 blacklist or whitelist
On the Instances page, find the target dedicated instance.
In the IPv4 Access Control section, click Set Blacklist/Whitelist.
In the Set IPv4 Access Control Policy dialog box, set Blacklist/Whitelist to Blacklist or Whitelist.
Select the ACL from the drop-down list and click Next.
Review the precautions and click Confirm.
The ACL takes effect immediately for all API groups on the instance.
After the blacklist or whitelist is configured, the ACL takes effect immediately for all API groups that belong to the instance. Proceed with caution.
Configure an IPv6 blacklist or whitelist
Before configuring an IPv6 blacklist or whitelist, enable inbound IPv6 traffic on the dedicated instance:
On the Instances page, find the target dedicated instance.
In the Inbound IPv6 Traffic section, click Enable.
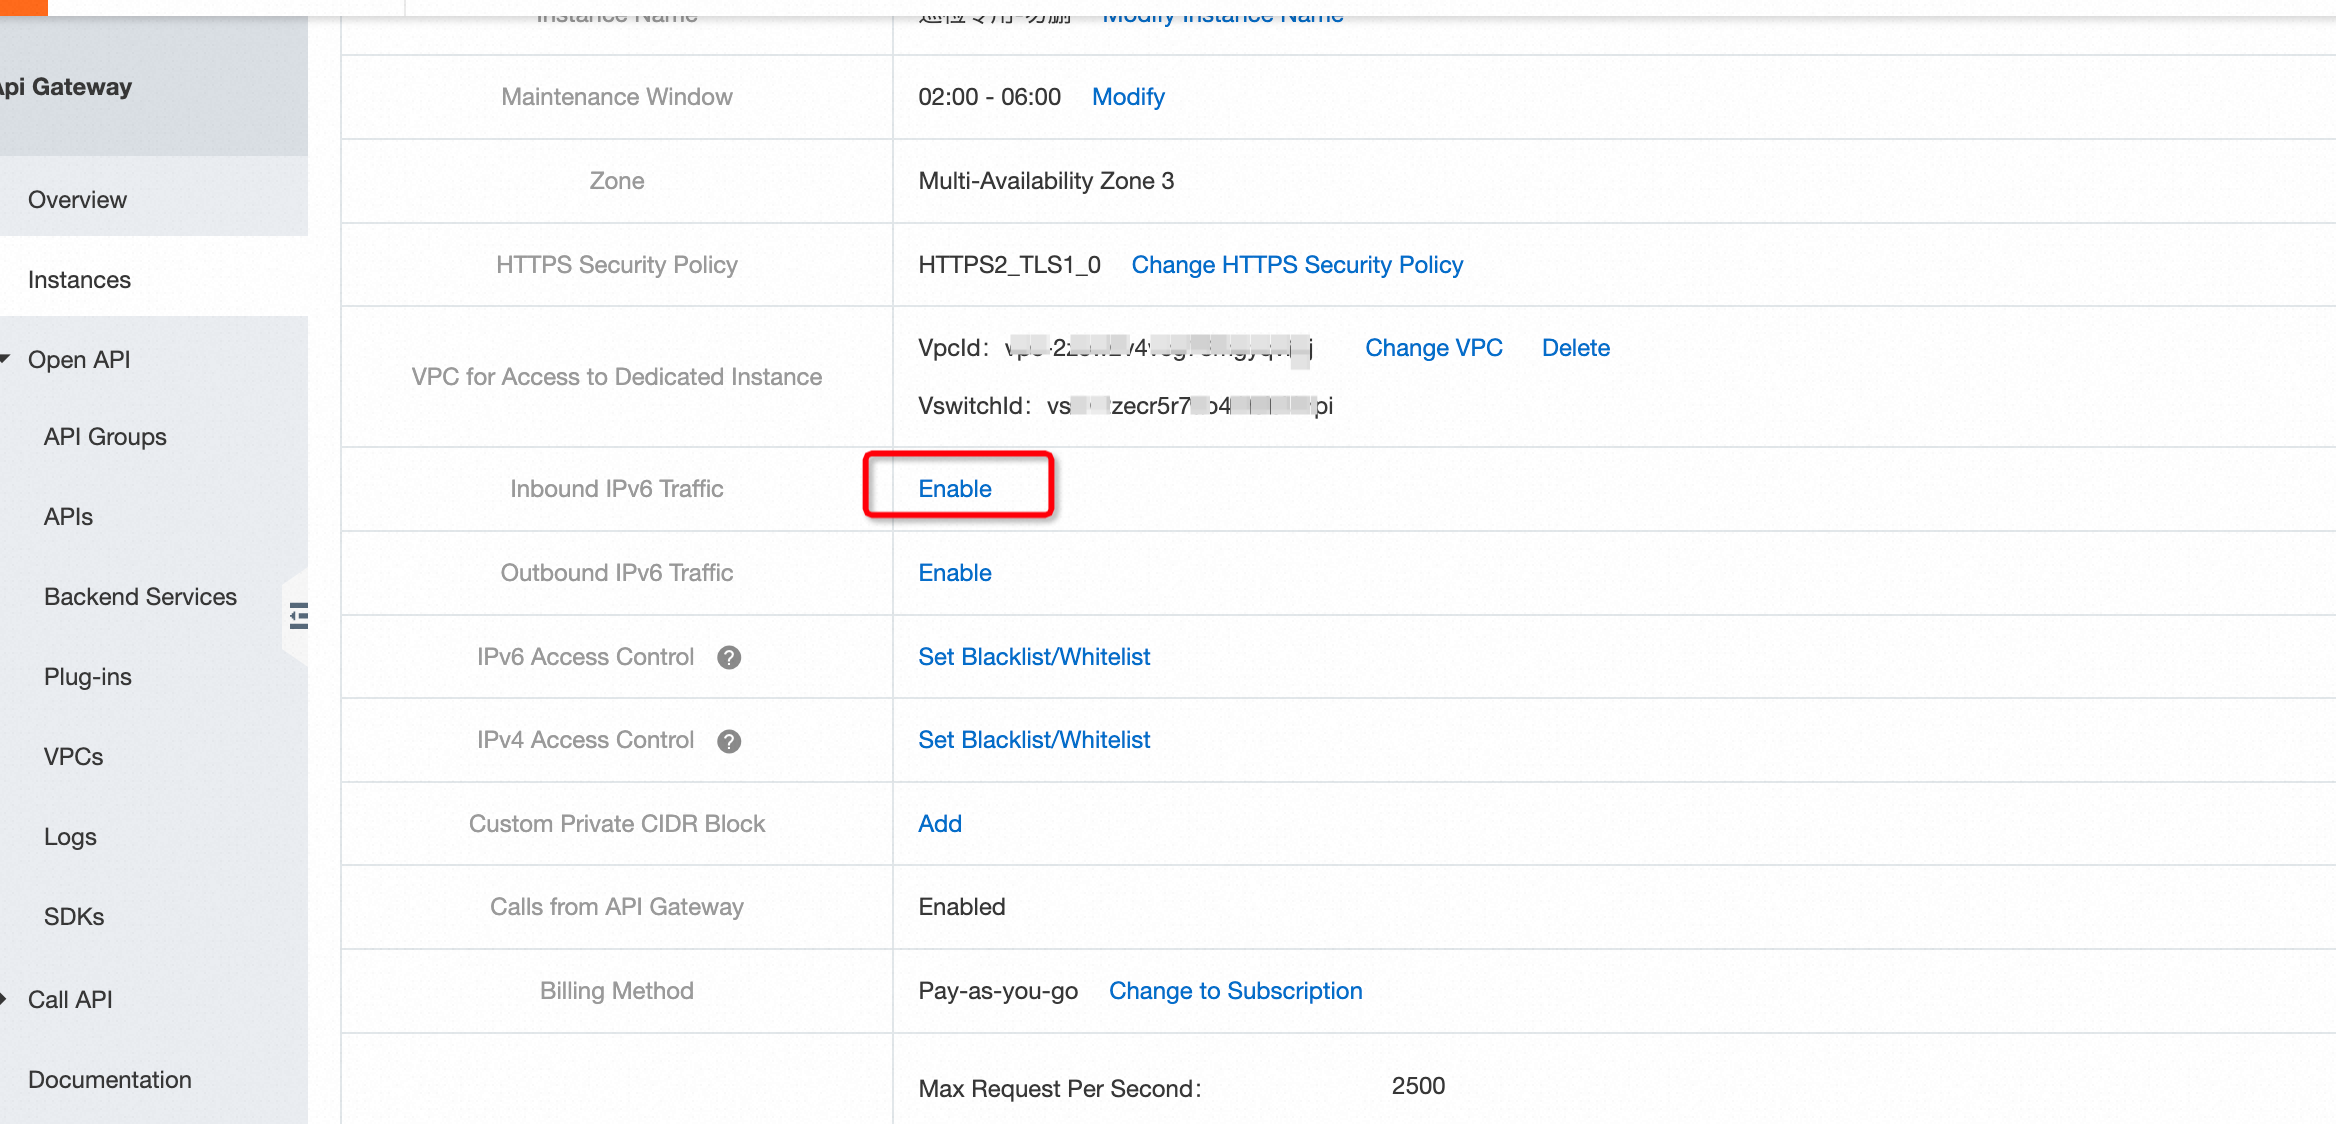
After inbound IPv6 traffic is enabled, configure the IPv6 ACL:
In the IPv6 Access Control section, click Set Blacklist/Whitelist.
In the Set IPv6 Access Control Policy dialog box, select an IPv6 ACL from the drop-down list. Only IPv6 ACLs are shown.
Complete the remaining steps as described in Configure an IPv4 blacklist or whitelist.
IPv6 ACLs can only be used for IPv6 access control, and IPv4 ACLs for IPv4 access control. The two types are not interchangeable.
FAQ
After a whitelist is configured, what happens when a non-whitelisted IP sends a request?
API Gateway denies the request at the access layer, and the client receives a timeout error.
The API Gateway debugging feature does not use fixed IP addresses, so you cannot use it to debug APIs on instances with an active ACL. To test APIs, send requests from an IP address included in the whitelist.
What is the difference between instance-level access control and the IP address-based access control plug-in?
Instance-level access control protects the entire dedicated instance and applies to all API groups automatically. It does not count as a billable traffic item. The IP address-based access control plug-in controls access at the individual API level.
Use instance-level access control when you need a single policy to block or allow traffic across all APIs on a dedicated instance. Use the plug-in when you need granular, per-API filtering.