Quickly create a chatbot
Follow these instructions to create a chatbot quickly.
Step 1: Create a chatbot
Log in to your account. Go to the official Chatbot website and open the Chatbot console.
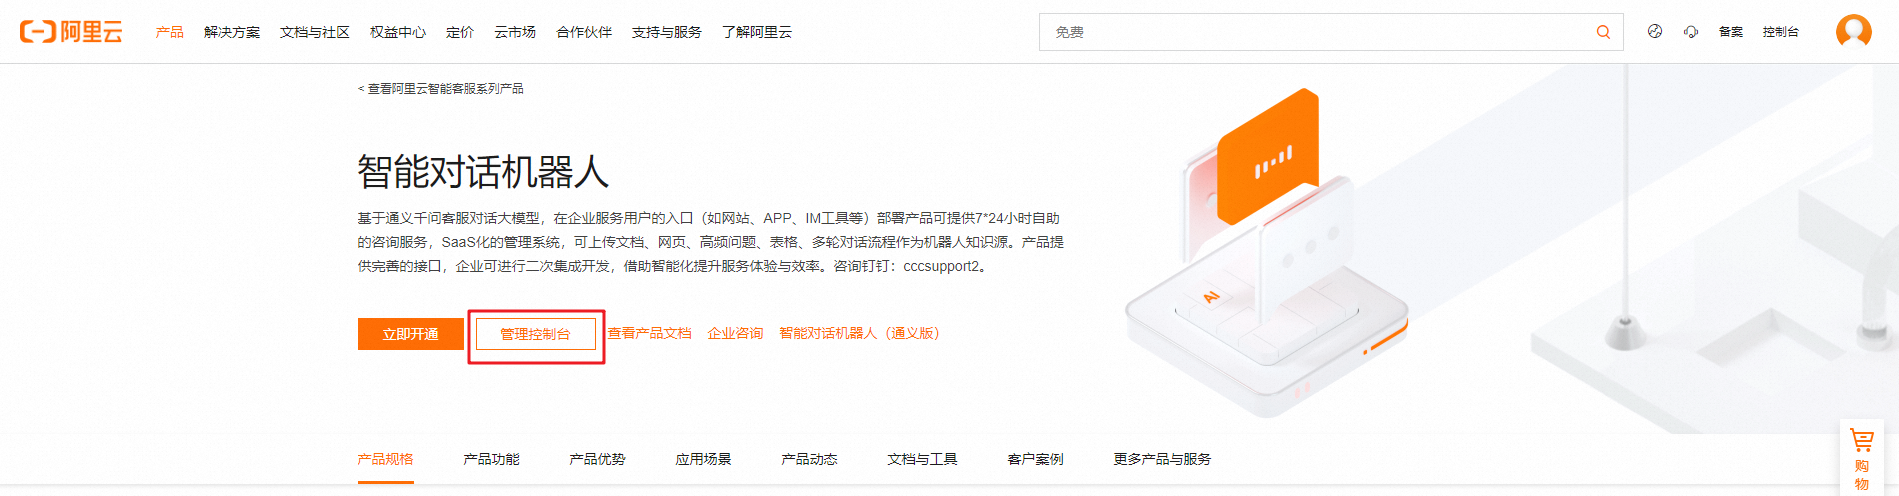
On the Homepage, you can review the product configuration flow or watch the tutorials.

Then, go to the Robot Management menu item and create a new chatbot.

Select a chatbot type.
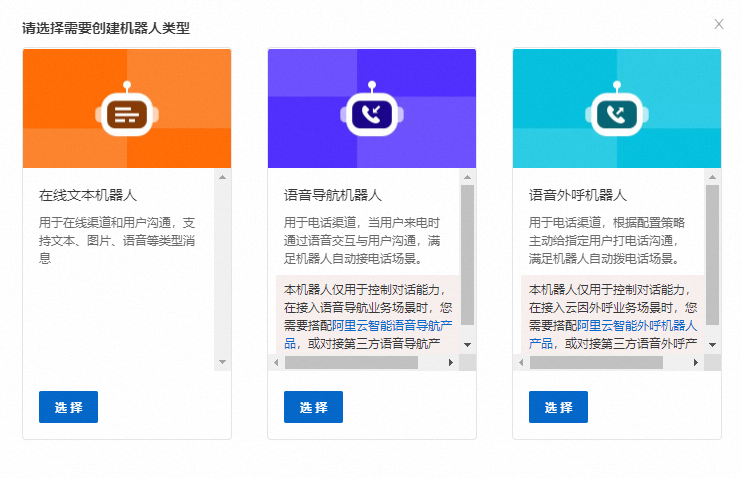
Create a new chatbot.
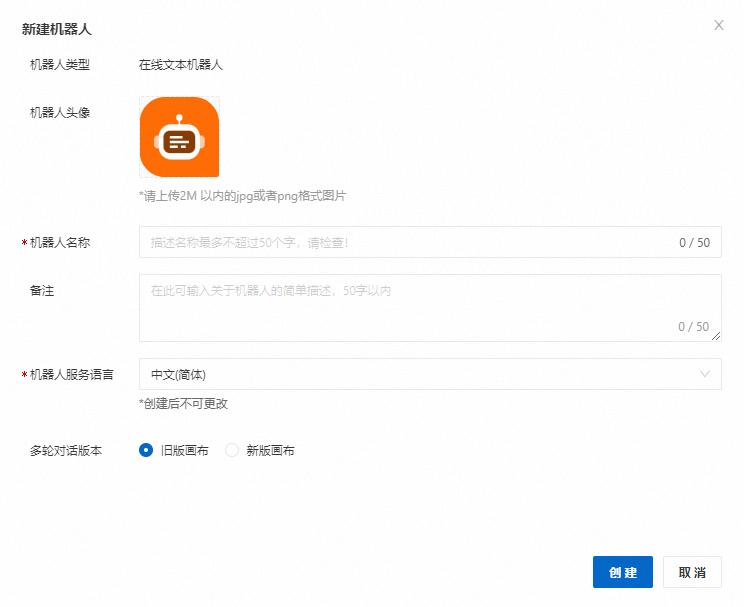
Step 2: Configure a knowledge base for the new chatbot
On the chatbot configuration page, you can configure the chatbot's Q&A capabilities. These include Frequently Asked Questions (FAQ) category attachment, conversation flow management, small talk, and Q&A policy configuration. To access the chatbot configuration interface, go to the Robot Management menu, select a chatbot, and click Manage.
FAQ category attachment: Attach knowledge in a question-and-answer format. This enables the chatbot to handle single-turn Q&A.


Conversation flow management: Configure task-oriented or process-based sessions. This enables the chatbot to handle multi-turn conversations and guides the conversation along a preset flow.
Table attachment: Attach table-based knowledge. This provides AI chat capabilities for queries and inference related to table content.
Small talk: Use pre-built small talk packages to provide the chatbot with casual chat capabilities.
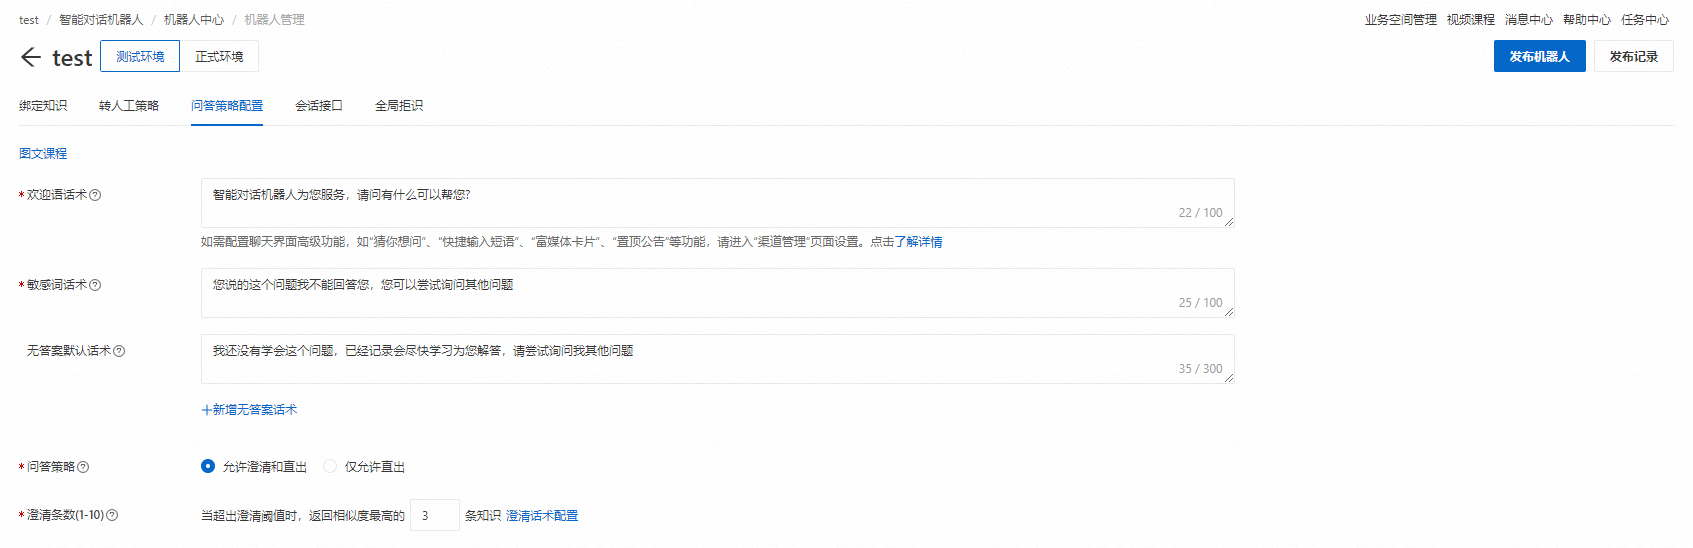
Q&A policy configuration: Configure chatbot-related Q&A policies. These include welcome messages, sensitive words, default responses for unanswered questions, the number of clarification items, and other Q&A policies.
Feature
Description
Welcome message
The first message the chatbot sends when a conversation starts.
Sensitive word response
The default system reply when a user's question triggers a sensitive word.
Default response for no answer
The default message from the chatbot when it cannot find an answer to a user's question.
Number of clarification items (1-10)
The maximum number of knowledge items to present for clarification.
Q&A policy
Direct Answer then Recommend: The system uses preset thresholds for direct answers and recommendations. After the algorithm scores a question, answers for questions above the direct answer threshold are sorted and sent as a direct reply. Questions that score above the recommendation threshold are then sorted and presented as recommendations.
Direct Answer Only: The system only replies to questions that score above the direct answer threshold. The recommendation feature is disabled.
Threshold configuration
The conversation engine threshold configuration affects how the algorithm judges the answer threshold. Questions that score below the algorithm's threshold are not triggered. For more information, see the prompts in the console.



Create new Q&A pairs in the knowledge base
You can upload FAQs in batches or add them individually. For more information, see FAQ Management.

Attach an FAQ category to the chatbot instance. Select the knowledge category from the FAQ knowledge base to attach to the chatbot instance. Click Save to apply the changes.

Configure a conversation flow for the chatbot
The chatbot configuration page provides an entry point to manage multi-turn conversations. Click the Go to Dialog Studio button to open the Dialog Studio configuration page. For more information, see Multi-turn Conversation (New Canvas).


Configure small talk packages for the chatbot instance
Each chatbot instance includes a small talk management feature. You can subscribe to small talk knowledge packages as needed. To subscribe, go to Small Talk Management, click Knowledge Package, and select a system small talk knowledge package.
After an administrator subscribes to a small talk knowledge package, they do not need to add more question variations. The administrator can edit the chatbot's answers for specific questions. If a question has multiple answers, the chatbot randomly selects one as the reply.
In addition to customizing answers in the knowledge package, an administrator can also add more small talk Q&A pairs. The configuration method is the same as for FAQs.
Step 3: Test window
The system provides a global test window to test the chatbot after it is configured.
Click the test window button on the right side of the page to open the test window.
Select the machine for testing from the drop-down list.
Below the test window, select a test perspective. The Default Perspective is selected by default.
Enter a question in the test window to begin testing.