This topic describes how to add and manage code components.
Prerequisites
The current account has project permissions.
Add a code component
Log in to BizWorks, in the select Platform drop-down list selected microservice Development Platform.
Click the
 icon or the text box in the upper-right corner of the page. From the drop-down list, click the name of the project that you want to view and click the Applications tab. On the Applications page, click the name of the target managed application.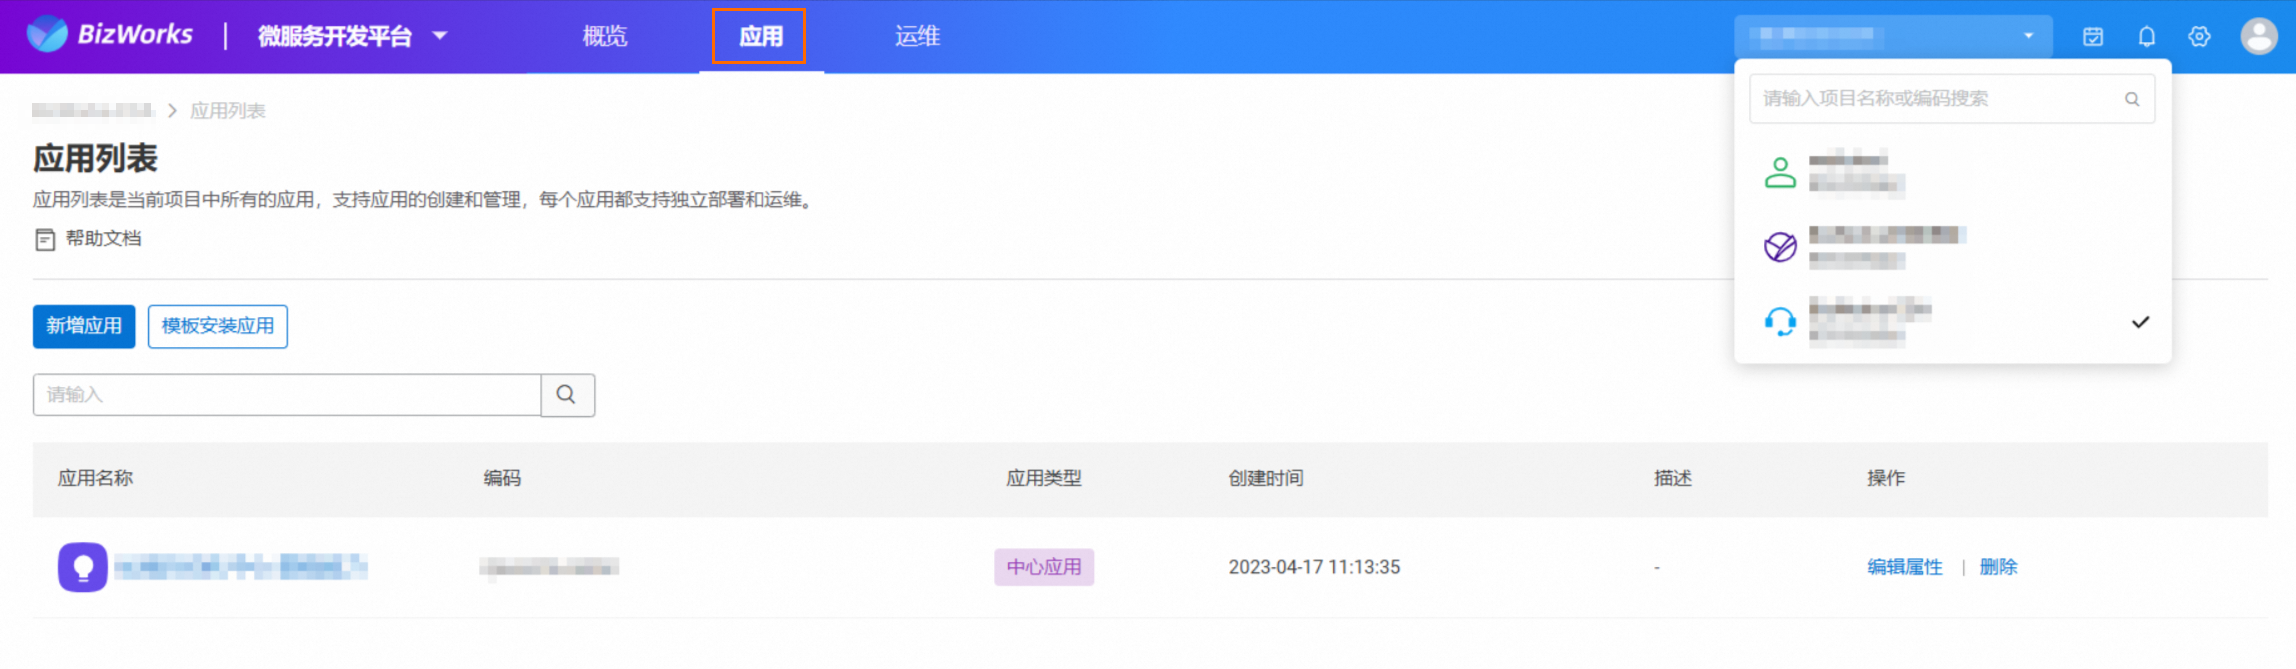
In the navigation pane of the target managed application, click Application Components.
On the Application Components page, click Add Component.
In the Add Component panel, select Code, and click Next.
In the Add Component panel, complete the relevant configurations.
If you set Repository type to Self-managed GitLab repository, you can follow the steps below to complete the configuration.
From the Code source drop-down list, select the target code source.
If you are a first-time user or need to add a code source, click Manage Code Source to the right of Code Source.
In the Manage Code Source panel, click Add Code Source, set the relevant parameters, and then click Save. After the Saved Successfully message is displayed, click Close.
You can also click Connection Test in the upper-right corner of the panel to verify that the information you entered is correct.
If you need to modify the code source, click Manage Code Source to the right of Code Source. In the Manage Code Source panel, click the target code source, set the relevant parameters, and then click Save. After the Saved successfully message is displayed, click Close.
To delete a code source, click Manage Code Sources to the right of Code Source. In the Manage Code Sources panel, click the
 icon to the right of the target code source. After the Deleted successfully message is displayed, click Close.Important
If the target code source is in use by one or more applications, you must first unlink it from the applications before you can delete it.
From the Code group drop-down list, select the target code group.
From the Code Repository drop-down list, select the target code repository.
In the Development language drop-down list, select the target development language.
Optional: Fill in the Component Description.
If Repository type is set to Apsara DevOps Codeup (Public Cloud), you can refer to the following steps to complete the configuration.
From the Repository Component drop-down list, select the target repository organization, and in the Select a group drop-down list, select the target group.
From the Code Repository dropdown list, select the target code repository.
In the Development language drop-down list, select the target development language.
Optional: Enter Component description.
Click Save.
On the Application Components page, you can view the code-based components that you created.
Edit a code component
On the Application Components page, click the name of the target code-type component or Edit in the Actions column.
In the Edit Component panel, modify the relevant settings and click Save.
Delete a code component
On the Application Components page, click Delete in the Actions column of the target code component.
In the Confirm Delete Component dialog box, click Delete.