This topic describes canvas design in conversation flow units, including node types and how to add successor nodes.
Function overview
On the canvas, connect nodes using branches to build a conversation flow. This integrates the functions implemented by individual nodes into a multi-turn conversation flow that achieves a specific conversational goal.
Access the feature
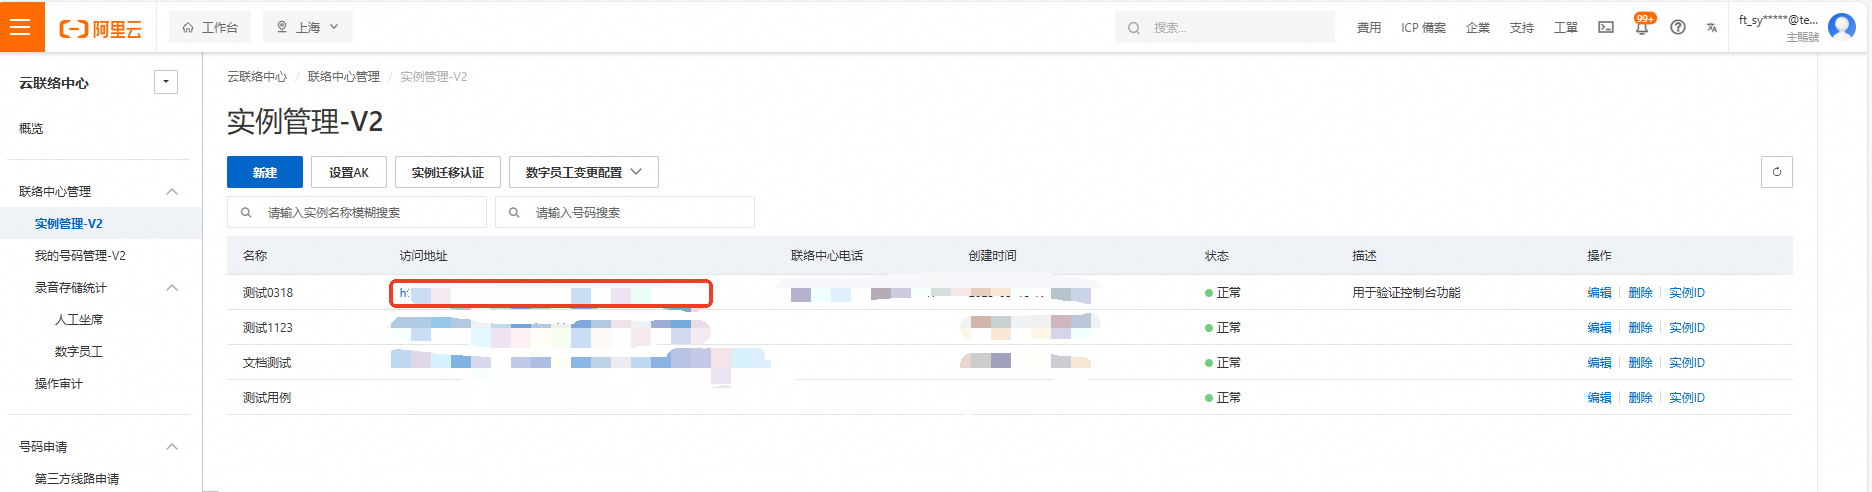
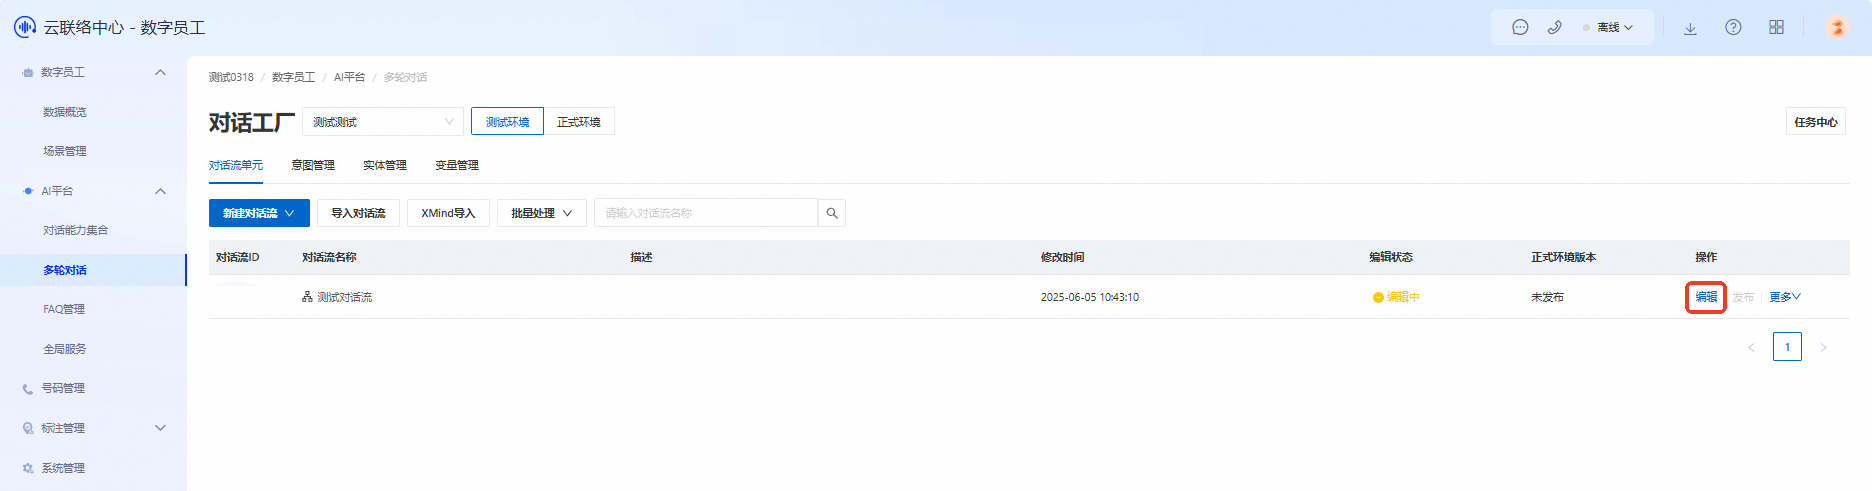
Log on to the Cloud Contact Center console. In the left navigation pane, choose Instances > V2, then click the endpoint of a specific instance to open its console.
Click the menu button in the upper-right corner of the page and select Digital Employee to open the Digital Employee Business Console. In the left navigation pane, choose AI Platform > Multi-turn Conversation (Dialog Studio).
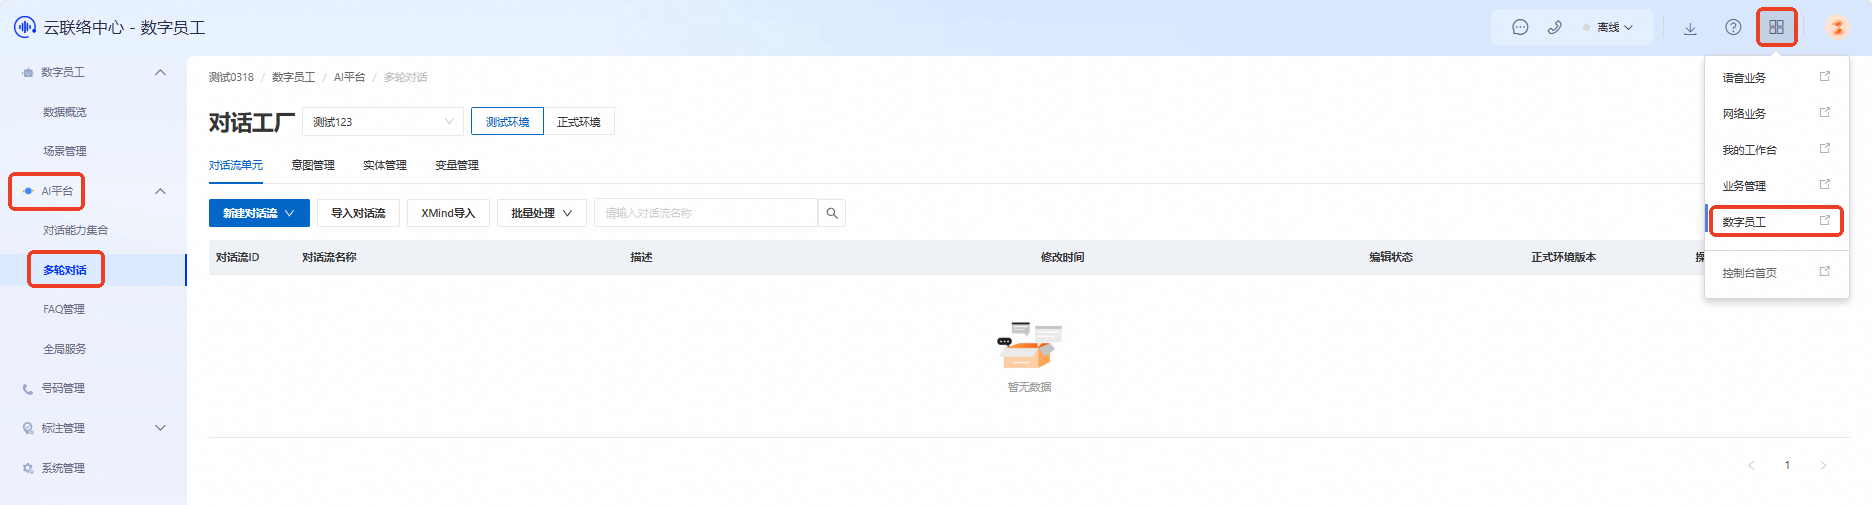
After creating a new conversation flow, click Edit in the Actions column next to the target conversation flow to open the canvas design interface and begin designing your canvas.
Configuration process
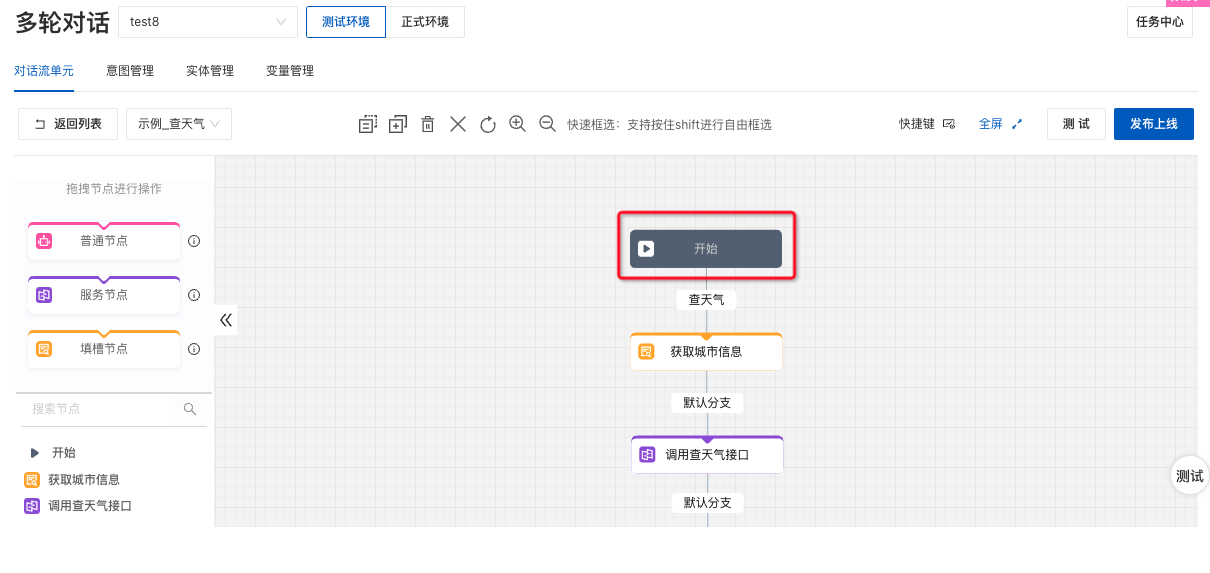
When you enter the canvas, a default start node appears. In this node, define how users trigger entry into the conversation flow. For details about configuring the start node, see Start node.
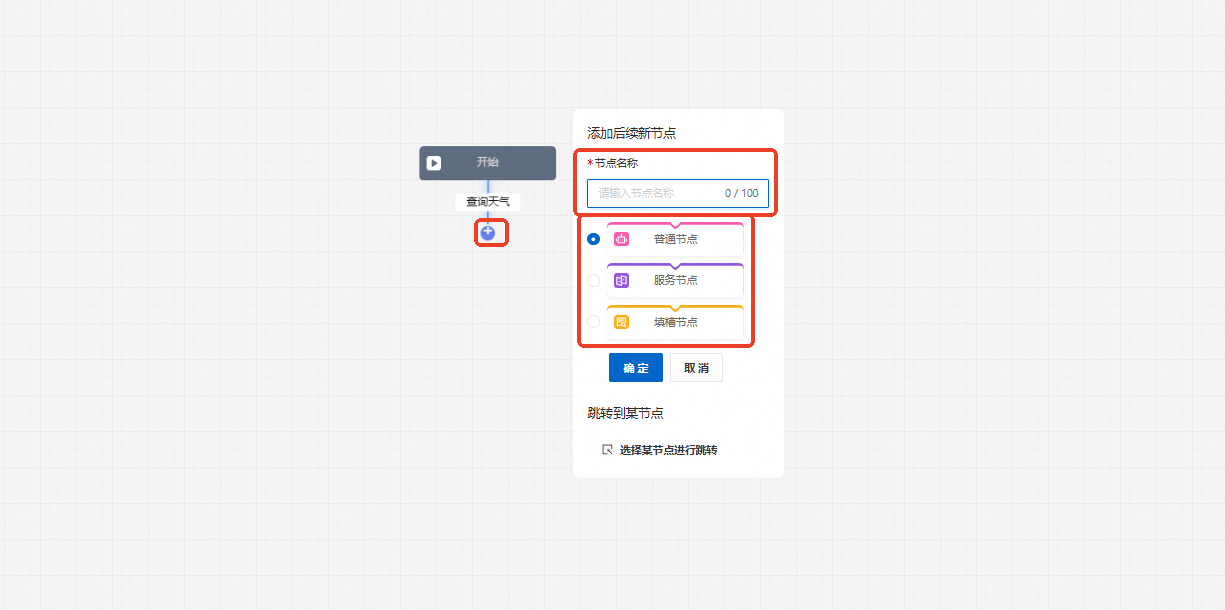
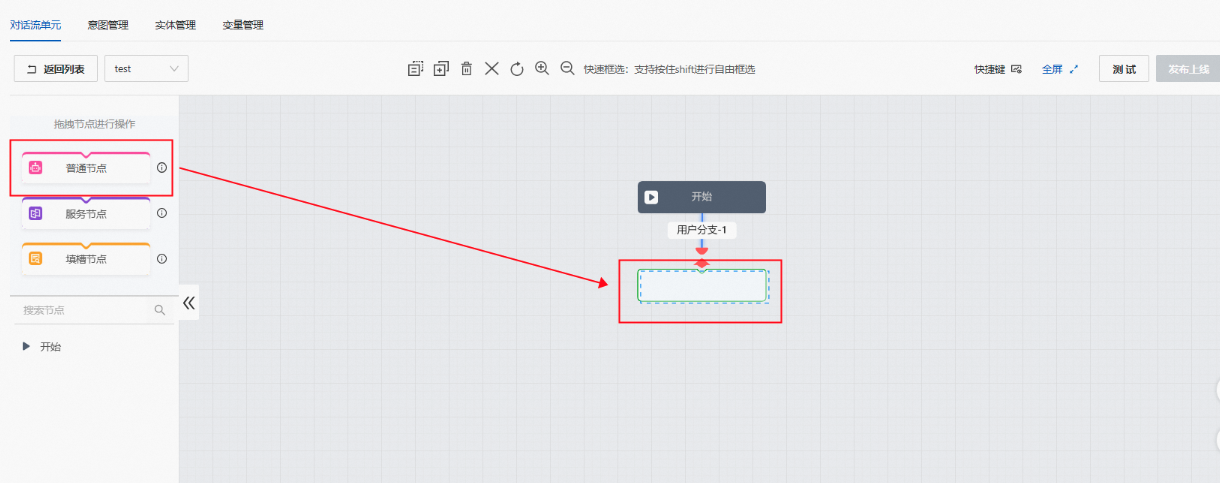
Add branches. After each node, click + to create successor branches for the node.
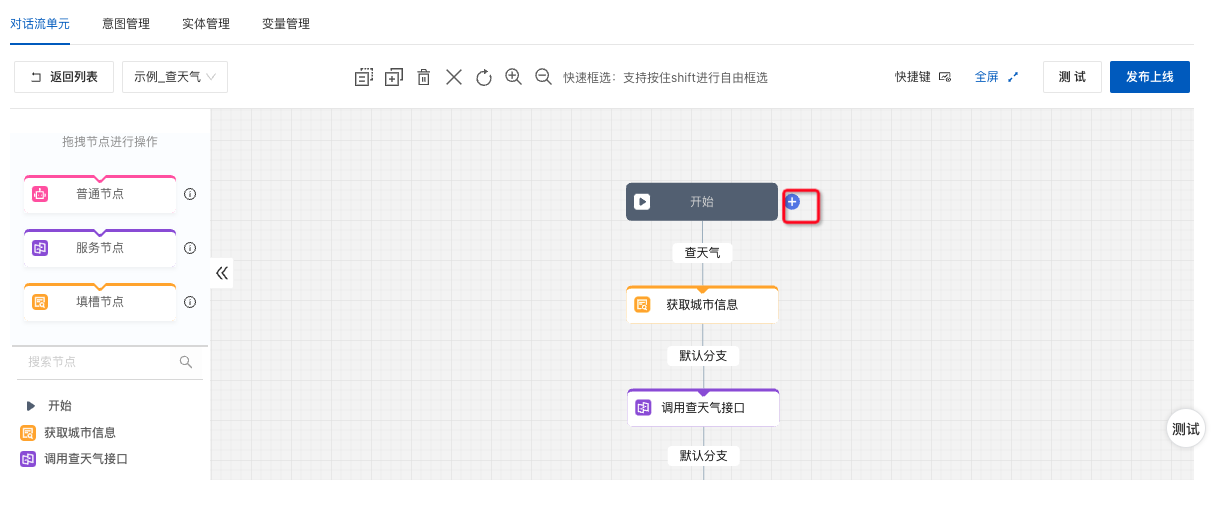
After creating a branch, add a successor node.
Click + and select a successor node type to add it.

Drag a node and connect it to + to complete the successor node configuration.