The data push service sends events that you subscribe to in your Cloud Contact Center instance to a specified Message Queue. By organizing and analyzing this data, you can monitor various Cloud Contact Center events in real time, such as agent, call, satisfaction, and recording events. This helps improve work efficiency and optimize service quality. This topic describes how to enable and disable the data push service.
Prerequisites
Before you begin, complete the following tasks:
Activate the Message Queue for Apache RocketMQ service.
You have activated Cloud Contact Center.
Cloud Contact Center supports Message Queue for Apache RocketMQ 5.0. If you plan to use version 5.0, you can purchase it at the following link: RocketMQ 5.0 (pay-as-you-go).
RocketMQ 5.0 Serverless instances do not support VPC endpoints for Cloud Contact Center because their networks are not interconnected. Therefore, you must use a TCP public endpoint. Ensure that you enable public network access before you make a purchase.
Cloud Contact Center supports public network access for RocketMQ 5.0 Serverless instances. If you create an instance in a region other than China (Shanghai), you must configure an IP allowlist and add the IP address 47.103.12.130.
Procedure
Step 1: Create a Message Queue instance in the Message Queue console
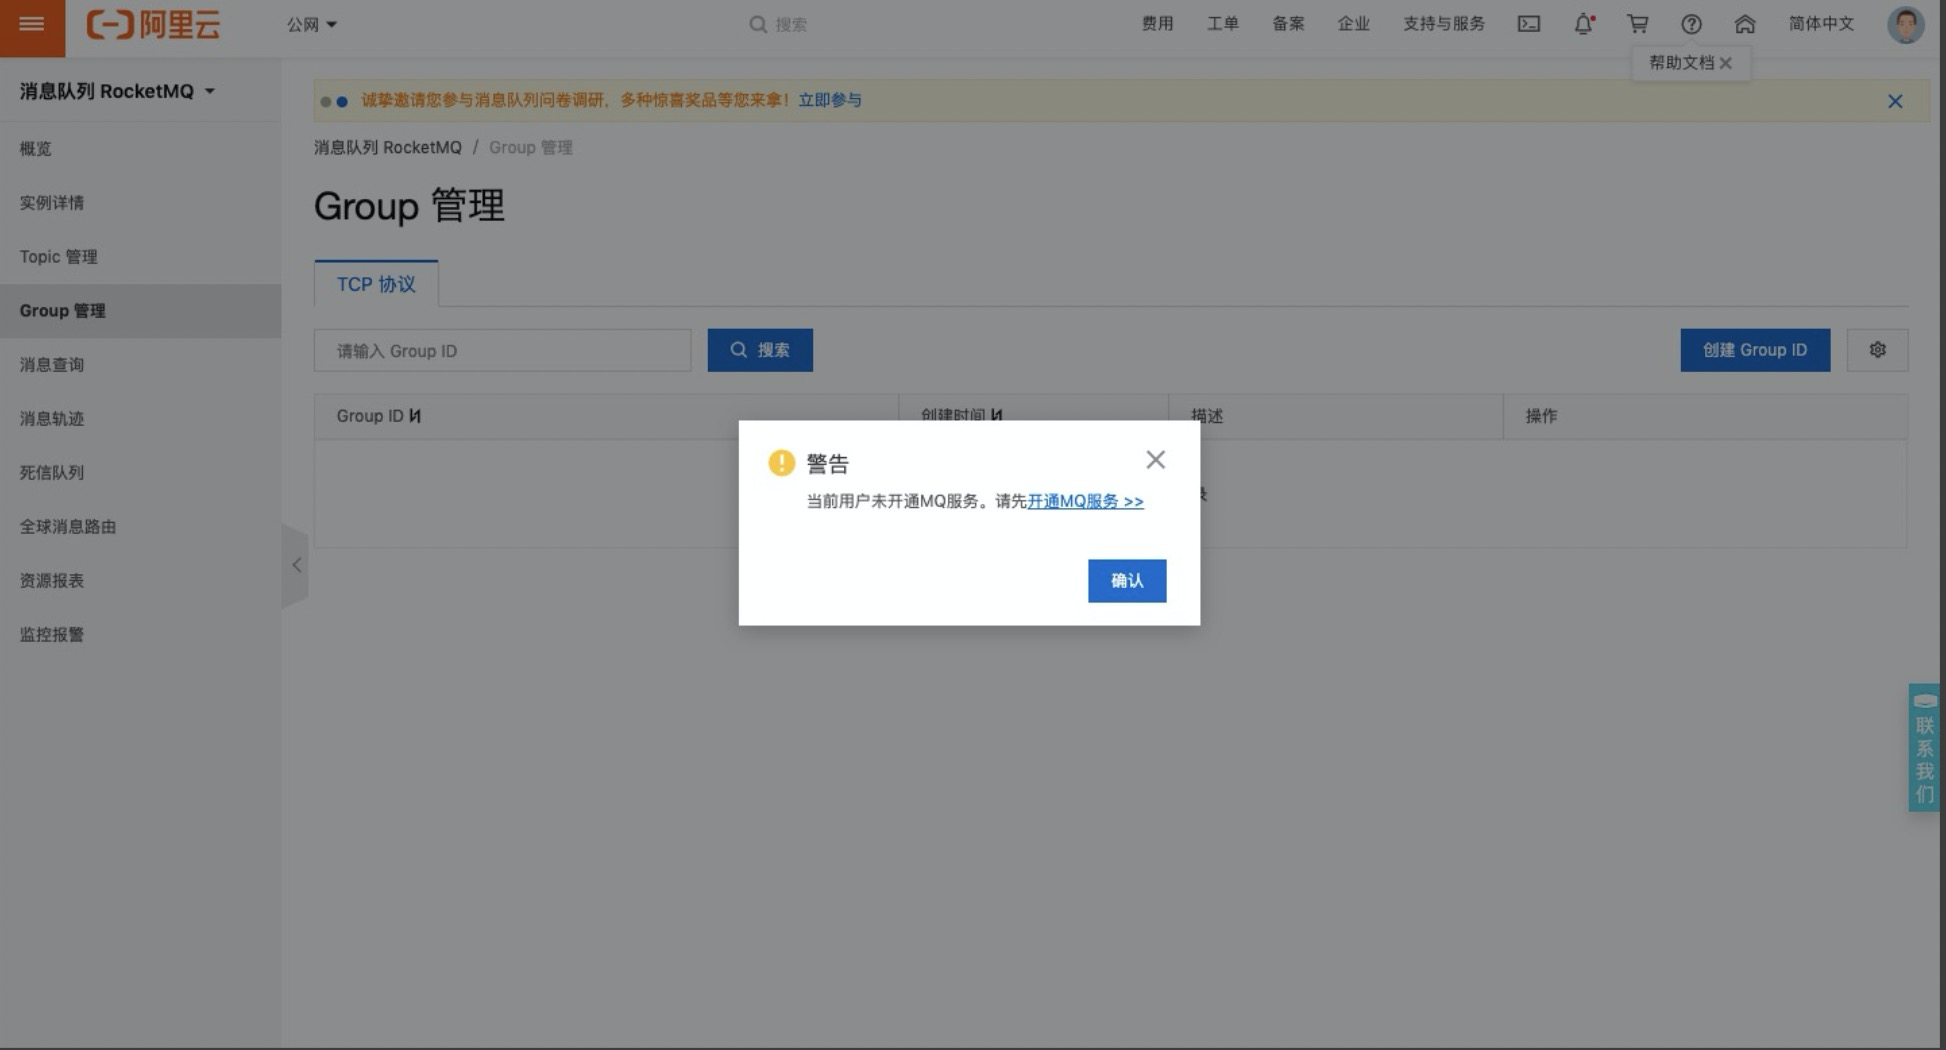
Log on to the Message Queue console using your Alibaba Cloud account. If this is your first time logging in, you are prompted to activate the Message Queue service. Click Activate Now. For more information about pricing, see Billing overview.
Create a Message Queue instance.
In the navigation pane on the left of the Message Queue console, choose Instances, click Create Instance, and then select Version 5.0 or 4.0.
In the Create Instance dialog box, enter your custom information and click OK. For example, you can create a standard Message Queue instance named test. On the instance details page, you can view information about the instance, such as its instance ID and endpoint.
When you use Message Queue, note the following network access restriction: To ensure proper communication, topics and Group IDs must be created for the same instance in the same region. For more information about regions, see Regions and zones.
Create a topic for the new queue instance.
Go to the instance details page. In the navigation pane on the left, click the Topics tab.
On the Topics page, click Create Topic.
Enter the required information as prompted and click OK.
To avoid unnecessary charges, delete unused topics in a timely manner. For more information about topic resource usage fees, see Pricing.
Create a group for the Message Queue instance.
In the navigation pane on the left, click the Groups tab.
The Groups page displays the TCP Protocol tab by default. On this tab, click Create Group.
Enter the required information as prompted and click OK.
NoteOnly Group IDs that use the TCP protocol are supported. Make sure that you create a group that uses the TCP protocol.
ImportantThe producer identity is the Group ID. The Group ID must start with GID_, GID-, PID_, or PID-. Otherwise, an error occurs.
Otherwise, an error message appears.
Step 2: Add the Message Queue instance to Cloud Contact Center
Log on to the Cloud Contact Center console. In the navigation pane on the left, choose Instances-V2. Then, click the endpoint of the desired instance to open its console.
Click the menu button in the upper-right corner of the page and choose Voice Services to go to the Voice Services console. In the navigation pane on the left, choose Settings.
On the Settings page, click the Event Push tab and then click Manage.
In the panel that appears on the right, click Enable, select the Message Queue version, select the event types that you want to push, and then click OK.
If you select RocketMQ 4.0, enter the required instance information, such as the endpoint, topic, and producer identifier (Group ID).
If you select RocketMQ 5.0, enter the required information, such as the username, password, instance ID, endpoint, topic, and producer identifier.
In the navigation pane on the left of the MQ instance list, find and click Access Control, and then go to the Smart Identity Recognition page.
Username: Enter the username for your MQ service.
Password: Enter the password for your MQ service.
-
Instance ID: Enter the ID of your RocketMQ 5.0 instance.
Topic: Enter the topic for your MQ service.
Producer identifier: Enter the unique ID of the producer.
ImportantThe producer identity is the Group ID. The Group ID must start with GID_, GID-, PID_, or PID-. Otherwise, an error occurs.
Otherwise, an error message appears.
-
Endpoint: Enter the access endpoint for your MQ service.
ImportantIf you update instance information, such as the endpoint, topic, or group, in the Message Queue console, you must immediately sync the changes in the Cloud Contact Center console.
Disable event push. If you no longer need to use a Message Queue instance, you can disable event push. In the Cloud Contact Center console, go to the relevant instance, click the Disable Event Push button, and confirm the action in the prompt.