Create a Data Warehouse
CDP Professional Edition includes the Data Warehouse service. This topic describes how to create a virtual warehouse to manage, analyze, and process data in a Base cluster.
Prerequisites
The Management Console for the Data Service cluster is deployed in a private network and must be accessed through an SSH tunnel. For more information, see Access the web UI of a Cloudera Manager component through an SSH tunnel.
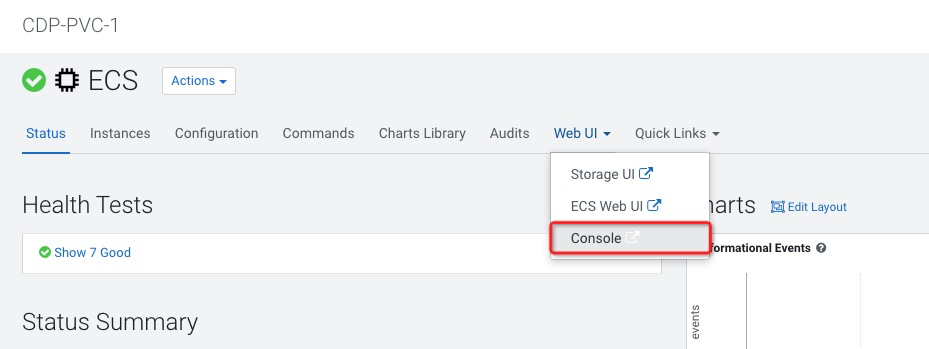
You must add a user named `hue` in FreeIPA because Impala virtual warehouses use this user for role assumption to read data. For more information, see Add a user in FreeIPA.
Starting the Data Warehouse
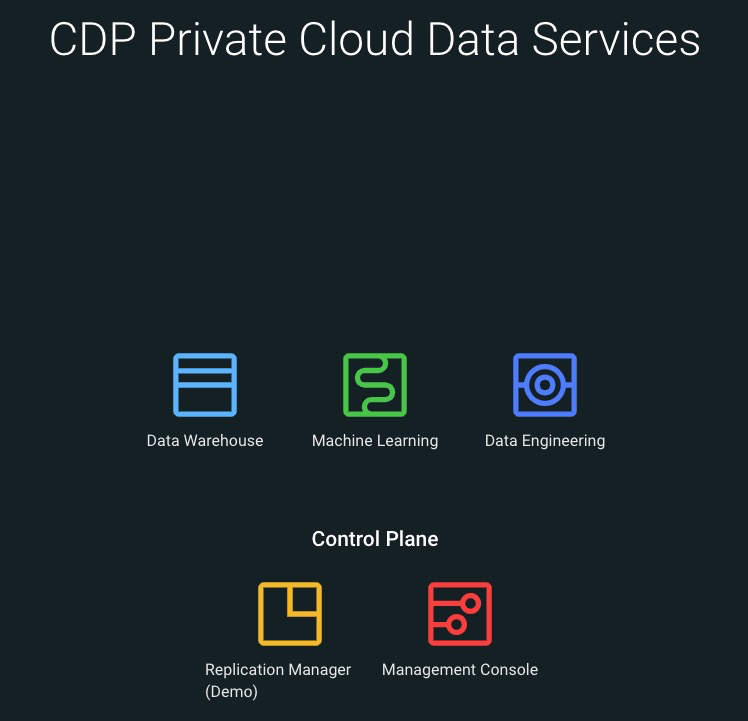
Step 1: Log on to the Management Console of the Data Service cluster and click Data Warehouse.
Step 2: Activate the default environment. Set Delegation Username to `hue` and enter the password for the `hue` user that you created in FreeIPA. Impala requires this user for role assumption to read data.
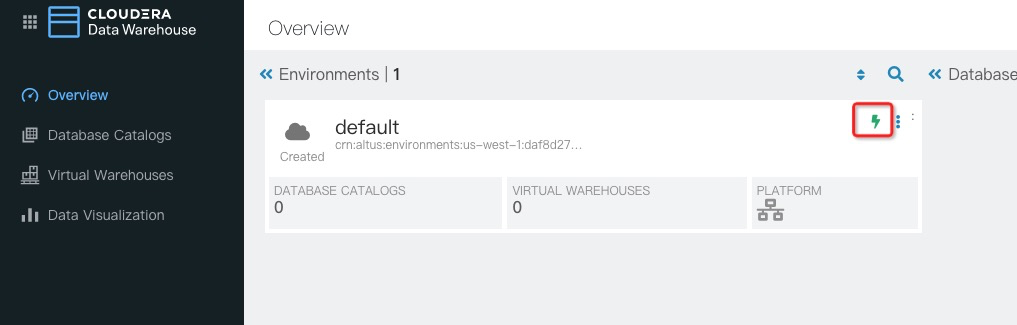
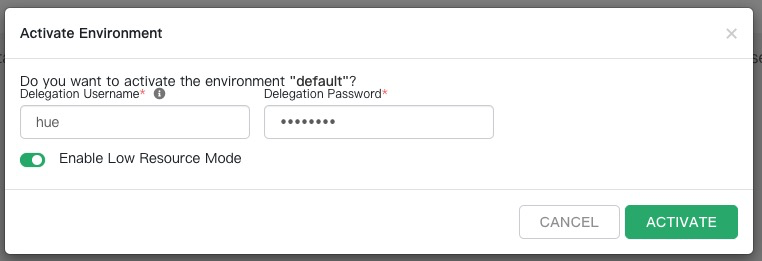
After you click Activate, wait a few minutes for the Environment and Database Catalog to change to the Running state.
Step 3: Create a virtual warehouse
Two types of virtual warehouses are supported: Hive and Impala. Click Add to select the warehouse type that you want to create.
Configure the Hive virtual warehouse as shown in the preceding figure and click Create.
Configure the Impala virtual warehouse as shown in the preceding figure and click Create.
Step 4: Run a query
After a few minutes, the virtual warehouse changes to the Running state, which indicates that it was created successfully.
Click the Hue button for the Hive Warehouse to open the Hue UI. Run the following SQL commands to create a table named `user` and insert data into it.
CREATE TABLE `user`(id INT, name STRING);

INSERT INTO `user` VALUES
(1, "Legolas"),
(2, "Alex"),
(3, "Haley"),
(4, "Luke");
Click the Hue button for the Impala Warehouse to open the Hue UI. Run the following command to query the data that you added to the Hive virtual warehouse.
SELECT * FROM `user`;