Agent connections
This topic describes how to create connections for tools such as a sandbox, session management, a knowledge base, and MCP, and how to bind them to an Agent in the Compute Nest environment.
Introduction to Agent connections
An Agent connection represents an external capability or cloud resource that your Agent depends on. Examples include a sandbox for an isolated environment, session management for context persistence (commonly using Redis), a knowledge base, and memory (from the Model Studio memory library). Support for other connection types will be added in the future. MCP does not require you to create a connection. Instead, you must enable it in Model Studio.
Each Agent connection corresponds to a specific Alibaba Cloud resource. To enable a capability for your Agent, you must prepare the cloud resource, create a connection in the console, and then bind it to the Agent.
Procedure
All Agent connections follow a similar three-step process. After you complete these steps, your Agent can access and use the corresponding capability.
-
Prepare cloud resources: Ensure that the required resources, such as sandbox resources or a Redis instance, are ready and accessible on Alibaba Cloud. For more information, see the specific instructions for each connection type.
-
Create a connection in the console: In the Compute Nest console for Agent deployment, select a connection type, enter the required information such as the cloud resource ID or endpoint, and save it as a reusable connection.
-
Bind the connection to an Agent: When you create or edit an Agent, bind the corresponding connection.
Create an Agent connection
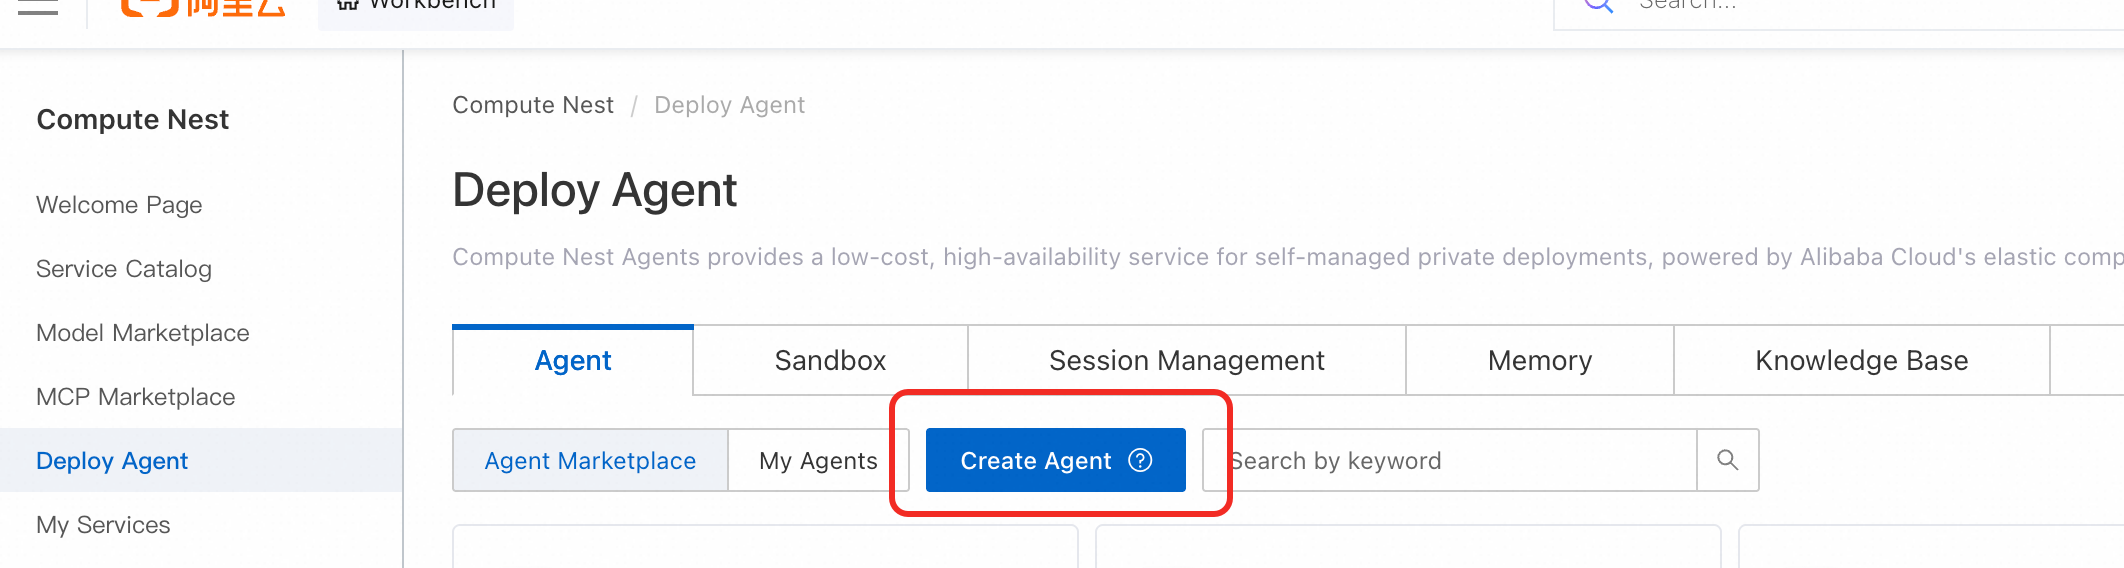
Compute Nest Agents support connections to the following tools. Click a link in the table below to view the instructions for a specific connection type.
|
Category |
User guide |
|
Sandbox |
Use a sandbox |
|
Session management |
Use session management |
|
Memory |
Use a memory library |
|
Knowledge base |
Use a knowledge base |
|
MCP |
Use MCP |
Bind to an Agent
You can bind an Agent to multiple types of connections simultaneously, such as a sandbox and session management. Each connection type injects a different set of environment variables. However, you can typically bind an Agent to only one connection of a given type. For example, you cannot bind an Agent to multiple session management connections at the same time.
Bind during Agent creation
On the Agent creation page, go to the Tool Configuration section and select the desired Agent connection under Application Connections. After the Agent is created, the system automatically binds the connection.
Bind to an existing Agent
-
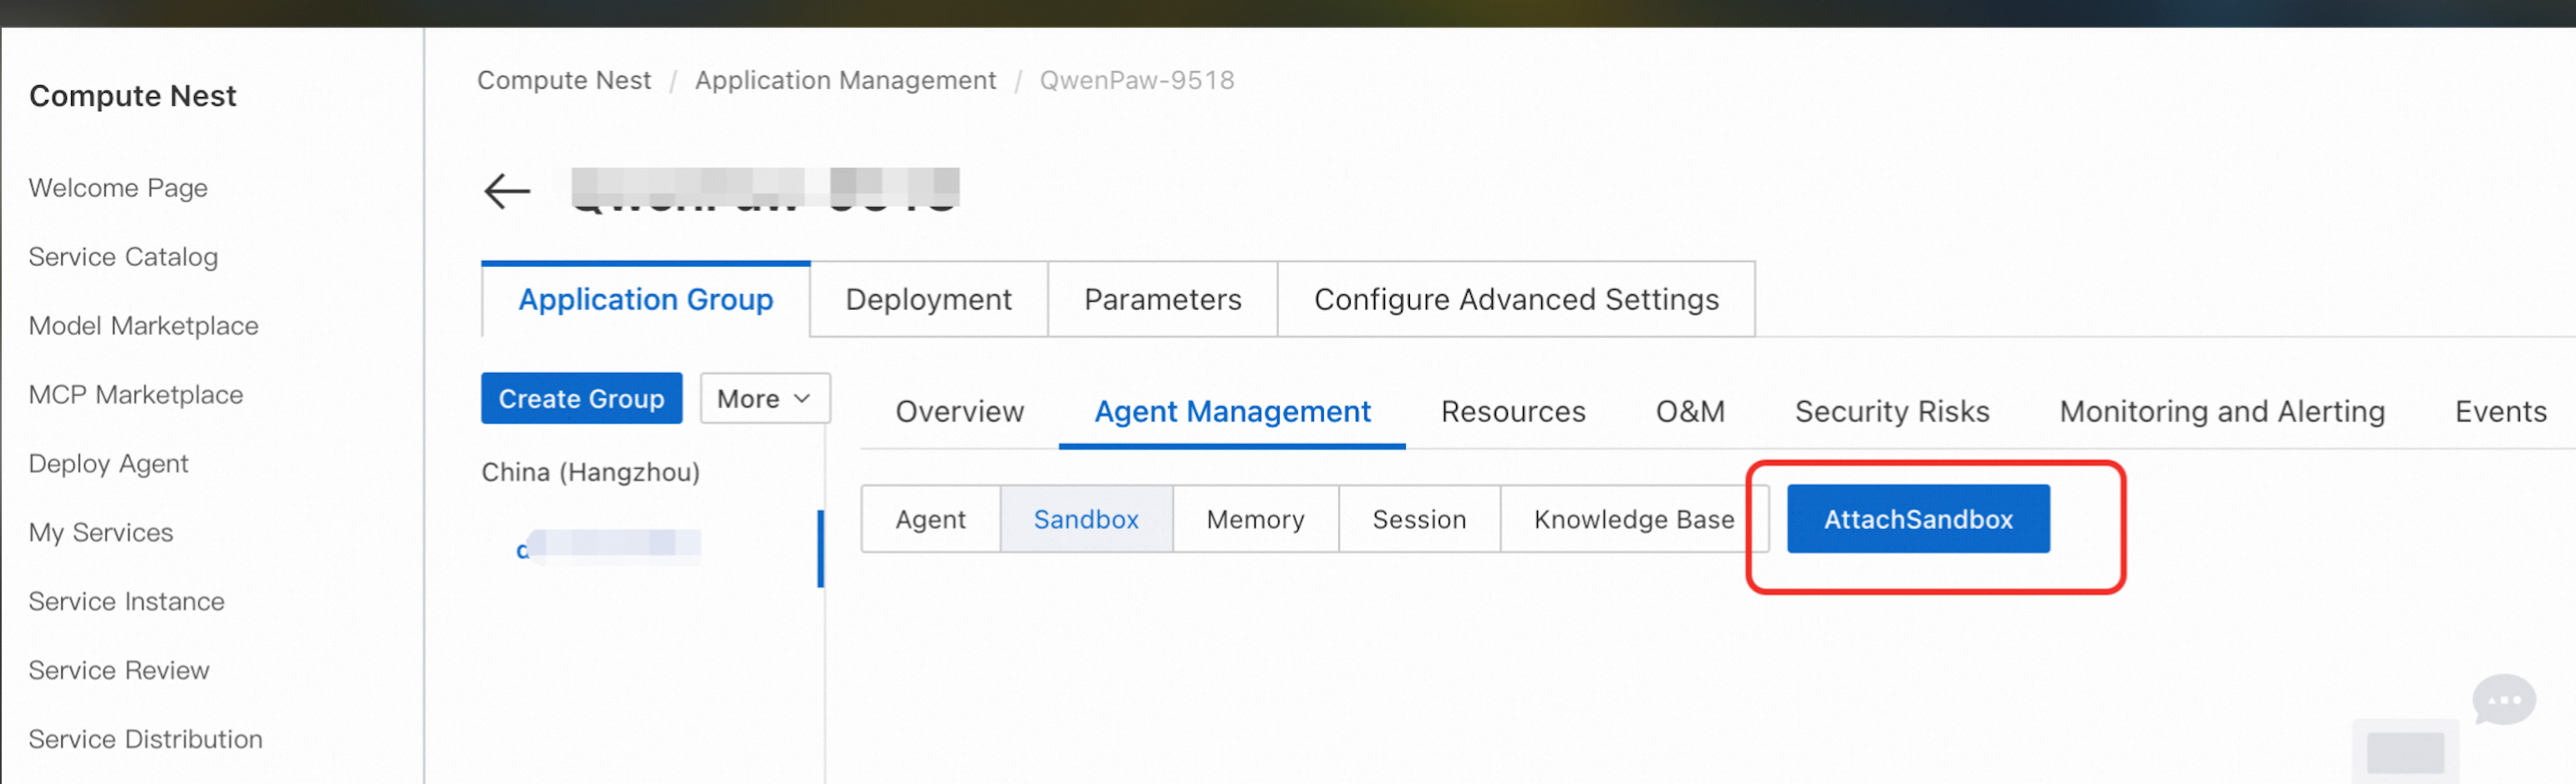
Go to Application > Agent Management, select the desired Agent, and click Bind. In the dialog box that appears, select the connection that you want to bind.
-
Go to Release Management and publish the latest deployment artifact. To apply connection changes, you must restart the application.
Activation after binding
Compute Nest injects the connection information into the Agent's deployment environment (an ECS instance or a cluster) as environment variables. Your application can then access tools like the sandbox or session management by reading these variables, which eliminates the need to hardcode endpoints in your code. The guide for each tool details the specific environment variable names and their meanings.
Connection types
Sandbox
Create an AgentRun sandbox template
-
Go to the AgentRun console.
-
Create an AgentRun template.
-
After you create the template, make a note of its name.
Create a sandbox connection
-
Go to Agent Deployment > Session Management and click Create Sandbox Connection. In the dialog box that appears, click Next.
-
On the edit page, enter a Connection Name, Template Name, AccessKey, and AccessKey Secret. You can specify a custom connection name. For Template Name, use the name that you recorded in the previous step. You can obtain an AccessKey and AccessKey Secret in one of the following ways:
-
Create an AK and SK for the current account. The AK and SK have all the permissions of the current account.
ImportantTo reduce the risk of an AccessKey leak, the AccessKey Secret is displayed only when you create it and cannot be retrieved later. You must store it securely. An AccessKey and AccessKey Secret created directly from an Alibaba Cloud account (a primary account) have full administrative permissions by default, which allows them to manage all resources under the account. If the AccessKey of a primary account is leaked, the security risk is extremely high. We strongly recommend that you do not create or use the AccessKey of your primary account.
-
Log on to the RAM console, create a user, and grant the AliyunAgentRunFullAccess permission to the user. Then, create an AccessKey ID and AccessKey Secret for the user. For more information, see Create a RAM user and Manage RAM user permissions.
-
-
After you confirm that all information is correct, click Create to create the connection.
Environment variables
Creating an AgentRun sandbox connection sets the following environment variables on your machine:
AGENTRUN_TEMPLATE_ID: Template name
ALIBABA_CLOUD_ACCESS_KEY_ID: Access Key
ALIBABA_CLOUD_ACCESS_KEY_SECRET: Access Secret
AGENTRUN_ACCOUNT_ID: Your Alibaba Cloud account UID
AGENTRUN_REGION: The region where the AgentRun template is located
You can read these values from the environment variables in your code to connect to the AgentRun sandbox. The following code provides a Python example:
import os
account_id = os.getenv("AGENTRUN_ACCOUNT_ID")
Session management
Create a Redis instance
-
Log on to the Redis console to create a Redis instance.
-
After you create the Redis instance, add
0.0.0.0/0to the whitelist and enable password-free access.
Create a session connection
-
Go to Agent Deployment > Session Management and click Create Session Connection. In the dialog box that appears, click Next.
-
Select the Redis Region and Redis Instance ID, and then click Create.
Environment variables
Creating a session connection sets the following environment variable on your machine:
SESSION_REDIS_URL: The private connection URL for the session management Redis instance, in the format redis://r-bp1b7cexxxxxxxx.redis.rds.aliyuncs.com:6379You can read this value from the environment variable in your code to connect to session management. The following code provides a Python example:
import os
session_redis_url = os.getenv("SESSION_REDIS_URL")
Notes
Redis supports only private communication within a VPC. The server that runs the Agent must be in the same VPC as the Redis instance. Otherwise, the session connection cannot be established.
Knowledge base
You must activate Model Studio and create a knowledge base in it before you proceed.
Create a knowledge base connection
-
Go to Agent Deployment > Memory and click Create Knowledge Base Connection. In the dialog box that appears, click Next.
-
On the edit page, enter a Connection Name, select the Model Studio Workspace ID and Model Studio Knowledge Base ID, and enter an AccessKey and AccessKey Secret. You can specify a custom connection name. You can obtain an AccessKey and AccessKey Secret in one of the following ways:
-
Go to this link: https://ram.console.aliyun.com/profile/access-keys. Obtain the AccessKey ID and AccessKey Secret for your account, which grant full permissions to your account.
-
Log on to the RAM console, create a user, and grant the AliyunAgentRunFullAccess permission to the user. You can then create an AccessKey pair for the user. For more information, see Create a RAM user and Manage the permissions of a RAM user.
-
Environment variables
BAILIAN_WORKSPACE_ID: Model Studio workspace ID
BAILIAN_INDEX_ID:  Model Studio knowledge base ID
BAILIAN_ALIBABA_CLOUD_ACCESS_KEY_ID: Alibaba Cloud AccessKey
BAILIAN_ALIBABA_CLOUD_ACCESS_KEY_SECRET: Alibaba Cloud AccessKey Secret
BAILIAN_REGION_ID:  The region of the Model Studio workspace
You can read these values from the environment variables in your code to connect to the knowledge base. The following code provides a Python example:
import os
bailian_workspace_id = os.getenv("BAILIAN_WORKSPACE_ID")
bailian_region_id = os.getenv("BAILIAN_REGION_ID")
Memory library
You must activate Model Studio before you can use this feature.
Create a memory library connection
-
Go to Agent Deployment > Memory and click Create Memory Connection. In the dialog box that appears, click Next.
-
On the page that appears, specify the Memory Library ID and Memory Rule ID, and then click Create. If you leave these fields empty, a connection is created with the default memory library.
Environment variables
Creating a memory connection sets the following environment variables on your machine:
BAILIAN_MEMORY_LIBRARY_ID: The ID of the Model Studio memory library. If this is not configured, the default memory library is used. If configured, read and write operations are performed on the specified memory library.
BAILIAN_MEMORY_PROJECT_ID: The ID of the Model Studio memory rule. If this is not configured, the memory rules bound in the console are not enabled. If configured, memory is stored and retrieved based on the rules of this project.
You can read these values from the environment variables in your code to connect to the memory library. The following code provides a Python example:
import os
bailian_library_id = os.getenv("BAILIAN_MEMORY_LIBRARY_ID")
bailian_project_id = os.getenv("BAILIAN_MEMORY_PROJECT_ID")
MCP
Agent deployment uses Model Studio MCP. You must enable the MCP service in Model Studio before you can use it. The MCPs in the Agent Marketplace are exclusive to specific Agents and cannot be modified or deleted. You can change the MCP only for custom Agents.
MCP during Agent creation
-
On the creation page, go to the Tool Configuration section, turn on the Enable MCP switch, and select the desired MCP. If the MCP is not enabled, the page prompts you to enable it.
-
After you enable the service and confirm that the switch is on, proceed with creating the Agent as usual.
MCP for existing Agents
-
Go to Application > Agent Management > MCP and click Change MCP Configuration.
-
The change page is similar to the creation page. Select the desired MCP and click Change Configuration.
JSON file
The MCP configuration is ultimately stored as a JSON file in a specified path. The format of the JSON file is as follows:
{
  "mcpServers": {
    "market-cmapi011033": {
      "type": "streamableHttp",
      "baseUrl": "https://dashscope.aliyuncs.com/api/v1/mcps/market-cmapi011033/mcp",
      "headers": {
        "Authorization": "Bearer ${DASHSCOPE_API_KEY}"
      }
    },
    "amap-maps": {
      "type": "sse",
      "baseUrl": "https://dashscope.aliyuncs.com/api/v1/mcps/amap-maps/sse",
      "headers": {
        "Authorization": "Bearer ${DASHSCOPE_API_KEY}"
      }
    }
  }
}-
ECS deployment: If you deploy the Agent on an ECS instance, the content of this JSON file overwrites the file in the specified directory.
-
Cluster deployment: If you deploy the Agent in a cluster, the content of this JSON file is stored as an environment variable in the
app-configconfiguration item. The key isMCP_JSONand the value is the content of the JSON file.