This topic describes how to create a Pod that runs the Android operating system in an ACK cluster to support use cases such as mobile app testing and cloud phones.
Usage notes
Submit a ticket to be added to the allowlist to use privileged containers.
GPU compute and ARM architectures are not supported.
Create an Android Pod
When you create an Android Pod, you must configure the workload with the annotation (annotations) agent.alibabacloud.com/support-android: "true" to enable Android support:
The example in this topic uses an Android image provided by the open-source project redroid. For more information, see redroid-doc.
Console
-
Log on to the ACS console. In the left navigation pane, click Clusters.
-
On the Clusters page, click the name of the target cluster. In the left navigation pane, choose Workloads > Deployments.
On the Deployments page, click Create Resources in YAML. Copy the following YAML content into the editor and then click Create.
apiVersion: apps/v1
kind: Deployment
metadata:
  name: android-example-deployment
spec:
  replicas: 1
  selector:
    matchLabels:
      app: android-pod
  template:
    metadata:
      labels:
        app: android-pod
      annotations:
        # Key annotation: Enables Android support
        agent.alibabacloud.com/support-android: "true"
    spec:
      containers:
      - name: android
        image: registry-cn-hangzhou.ack.aliyuncs.com/acs/redroid:12.0.0_64only-latest
        args:
        - androidboot.use_memfd=true
        - androidboot.redroid_net_ndns=2
        - androidboot.redroid_net_dns1=100.100.2.136
        - androidboot.redroid_net_dns2=100.100.2.138
        ports:
        - containerPort: 5555
          protocol: TCP
        securityContext:
          # Privileged mode is required to run Android containers
          privileged: true
        resources:
          requests:
            cpu: "4"
            memory: "8Gi"
        startupProbe:
          initialDelaySeconds: 10
          exec:
            command:
            - /system/bin/sh
            - -c
            - "[[ 1 = $(/system/bin/getprop sys.boot_completed) ]]"
After the Deployment is created, click View Details in the dialog box that appears and verify that the status of the Pod is Running.
kubectl
Create the
android-example-deployment.yamlfile with the following content.apiVersion: apps/v1 kind: Deployment metadata: name: android-example-deployment spec: replicas: 1 selector: matchLabels: app: android-pod template: metadata: labels: app: android-pod annotations: # Key annotation: Enables Android support agent.alibabacloud.com/support-android: "true" spec: containers: - name: android image: registry-cn-hangzhou.ack.aliyuncs.com/acs/redroid:12.0.0_64only-latest args: - androidboot.use_memfd=true - androidboot.redroid_net_ndns=2 - androidboot.redroid_net_dns1=100.100.2.136 - androidboot.redroid_net_dns2=100.100.2.138 ports: - containerPort: 5555 protocol: TCP securityContext: # Privileged mode is required to run Android containers privileged: true resources: requests: cpu: "4" memory: "8Gi" startupProbe: initialDelaySeconds: 10 exec: command: - /system/bin/sh - -c - "[[ 1 = $(/system/bin/getprop sys.boot_completed) ]]"Run the following command to create the application.
kubectl apply -f android-example-deployment.yamlRun the following command to verify that the Pod status is
Running.kubectl get pods -l app=android-podExpected output:
NAME                                          READY   STATUS    RESTARTS   AGE
android-example-deployment-5fc67c7f9d-g9m5v   1/1     Running   0          12m
Verify the Android Pod
You can use the open-source tool scrcpy to remotely connect to the Android device, display its screen, and simulate clicks and key presses.
Download the scrcpy tool. The following steps use macOS as an example.
Forward port 5555 of the deployment to your local machine.
kubectl port-forward deployment/android-example-deployment 5555:5555Expected output:
Forwarding from 127.0.0.1:5555 -> 5555
Forwarding from [::1]:5555 -> 5555
Unzip the
scrcpy-xx.tar.gzfile and navigate to its directory. Use the ADB tool to connect to the Android device../adb connect localhost:5555Expected output:
connected to localhost:5555Use the scrcpy tool to stream the Android GUI.
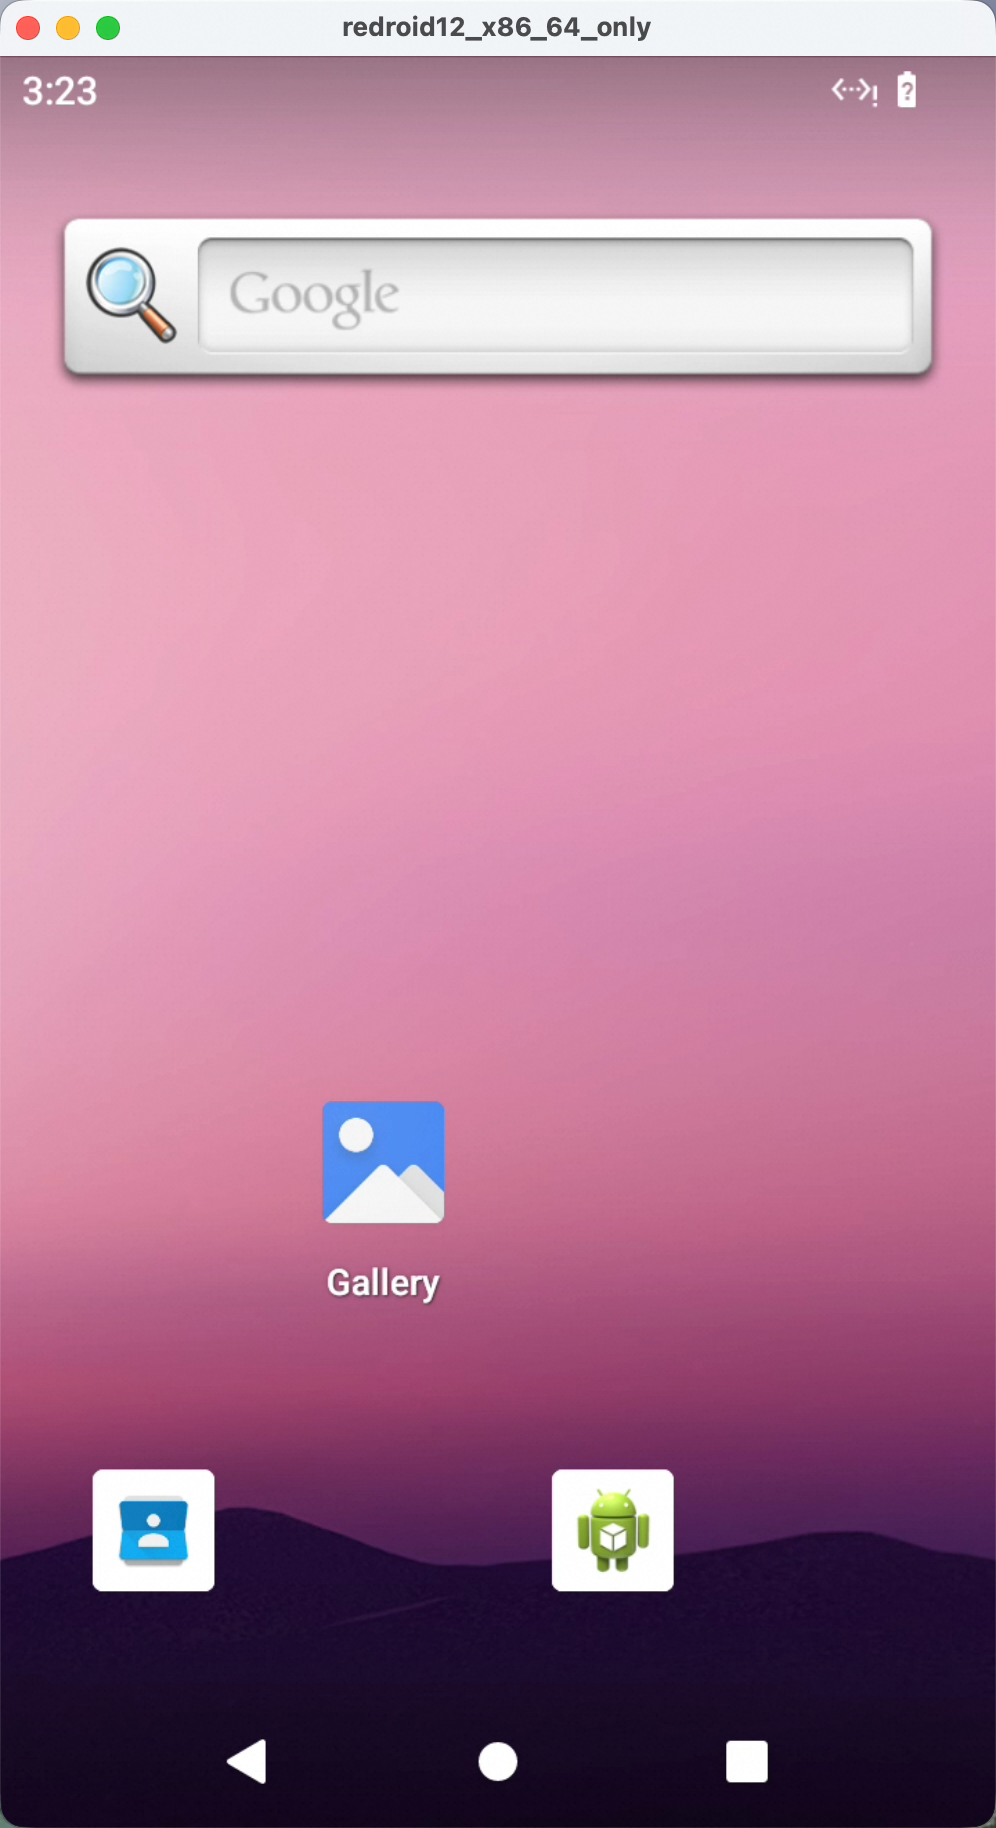
./scrcpy -s localhost:5555After scrcpy starts, a window opens and shows the Android home screen. You can click, swipe, and type in the window.