After registering the schedule cluster, you must configure connections, such as installing and deploying applications within the specified cluster, to ensure its operational readiness. This topic outlines the steps for configuring cluster connections.
Prerequisites
The schedule cluster registration is complete. For instructions on how to register a schedule cluster, see Register schedule cluster.
Procedure
Step 1: Machine labeling
Log on to the target cluster and label the machines designated for Dataphin task scheduling with the following command. Tasks using this cluster's resource group will run on these labeled machines.
--Please replace the node name information in the command to point to the corresponding cluster machine.
kubectl label node ${node-name} node-role.kubernetes.io/dataphin-schedule-pool=dataphin-schedule-pool
kubectl taint node ${node-name} dedicated=dataphin-schedule-pool:NoSchedule
Step 2: Configure the execution environment of the registered cluster
1. Install and configure the kubectl client within the cluster. For detailed instructions, see Install and Set Up kubectl.
2. Obtain the necessary credentials from the cluster management team and copy them to the $HOME/.kube/config file on your machine. This allows you to use the kubectl command to access the Kubernetes cluster remotely.
Step 3: Download the description file and complete application deployment
Navigate to the Dataphin home page, select Management Center > System Settings from the top menu bar.
In the left-side navigation pane, choose Tenant Settings > Resource Settings.
On the Resource Settings page, click the Schedule Cluster Management tab.
Navigate to the Schedule Cluster Management tab and click the
 icon in the operation column corresponding to the desired schedule cluster. This action will open the Cluster Connection Configuration Guide dialog box.
Download the application installation description file from the Cluster Connection Configuration Guide dialog box.
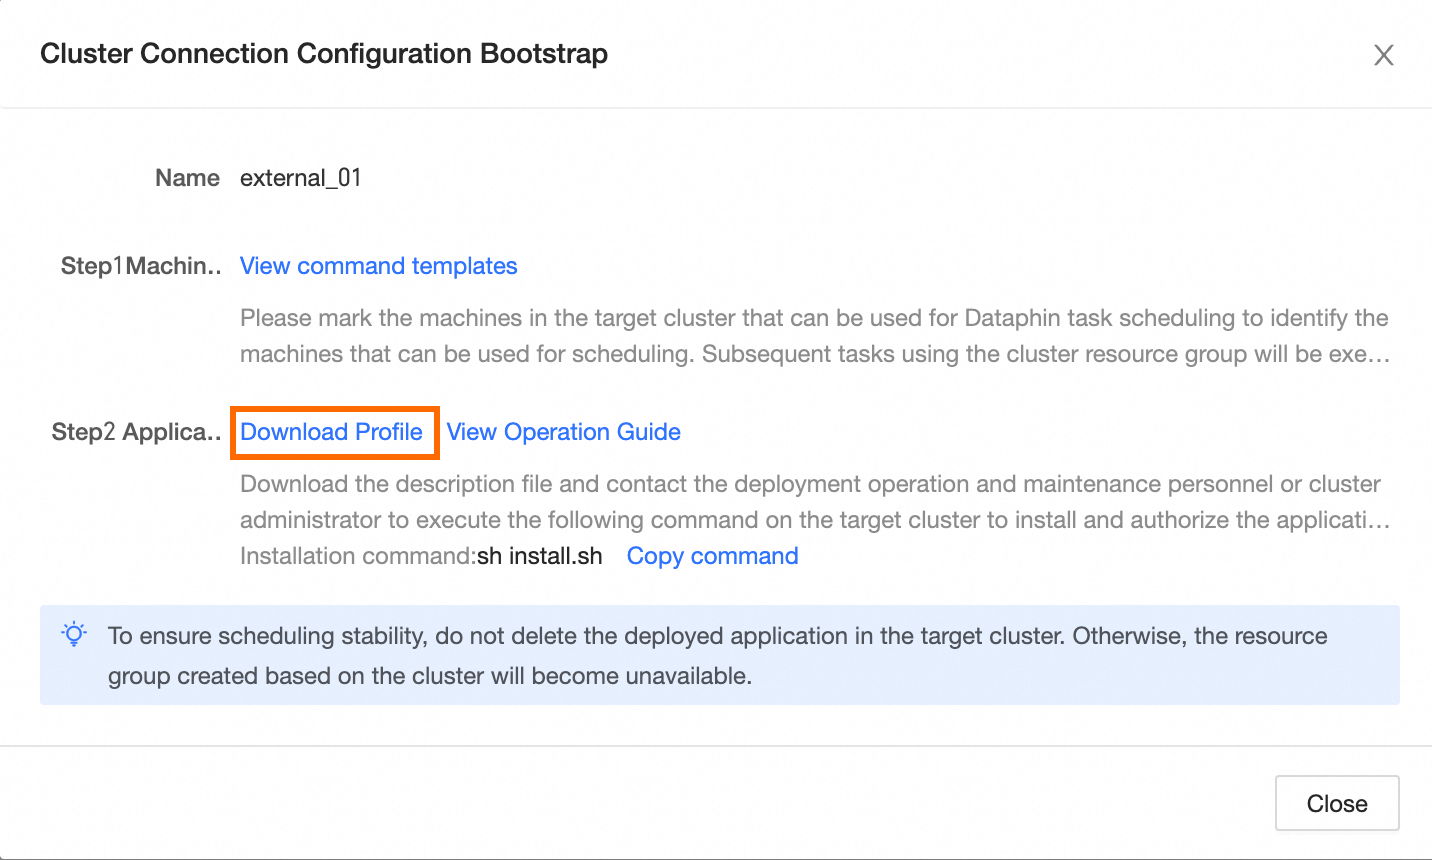
Step 4: Execute the installation command
Import the downloaded description file into the target cluster, extract its contents, and execute the installation command to finalize the application setup and authorization. The command is as follows:
ImportantPrior to running the installation command, coordinate with the Dataphin deployment and maintenance team to acquire the image file referenced by the custom resource group and import it into the designated machine within the target cluster.
Each cluster's description file is unique. Please match them accordingly.
If you lack cluster management permissions, seek assistance from the deployment and maintenance staff or the cluster administrator.
sh install.shUpon successful installation, the cluster becomes fully operational.
ImportantTo maintain scheduling stability, refrain from deleting any deployed applications within the target cluster, as this would render the associated resource groups inactive.
What to do next
Once the connection configuration is complete, Dataphin will gather resource information from machines in the target cluster that have the specified labels, as determined by the deployed application. This data represents the total scheduling resources available for allocation within Dataphin for the designated scheduling cluster. The tenant associated with the cluster can then establish custom resource groups based on this cluster's resources. For more information, see Overview of custom schedule resource groups.