The Databricks output component writes data to a Databricks data source. When you sync data from another data source to a Databricks data source, you must configure the target Databricks data source in the Databricks output component after you configure the source data. This topic describes how to configure the Databricks output component.
Prerequisites
You have created a Databricks data source. For more information, see Create a Databricks data source.
The account that you use to configure the Databricks output component must have sync write permission for the data source. If you do not have this permission, you must request it. For more information, see Request data source permissions.
Procedure
In the top menu bar of the Dataphin homepage, choose R&D > Data Integration.
On the Data Integration page, select a project from the top menu bar. In Dev-Prod mode, you must also select an environment.
In the left navigation pane, click Offline Integration. In the Offline Integration list, click the offline pipeline that you want to develop to open its configuration page.
In the upper-right corner of the page, click Component Library to open the Component Library panel.
In the navigation pane on the left of the Component Library panel, select Output. In the list of output components on the right, find the Databricks component and drag it to the canvas.
Click and drag the
 icon from an upstream input, transform, or flow component to connect it to the Databricks output component.
Click the
 icon on the Databricks output component to open the Databricks output configuration dialog box.
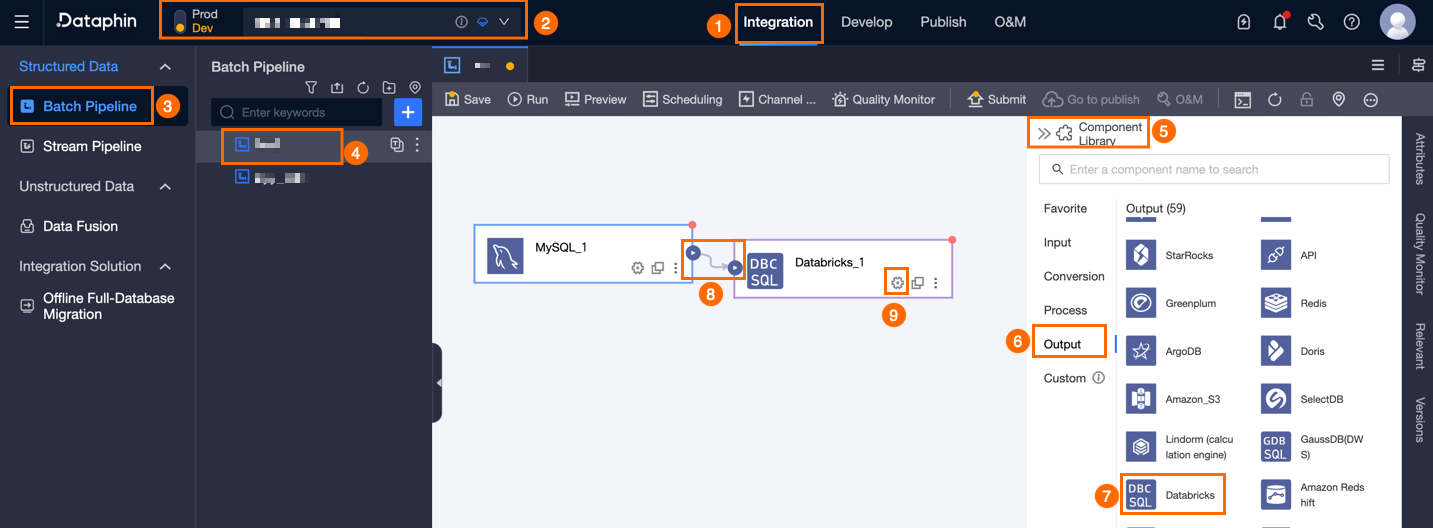
In the Databricks output configuration dialog box, configure the parameters.
Parameter
Description
Basic Information
Step Name
This is the name of the Databricks output component. Dataphin automatically generates a step name, but you can modify it based on your business scenario. Follow these naming rules:
Use only letters, digits, underscores (_), and Chinese characters.
The name must be no longer than 64 characters.
Datasource
The data source drop-down list shows all Databricks-type data sources, including those for which you have sync write permission and those for which you do not. Click the
 icon to copy the current data source name.
For data sources without sync write permission, click Request next to the data source to apply for sync write permission. For more information, see Request data source permissions.
If you do not have a Databricks-type data source, click Create Data Source to create one. For more information, see Create a Databricks data source.
Time Zone
Dataphin processes time-formatted data based on the current time zone. By default, this is the time zone configured for the selected data source, and you cannot change it.
NoteFor tasks created before version V5.1.2, you can choose either Data Source Default Configuration or Channel Configuration Time Zone. The default selection is Channel Configuration Time Zone.
Data Source Default Configuration: The default time zone of the selected data source.
Channel Configuration Time Zone: The time zone configured under Properties > Channel Configuration for the current integration task.
Schema (optional)
Select the schema where the table resides to enable cross-schema table selection. If you do not specify a schema, Dataphin uses the schema configured in the data source.
If the data source is a project, you cannot configure the schema. The system automatically retrieves the schema corresponding to the project.
Table
Select the destination table for output data. Enter a keyword to search for tables, or enter the exact table name and click Exact Search. After selecting a table, the system automatically checks its status. Click the
 icon to copy the name of the selected table.
If the target table for data synchronization does not exist in the Databricks data source, use the one-click table creation feature to quickly generate it. Follow these steps:
Click One-Click Table Creation. Dataphin automatically generates the SQL code to create the target table, including the table name (defaulting to the source table name) and field types (preliminarily converted based on Dataphin fields).
Modify the SQL script as needed for your business scenario, then click Create. After successful creation, Dataphin automatically sets the new table as the output destination.
NoteIf a table with the same name already exists in the development environment, Dataphin returns an error when you click Create.
Production Table Missing Policy
Choose how to handle cases where the production table does not exist. Options are Do Nothing or Automatic Creation. The default is Automatic Creation. If you select Do Nothing, the system skips table creation during task publishing. If you select Automatic Creation, the system creates a table with the same name in the target environment during publishing.
Do Nothing: If the target table does not exist, the system displays a warning during submission but still allows publishing. You must manually create the target table in the production environment before running the task.
Automatic Creation: You must Edit Table Creation Statement. The system pre-fills the statement based on the selected table, and you can adjust it. Use the placeholder
${table_name}for the table name. Only this placeholder is allowed. The system replaces it with the actual table name during execution.If the target table does not exist, the system attempts to create it using the provided statement. If table creation fails, publishing fails. You can then fix the statement and republish. If the table already exists, the system skips creation.
NoteThis option is available only for projects in Dev-Prod mode.
Partition (optional)
Enter partition information, such as ds=20190101. You can use parameters like ds=${bizdate}. If you configure a partition, the system uses static partitioning. If you leave this blank, you must map fields for dynamic partitioning.
NoteYou can configure partition information only if the selected table is a partitioned table.
Loading Policy
Choose how to write data to the target table.
Append Data: Append data directly to the target table or partition.
Overwrite Data: Replace historical data in the target table with data from the source table.
Update Data: Update records by primary key. If no match is found, append the record.
Batch Write Data Volume (optional)
The amount of data written in a single batch. You can also set Batch Write Record Count. The system writes data as soon as either limit is reached. The default is 32 MB.
Batch Write Record Count (optional)
The default is 2,048 records. During data synchronization, the system uses batch writing based on two parameters: Batch Write Record Count and Batch Write Data Volume.
When the accumulated data reaches either limit (record count or data volume), the system considers the batch full and immediately writes it to the target.
We recommend setting the batch write data volume to 32 MB. Adjust the batch record count based on the average record size to maximize batch efficiency. For example, if each record is about 1 KB, set the batch data volume to 16 MB and the record count to more than 16,384 (16 MB ÷ 1 KB). Setting it to 20,000 records ensures the system triggers writes based on data volume—writing whenever 16 MB accumulates.
Preparation Statement (optional)
An SQL script executed on the database before data import.
For example, to maintain service availability, you might create a temporary table Target_A before writing data, write to Target_A, then rename the live table Service_B to Temp_C, rename Target_A to Service_B, and finally delete Temp_C.
Completion Statement (optional)
An SQL script executed on the database after data import.
Field Mapping
Input Fields
Shows input fields based on the output of the upstream component.
Output Fields
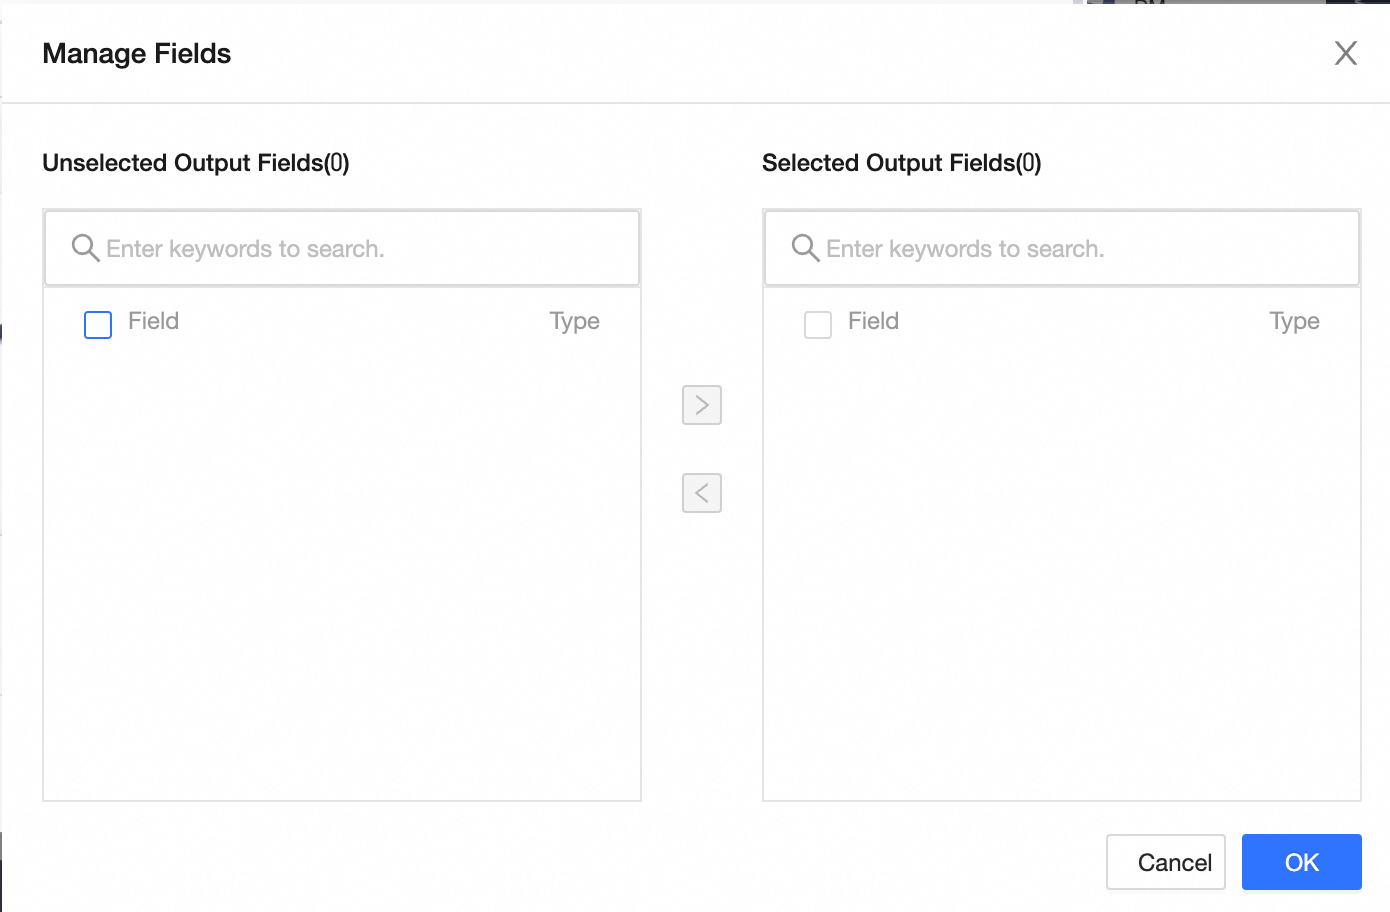
Shows output fields. Click Field Management to select output fields.

Click the
icon to move a selected input field to the unselected input fields list.Click the
icon to move an unselected input field to the selected input fields list.
Mapping
Manually map fields based on upstream input and target table fields. Mapping includes Row-Based Mapping and Name-Based Mapping.
Name-Based Mapping: Maps fields with identical names.
Row-Based Mapping: Maps fields that occupy the same row position when source and target field names differ.
Click Confirm to complete the configuration for the Databricks output component.