This guide walks you through connecting to the Blockchain as a Service (BaaS) platform and running a sample Java application that creates accounts, deploys a smart contract, issues credits, transfers credits between accounts, and queries account balances.
The sample application simulates a credit system. It uses the BaaS Java SDK to:
Create two blockchain accounts (
testAccount1andtestAccount2)Deploy an EVM smart contract
Issue 100 credits to
testAccount2Transfer 50 credits from
testAccount2totestAccount1Query
testAccount2's balance and verify it equals 50
The application connects to a BaaS node over SSL using four certificate files. You compile and run it locally using Maven and IntelliJ IDEA.
Prerequisites
Before you begin, ensure that you have:
A BaaS node deployed on the BaaS platform
The node's IP address and port number (available on the node details page)
IntelliJ IDEA installed
Maven installed
Java Development Kit (JDK) installed
Step 1: Prepare your environment
Get the SSL certificate files
To establish an SSL connection to the BaaS platform, generate and download the following four certificate files:
| File | Description | How to get it |
|---|---|---|
client.crt | Client certificate | Use the key generation tool to generate a certificate request file (client.csr), submit it to the BaaS platform, and download the .crt file after approval. |
client.key | Client private key | Use the key generation tool to generate the file. |
trustCa | TrustStore containing the CA certificate | Download from the BaaS platform. The password is mychain. |
user.key | Account private key | Use the key generation tool to generate the file. |
Get the node IP address and port number
On the BaaS platform, open the node details page and note the node's IP address and port number. The application uses these to connect to the blockchain.
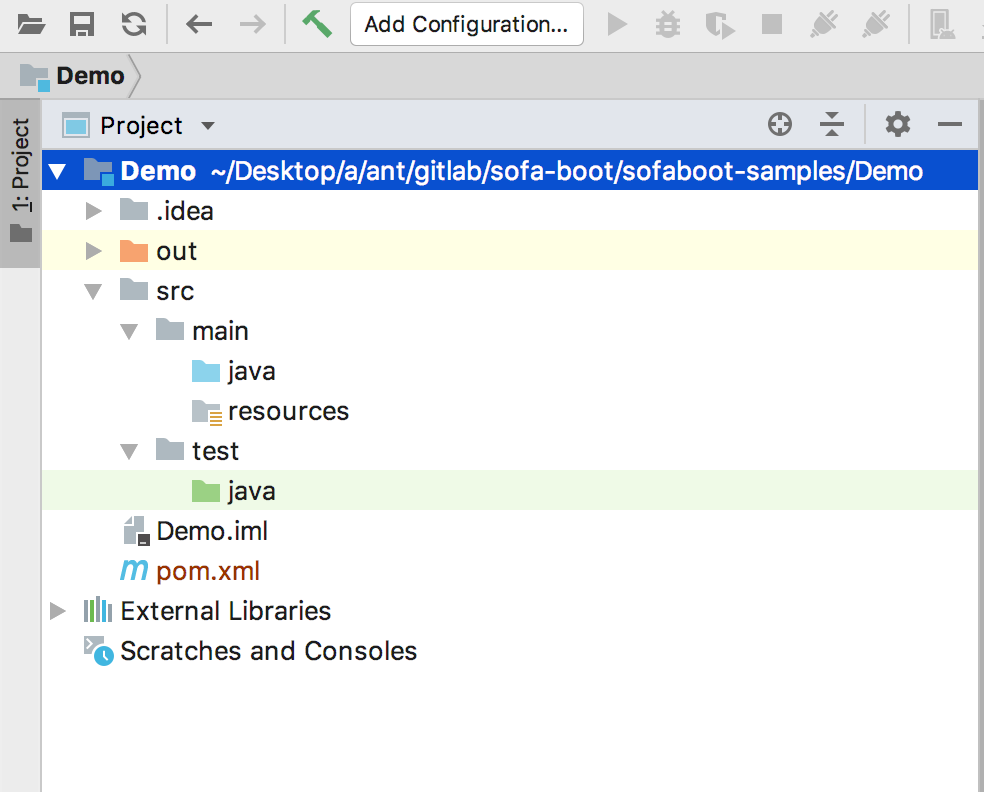
Step 2: Set up the project
In IntelliJ IDEA, create a Maven-based demo project. After the project is created, the directory structure looks like this:
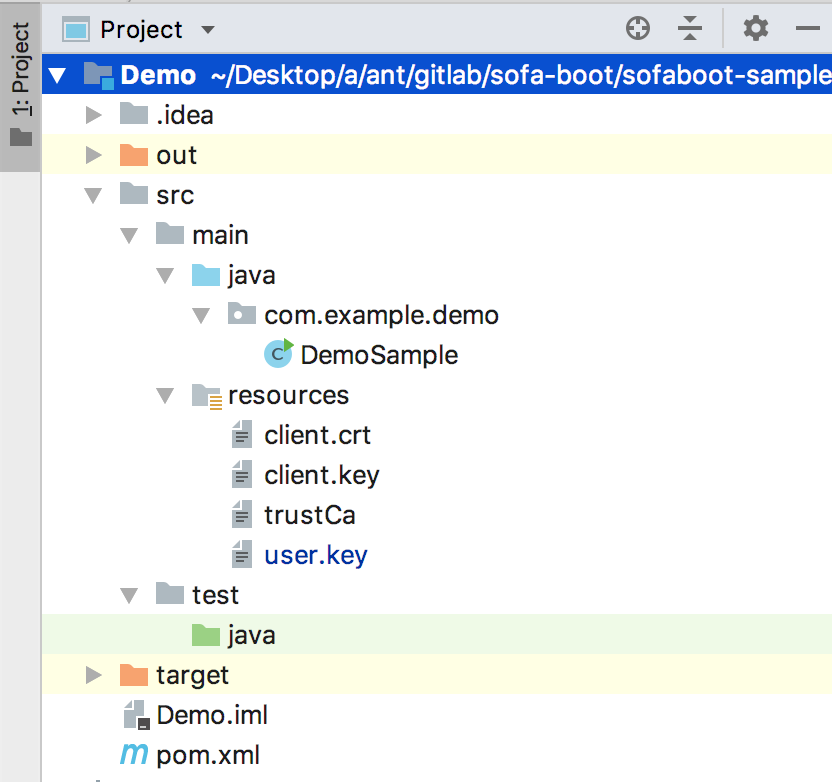
In the
javadirectory, create a package namedcom.example.demo. Copy the contents ofDemoSample.javainto this package, and place the four certificate files (client.crt,client.key,trustCa, anduser.key) in theresourcesdirectory. Download DemoSample.java.The demo project requires the EVM bytecode compiled from your Solidity contract source code. For details on writing Solidity contracts, see Solidity contract development. For the compilation tool, see Solidity contract compilation tool.
Add the BaaS SDK and logging dependencies to
pom.xml. Always use the latest SDK version.<dependencies> <dependency> <groupId>com.alipay.mychainx</groupId> <artifactId>mychainx-sdk</artifactId> <!-- Use the latest SDK version --> <version>0.10.2.6</version> </dependency> <dependency> <groupId>org.slf4j</groupId> <artifactId>slf4j-log4j12</artifactId> <version>1.8.0-alpha0</version> </dependency> </dependencies> <build> <extensions> <extension> <groupId>kr.motd.maven</groupId> <artifactId>os-maven-plugin</artifactId> <version>1.6.1</version> </extension> </extensions> </build>Add
log4j.propertiesto theresourcesdirectory with the following content:log4j.rootLogger=INFO, R # Console output log4j.appender.stdout=org.apache.log4j.ConsoleAppender log4j.appender.stdout.layout=org.apache.log4j.PatternLayout log4j.appender.stdout.layout.ConversionPattern=[QC] %p [%t] %C.%M(%L) | %m%n # File output log4j.appender.R=org.apache.log4j.DailyRollingFileAppender log4j.appender.R.File=./sdk.log log4j.appender.R.layout=org.apache.log4j.PatternLayout log4j.appender.R.layout.ConversionPattern=%d-[TS] %p %t %c - %m%n # Disable verbose SDK internal logs log4j.logger.MychainClient=OFFIf you use logback instead of log4j, add this to your logback configuration:
<logger name="MychainClient" level="OFF"/>
Step 3: Compile the project
In the project root directory, run:
mvn clean compileStep 4: Run the application
Run the project entry point DemoSample.java. Logs are written to ./sdk.log in the project root directory.
To verify the connection succeeded, check sdk.log for the "Hand shake success" message.
When all operations complete successfully, the console output is:
create testAccount1 success.
create testAccount2 success.
deploy contract success.
issue success.
transfer success.
check account balance success.
Troubleshooting
Transaction fails
Check the errorCode field in MychainBaseResult to identify the failure reason.
For transaction failures, use the transaction receipt to get details. For example, after deploying a contract:
MychainBaseResult<ReplyTransactionReceipt> result = sdk.getContractService()
    .deployContract(
        DeployContractRequest.build(adminAccount.getIdentity(),
            Utils.getIdentityByName(testContractId, env), contractCode, VMTypeEnum.EVM,
            contractParameters, BigInteger.ZERO, params));
assertTrue(result.isSuccess());
assertEquals(0, result.getData().getTransactionReceipt().getResult());
result.getData().getTransactionReceipt().getResult() == 0— the transaction executed successfully. For any other value, look up the error inMychainErrorCodeEnum.result.isSuccess()— indicates whether the transaction was sent. Iffalse, callresult.getErrorCode()to get the error code.
Example execution flow
The following shows the complete execution sequence in DemoSample.java:
Initialize the environment
// Step 1: Initialize logger
initLogger();

// Step 2: Initialize the BaaS environment
env = initMychainEnv();
Create a transaction
// Step 4: Initialize account objects
initAccount();

// Step 5: Initialize private key list for signing transactions
initPrivateKeyList();

// Step 6: Create testAccount1 and testAccount2 on-chain
createAccount();
Deploy a smart contract
// Step 7: Deploy the EVM contract using testAccount1
deployContract();
Purchase points
// Step 8: Issue 100 credits to testAccount2
issue();
Conduct an account transfer
// Step 9: Transfer 50 credits from testAccount2 to testAccount1
transfer();
Query and verify the balance
// Step 10: Query testAccount2's balance (expected: 50)
BigInteger balance = query(test2PrivateKeyArrayList, testAccount2);

// Step 11: Assert the balance equals 50
expect(balance, BigInteger.valueOf(50));
Disconnect the SDK
// Step 12: Shut down the SDK connection
sdk.shutDown();
What's next
Learn how to write and compile Solidity contracts: Solidity contract development
Explore the SDK API reference for available operations
View transaction details on the BaaS platform