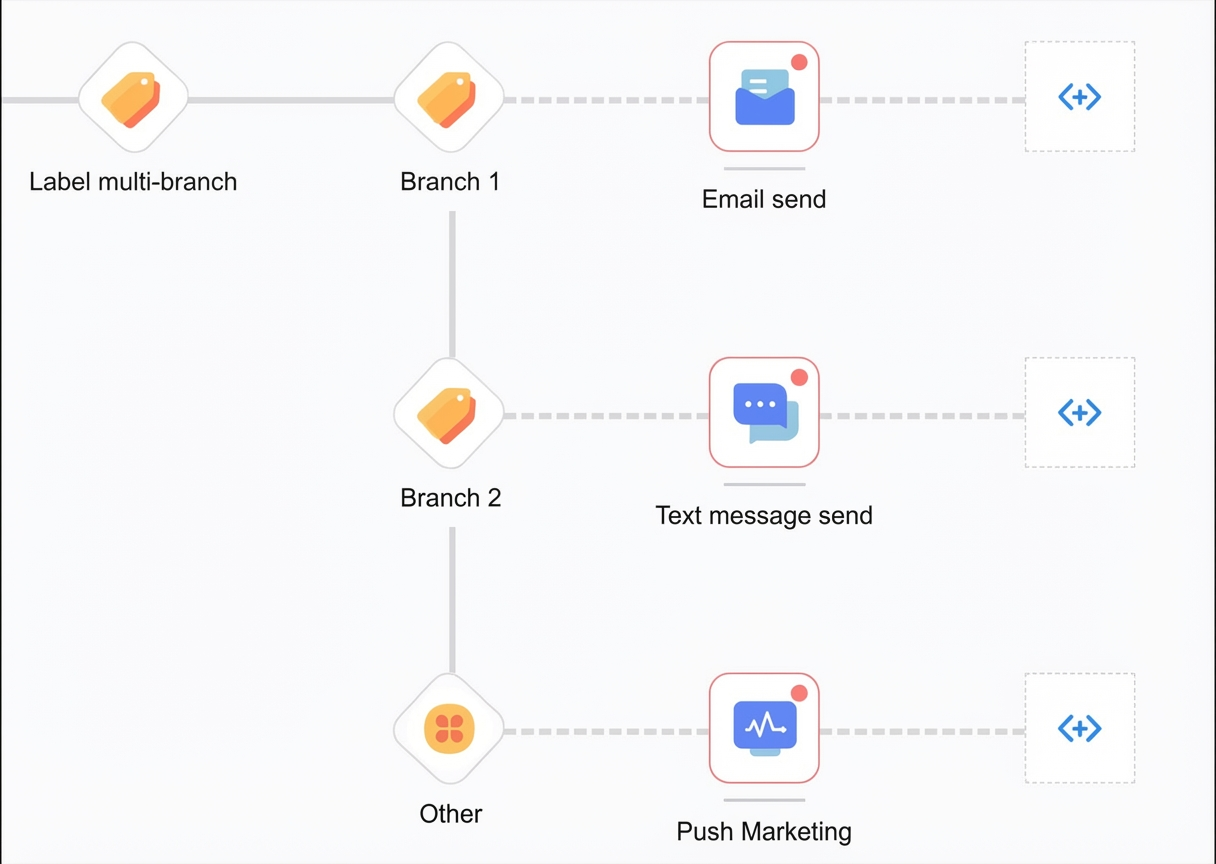
Conditional control: Tag multi-branch component
Use the tag multi-branch component to filter audiences based on tags and run different operations for each filtered group. For example, you can send emails to users whose city of residence is A, text messages to users in city B, and push notifications to all other users.
Tag source:
For automated tasks triggered by a specific audience, tags are sourced from the dataset associated with that audience. You cannot configure the tag multi-branch component if the audience is not based on a tag dataset.
For automated tasks triggered by a behavioral event, you can use event properties to set filter conditions. Event properties are the equivalent of tags in audience-triggered tasks. For example, you can filter for users who made a single purchase of 1000 or more in a miniapp.
Configuration steps:
Drag the tag multi-branch component onto the canvas to add it as a node to the flow.
Click the tag multi-branch node. Configure the node in the panel that appears on the right.
For automated tasks triggered by a specific audience, enter a name for the branch and set its tag filtering conditions. For more information, see Tag Filtering.
For automated tasks triggered by a behavioral event, enter a branch name, select an event property, and set the filter requirements for the property. Click Add Property to add another requirement. You can use AND or OR logic to combine multiple property requirements.
Click Add Branch to add a tag branch.
Click the
 icon next to the branch name to delete the branch.
Click OK. The tag branches are added to the canvas. Audience members who do not meet the conditions for any of the configured branches enter the Other branch.