Content Tags
This feature is available only to paid customers and is no longer offered to new customers.
Content tags classify your materials. An effective classification system helps you manage materials and edit content more efficiently.
In the navigation bar at the top of the page, click Official Account. In the navigation pane on the left, select Content Tags. The Content Tags page appears, as shown in the following figure:
This page shows basic information about your content tags, including existing tag groups and the names of the tags within them.
On this page, you can add tag groups. You can also add, transfer, and delete individual tags.
Set content tags and groups
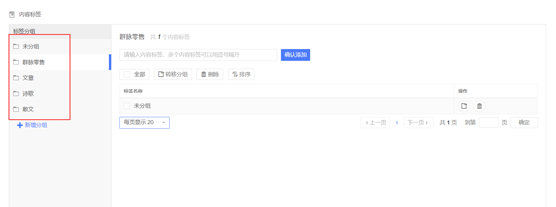
On the Official Account > Content Tags page, click New Group below the list of tag groups on the left to create a new tag group, as shown in the following figure:
Created group folders are displayed under the Tag Groups section, as shown in the following figure:
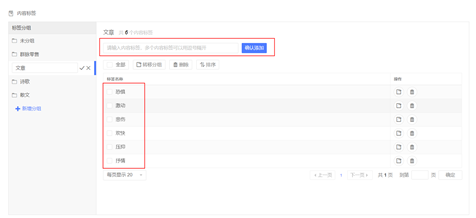
Create tags within a group, as shown in the following figure:
On the Official Account > Content Tags page, select a tag group. In the text box on the right, enter a name for the new tag.
To create multiple tags at once, separate the names with commas.
You can also transfer tags to other groups or delete them.
To transfer tags: On the Official Account > Content Tags page, click Transfer in the operation column for a single tag to move it to another group. To transfer multiple tags at once, select the checkboxes for the tags and click Transfer Group.
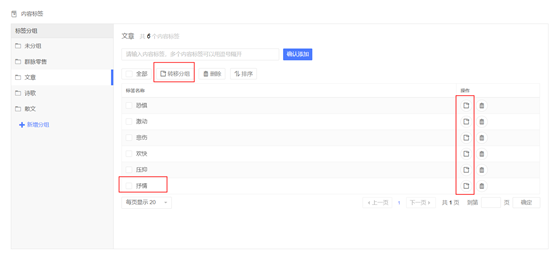
To delete tags: On the Official Account > Content Tags page, click Delete in the operation column for a single tag. To delete multiple tags at once, select the checkboxes for the tags and click Delete.
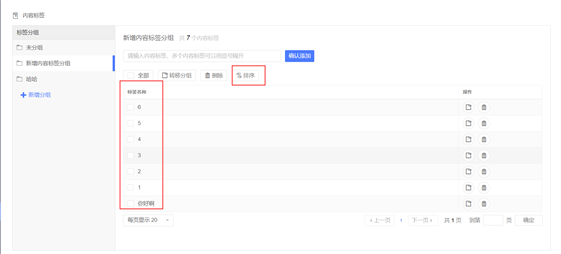
Sort content tags: On the Official Account > Content Tags page, you can sort tags that have numeric names. Click the sort button. Tags with larger numbers are displayed first, as shown in the following figure:
Add tags to materials
On the Official Account > Material Management page, select a material and click Add Tag.
After you select the tags, click a blank area on the page. The tags are added to the material, as shown in the following figure: