Prerequisites
Version requirements
GoLand 2021.2 or later is installed.
The mosn-intellij for GoLand (mosn mecha) plugin 1.0.4 or later is installed.
NoteFor legacy projects created with a version of the mecha plugin for GoLand earlier than 1.0.4, you must manually trigger a project upgrade after you install the new mosn-intellij version.
Seamless project upgrade
For projects created with a version of mosn-intellij earlier than 1.0.4, you can use the one-click refresh to upgrade to the latest scaffold feature set. This action includes the following updates:
You can pull the makefile.
Updates the MOSN compile and startup scripts.
Creates plugin version information.
Creates the project properties file
application.properties.Automatically upgrades Go mod to version 1.18.
You can upgrade as follows:
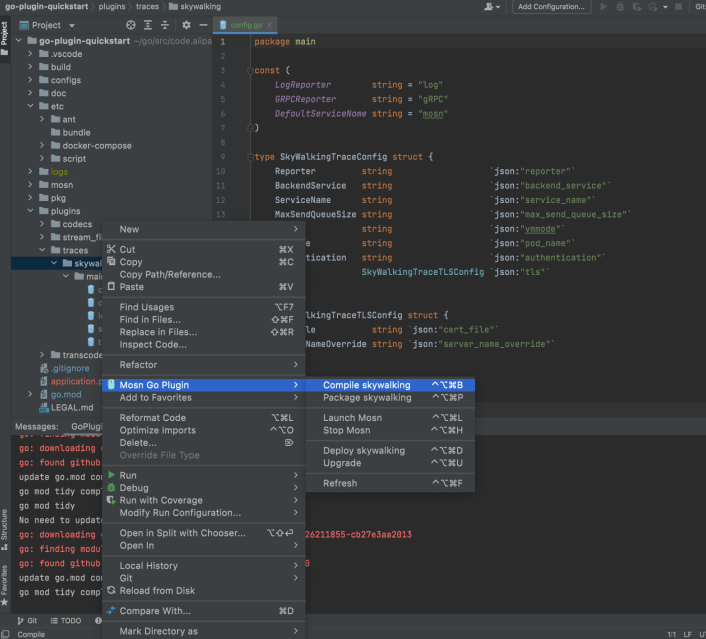
Right-click any folder in the project.
From the menu, select Mosn Go Plugin > Refresh.
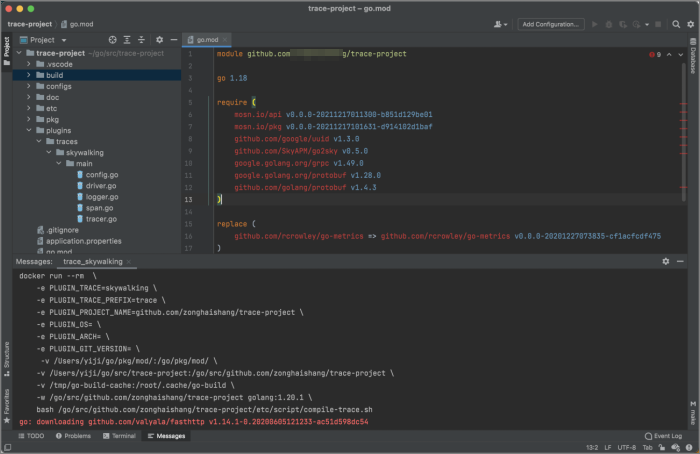
The project structure is then automatically refreshed. The following figure shows an example.
Step 1: Create a SkyWalking plugin
You can create a SkyWalking plugin in one of the following two ways:
Before you start, enable Go modules in GoLand. Go to the GoLand menu, select Settings > Go > Go Modules, and then select Enable Go modules integration.
Create a SkyWalking plugin by creating a new project
The following example shows how to specify a Trace plugin type:
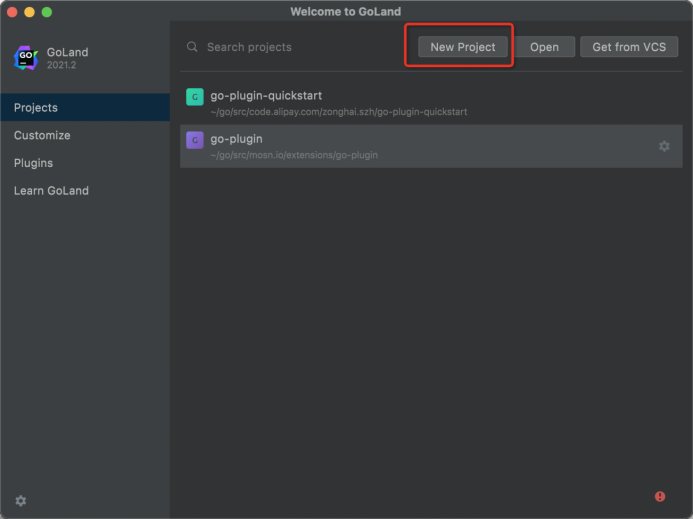
On the GoLand Projects home page, click New Project.
Select Mosn Plugin. Specify the plugin name and project location. Set Plugin Type to Trace.
Click Create.
The completed project is shown as follows:
Add a SkyWalking plugin to an existing project
The following steps use go-plugin-quickstart as an example:
Right-click any node in the project, and then select New > Mosn Plugin.
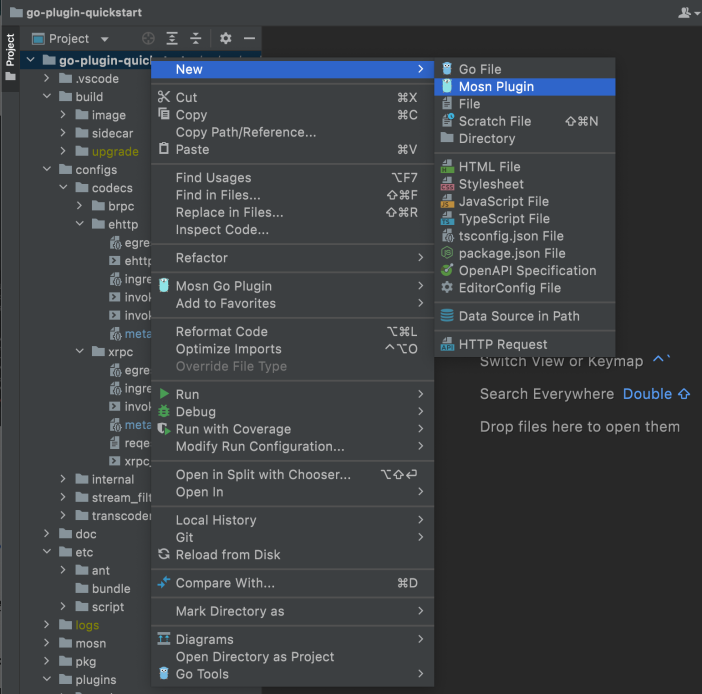
Specify the plugin name and set Plugin Type to Trace.

Click OK.
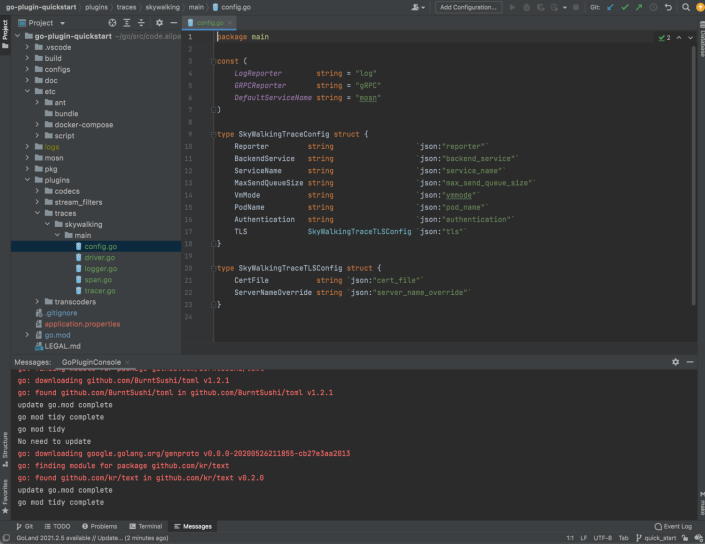
The following shows the completed project:
The automatically generated observability code usually runs without any changes. For more information, see the following documents:
For the SkyWalking header tracing specification, see SkyWalking Cross Process Propagation Headers Protocol.
For information about generating a test trace in SkyWalking, see go2sky.
If needed, you can modify the code in the
plugins/tracesmodule in the project's root directory. For example, to add a tag for reporting, you can append the key-value pair toParseVariableinspan.go.user@user-m1 traces % tree . └── skywalking └── main ├── config.go ├── driver.go ├── logger.go ├── span.go └── tracer.go 2 directories, 5 filesThe
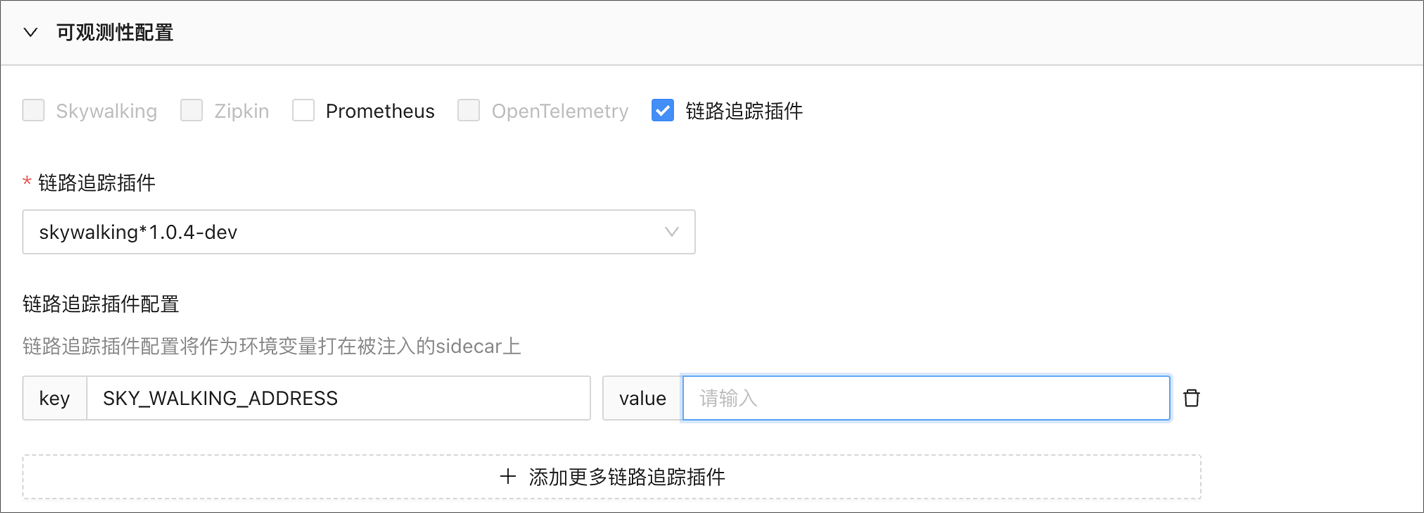
etc/ant/env_conffile in the project contains the required environment configuration. When you start the service locally, the service automatically connects to theSKY_WALKING_ADDRESSspecified in the local file.By default, when a local container starts, the address is automatically replaced with the pod's IP address. You do not need to change the value of
SKY_WALKING_ADDRESS.When you deploy to a test or production environment, you must configure the observability address as an environment variable in the injection rules to associate the observability plugin.

If the
MOSN_GENERATOR_SAPN_ENABLEDenvironment variable is set totrue, MOSN generates a trace ID for the first node.
Step 2: Compile the plugin
After you create the observability plugin in the GoLand IDE, MOSN mecha automatically generates the observability code. It also creates a local Docker Compose file for the observability container in the etc/docker-compose directory of the project's root. This file is used to start the SkyWalking components and allows for simple local development.
You can compile in GoLand using the UI or keyboard shortcuts. Plugin development is not currently supported on Windows. To compile a single plugin, you can use a keyboard shortcut. Use  on macOS or Alt+Ctrl+Win+B on Linux. You can also right-click a single folder within the `configs` or `plugins` node and select the corresponding option from the context menu.
After the compilation is complete, the build/codecs/bundle/support folder contains the binary plugin:
user@uesr-m1 support % tree
.
└── traces
    └── skywalking
        ├── config.json
        ├── metadata.json
        ├── trace-skywalking-a5e036f9.so
        └── trace-skywalking.md5

2 directories, 4 files
Step 3: Run the plugin
Start the functional modules in the following order:
Start the SkyWalking container service.
The
etcfolder contains the Docker container image for the plugin:user@user-4 docker-compose % tree . └── traces └── skywalking └── docker-compose.yaml 2 directories, 1 fileIn the
traces/skywalkingfolder, run the following command to start the SkyWalking server:docker compose up -dStart the Sidecar.
Start the xRPC server and the xRPC client.
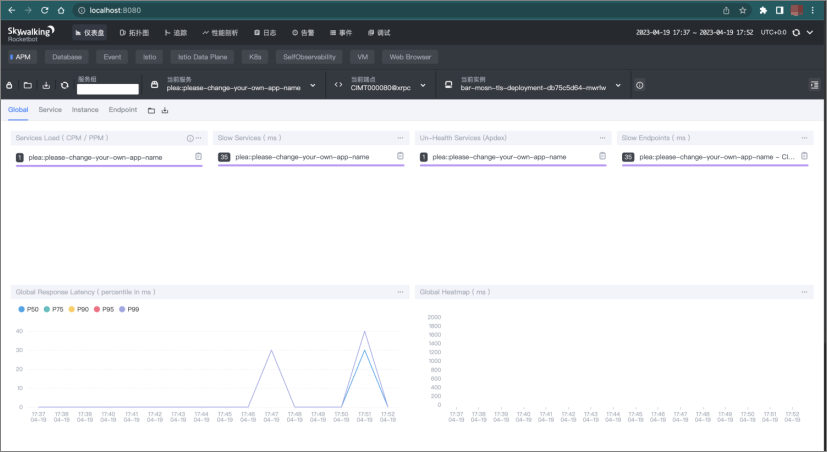
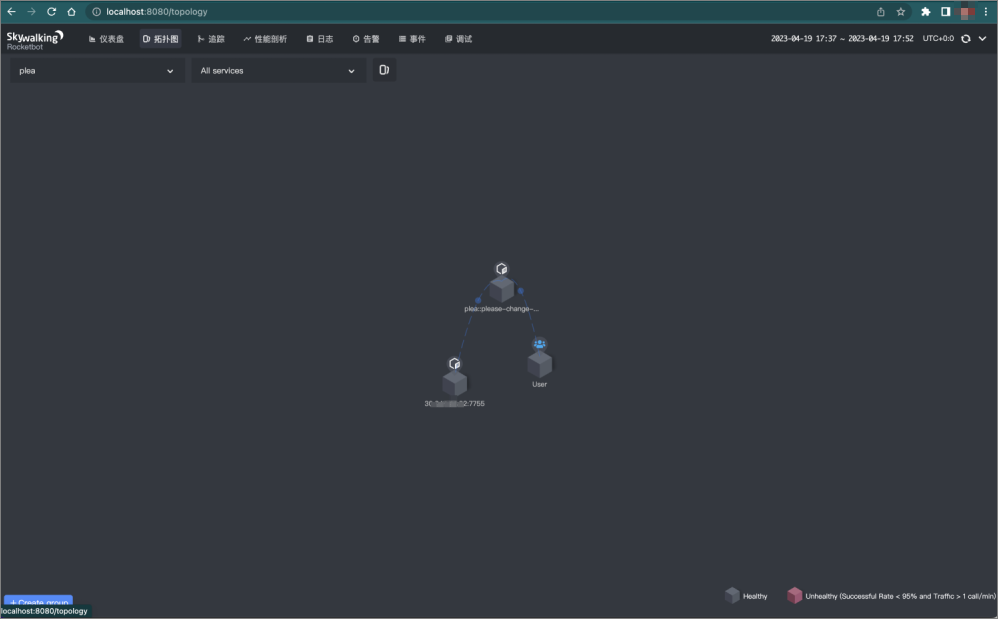
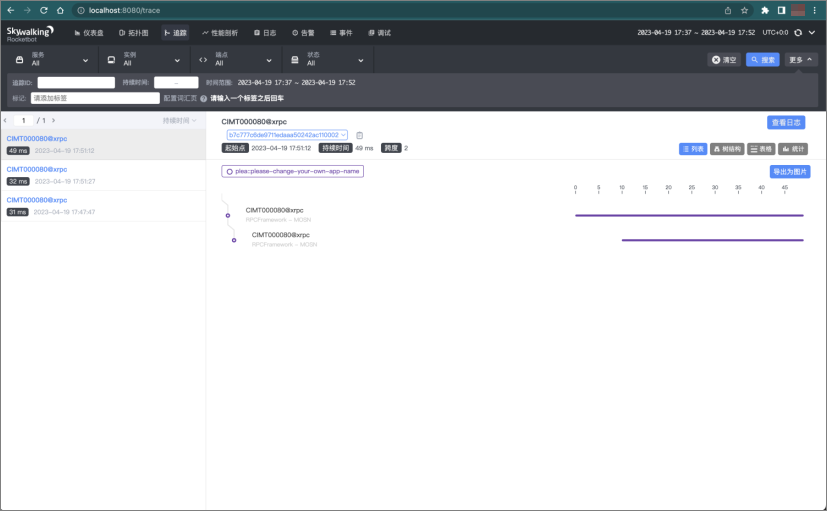
To start the Sidecar and xRPC services, see the xRPC section of the protocol extension guide. After you make a call, you can view the observable data.
The new version of mosn-intellij automatically triggers service publishing and subscription.
To support link tracing, the original protocol must pass the SkyWalking trace information. Otherwise, the link cannot be traced.
The xRPC client request does not carry trace information by default. Add the SkyWalking trace information to the header in
configs/codecs/xrpc/request_template.txtso that MOSN can parse and read it.