Configuring a data source is a prerequisite for creating a data migration or data synchronization task. This topic describes how to create a MySQL data source in Data Transmission Service.
Security risks
When you use OceanBase Data Transmission Service, you can add the public IP address CIDR blocks of the service automatically or manually. However, this may introduce security risks. Using this product, you acknowledge and accept the potential security risks. You must also implement basic security protection measures. These measures include using complex account passwords, restricting open ports for each CIDR block, using authentication for internal API communication, and regularly reviewing and restricting access from unnecessary IP address CIDR blocks.
OceanBase Data Transmission Service adjusts (adds or deletes) automatically added whitelists or security groups based on factors such as business needs and security risks. Do not use the IP address segments in these whitelists or security groups for purposes other than OceanBase Data Transmission Service. Any issues that arise from such use are not covered by the OceanBase Data Transmission Service SLA. For more information about adding whitelists or security groups, see the Add Whitelist documentation.
Procedure
Log on to the OceanBase Management Console .
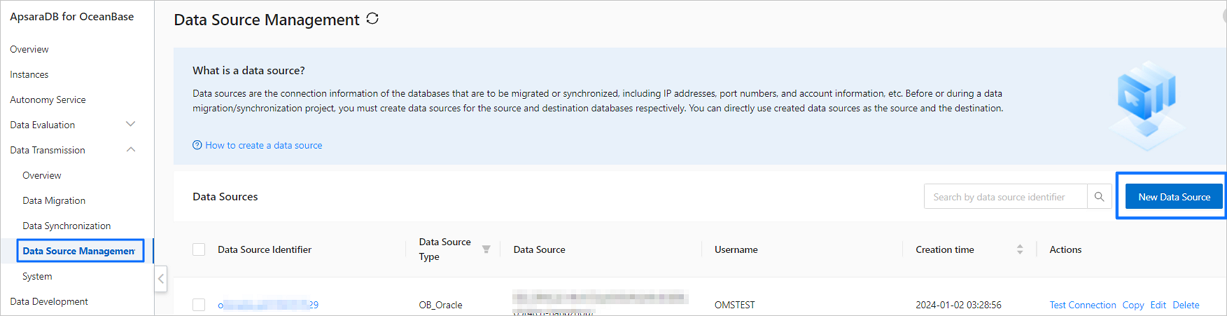
In the navigation pane on the left, click Data Transmission > Data Source Management.
On the Data Source List page, click Create Data Source in the upper-right corner.
In the Create Data Source dialog box, set Data Source Type to MySQL.
Configure the parameters. When you select a different Instance Type from the Instance Type drop-down list, the corresponding form automatically appears below.
Instance type
Parameter
Description
RDS instance
RDS instance ID
Select the ID of the target RDS instance from the drop-down list.
PolarDB instance
PolarDB instance ID
Select the ID of the target PolarDB instance from the drop-down list.
Self-managed database in a VPC
VPC
From the VPC drop-down list, select the target VPC. You can also perform a fuzzy search.
Host IP
The IP address of the database host.
Port
The port number of the database host.
Self-managed database with a public IP address
Host IP
The IP address of the database host.
Port
The port number of the database host.
Common parameters
Data source name
Enter a name for the data source. The name can contain letters and digits, cannot contain spaces, and must be 32 characters or less.
Cross-Alibaba Cloud account
Data Transmission Service supports configuring data migration or data synchronization tasks for instances under different Alibaba Cloud accounts. This enables cross-account data migration or data synchronization.
You can select this option based on your business needs. If you select this option, enter the ID of the target Alibaba Cloud account. If you do not have permissions for the specified account, request authorization first. For more information, see Requesting cross-account authorization.
ImportantIf you select Public IP Self-managed Database as the instance type, this parameter will not be displayed.
Username
The username of the MySQL database account for data migration or data synchronization.
Create a separate database user for the migration or synchronization task.
Password
The password for the database user.
Remarks
Remarks about the data source.
Enable SSL
In the Create Data Source dialog box, click Expand next to Advanced Options, and decide whether to enable SSL as needed.
ImportantIf you select Enable SSL, enable SSL encryption for the database instance beforehand.
Click Test Connection to verify the network connectivity between Data Transmission Service and the data source, and validate the username and password.
After the connection test is successful, click OK.