Preview and edit pages
Preview and browse the pages of your website in the workspace, use the Edit switch to change text and images directly, and use the AI collaboration switch to change pages through element references.
Prerequisites
Enter the workspace of your application. The preview area appears on the right side of the page.
To replace an image, make sure that the image asset library contains the image that you want to use. If no image is available in the library, upload an image first.
Preview and browse pages
The preview area renders your website in real time, and changes made by AI appear in the preview immediately. The preview area supports multiple tabs open at the same time, such as the homepage, the management console, and domain management, so you can switch between them at any time.
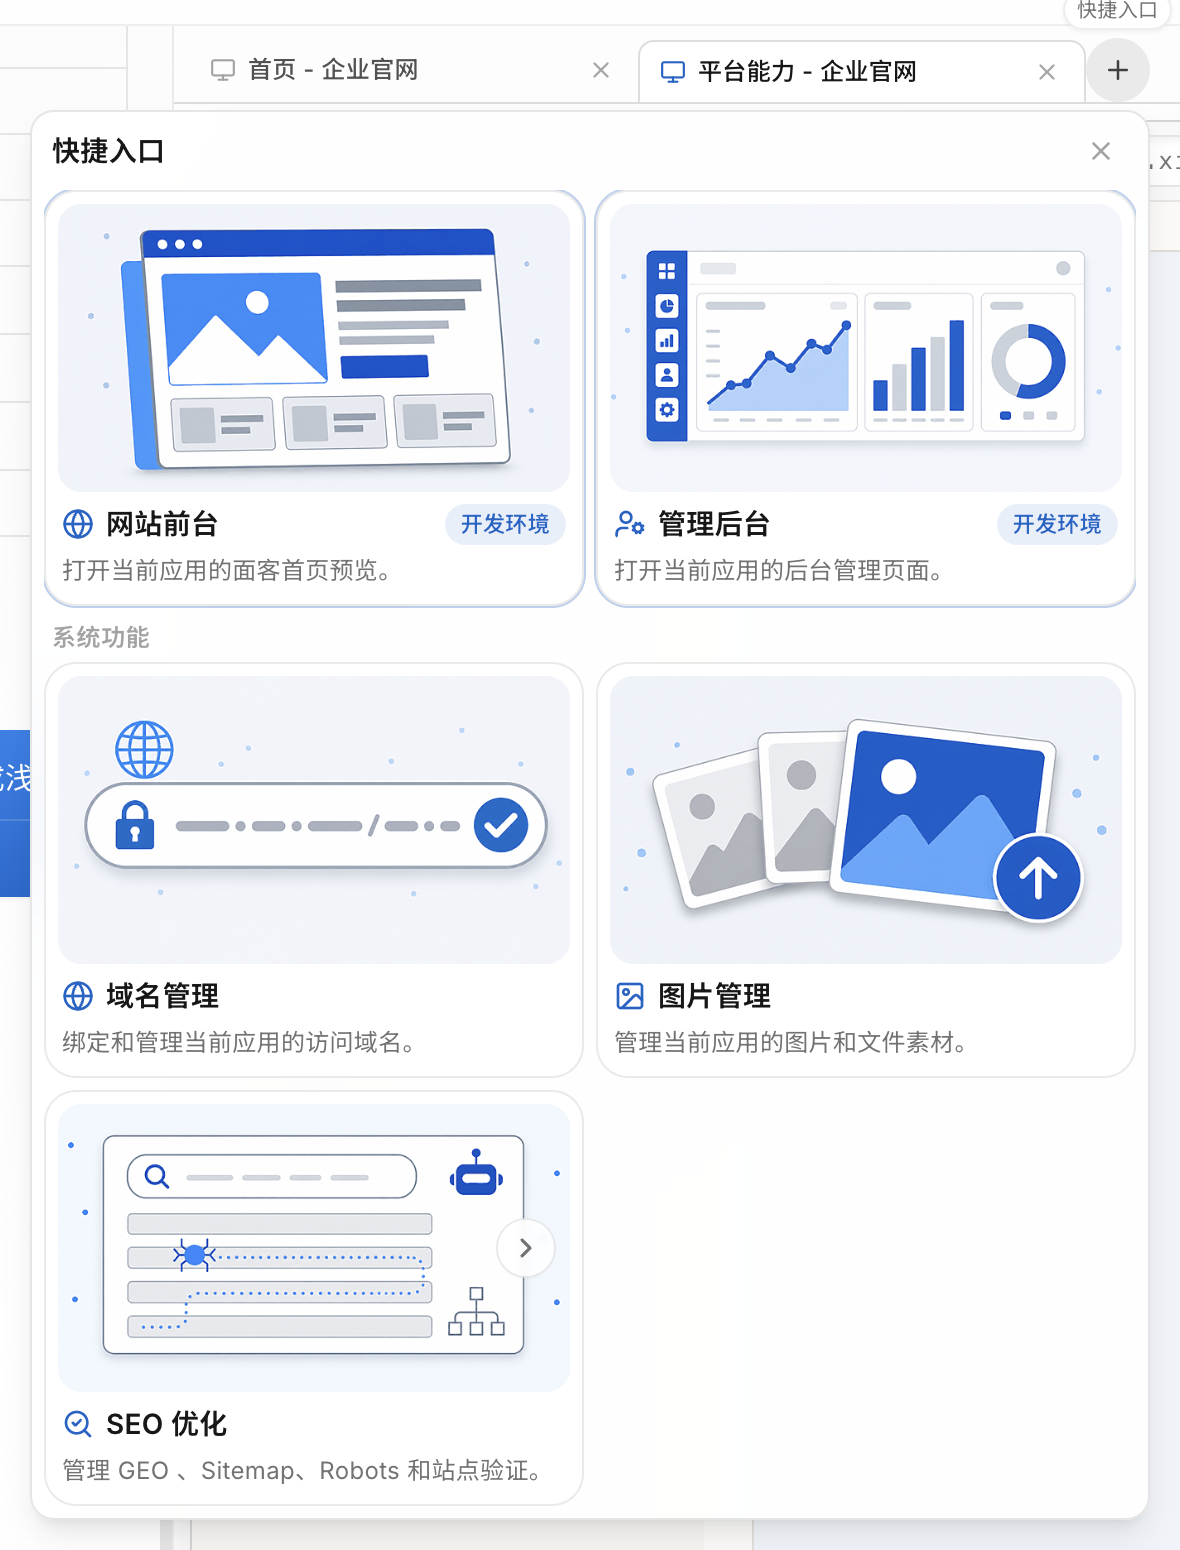
The right end of the preview tab bar provides Quick access. Click it to open a pop-up menu and go to the following pages:
Website frontend: Opens the customer-facing homepage preview of the current application.
Management console: Opens the console page of the current application.
Domain management: Binds and manages the access domain names of the current application.
Image management: Manages the images and file assets of the current application.
SEO optimization: Manages GEO, Sitemap, Robots, and site verification.
Choose a way to change a page
The preview toolbar provides two switches, Edit and AI collaboration. The two switches are independent: turning one switch on or off does not affect the other, and both switches can be on at the same time. The following table describes the change method that each switch enables.
| Method | Switch | When to use it |
| Direct editing | Edit | Simple changes, such as editing text content and replacing images |
| AI collaboration | AI collaboration (turned on by default) | Adjusting styles and layouts, or changing multiple elements at a time |
With AI collaboration, you can describe a change in two ways:
Element references — Click the elements that you want to change in the preview area, and then send your instructions. Element references specify the exact location to change.
Instructions in the conversation — Describe your requirements to AI in a conversation, for example, to change styles such as fonts, colors, and spacing.
You can use both methods together.
Edit text and images directly
In the preview toolbar, turn on the Edit switch. The preview area enters the editing state, in which you can edit text content and replace images. Direct editing provides no controls for fonts, colors, or spacing.
To exit the editing state, turn off the Edit switch. The page returns to browse-only mode, and double-clicking text no longer starts editing.
Direct editing saves the site content in the development environment. The content on the production address is updated only after you publish the website. For more information, see Publish a website.
Direct editing does not display a separate save result. A saved change takes effect immediately and persists after you refresh the page. To verify that a change was saved, refresh the preview.
Edit text
Double-click the text that you want to change. An edit box appears in place and is focused automatically.
Enter the new content.
Press Enter or click outside the edit box to save the change. To discard the change and restore the original text, press Esc.
Replace an image
Click the image that you want to replace. A selection border appears around the image, and a toolbar appears in the upper-right corner of the element.
In the toolbar, click Replace image. The Select image asset dialog box appears and displays the content of the image asset library. You can also double-click the image to open this dialog box.
In the Select image asset dialog box, select the target image from the image asset library to complete the replacement.
Change elements through AI collaboration
The AI collaboration switch is turned on by default. After it is turned on, you can click page elements in the preview area to attach them as element references to the conversation, so that AI changes only the content that you specify.
Element references depend only on the AI collaboration switch.
You can select up to 9 elements at a time. Clicking a blank area in the preview area or toggling the AI collaboration switch clears the attached references, and cleared references cannot be restored.
In the preview area, click the element that you want to change. A selection border appears around the element, and the Reference selected elements panel appears in the preview area with the element attached as a reference.
(Optional) Click other elements to add references one by one.
In the input box of the panel, enter your change requirements.
(Optional) Click Add image (paste or drag and drop) to attach a reference image.
Click Send comment. The element references, the images, and your instructions are sent to the AI conversation together.
FAQ
Why doesn't an edit box appear when I double-click text?
If no edit box appears on the first double-click, double-click the text again. If editing still does not start, refresh the preview and try again.
Do I need to publish the website before I can see my changes?
No. The preview area renders the development environment, so you can review a saved change before you publish. Publishing affects only the content on the production address. For more information, see Publish a website.
What do I do if the element references are cleared by mistake?
Cleared references cannot be restored. Click the target element again to reference it.