Other
This feature is available only to paid customers and is not offered to new customers.
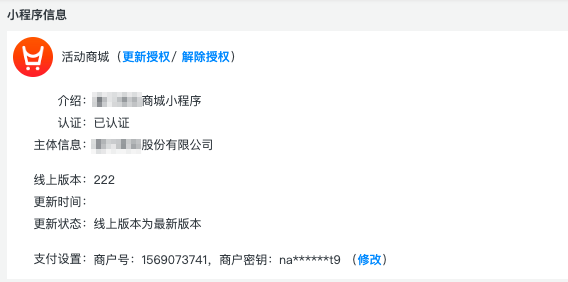
1. Authorization management
Grant authorization for miniapps and configure merchant payment settings.
2. Logon settings
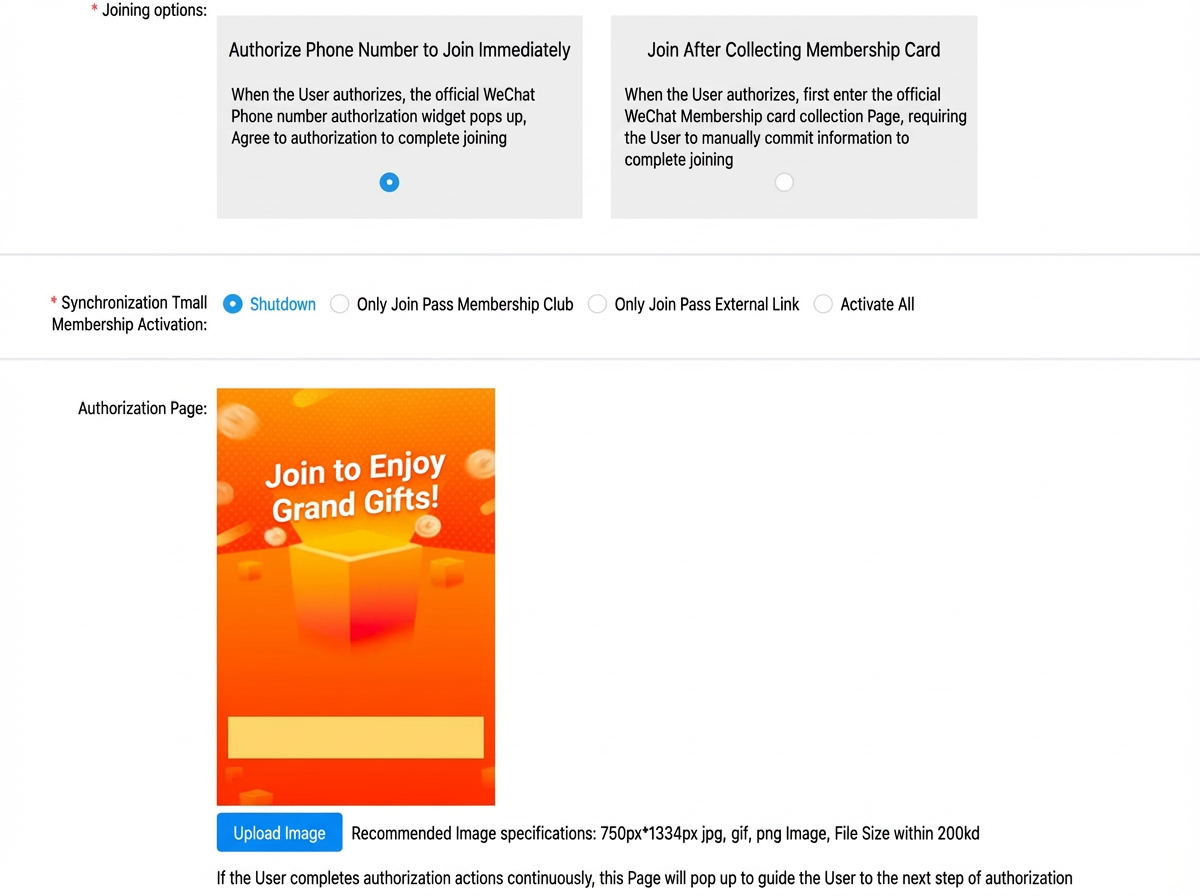
Join by authorizing a phone number: When a user attempts to obtain a coupon, place an order, or join an activity, a prompt appears requesting authorization for their phone number. After granting authorization, the user can join member activities and enjoy member benefits. The authorization page is customizable. You can upload images that match your brand style. This authorization page is displayed after the user authorizes access to their nickname and profile picture. Clicking this page directs the user to the page for phone number authorization or membership card collection.
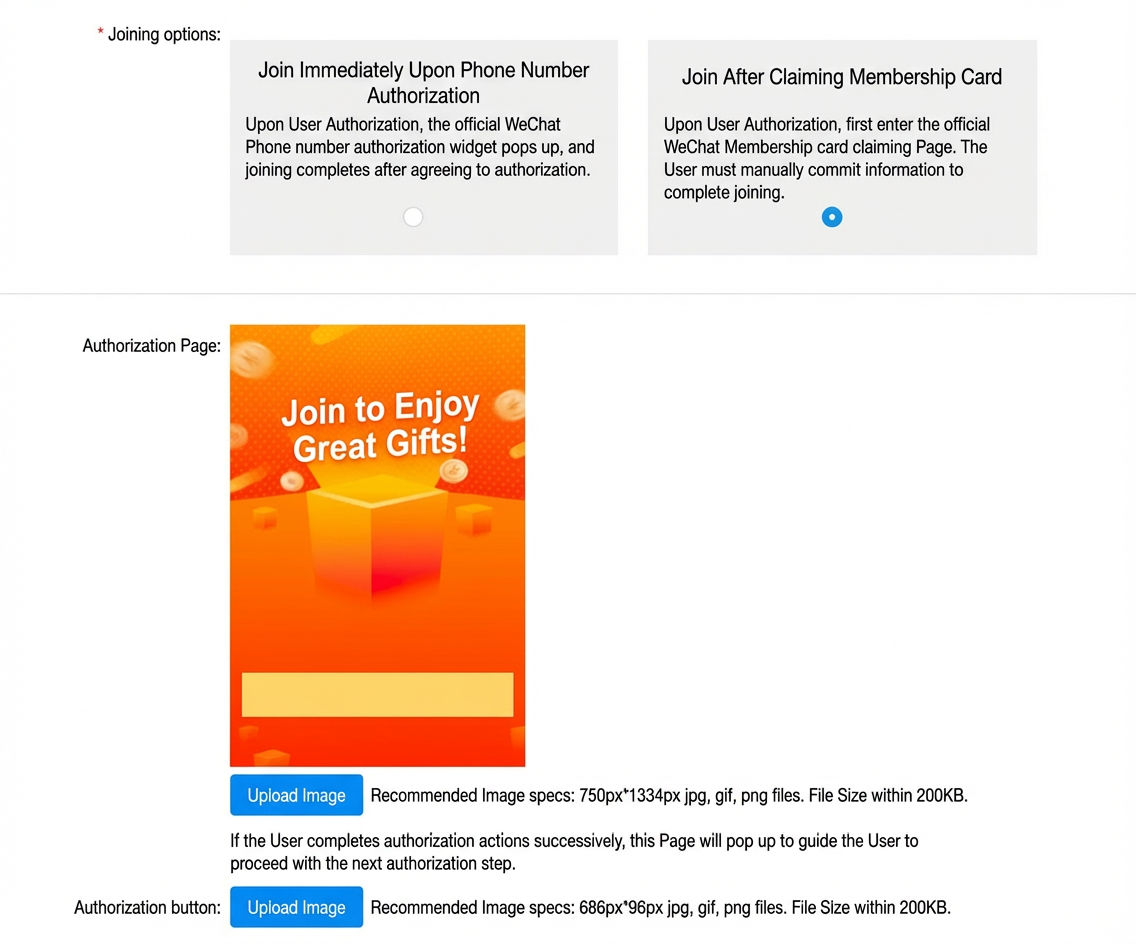
2. Join by obtaining a membership card: Before a user can participate in an activity, such as obtaining a coupon, placing an order, or joining an event, they must first authorize their phone number and then obtain a membership card. After obtaining the card, the user can join member activities and enjoy member benefits. The authorization page is customizable. You can upload images that match your brand style. This authorization page is displayed after the user authorizes access to their nickname and profile picture. Clicking this page directs the user to the page for phone number authorization or membership card collection.
3. Privacy protocol upload
Consumers submit personal information, such as phone numbers, when they use the Membership Club. To avoid legal risks, you must provide a public statement about how you use this information. For this reason, a protocol upload feature is available. You can prepare the relevant documents and upload a privacy policy, membership rules, and a member registration agreement in the console. You can also set the display position of the required checkbox. Users must select the checkbox during authorization to complete their registration.
When joining, users can click Privacy Policy, Membership Rules, or Member Registration Agreement to view the details:
4. Dual-channel enrollment
Sync with Tmall membership: You can choose to allow enrollment only through the Membership Club, only through an external link, or through both channels.
External enrollment page link: Enter the miniapp APPID and miniapp path when you configure the automatic welcome message for the miniapp in Community Operations.
Membership Club enrollment experience:
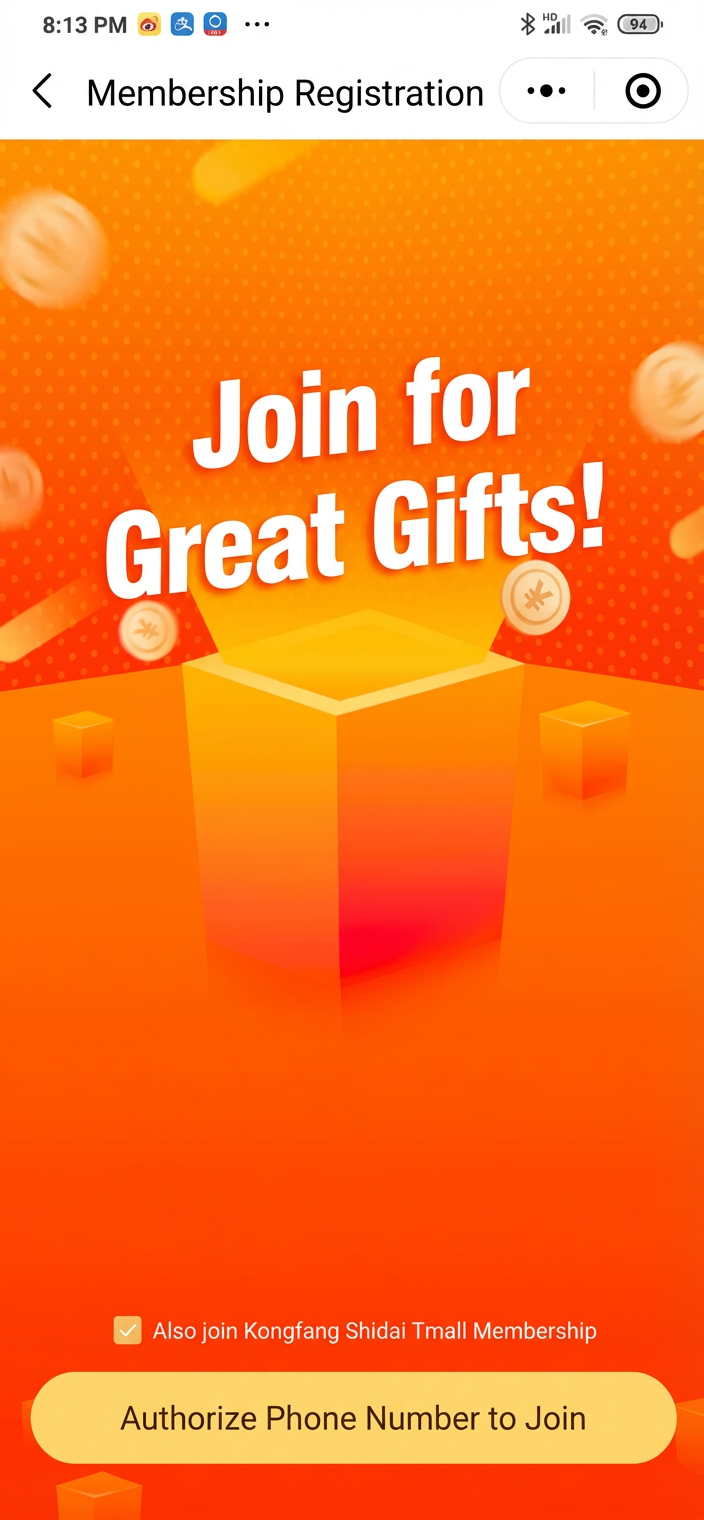
External link enrollment experience:
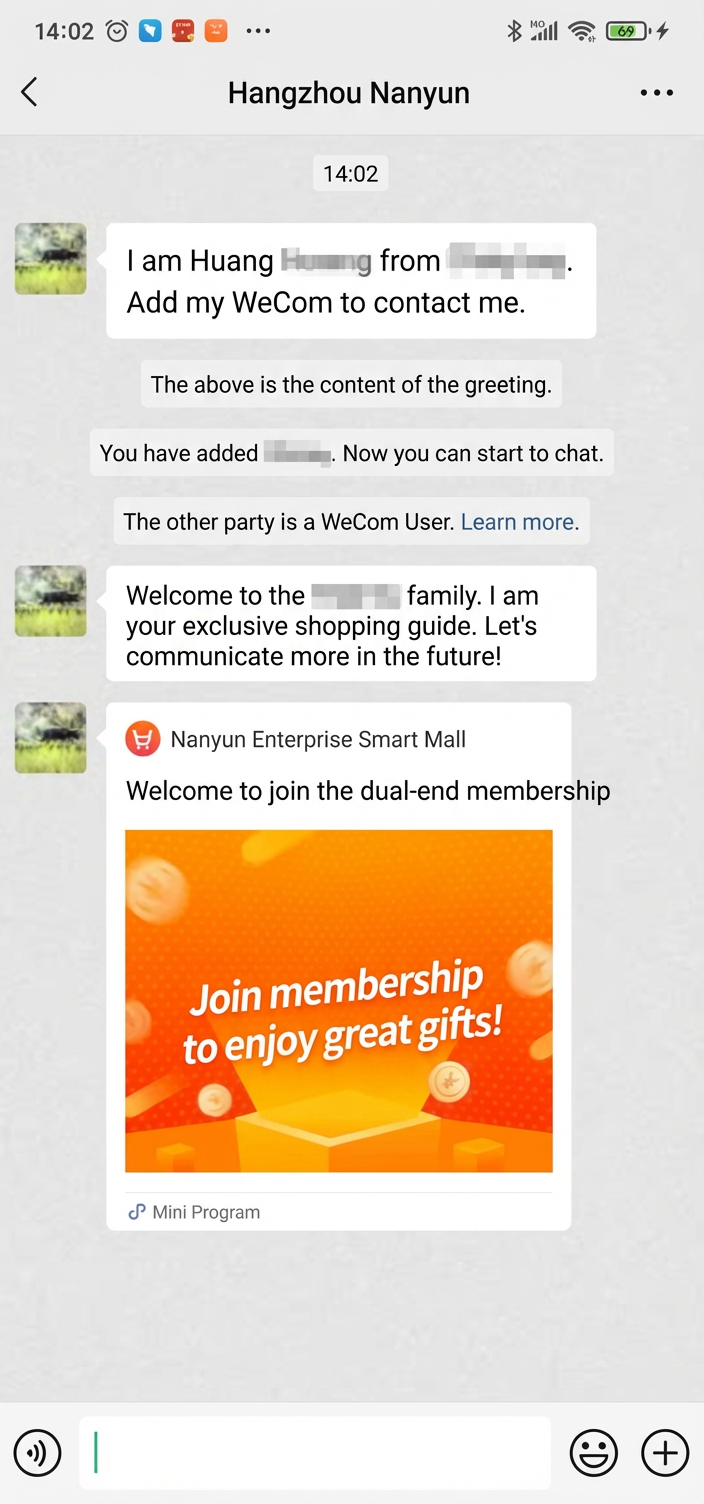
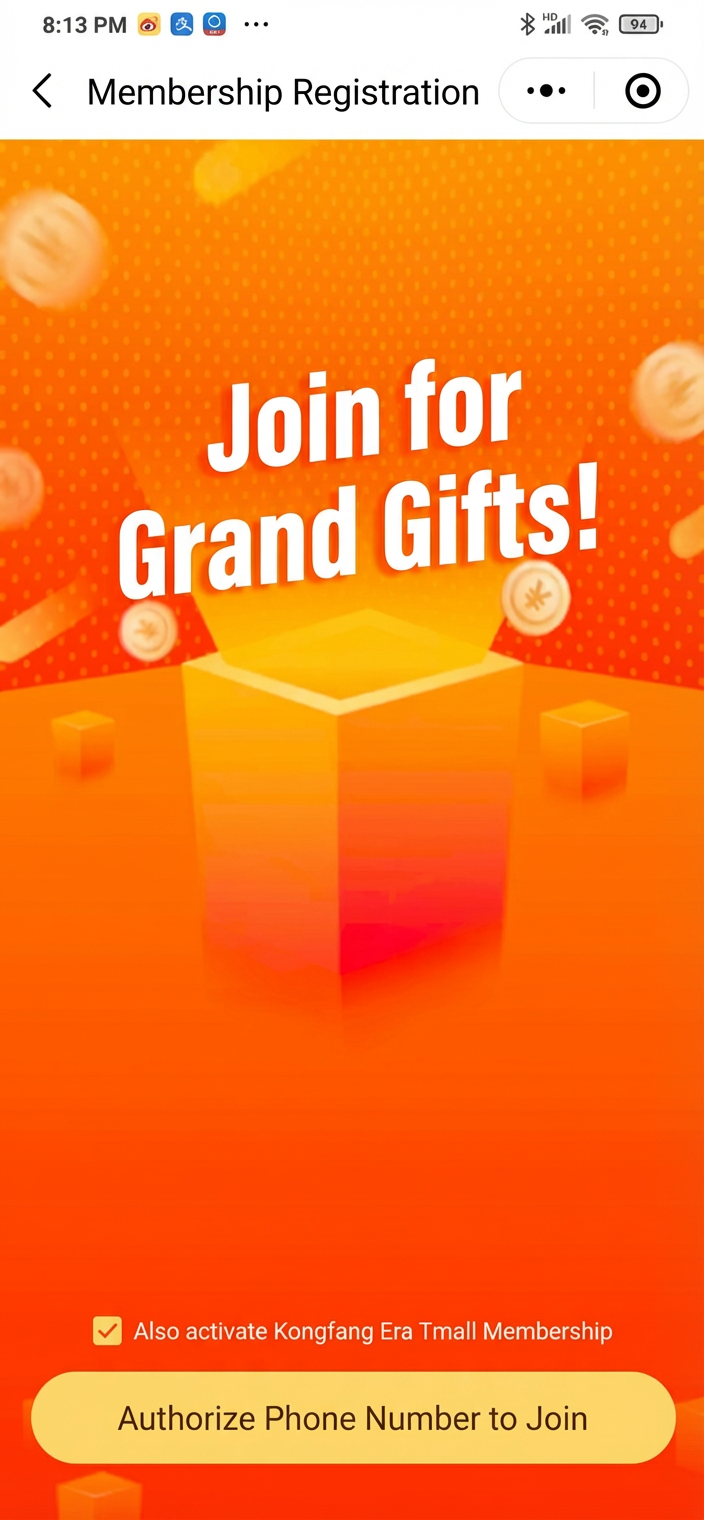
Note: The path to configure the welcome message miniapp link is Community Operations > Customer Acquisition > Friend Referral > Welcome Message.
5. Meeting join experience
Enroll by authorizing phone number
The user agrees to the user agreement and authorizes their phone number to enroll.
Enroll by obtaining a card
The user agrees to the user agreement, authorizes their phone number, and obtains a membership card to enroll. After enrolling, the user receives a notification that they have successfully received the miniapp membership card. They can then view the card details.
3. Complaint management
1. Content settings
Basic information
Configure the information that consumers must provide when they submit a complaint.
Membership Club > My > Complaints and Suggestions
Complaint type
Configure complaint types, including their names and descriptions.
Membership Club > My > Complaints and Suggestions > Complaint Type
2. Complaint details
You can export complaint details and complaint analysis. The analysis includes breakdowns by time period and type, and a list of the top 5 stores with the most complaints.
4. KuaiDi 100
Note: For orders placed in the Membership Club, logistics information is displayed after you ship the order. This lets both you and the customer track the shipment. Purchase the paid KuaiDi 100 service and configure it in the store console. After a successful configuration, both you and the customer can view the current logistics progress on the page once an order is shipped.
1. The process is as follows:
(1) Register a KuaiDi 100 account and purchase the paid service.
(2) Obtain the new app key and customer ID, and then grant authorization.
2. Result after successful authorization
You can view the logistics status on the Order Management page in the console. The buyer can view the logistics status on the order details page in the miniapp.