A coredump is a file containing an application's memory state when it crashes or terminates unexpectedly. The operating system creates this file for later debugging and analysis. This topic describes how to enable coredump for an Elastic Container Instance (ECI) instance. This allows you to analyze core files from unexpected container terminations to identify the cause of a problem and fix the application.
Background information
On Linux, when an application terminates unexpectedly or crashes, the operating system records the application's memory state and saves it to a file. This process is known as a coredump. You can then analyze the core file to identify the cause of the problem.
The following figure shows the Linux signals that trigger a coredump. For these signals, the default action is Core.
 For more information, see coredump file.
Overview
By default, coredump is disabled for an ECI instance to prevent excessive disk usage, which could lead to service outages. You can enable coredump by using one of the following methods:
-
Method 1: Enable a coredump O&M task
After you manually enable coredump, the system creates an O&M task. When a container terminates abnormally or exits, the generated core file is automatically saved to OSS.
-
Method 2: Customize the save path for core files
You can store core files in external storage by specifying a custom save path. After you set the save path, coredump is automatically enabled. When a container crashes or exits unexpectedly, the resulting core file is saved to the specified path.
-
Method 1 is easy to use but has time and region limitations. It is suitable for temporary debugging and diagnostics.
-
The generated O&M task is a one-time task. Once a core file is successfully captured, coredump is automatically disabled. The O&M task is valid for 12 hours and expires if it is not triggered within this period.
-
This method is not supported in the following regions: China (Ulanqab), China (Heyuan), China (Guangzhou), China (Nanjing), Philippines (Manila), South Korea (Seoul), and Thailand (Bangkok).
-
-
Method 2 requires you to configure external storage. If your application is unstable, you can use this method to ensure that core files are captured. However, if a faulty application restarts repeatedly, a large number of core files can be generated.
Method 1: Enable a coredump O&M task
Console
-
Log on to the Elastic Container Instance console.
-
Enable coredump for the ECI instance.
-
Click the ID of the target instance to open the instance details page.
-
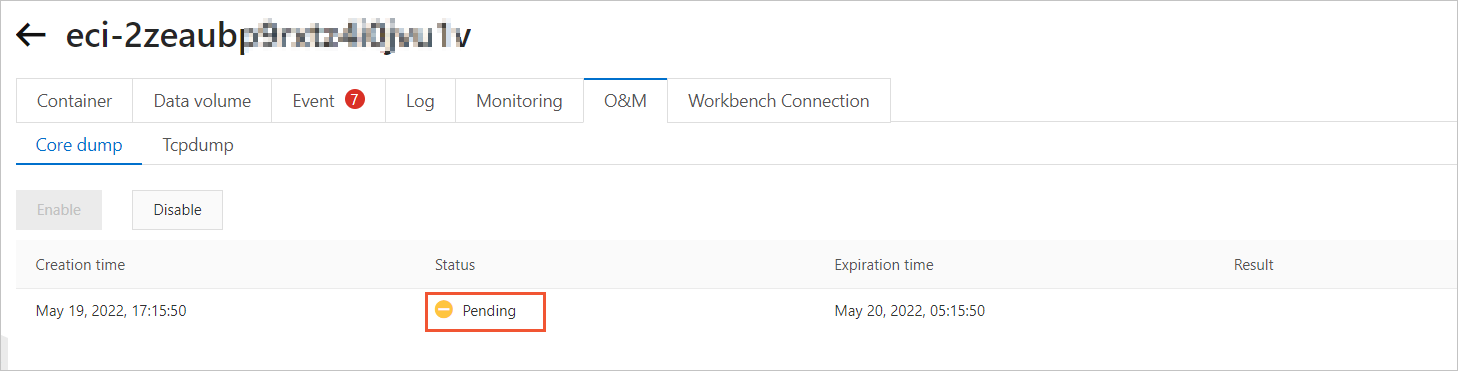
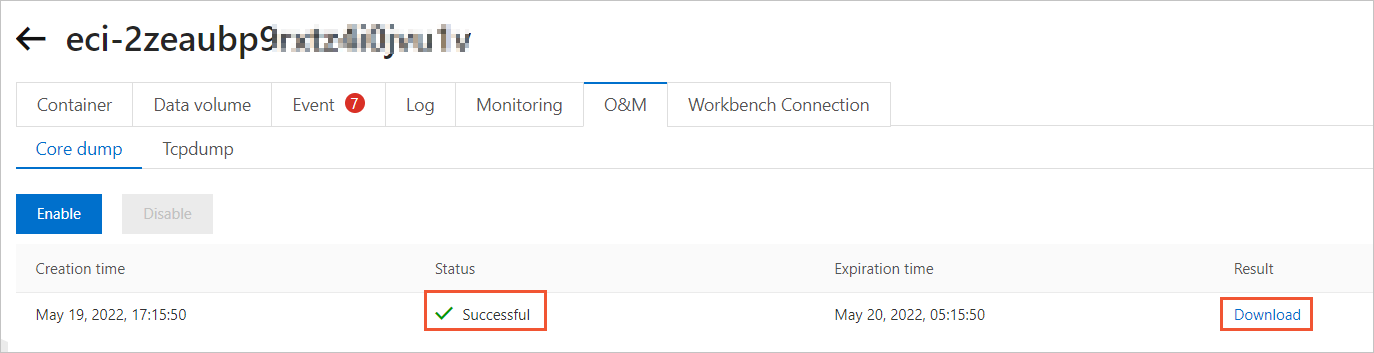
Click the O&M tab, select the Coredump tab, and then click Enable.
After you enable coredump, the system generates an O&M task. If coredump has not been triggered, the task status is Pending.
-
-
Trigger a coredump.
Connect to the ECI instance. In the container, run the
sleep 100command and then pressCtrl+\to trigger a coredump. The generated core file is automatically saved to OSS.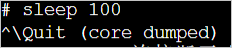
-
Download the core file.
After the coredump is triggered and the core file is generated, the status of the O&M task changes to Successful. Click Download in the Result column to download the core file.
 Note
NoteIf the download does not start, check the site permission settings in your browser.
API
-
Enable coredump for the ECI instance.
Call the CreateInstanceOpsTask operation to create an O&M task. Specify the target ECI instance, set the OpsType parameter to
coredump, and set the OpsValue parameter toenable. For more information, see CreateInstanceOpsTask.NoteWhen you specify the ECI instance, make sure that the CorePattern parameter was not set during instance creation.
-
Trigger a coredump.
Connect to the ECI instance. In the container, run the
sleep 100command and then pressCtrl+\to trigger a coredump. The generated core file is automatically saved to OSS. -
Download the core file.
Call the DescribeInstanceOpsRecords operation to view the result of the O&M task. In the response, the ResultContent field contains the URL of the core file in OSS. You can access the URL to download the core file.
Method 2: Customize the save path
Core files are typically used for offline analysis. Therefore, we recommend that you save them to external storage instead of a local path within the container. This prevents the core files from being lost when the container exits. ECI lets you specify a custom save path for core files. After you set the path, coredump is automatically enabled.
When you call the CreateContainerGroup operation to create an ECI instance, you can pass the CorePattern parameter to set the save path for core files. The following table describes the related parameters. For more information, see CreateContainerGroup.
Configure the volume parameters according to your volume type.
|
Parameter |
Type |
Example |
Description |
|
CorePattern |
String |
/data/dump-a/core |
The save path for core files. This path must be within a mounted volume. Important
The path cannot start with a pipe character ( |
|
Volume.N.Name |
String |
volume1 |
The name of the volume. |
|
Volume.N.Type |
String |
NFSVolume |
The type of the volume. In this example, NFSVolume is used. |
|
Volume.N.NFSVolume.Path |
String |
/dump |
The path of the NFS volume. |
|
Volume.N.NFSVolume.Server |
String |
143b24****-gfn3.cn-beijing.nas.aliyuncs.com |
The address of the NFS server. If you use Alibaba Cloud File Storage NAS, this is the address of the mount point of the NAS file system. |
|
Container.N.VolumeMount.N.Name |
String |
volume1 |
The name of the volume to mount. This must match the value of Volume.N.Name. |
|
Container.N.VolumeMount.N.MountPath |
String |
/data/dump-a/ |
The mount path. The volume's content overwrites any existing content at the mount path within the container. Make sure that the path is correct. |
The following example shows how to use an Alibaba Cloud File Storage NAS file system as external storage:
-
Create an ECI instance called instance A, mount the NAS file system, and set the save path for core files.
Call the CreateContainerGroup operation to create instance A. Set the following parameters to mount the
/dump/directory from the NAS file system to/data/dump-a/in the container, and set the core file save path to/data/dump-a/core.ContainerGroupName=test-a SecurityGroupId=sg-bp1daxpbz9lzpvvc**** VSwitchId=vsw-bp1gds63lmlm7ib05**** # Declare a volume Volume.1.Name=volume1 Volume.1.Type=NFSVolume Volume.1.NFSVolume.Path=/dump/ Volume.1.NFSVolume.Server=143b24****-gfn3.cn-beijing.nas.aliyuncs.com # Mount the volume to the container Container.1.Name=nginx Container.1.Image=registry-vpc.cn-beijing.aliyuncs.com/eci_open/nginx:1.14.2 Container.1.VolumeMount.1.Name=volume1 Container.1.VolumeMount.1.MountPath=/data/dump-a/ # Set the save path for core files CorePattern=/data/dump-a/core -
Trigger a coredump in any directory in instance A's container.
In the container, run the
sleep 100command and then pressCtrl+\to trigger a coredump. The core file is saved to/data/dump-a/corein the container.
-
Release instance A.
-
Mount the same NAS file system to another ECI instance called instance B.
Call the CreateContainerGroup operation to create instance B. Pass the following parameters to mount the same
/dump/directory of the NAS file system to the/data/dump-b/directory in the container.ContainerGroupName=test-nas-b SecurityGroupId=sg-bp1daxpbz9lzpvvc**** VSwitchId=vsw-bp1gds63lmlm7ib05**** # Declare a volume Volume.1.Name=volume1 Volume.1.Type=NFSVolume Volume.1.NFSVolume.Path=/dump/ Volume.1.NFSVolume.Server=143b24****-gfn3.cn-beijing.nas.aliyuncs.com # Mount the volume to the container Container.1.Name=nginx Container.1.Image=registry-vpc.cn-beijing.aliyuncs.com/eci_open/nginx:1.14.2 Container.1.VolumeMount.1.Name=volume1 Container.1.VolumeMount.1.MountPath=/data/dump-b/ -
View the core file in instance B's container.
As shown in the following figure, you can view the core file in the
/data/dump-bdirectory of the container. Because the core file is saved to external storage, it is not lost after instance A is released and remains available for analysis.


FAQ
The download does not start when I click Download in the console. What should I do?
If the download does not start, check the site permission settings in your browser. For example, in Chrome, follow these steps to grant the necessary permission:
-
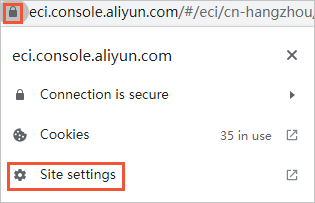
Open the Elastic Container Instance console, click the
icon to the left of the browser address bar, and then select Site settings. -
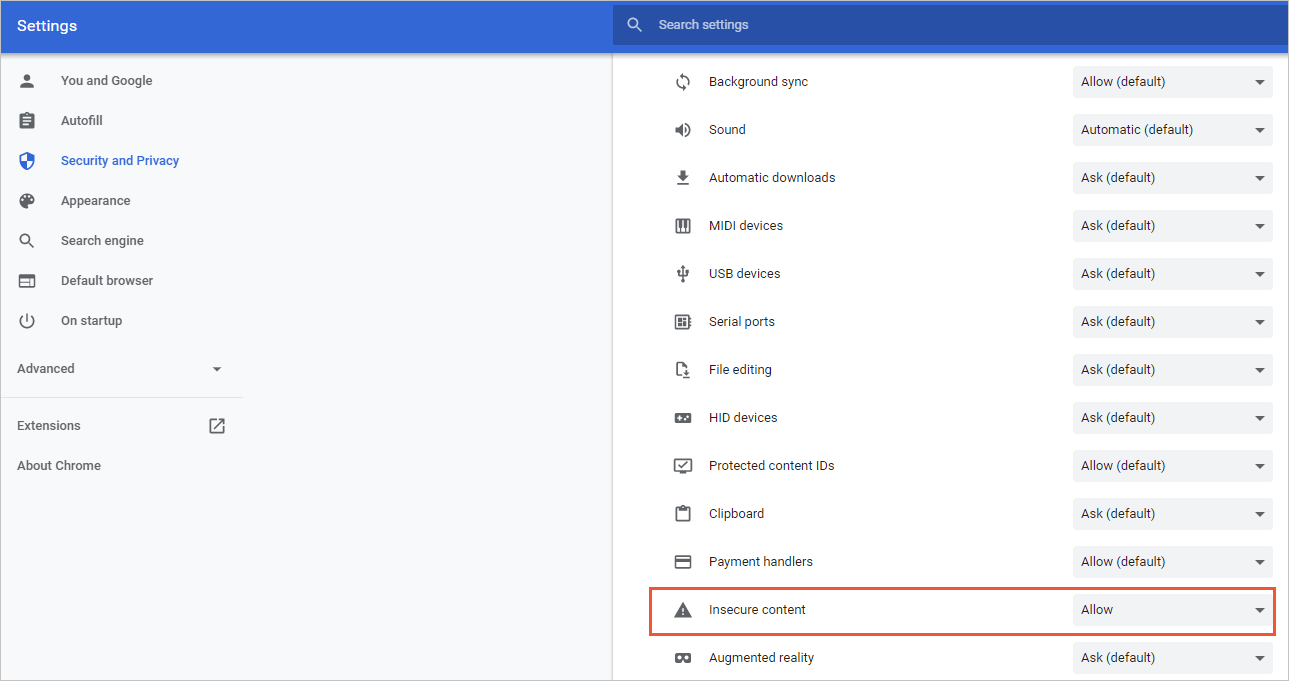
Set Insecure content to Allow.