Install Node.js on a Linux or Windows ECS instance with NVM or the official installer, and run a test project.
Prerequisites
Alibaba Cloud Linux 2 and CentOS 7.x support only Node.js 17.x and earlier versions.
An ECS instance that meets the following requirements:
-
A public IP address is assigned, or an Elastic IP Address (EIP) is associated. See Enable public bandwidth.
-
The operating system is Alibaba Cloud Linux 3, Alibaba Cloud Linux 2, CentOS 7.x, Ubuntu 18.x or later, Debian 10.x or later, or Windows.
-
Inbound security group rules allow traffic on port 22 (SSH) and port 3389 (RDP). For security, allow only specific IP addresses instead of 0.0.0.0/0. See Add a security group rule.
Linux
Node Version Manager (NVM) is the recommended method to deploy Node.js on Linux:
-
Not limited by system repository versions, so you can install the latest Node.js release.
-
Automatically configures environment variables, unlike precompiled binaries.
-
Faster than compiling from source code and requires no specialized skills.
NVM also manages multiple Node.js versions and installs them in your home directory without sudo, which reduces security risks.
Install Node.js
-
Connect to the ECS instance. See Use Workbench to log on to a Linux instance over SSH.
-
Install Git.
-
Alibaba Cloud Linux 2, Alibaba Cloud Linux 3, or CentOS 7.x
sudo yum install git -y -
Ubuntu 18.x and later or Debian 10.x and later
sudo apt update
sudo apt install git -y
-
-
Clone the NVM source code into ~/.nvm and check out the latest stable release.
NoteCloning may fail due to network issues. Retry if it fails.
git clone https://gitee.com/mirrors/nvm.git ~/.nvm && cd ~/.nvm && git checkout `git describe --abbrev=0 --tags` -
Configure NVM environment variables:
sudo sh -c 'echo ". ~/.nvm/nvm.sh" >> /etc/profile' source /etc/profile -
Set the Node.js download mirror to speed up downloads:
export NVM_NODEJS_ORG_MIRROR=https://npmmirror.com/mirrors/node -
List available Node.js versions:
nvm list-remote -
Install Node.js versions.
ImportantAlibaba Cloud Linux 2 and CentOS 7.x only support Node.js 17.x and earlier. On these systems, replace the version in the following command with a version such as
v17.9.1.-
Install Node.js 23.3.0.
nvm install v23.3.0 -
Install Node.js 22.11.0.
nvm install v22.11.0
-
-
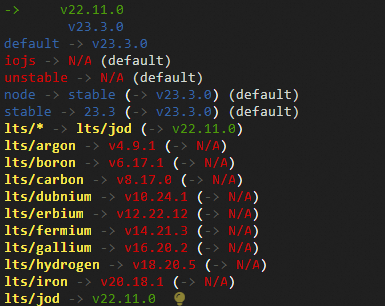
Verify the installed Node.js versions:
nvm lsThe following output shows that v22.11.0 and v23.3.0 are installed, with v22.11.0 active.
 Note
NoteTo switch versions, run nvm use <Version number>. For example, run nvm use v23.3.0 to switch to Node.js 23.3.0.
Deploy a test project
-
Create a test project file named
example.js.-
Go to the home directory:
cd -
Create the example.js file:
touch example.js
-
-
Edit the
example.jsfile.-
Open
example.js:vim example.js -
Press the I key to enter Insert mode and add the following content to the example.js file.
This example uses port 3000 and returns Hello World. Modify the response content (res.end) and port (const port) as needed.
const http = require('http'); const hostname = '0.0.0.0'; const port = 3000; const server = http.createServer((req, res) => { res.statusCode = 200; res.setHeader('Content-Type', 'text/plain'); res.end('Hello World\n'); }); server.listen(port, hostname, () => { console.log(`Server running at http://${hostname}:${port}/`); }); -
After you add the preceding content, press the Esc key to exit Insert mode. Enter
:wqand press the Enter key to save and close the file.
-
-
Run the project in the background:
node ~/example.js & -
List the listening ports:
netstat -tplnPort 3000 in the output confirms the project is running.
-
Add an inbound security group rule to open the project port.
This example uses port 3000. See Add a security group rule.

-
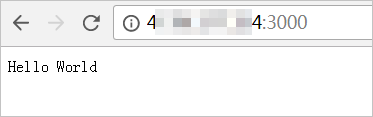
Open a browser and go to
http://<Public IP address of the instance>:<Port number>.This example uses port 3000. The following page appears:
Windows
On Windows, install Node.js with the official installer.
Install Node.js
-
Connect to the ECS instance. See Log on to a Windows instance using Workbench.
-
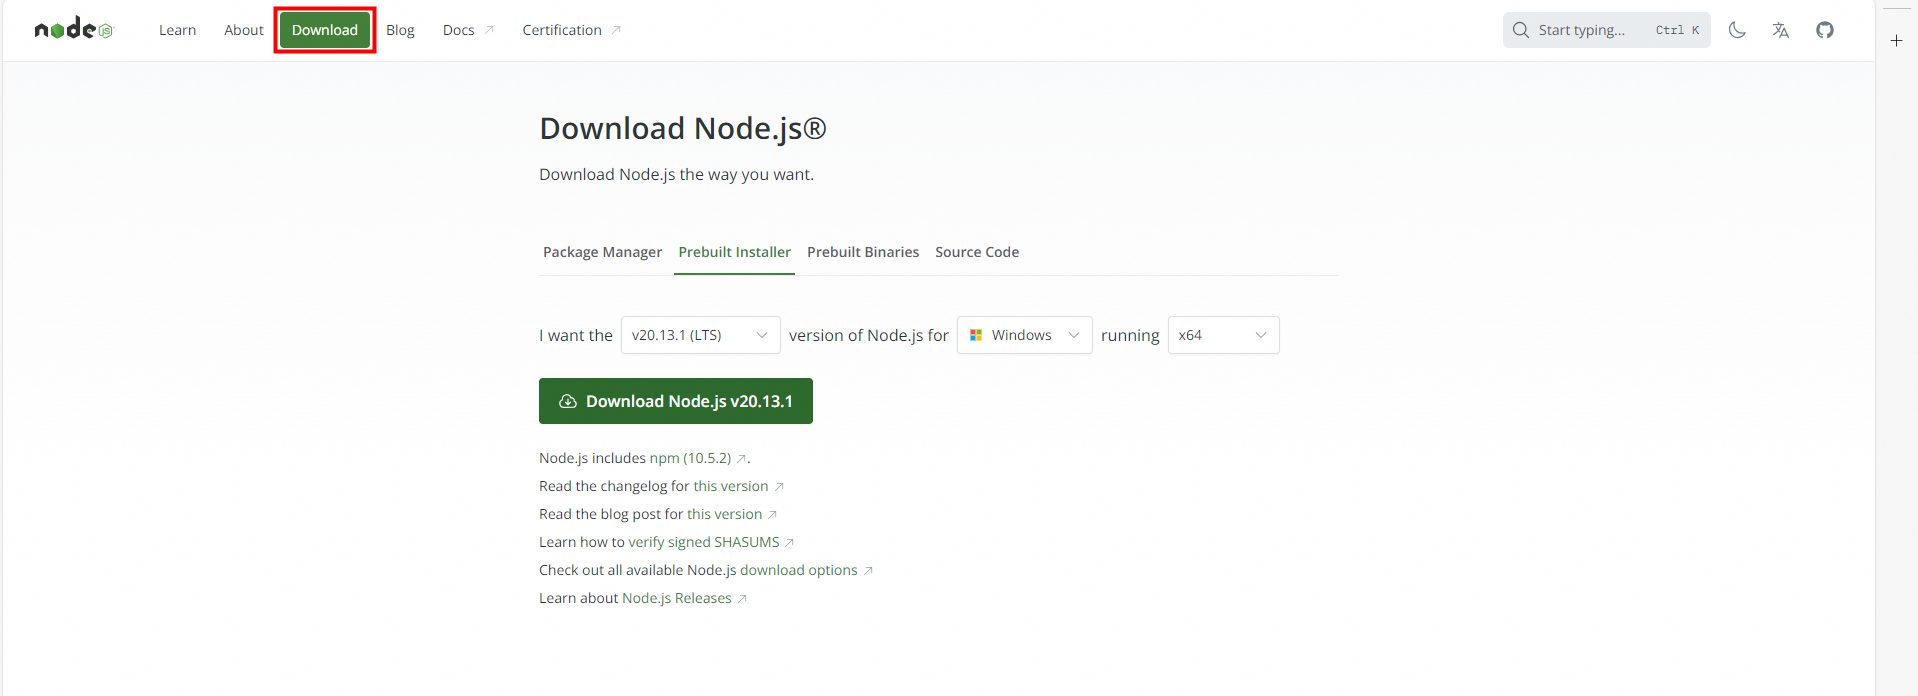
Go to the Node.js official website and click Download in the top navigation bar.
-
Download the installation package.
Multiple installation methods are available. This example uses Prebuilt Installer.
NoteSelect a Long-Term Support (LTS) version for better stability.
Method
Description
Package Manager
Install Node.js with an OS package manager such as npm, apt, yum, or brew.
Prebuilt Installer
Install Node.js with a precompiled package (.msi for Windows, .pkg for macOS). Includes the Node.js runtime, npm, and required dependencies.
Prebuilt Binaries
Install Node.js from precompiled binaries. Requires manual decompression and environment variable configuration.
Source Code
Compile and install Node.js from source code. Requires manual configuration and build steps.
-
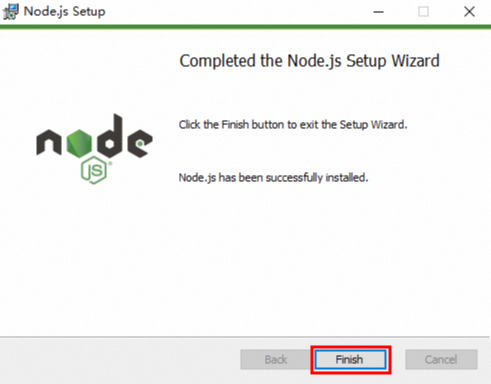
Double-click the downloaded package and follow the wizard to install Node.js.
-
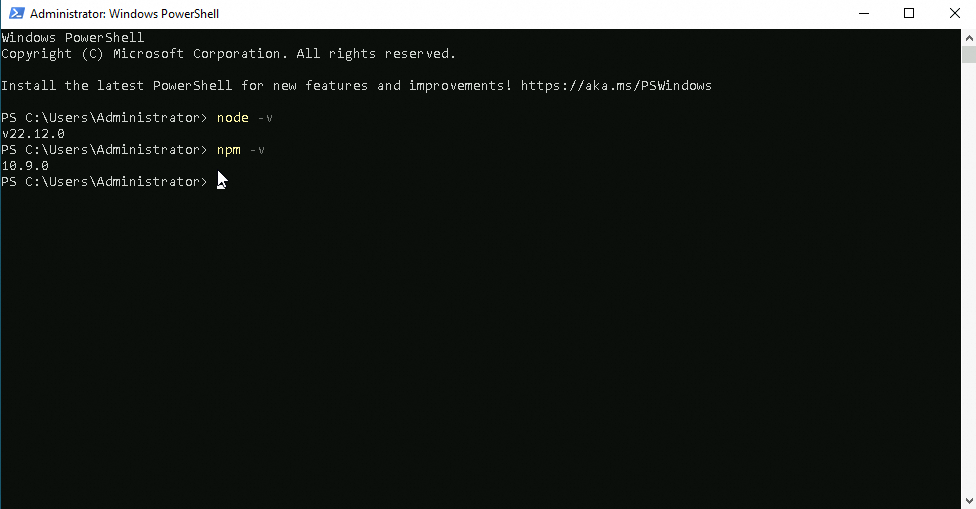
Open Command Prompt or PowerShell.

-
In the command prompt window, run
node -vandnpm -v. If version numbers appear as shown below, Node.js is installed.
Deploy a test project
-
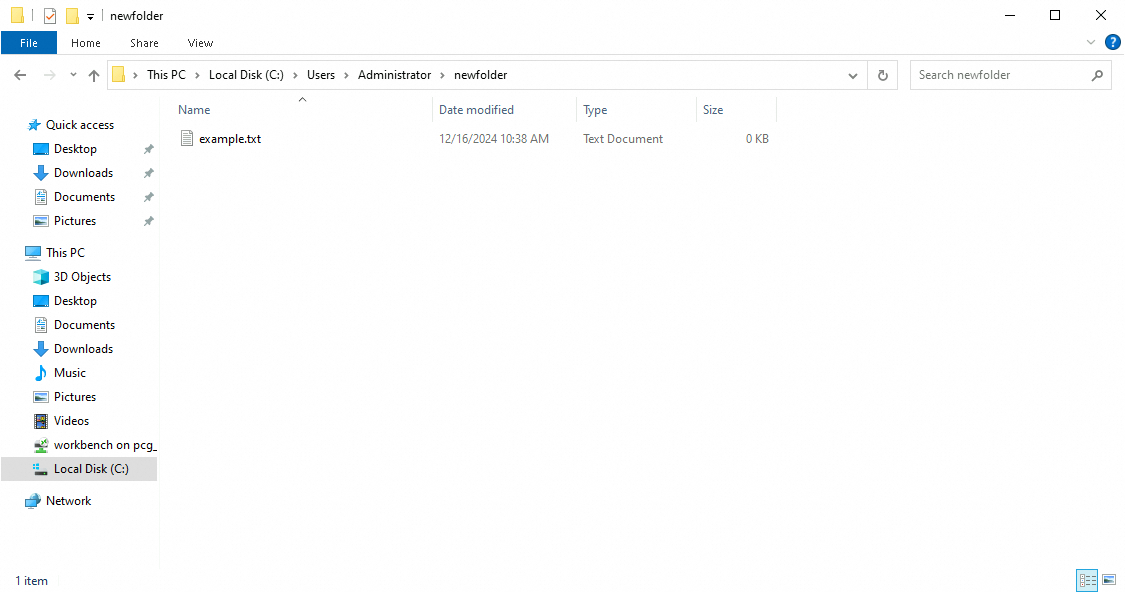
Create a test project folder named newfolder and an example.txt file.
-
Open the example.txt file and paste the following content.
This example uses port 3000 and returns Hello World. Modify the response content (res.end) and port (const port) as needed.
const http = require('http'); const hostname = '0.0.0.0'; const port = 3000; const server = http.createServer((req, res) => { // Set the status code to 200. res.statusCode = 200; // Set the content type to plaintext. res.setHeader('Content-Type', 'text/plain'); // Add the Cache-Control header to disable caching. res.setHeader('Cache-Control', 'no-store, no-cache, must-revalidate, max-age=0'); // Add the Pragma header to disable caching to be compatible with the old browser. res.setHeader('Pragma', 'no-cache'); // Set the Expires header to a past date, which makes the content immediately expire. Alternatively, specify a specific expiration date, such as 'Expires: Tue, 03 Jul 2001 06:00:00 GMT'. res.setHeader('Expires', '0'); // Send the response body. res.end('Hello World\n'); }); // Listen on the specified port and hostname. server.listen(port, hostname, () => { console.log(`Server running at http://${hostname}:${port}/`); }); -
Rename example.txt to example.js.
-
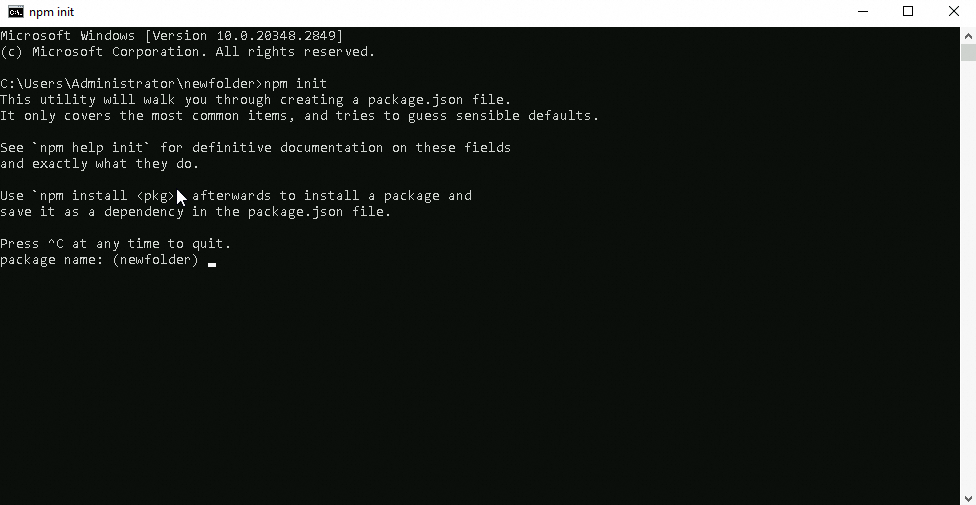
Go to the project directory and run npm init to initialize the project. Enter the project details as prompted to generate a
package.jsonfile. -
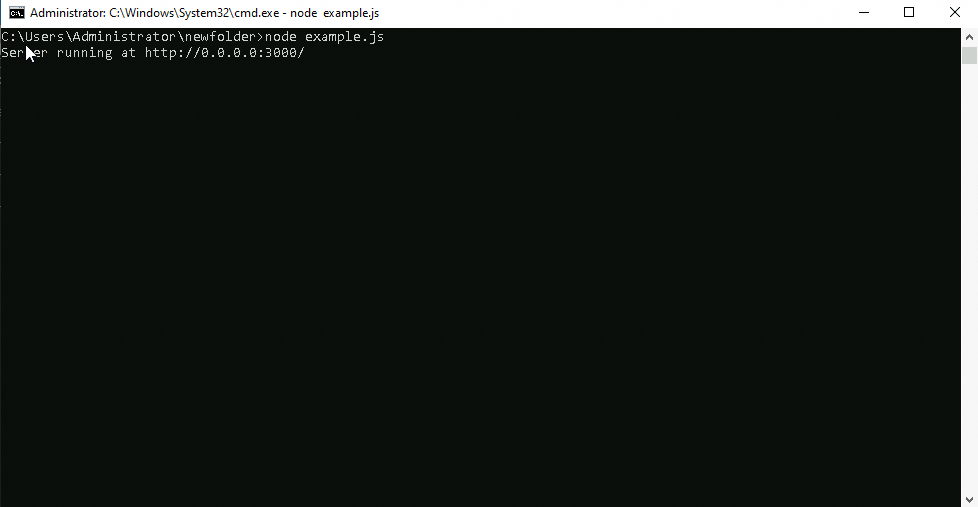
Run node example.js to start the project. The Node.js server displays relevant information upon success.
-
Add an inbound security group rule to open port 3000. See Add a security group rule.
-
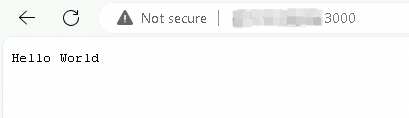
Open a browser and go to
http://<Public IP address of the ECS instance>:<Project port number>.This example uses port 3000. The following page appears: