The Waiting Room feature queues excess traffic at the edge when demand exceeds your origin server's capacity, protecting it from overload during flash sales or high-traffic events while showing users their estimated wait time.
Configure a basic waiting room for a flash sale in 5 minutes
Assume your origin server handles up to 300 concurrent users. Configure a waiting room for the flash sale page at promo.example.com/flash-sale to protect it.
Procedure
In the ESA console, select Websites, and then click the target site in the Website column.
In the navigation pane on the left, choose .
In the Waiting Room area, click Create Waiting Room. Fill in the following core parameters:
Waiting Room Name:
flash-sale-roomHostname and Path:
promo.example.com/flash-saleSubdomain:
promoPath:
flash-sale
Custom Cookie:
__aliwaitingroom_flash_sale(queueing credential)Total Active Users:
300(match this to your origin's concurrent capacity)New Users per Minute:
300(admits all users quickly at event start)Session Duration:
5
Result verification
The waiting room is enabled by default. When concurrent users on promo.example.com/flash-sale exceeds the Total Active Users limit of 300, excess users see a waiting page with their estimated wait time.

Create a waiting room
Follow these steps for more granular control.
Step 1: Waiting Room Settings
Configure the basic information, capacity, and admission rate for your waiting room in this step.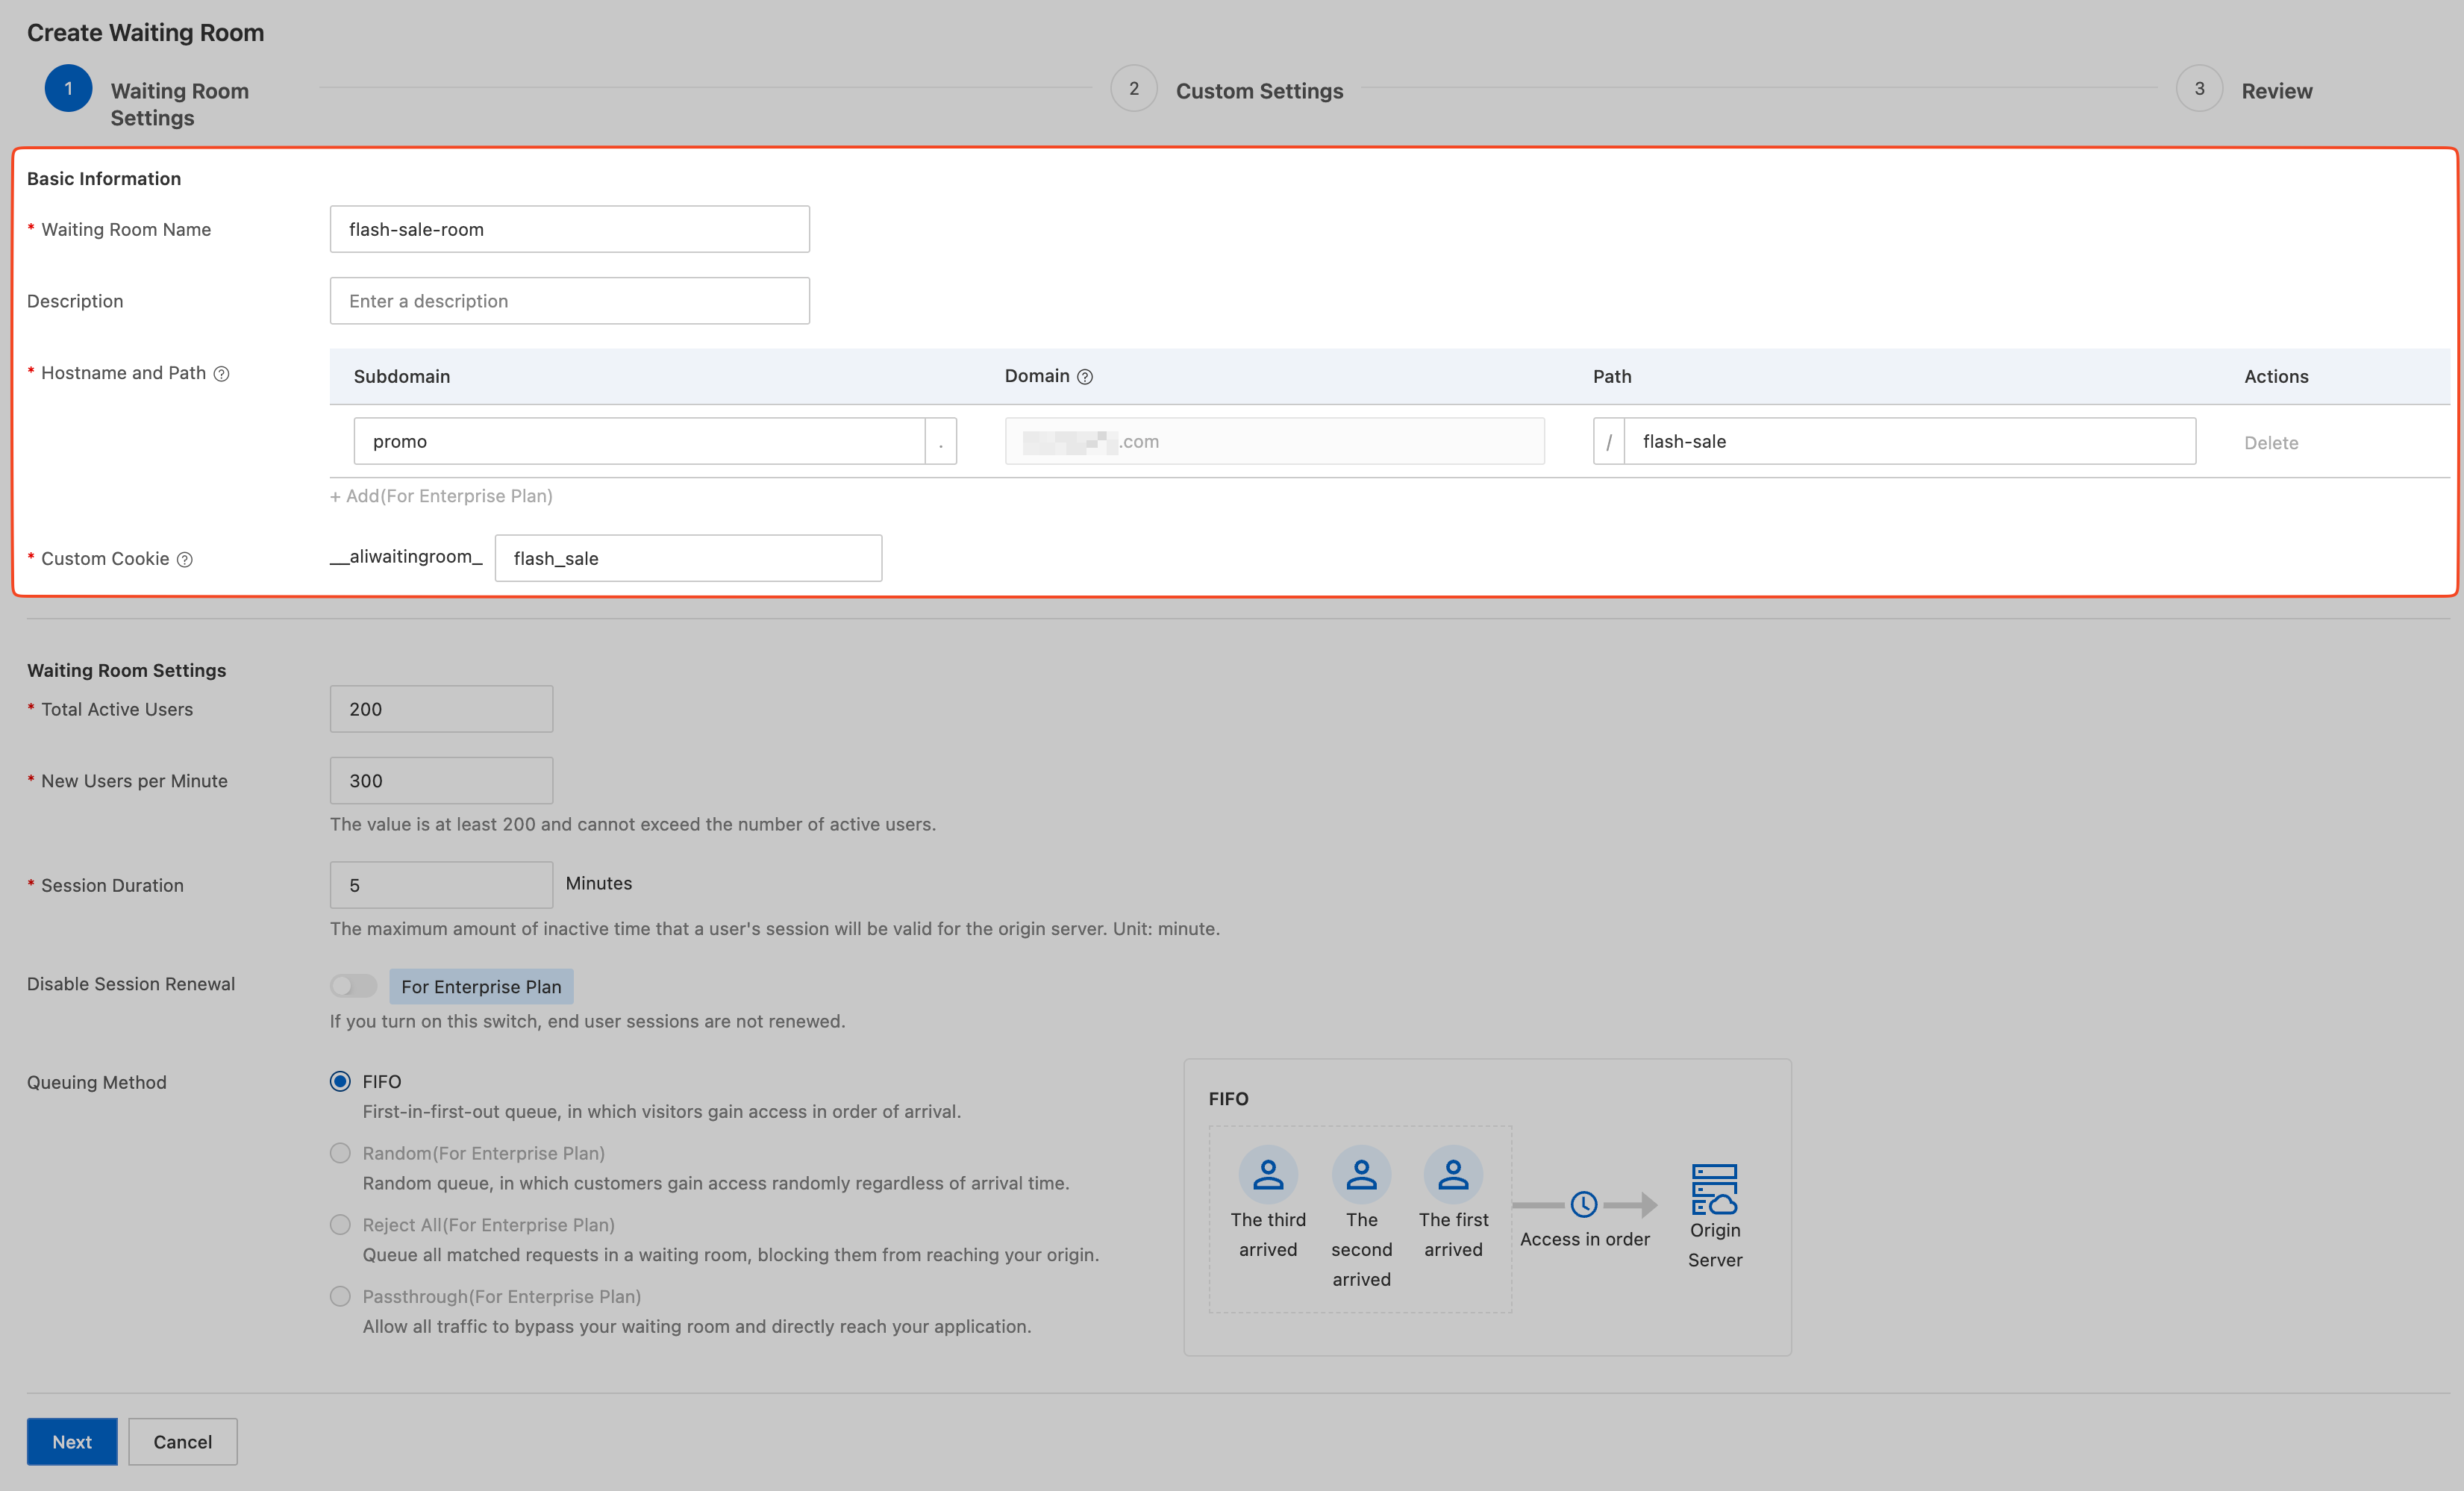
Basic Information
Parameter | Description |
Waiting Room Name | Set a recognizable name, such as |
Hostname and Path | The exact URL where the waiting room is active. Applies only to the specified Subdomain and Path. Example: If the hostname is |
Custom Cookie | Identifies and tracks each user's queue status. The cookie name has a fixed prefix of __aliwaitingroom_. Customize the suffix. Example: |
Waiting Room Settings
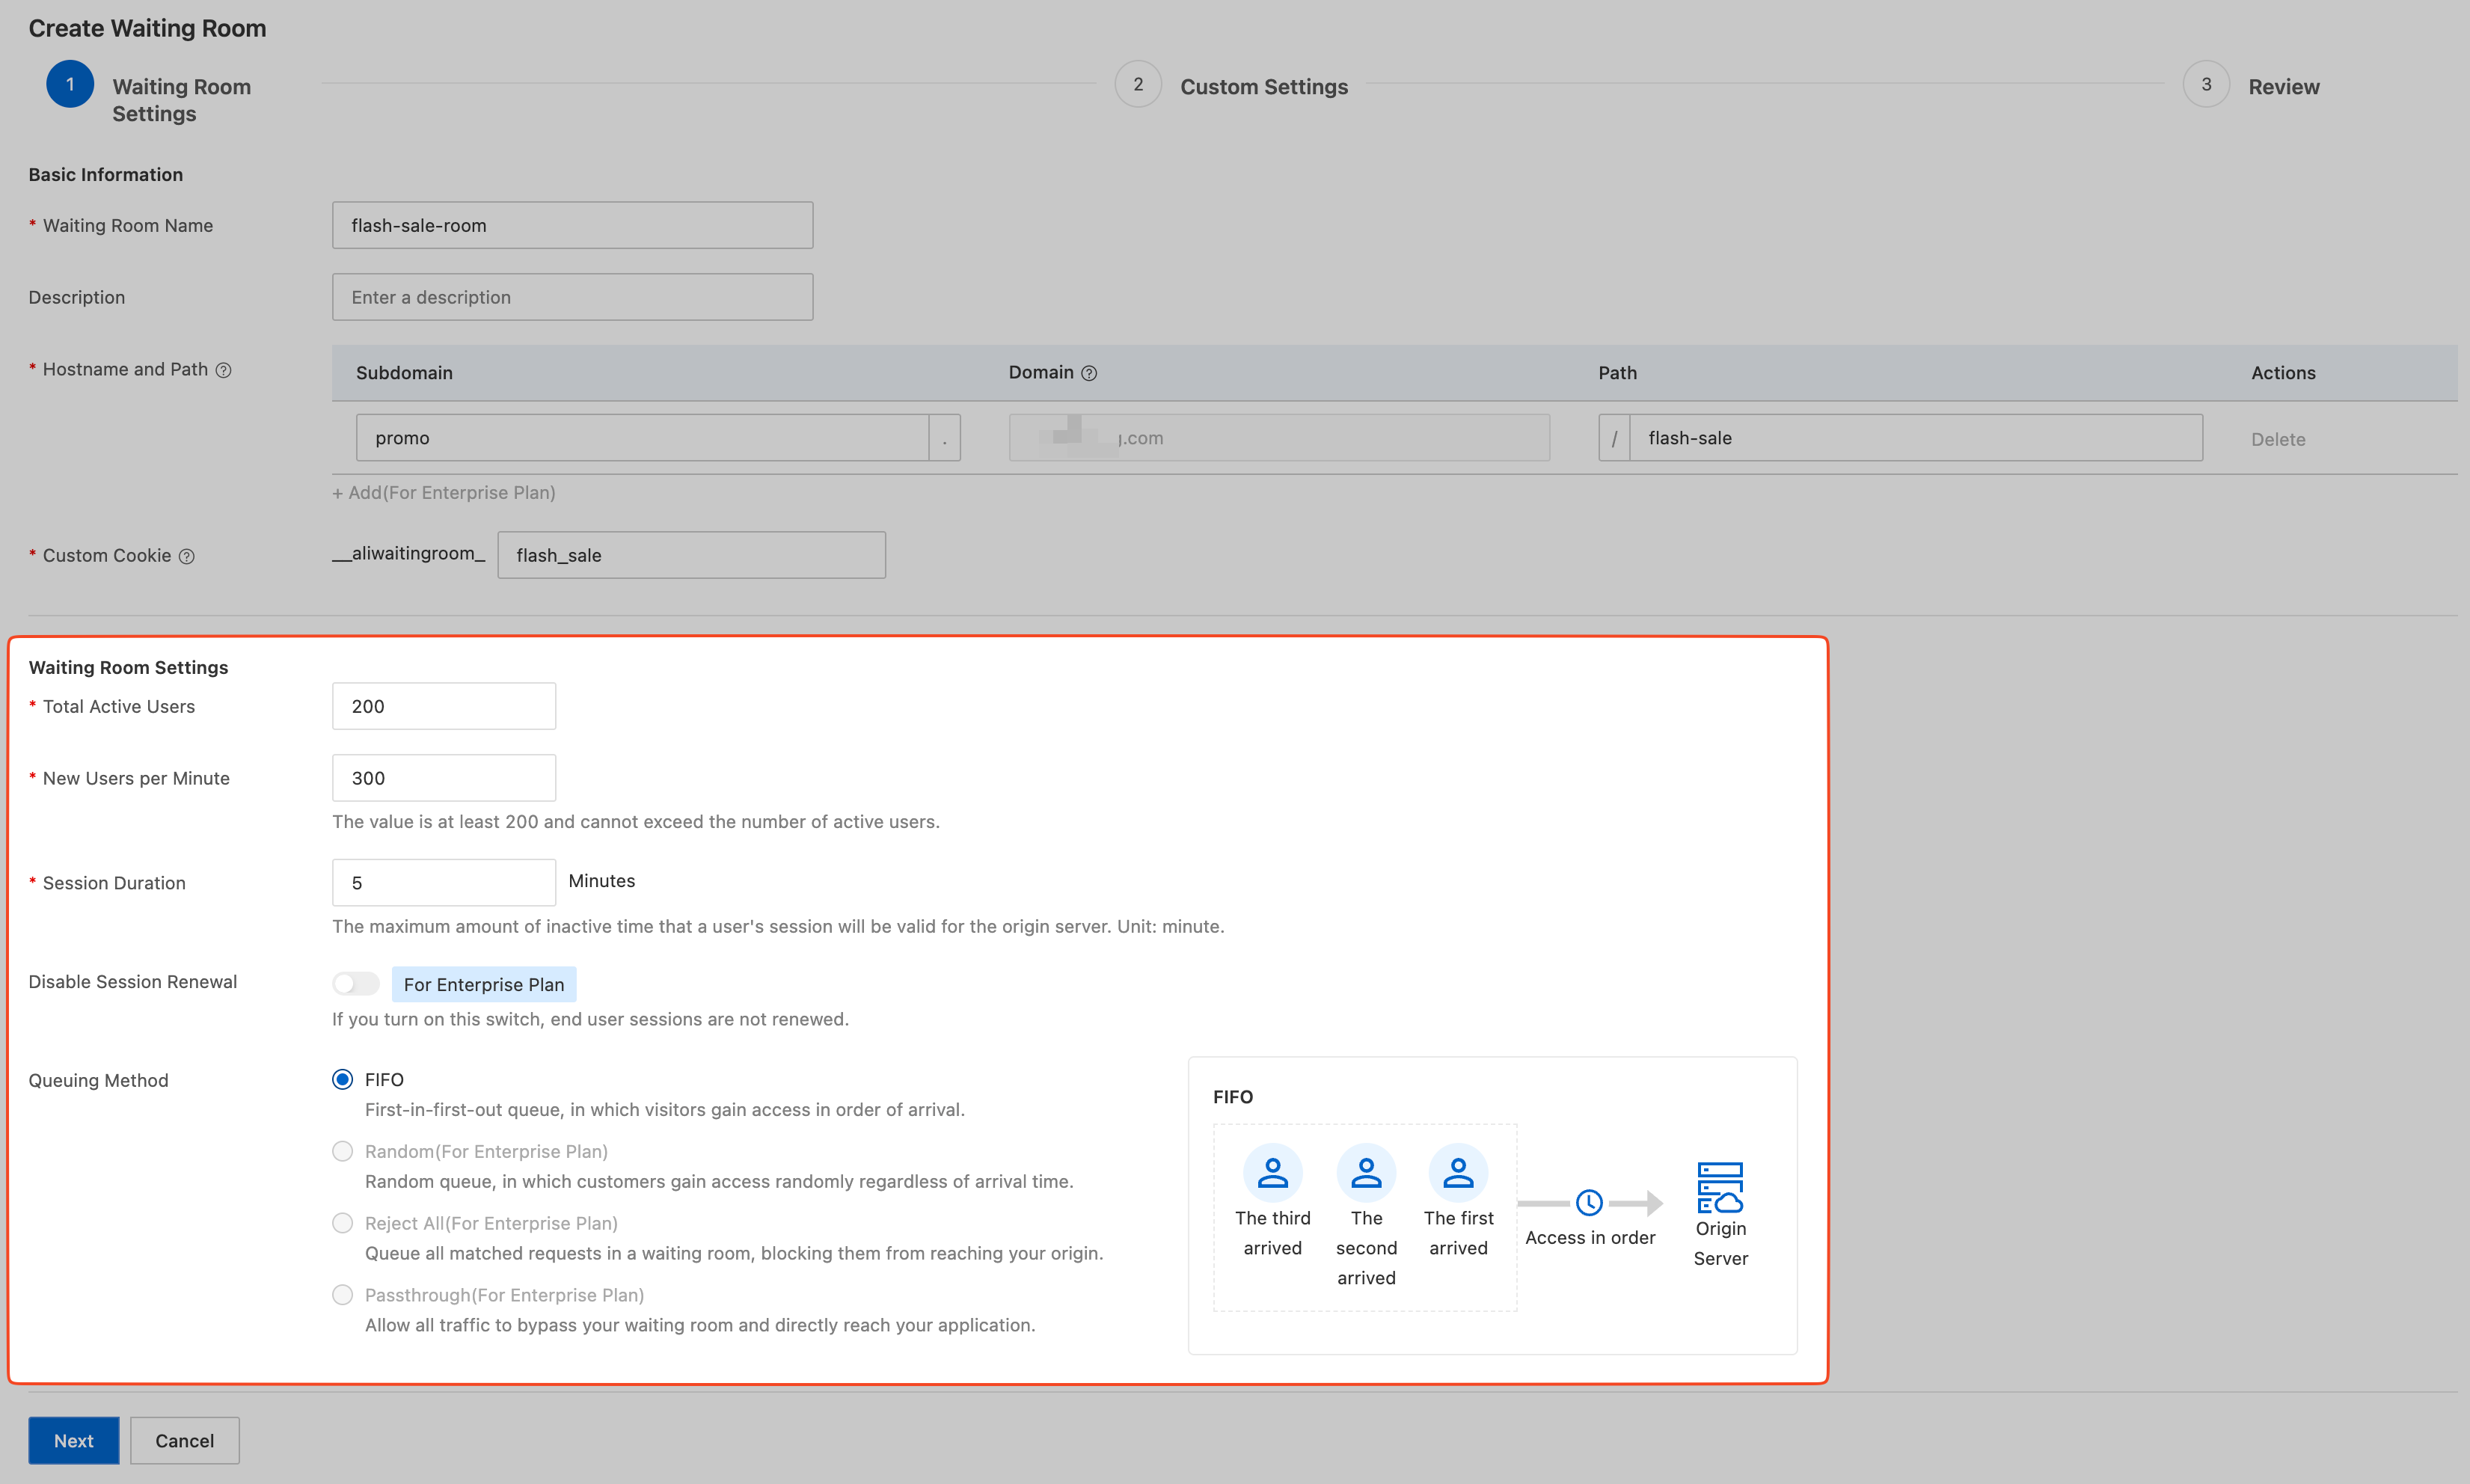
Parameter | Description |
Total Active Users | Purpose: Maximum concurrent users allowed on the origin server. Description: Set this based on your origin's actual concurrent capacity. When active users reach this threshold, new requests enter the queue. Note: Minimum value is 200. If your origin handles fewer than 200 concurrent users, set this to 200 and use New Users per Minute to control the admission rate. |
New Users per Minute | Purpose: Maximum new users admitted from the queue per minute. Controls load growth rate. Description: Determines queue processing speed. For example, setting this to 300 admits up to 300 users from the waiting page per minute. Note: The minimum value is 200. It must be less than or equal to Total Active Users. |
Session Duration | Purpose: How long a user's session remains valid after leaving the queue. Description: If a user leaves the origin (for example, by closing the page) and returns within this period, they skip the queue. Default: 5 minutes. |
Disable Session Renewal | Purpose: Whether a user's session timer resets during active browsing. Note: The toggle name is the opposite of its effect:
|
Queuing Method | Policy for admitting users from the queue.
|
Step 2: Custom Settings
Configure the page content or API response that queued users see.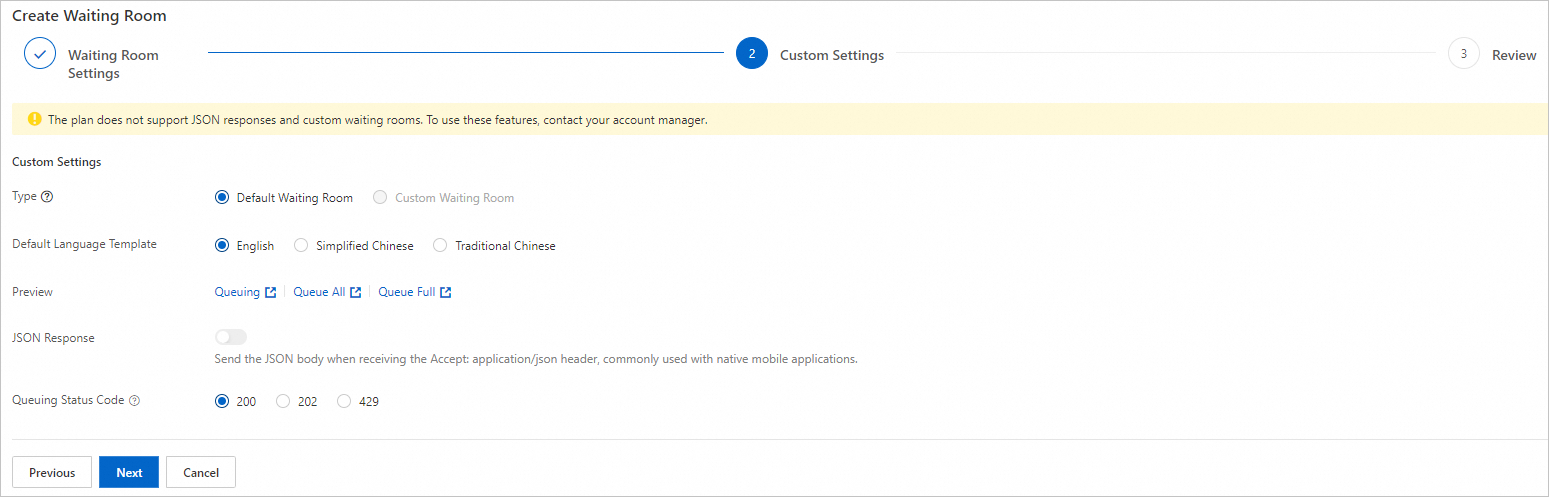
Parameter | Description |
Type | Default Waiting Room: A system-provided waiting page that displays the estimated wait time. You can select a Default Language Template (English, Simplified Chinese, or Traditional Chinese). Custom Waiting Room: Lets you upload a custom HTML page. To use this feature, contact your sales representative.
|
Preview | Preview the waiting page in different states, such as Queuing or Queue All. |
JSON Response | Purpose: Provides structured queue status for non-browser clients (apps, miniapps). Enable this toggle. When a request includes the Interaction flow:
Response example: |
Queuing Status Code | HTTP status code returned to queued users. Default: |
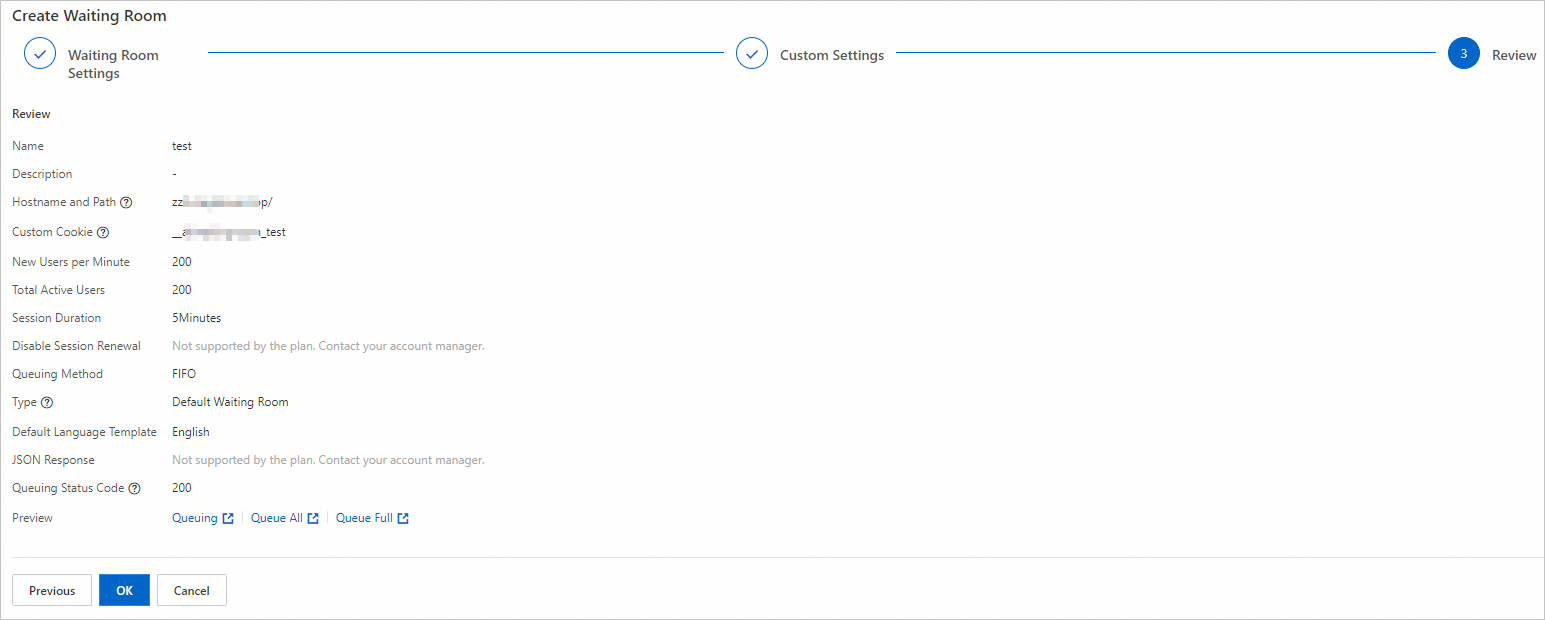
Step 3: Review
The Review page displays all settings from Step 1 and Step 2 in a read-only view. After confirming the parameters, click OK to create the waiting room.
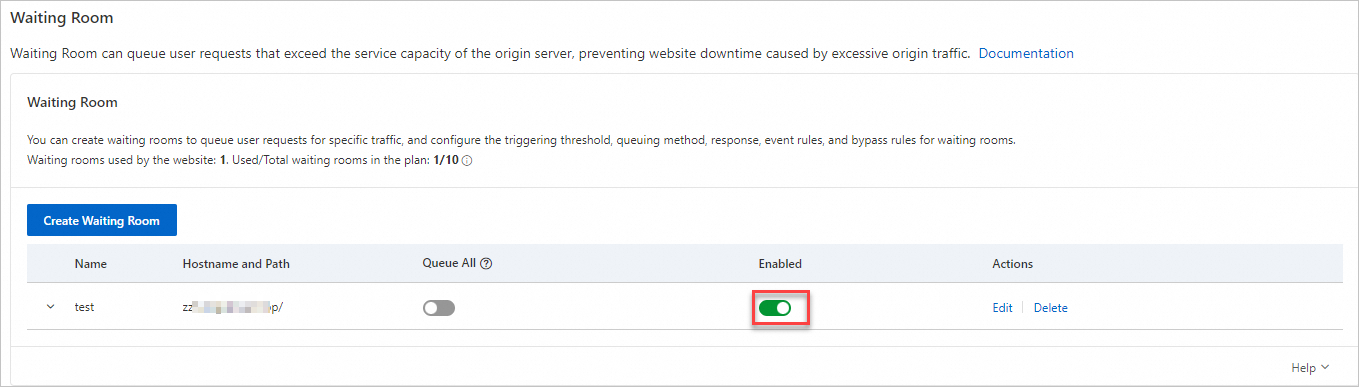
The waiting room is enabled by default after creation.

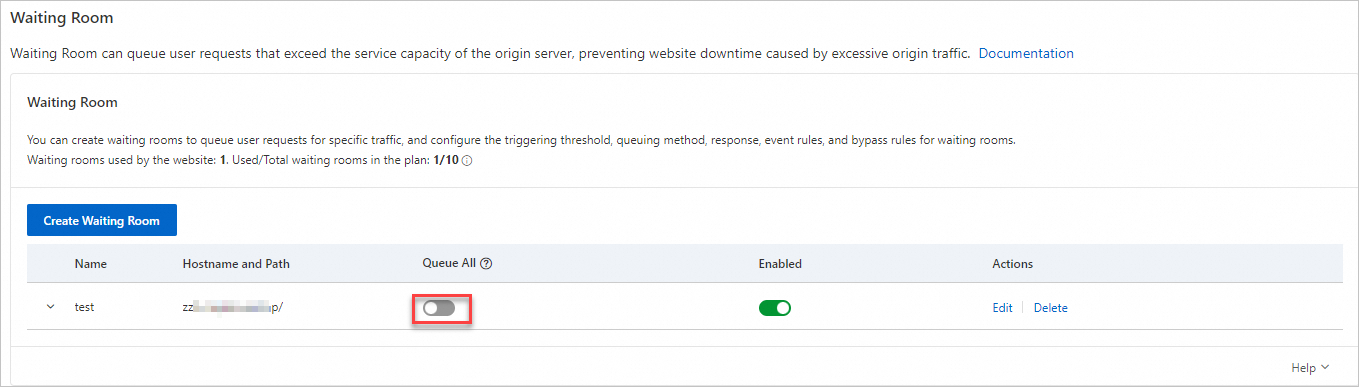
Toggle Queue All on or off as needed:
Off (default): Excess requests enter the queue when Total Active Users and New Users per Minute thresholds are reached.
On: All new visitors must queue. Use for product launches or scheduled events.
NoteActive users continue their sessions and are not re-queued until their session expires.
Queue All overrides all other waiting room settings, including event settings.
What to do next
As an Enterprise user, you can use these advanced features:
Scheduled waiting room events: Adjust capacity and rate parameters at preset times to handle predictable traffic peaks and troughs.
Waiting room bypass rules: Allow specific requests to bypass the queue based on IP, header, or cookie conditions.