Overview
The Data Science node is built on the E-MapReduce (EMR) component and integrates artificial intelligence capabilities from the Alibaba Cloud machine learning platform. It includes the FAISS vector compute engine and deep learning frameworks such as TensorFlow and PyTorch.
Background information
Data Science clusters are designed for big data and AI scenarios and provide the following:
Support for TensorFlow and Paitf distributed model training with the built-in EasyRec algorithm package.
Services such as Jupyterhub and Zeppelin.
The Spark big data distributed computing engine.
The EASCMD, Redis, Hive command-line interface (CLI), and Faiss-Server toolsets.
Target users
Data Science nodes are designed for the following users:
Users who work with open source big data architectures.
Users who use Alibaba Cloud artificial intelligence technology to build solutions, such as Artificial Intelligence Recommendation and intelligent risk control.
Create a cluster
You can create a Data Science cluster in the E-MapReduce console.
If cluster creation takes more than 15 minutes, join the DingTalk group with the ID 32497587 for assistance.
When you create a cluster, note the following:
Select the correct region and EMR version.
Select a region from the top of the page. Check the purchase page for available options.
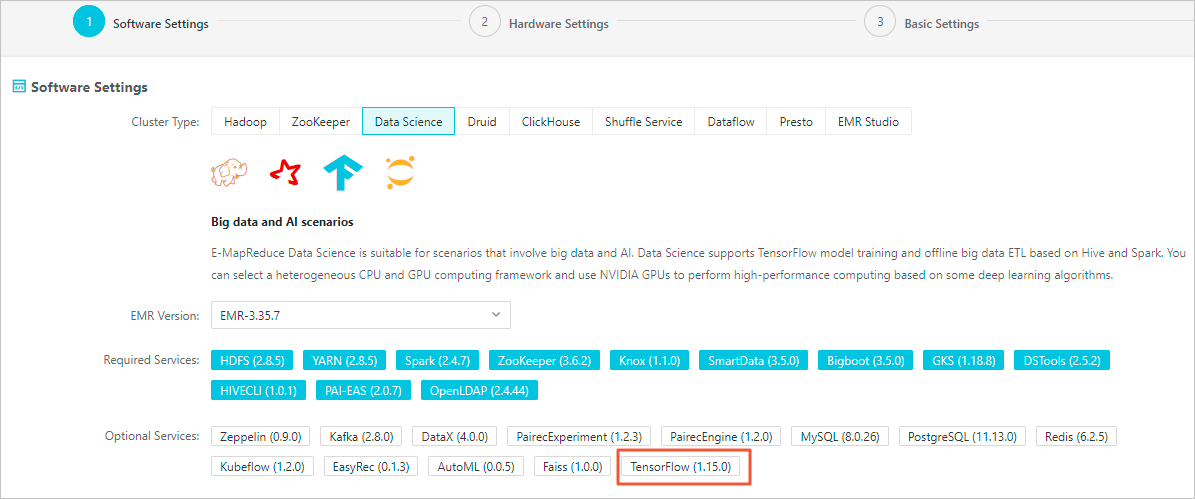
Edition: The latest EMR version is displayed by default.
This topic uses EMR-3.35.7 as an example.
Optional: Optional Services: Select the services that you require, such as TensorFlow.
In the Hardware Configuration step, create a VPC, a vSwitch, and a security group. You are redirected to the ECS console to create a new security group.
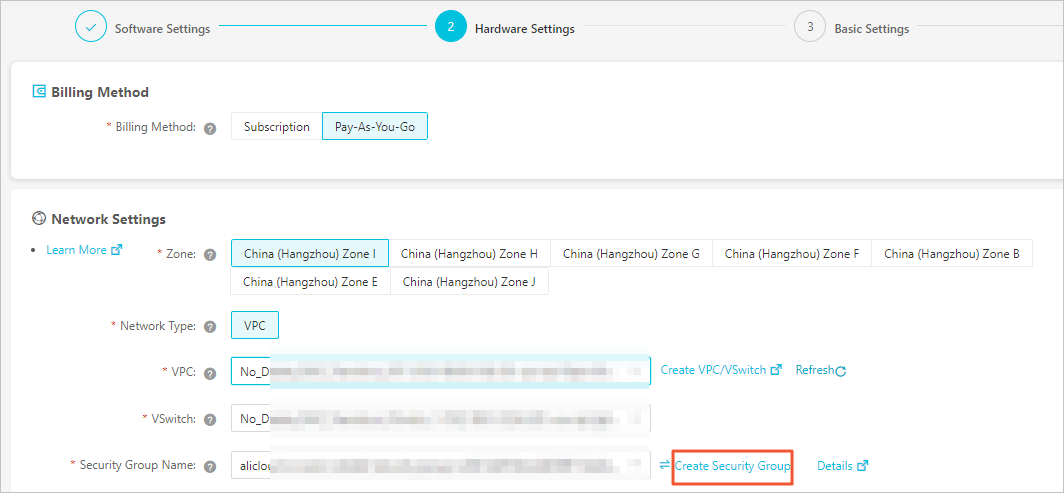
You must open port 8443 to access the component UIs.
In the Basic Configuration step, add a Knox account to log on to the Knox service.

The Knox account is a Resource Access Management (RAM) user.
View a cluster
After the cluster is created, you can view the status of its services on the Cluster Management page.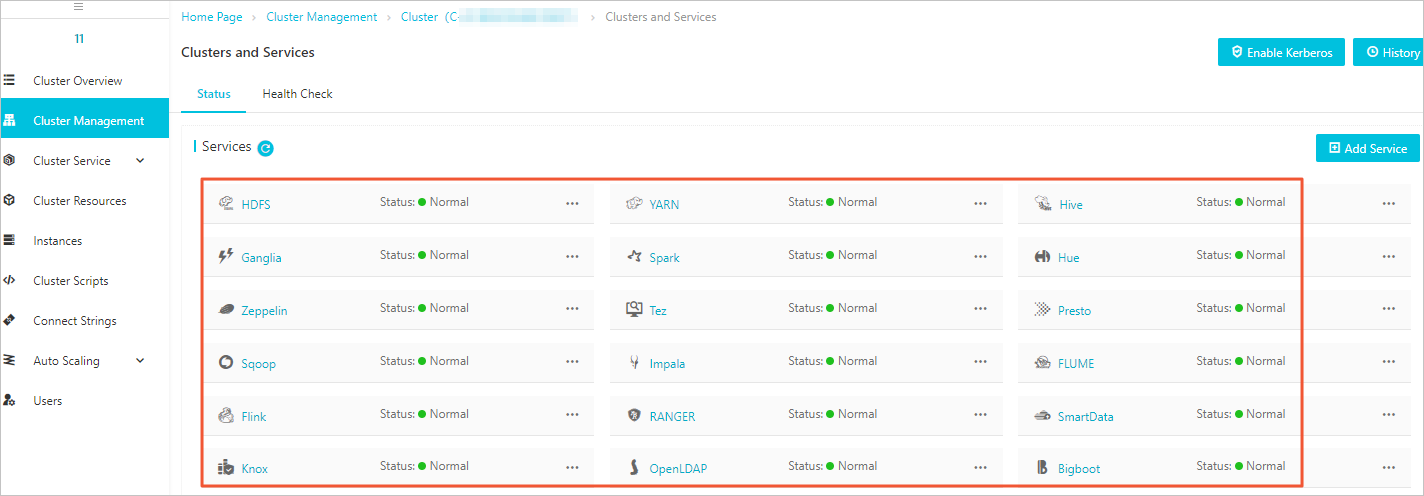
Open port 8443
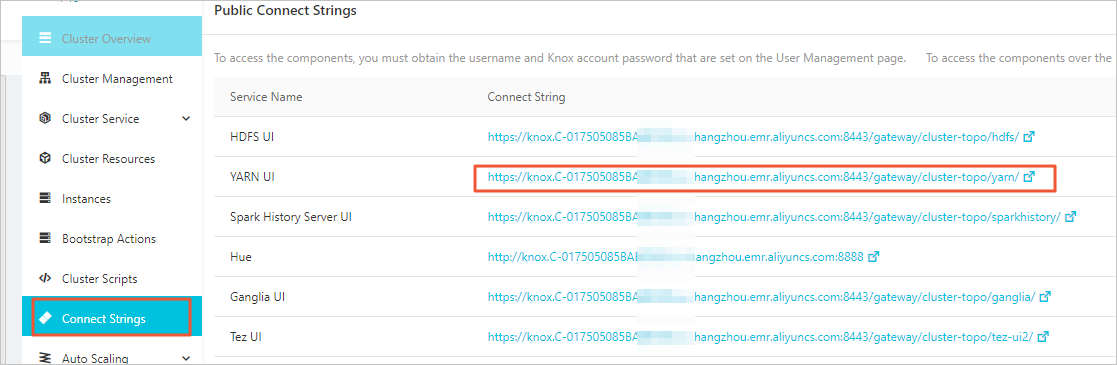
Open port 8443 on the cluster to access the web UIs for services such as YARN and the Hadoop Distributed File System (HDFS).
View logs
You can view the logs of a service by accessing its web UI. The following example shows how to view YARN logs:
Access the YARN web UI.
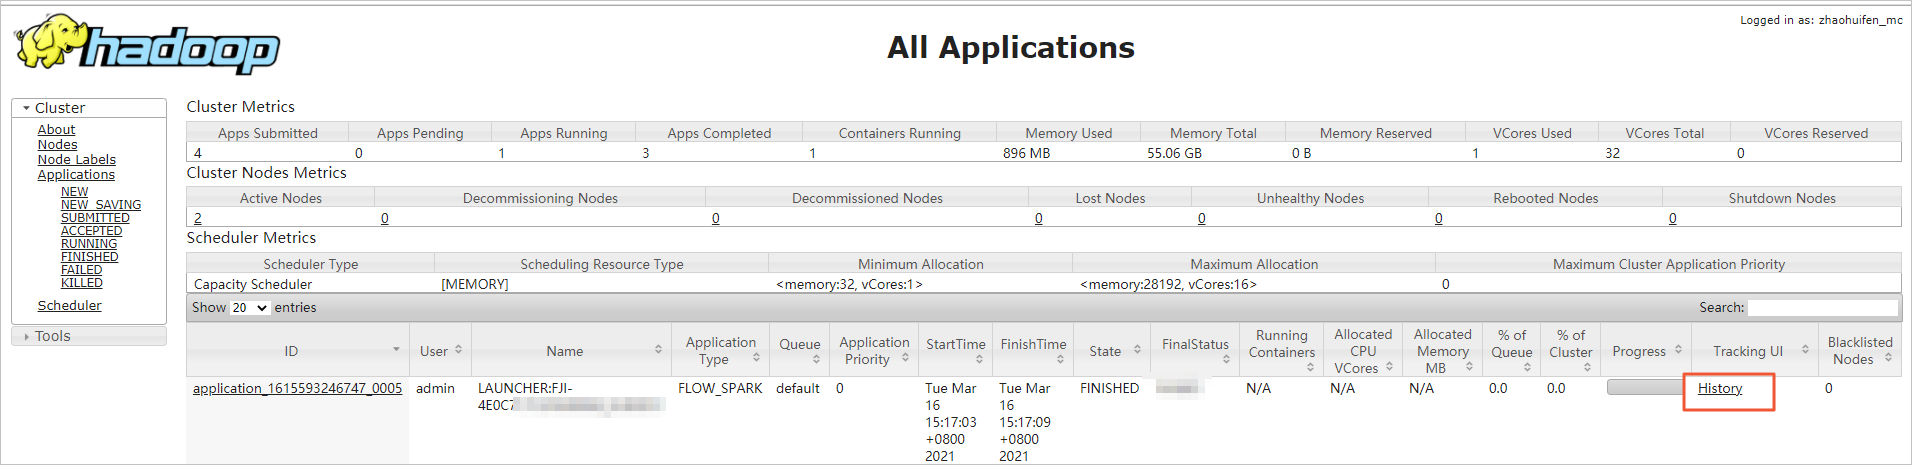
In the row of the application that you want to check, click History.

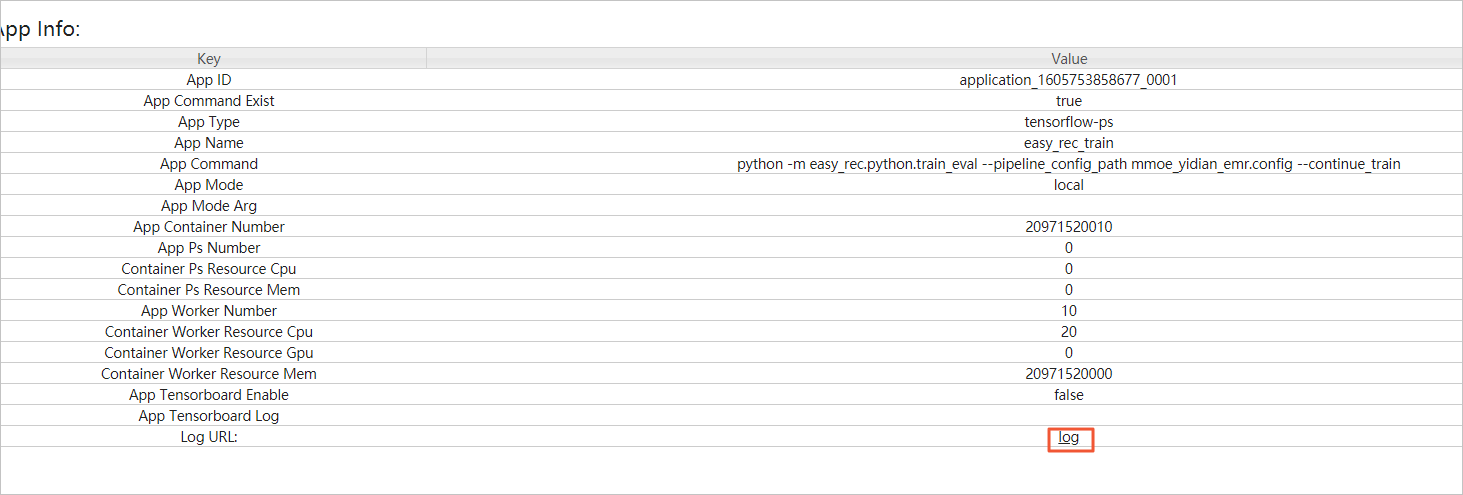
Click Log URL.
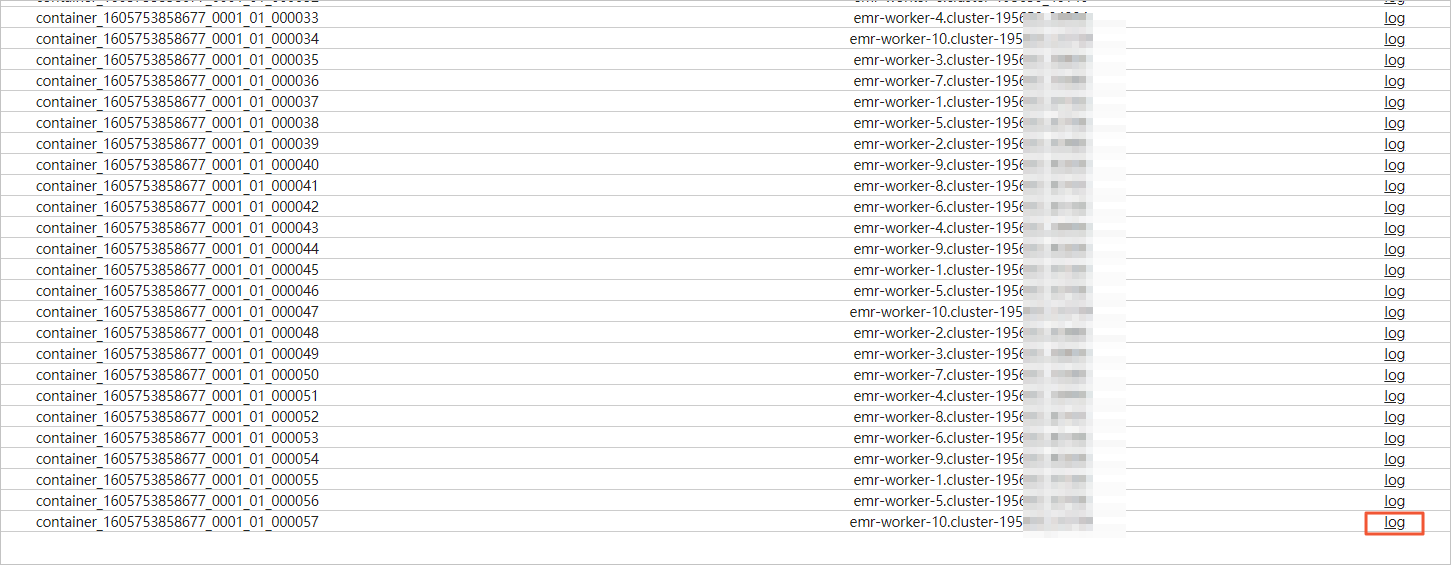
You can search the logs and click Log in the target log's row.
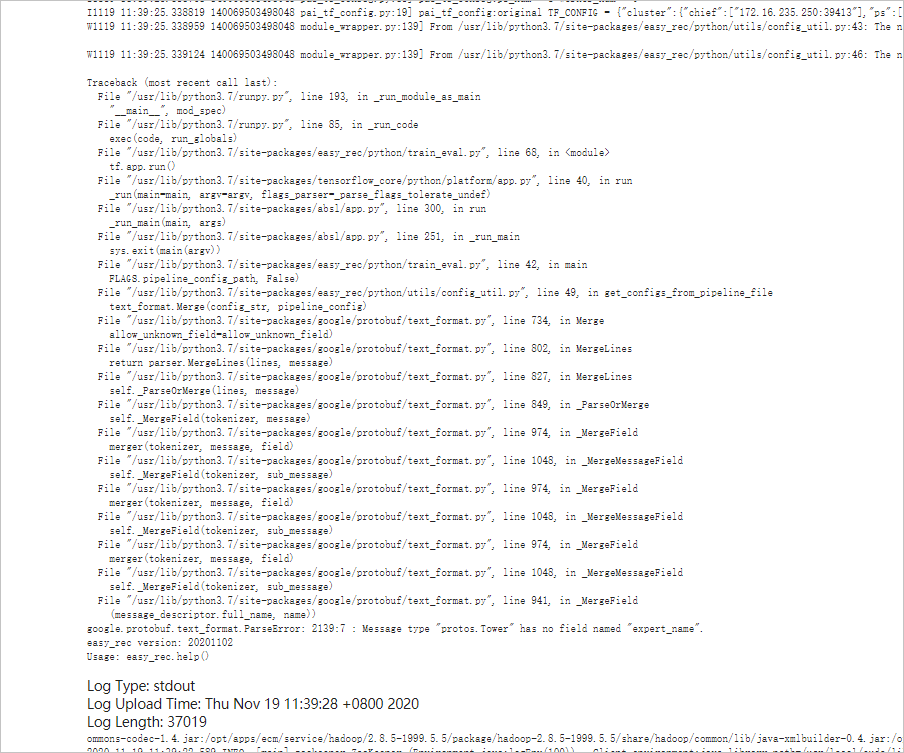
You can view the detailed log information.
Log on to a worker node
Log on to the cluster using the Secure Shell (SSH) protocol.
Switch to the hadoop user.
su hadoopObtain the IP address of the worker node.
cat /etc/hosts | grep workerA message similar to the following is returned.
192.168.**.** emr-worker-2.cluster-20**** emr-worker-2 emr-header-3.cluster-20**** emr-header-3 iZbp19nv7e19wx1ub0t**** 192.168.**.** emr-worker-1.cluster-20**** emr-worker-1 emr-header-2 emr-header-2.cluster-20**** iZbp19nv7e19wx1ub0t****Note192.168.**.**is the IP address of the worker node.Log on to the worker node without a password.
ssh <yourWorkIp>NoteyourWorkIp is the IP address of the worker node that you obtained.
After you log on to the worker node, run commands with root permissions using the sudo command.
sudo pip3.7 install xxxNotexxxspecifies the command to execute or the name of the package to install.
Train a model using EasyRec
The EasyRec algorithm library is built into EMR Data Science clusters and contains classic and mainstream recommendation algorithms, such as DeepFM, DIN, and MultiTower. You can use this library directly for model training.
Assign a public IP address to a worker node
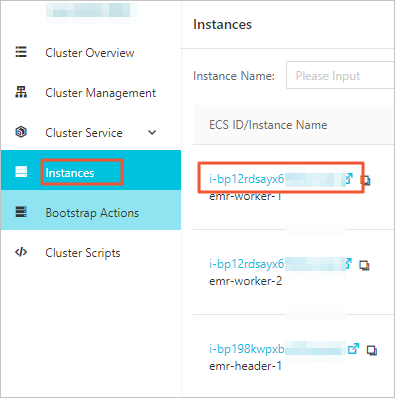
In the Host List section of the E-MapReduce console, click the ECS ID of the desired worker node.
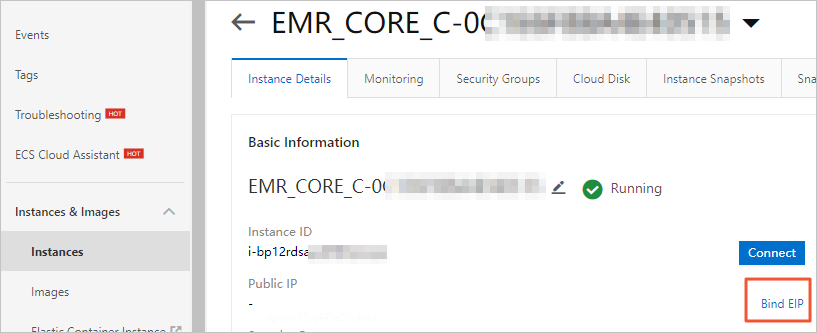
On the Instances page of the ECS console, click Attach Elastic IP Address.
In the Attach Elastic IP Address dialog box, select an existing Elastic IP Address (EIP) or click Create Elastic IP Address to create a new public IP address.
For more information, see Request an EIP.