Examples of using public layers
Official public layers in Function Compute (FC) ship pre-configured runtimes and common dependencies for popular programming languages. Attach a layer to your function instead of bundling dependencies in your code package. Compared to custom layers, official public layers require no environment setup — runtimes and libraries are pre-installed.
Why use official public layers:
-
Smaller deployment packages. Keep dependencies out of your code archive.
-
Zero environment configuration. Standard runtimes and libraries are pre-installed.
-
Reuse across functions. Attach the same layer to any function in your account.
-
Independent updates. Update function code without touching its dependencies.
For the latest layer versions and usage instructions, see awesome-layers.
Example 1: Capture web page screenshots with Node.js 16 and Puppeteer
Puppeteer automates browser tasks through Chrome or Chromium: capturing screenshots, generating PDFs, submitting forms, running UI tests, and simulating keyboard input. It runs as a headless browser on Node.js.
This example creates a function that takes a full-page screenshot of any URL and returns the image as a PNG.
Steps overview: Create an event function → Add the function code → Attach the Puppeteer public layer → Test the function.
Step 1: Create an event function
On the Create Function page, set the following parameters and keep the defaults for everything else. For details, see Create an event function.
| Parameter | Value |
|---|---|
| Function type | Event Function |
| Runtime | Node.js 16 |
| Memory Capacity | 1024 MB |
Step 2: Add the function code
On the function details page, click the Code tab, replace the content of index.js with the following code, and then click Deploy.
const fs = require('fs');
const puppeteer = require('puppeteer');

function autoScroll(page) {
  return page.evaluate(() => {
      return new Promise((resolve, reject) => {
          var totalHeight = 0;
          var distance = 100;
          var timer = setInterval(() => {
              var scrollHeight = document.body.scrollHeight;
              window.scrollBy(0, distance);
              totalHeight += distance;
              if (totalHeight >= scrollHeight) {
                  clearInterval(timer);
                  resolve();
              }
          }, 100);
      })
  });
}

exports.handler = async (event, context, callback) => {
  console.log('Node version is: ' + process.version);

  try {
    const browser = await puppeteer.launch({
        headless: true,
        args: [
            '--disable-gpu',
            '--disable-dev-shm-usage',
            '--disable-setuid-sandbox',
            '--no-first-run',
            '--no-zygote',
            '--no-sandbox'
        ]
    });

    // 1. Read the target URL from the query string; fall back to the Serverless Devs homepage
    let url = 'https://www.serverless-devs.com';
    if (event.queryStringParameters && event.queryStringParameters.url) {
        url = event.queryStringParameters.url;
    }
    if (!url.startsWith('https://') && !url.startsWith('http://')) {
        url = 'http://' + url;
    }

    const page = await browser.newPage();
    await page.emulateTimezone('Asia/Shanghai');
    await page.goto(url, { waitUntil: 'networkidle2' });
    await page.setViewport({ width: 1200, height: 800 });

    // 2. Scroll the full page before taking the screenshot
    await autoScroll(page);

    // 3. Save a full-page PNG screenshot to /tmp/example
    let path = '/tmp/example';
    let contentType = 'image/png';
    await page.screenshot({ path: path, fullPage: true, type: 'png' });

    await browser.close();

    const screenshot = fs.readFileSync(path);

    // 4. Return the screenshot as a base64-encoded HTTP response body
    const response = {
        statusCode: 200,
        headers: {
            'Content-Type': contentType
        },
        body: screenshot.toString('base64'),
        isBase64Encoded: true
    };

    callback(null, response);
  } catch (err) {
    const errorResponse = {
        statusCode: 500,
        headers: {
            'Content-Type': 'text/plain'
        },
        body: err.message
    };
    callback(null, errorResponse);
  }
};
Step 3: Attach the Puppeteer public layer
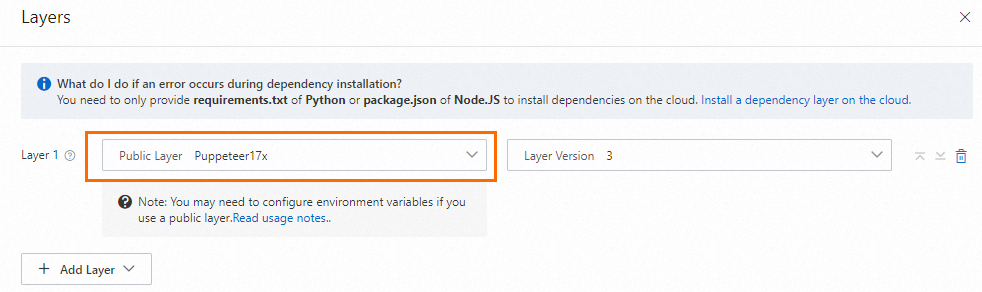
Attach the Puppeteer17x official public layer to your function. For step-by-step instructions, see Configure common layers in the Function Compute console.
Step 4: Test the function
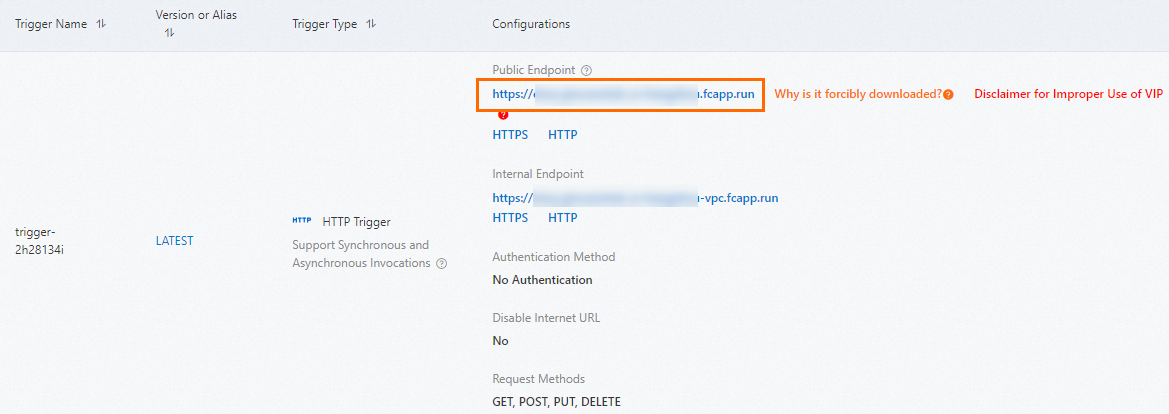
Create an HTTP trigger. In the Configurations column of the trigger, copy the Internet Endpoint URL and paste it into a browser. For instructions, see Create a trigger.
A full-page PNG screenshot of the Serverless Devs website is captured and automatically downloaded to your local machine.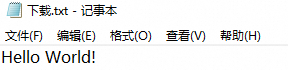
Example 2: Run a .NET 6 custom runtime with public layers
This example shows how to use an official public layer to run a .NET 6 web function without bundling the .NET runtime in your code package.
Steps overview: Create a web function → Test the function.
Step 1: Create a web function
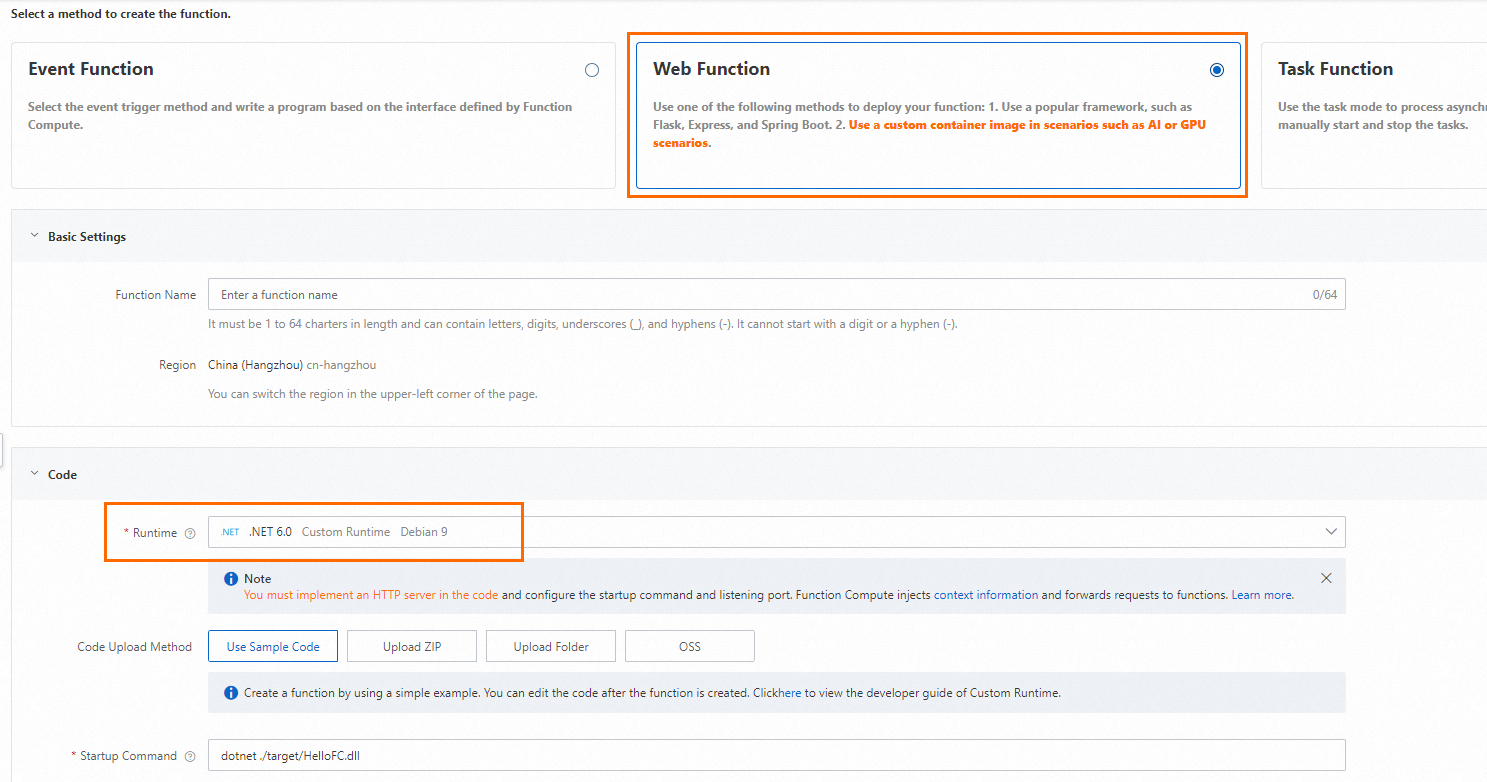
On the Create Function page, configure the parameters as shown below and keep the defaults for everything else. For details, see Create a web function.
After the function is created, open the Program.cs sample file in WebIDE:
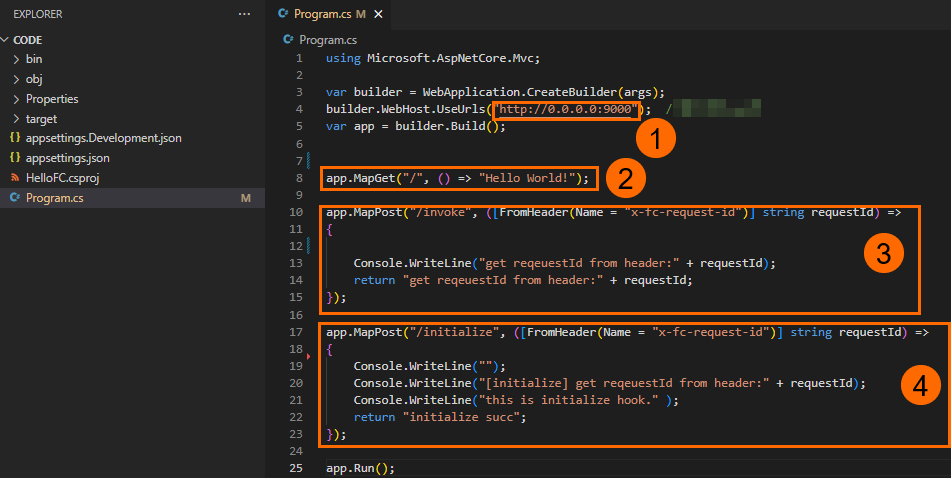
The sample code sets up four key behaviors:
-
① The server listens on
0.0.0.0:9000. Custom runtime services must listen on0.0.0.0:CAPortor*:CAPort— not on127.0.0.1orlocalhost. For details, see Principles. -
② The
/route returns the string"Hello World! ". -
③ The
/invokeroute handles function invocations. For details, see Web functions. -
④ The
/initializeroute maps to the Initializer lifecycle hook, which runs once during instance startup. For details, see Lifecycle hooks for function instances.
Step 2: Test the function
Test the root route
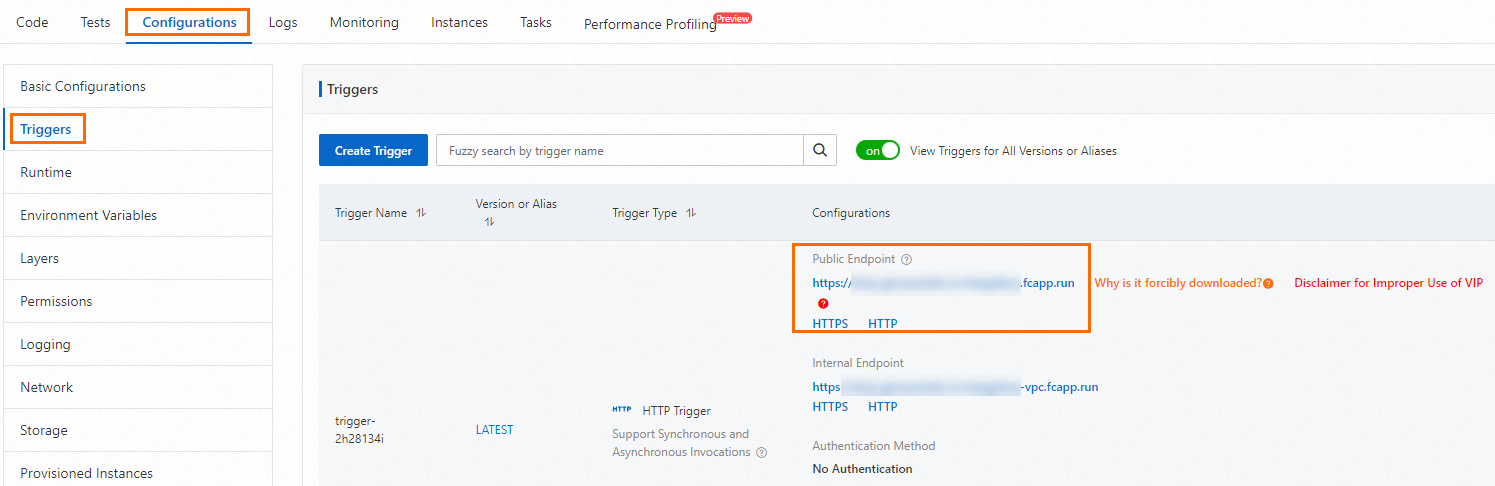
In the Configurations column of the trigger, copy the Internet Endpoint URL and paste it directly into a browser (no path suffix). The response is automatically downloaded to your local machine.
Test the invoke and initialize routes
Append /invoke or /initialize to the public endpoint and send a POST request:
curl -XPOST <public-endpoint>/invoke
curl -XPOST <public-endpoint>/initialize
The following figure shows the execution result.
