Industrial analytics and modeling
This topic describes how to use the industrial analytics and modeling module of the AICS platform.
Industrial analytics and modeling workflow
Create an industrial analytics and modeling project
Log in to the AICS platform.
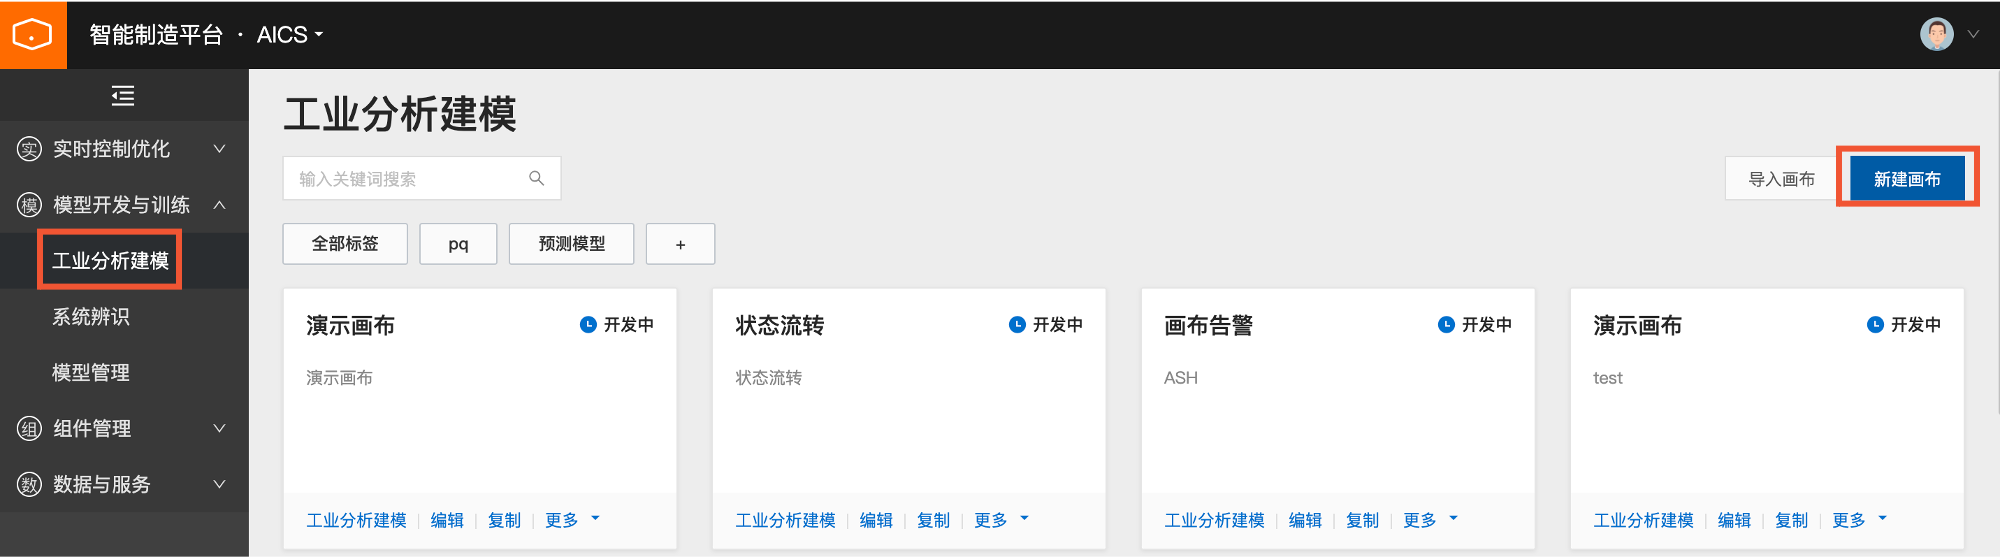
In the navigation pane on the left, choose Model Development & Training > Industrial Analytics & Modeling.
In the upper-right corner of the page, click New Canvas.
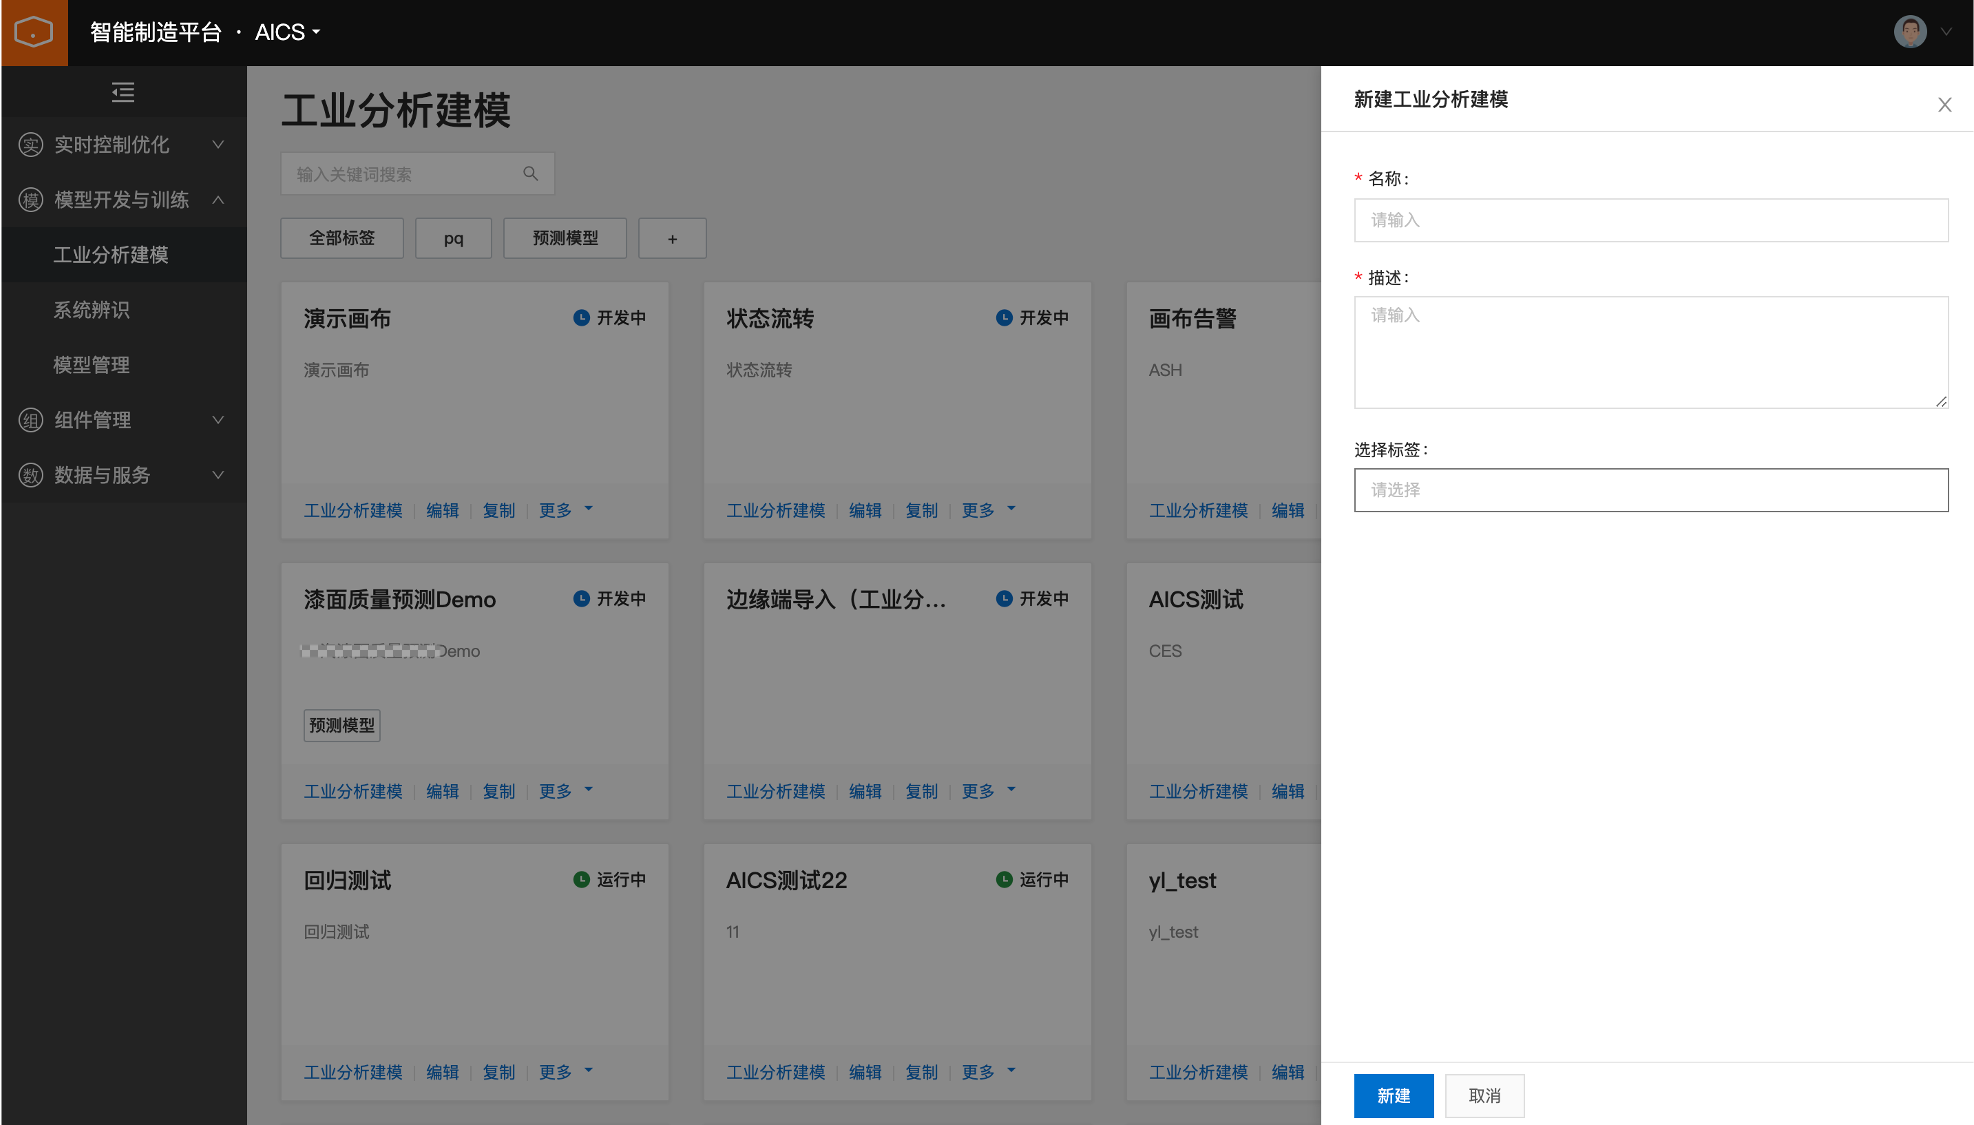
In the New Industrial Analytics & Modeling panel, enter a name and description, and then click Create in the lower-left corner.
Build an algorithm flow
On the Industrial Analytics & Modeling page, find the project you want to edit and click Industrial Analytics & Modeling on its card.
On the algorithm design page, drag components from the list on the left to the canvas. This topic uses a CSV component as an example. The CSV component is a data source component that reads offline data.
Configure the CSV component.
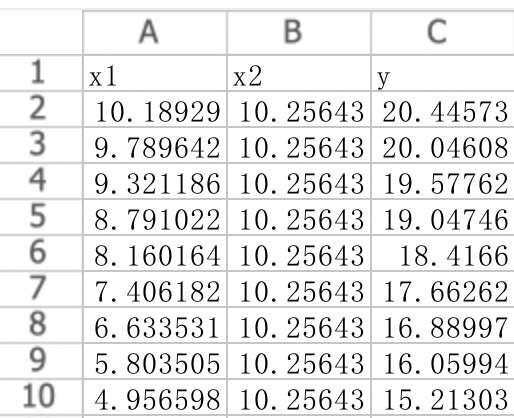
On the canvas, select the CSV component. In the configuration pane on the right, click Upload File. The CSV file must be in the specified format, where the first row contains parameter names and subsequent rows contain parameter values. The following figure shows an example:
In the configuration pane on the right, click Data Definition. The CSV component reads the parameter names from the file. In the left box, select the parameters you want to use, move them to the right box, and then click Save.
This topic uses a linear regression component as an example.
From the list on the left, drag the linear regression component to the canvas. Connect the output port (OUT) of the CSV component to the input port (IN1) of the linear regression component.
Select the linear regression component. In the configuration pane on the right, click Feature Variables.
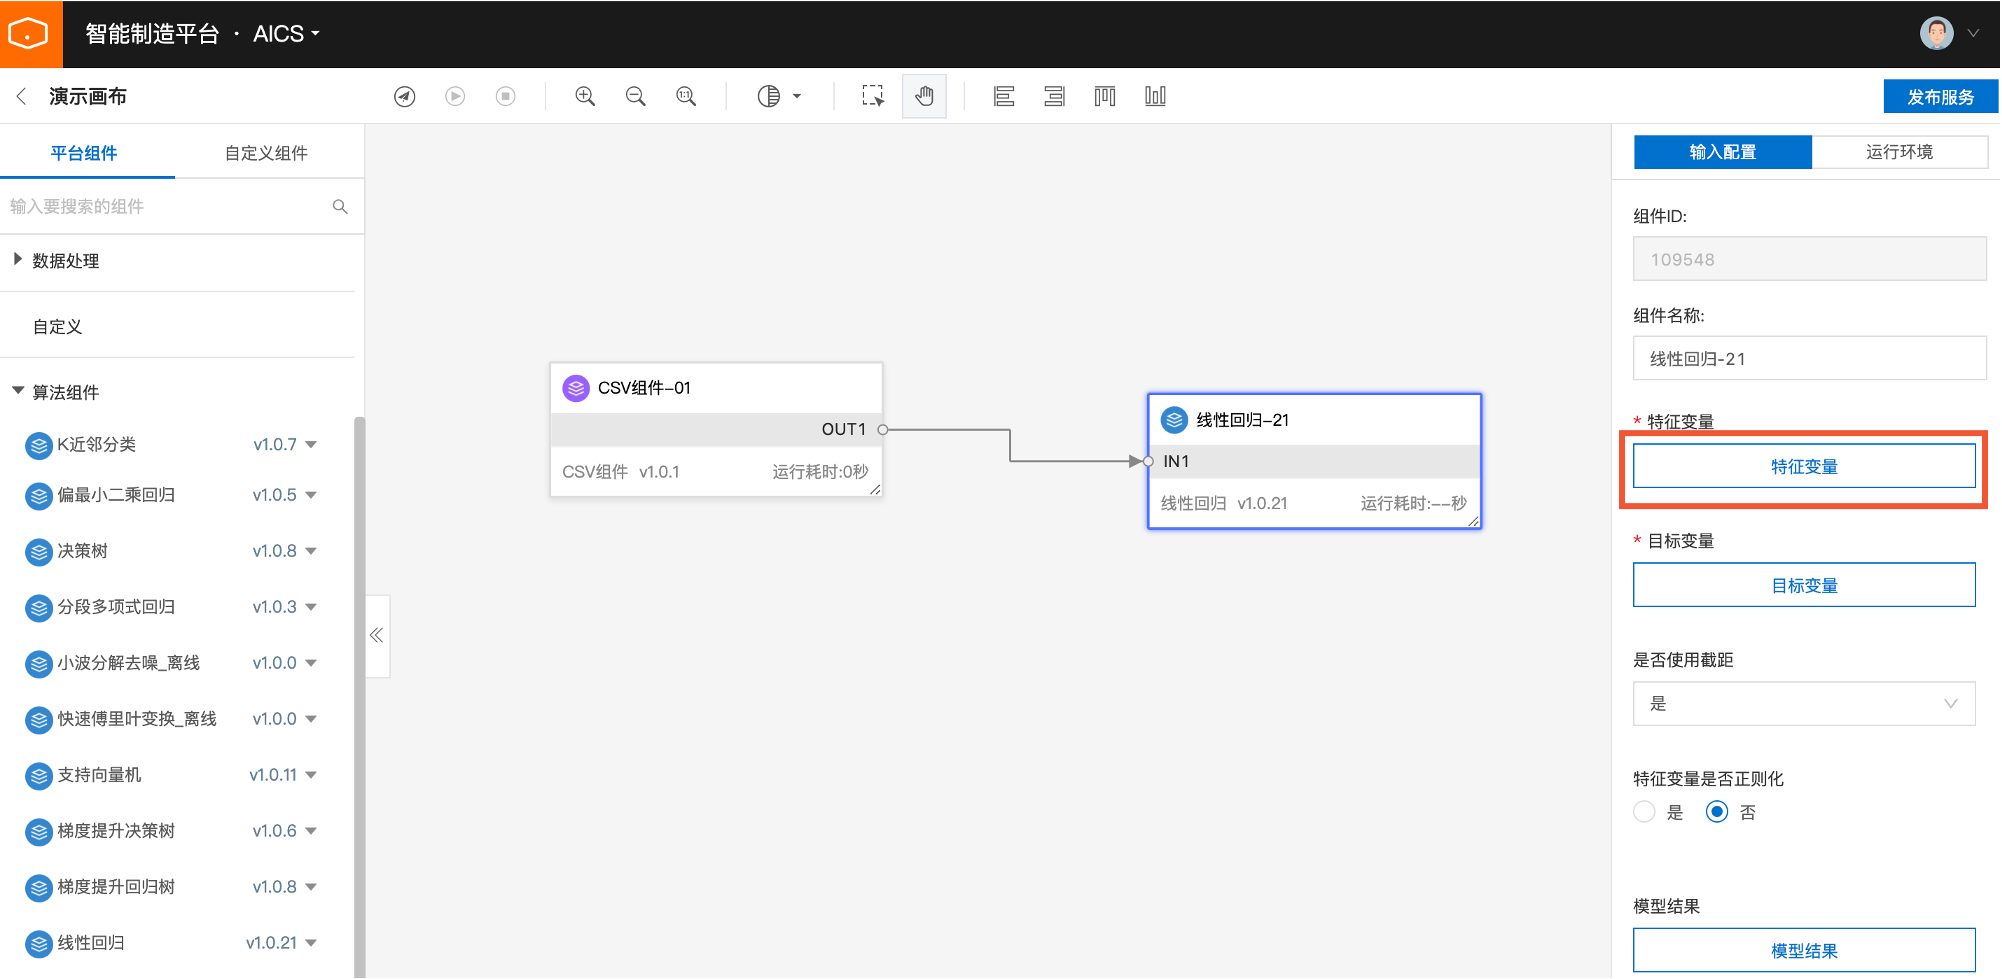
In the Feature Variables panel, click Add to add a parameter input box. From the Parameter Mapping list, select the required parameter. The system automatically fills in the input parameter, but you can modify it. Then, click OK.
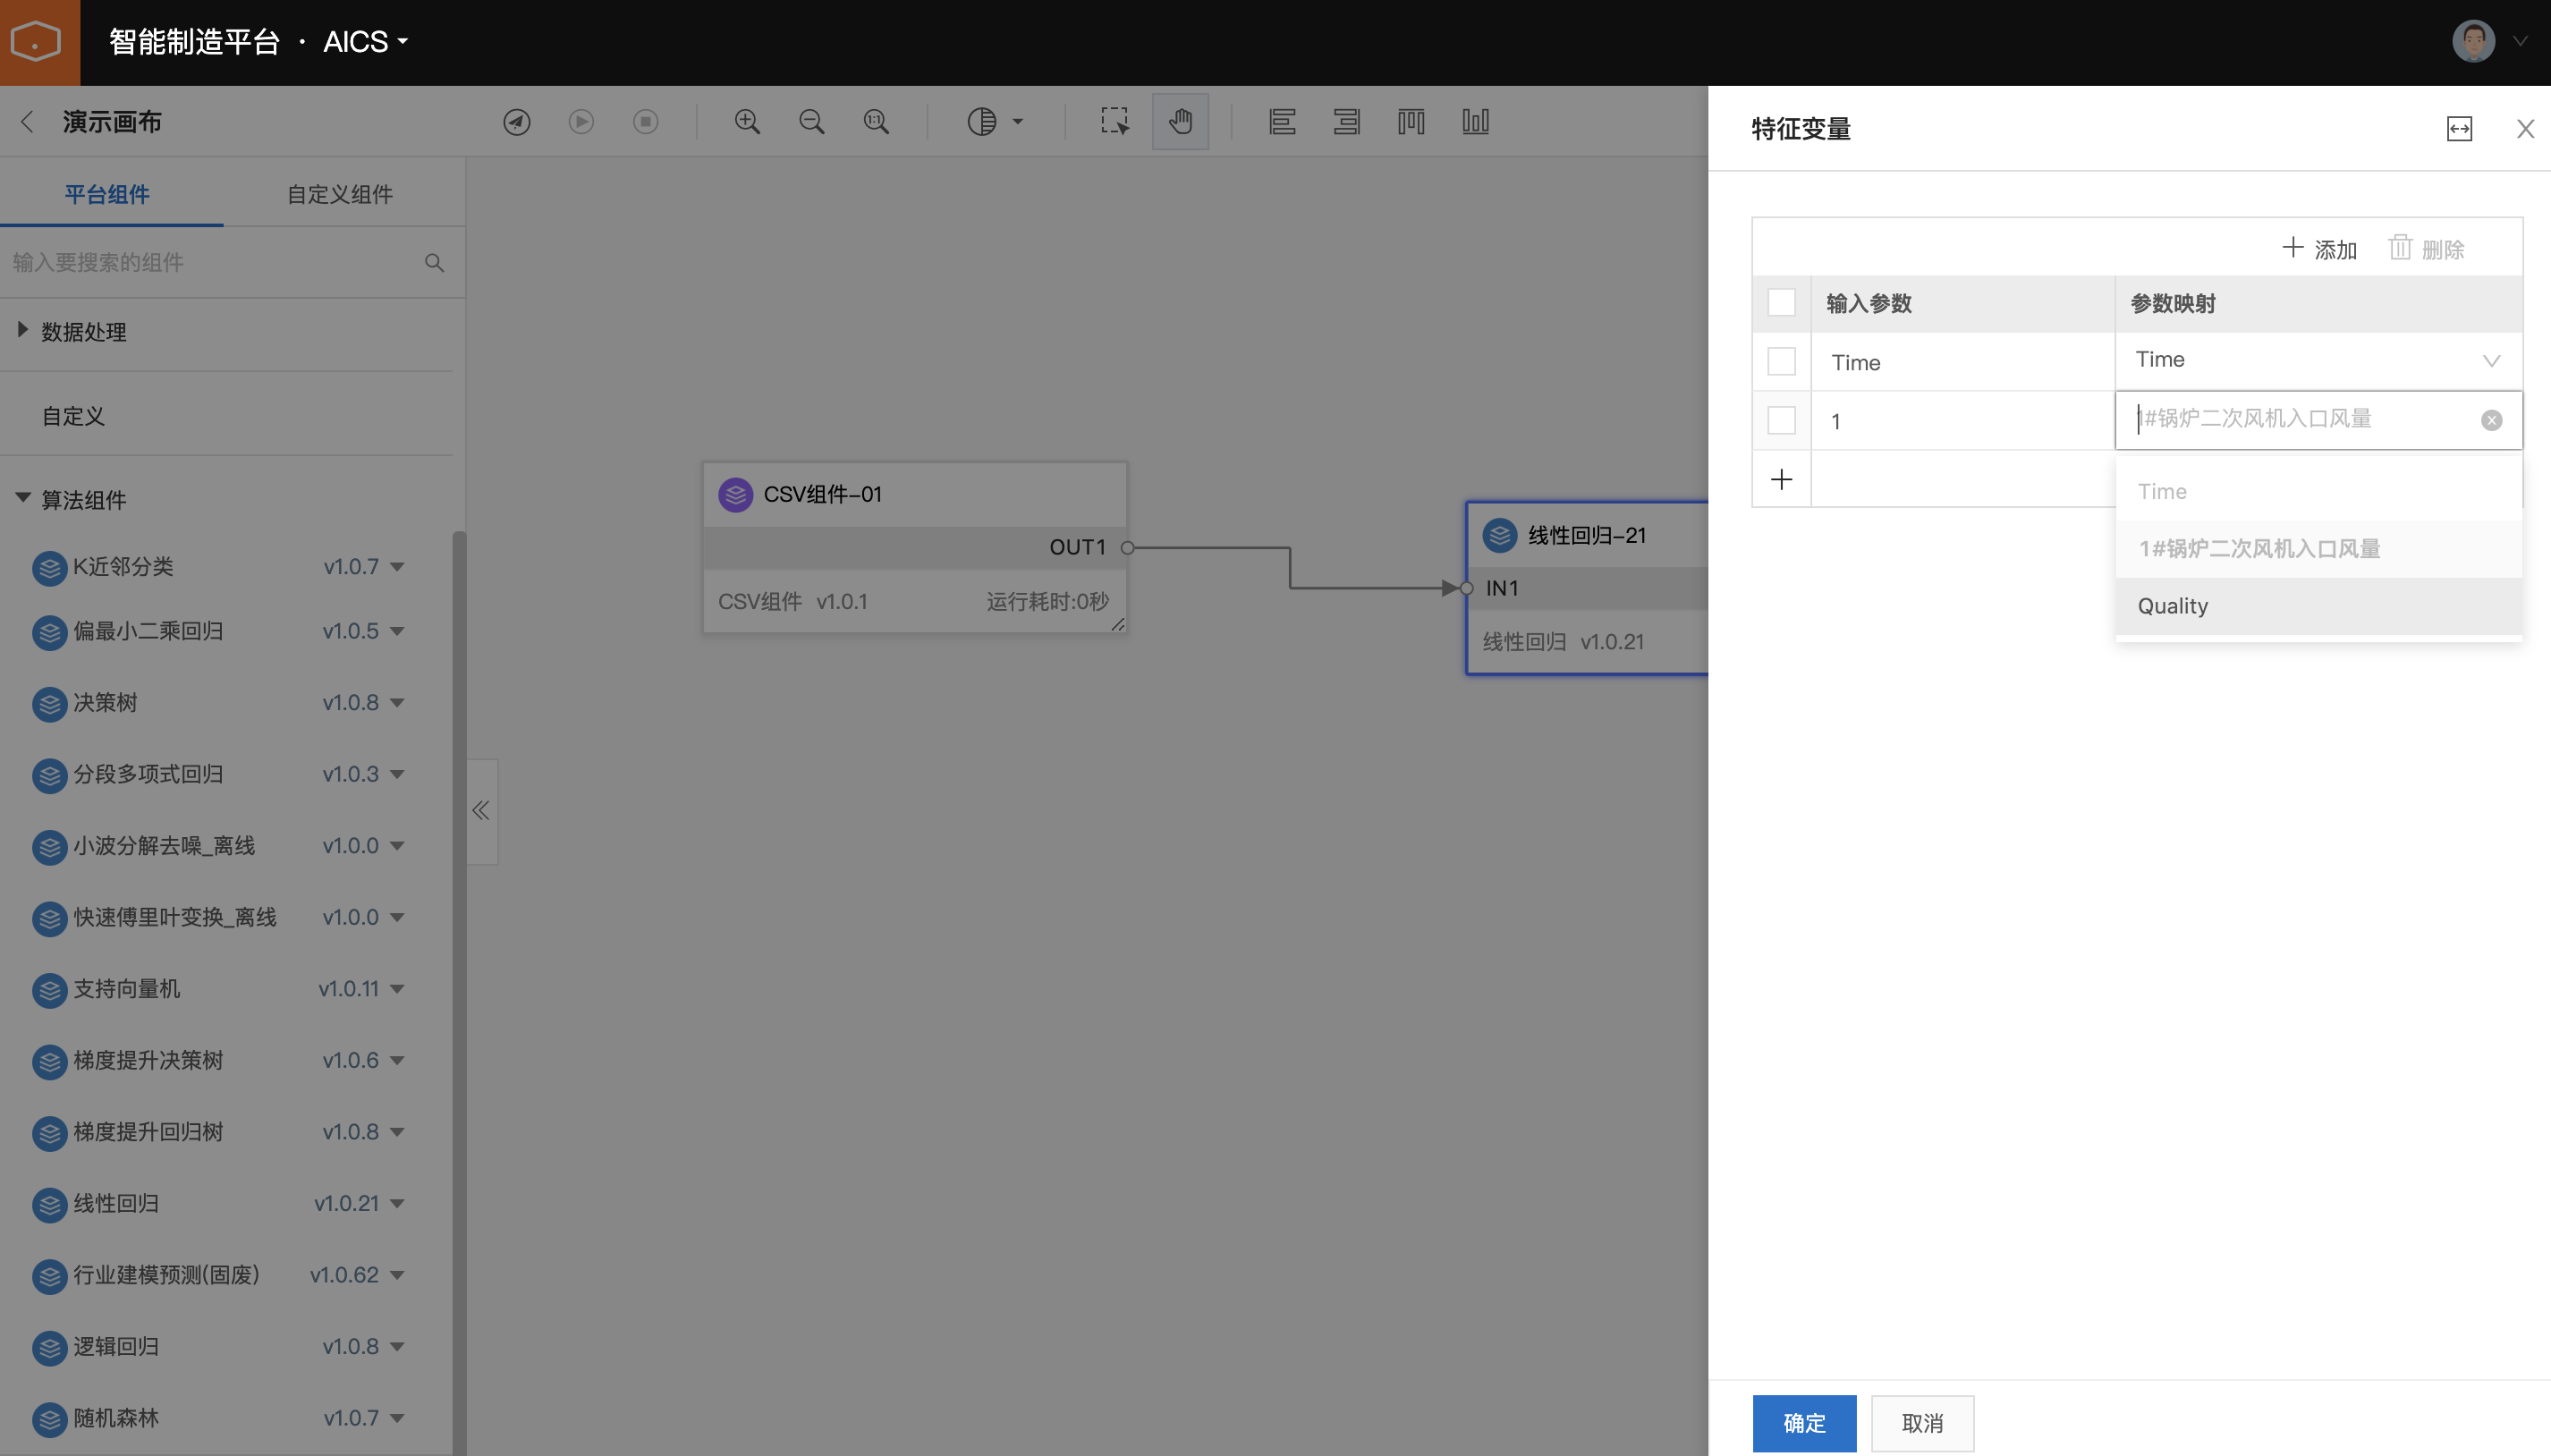
In the configuration pane on the right, click Target Variable.
In the Target Variable panel, select the required parameter from the Parameter Mapping list and click OK.
NoteIn a linear regression algorithm, the number of target variables is fixed. You do not need to manually add variables.

Run the algorithm
In the upper-right corner of the canvas, click Deploy to deploy the configured flow.
The deployment process may take 1 to 2 minutes to complete. Please wait. You cannot edit the canvas during deployment.
View and publish the model results
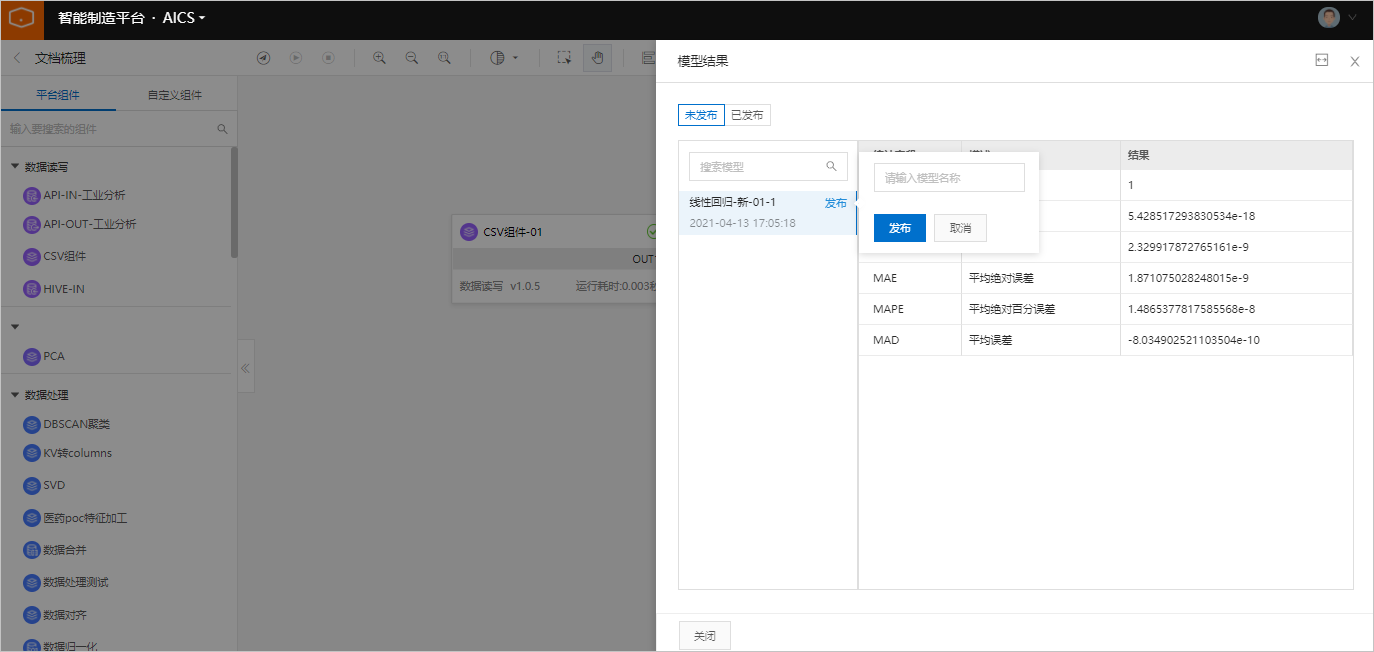
On the canvas, select the linear regression component. In the configuration pane on the right, click Model Results to view all models generated by the algorithm.
Find the model you want to publish and click Publish. In the dialog box that appears, enter a model name and click Publish.
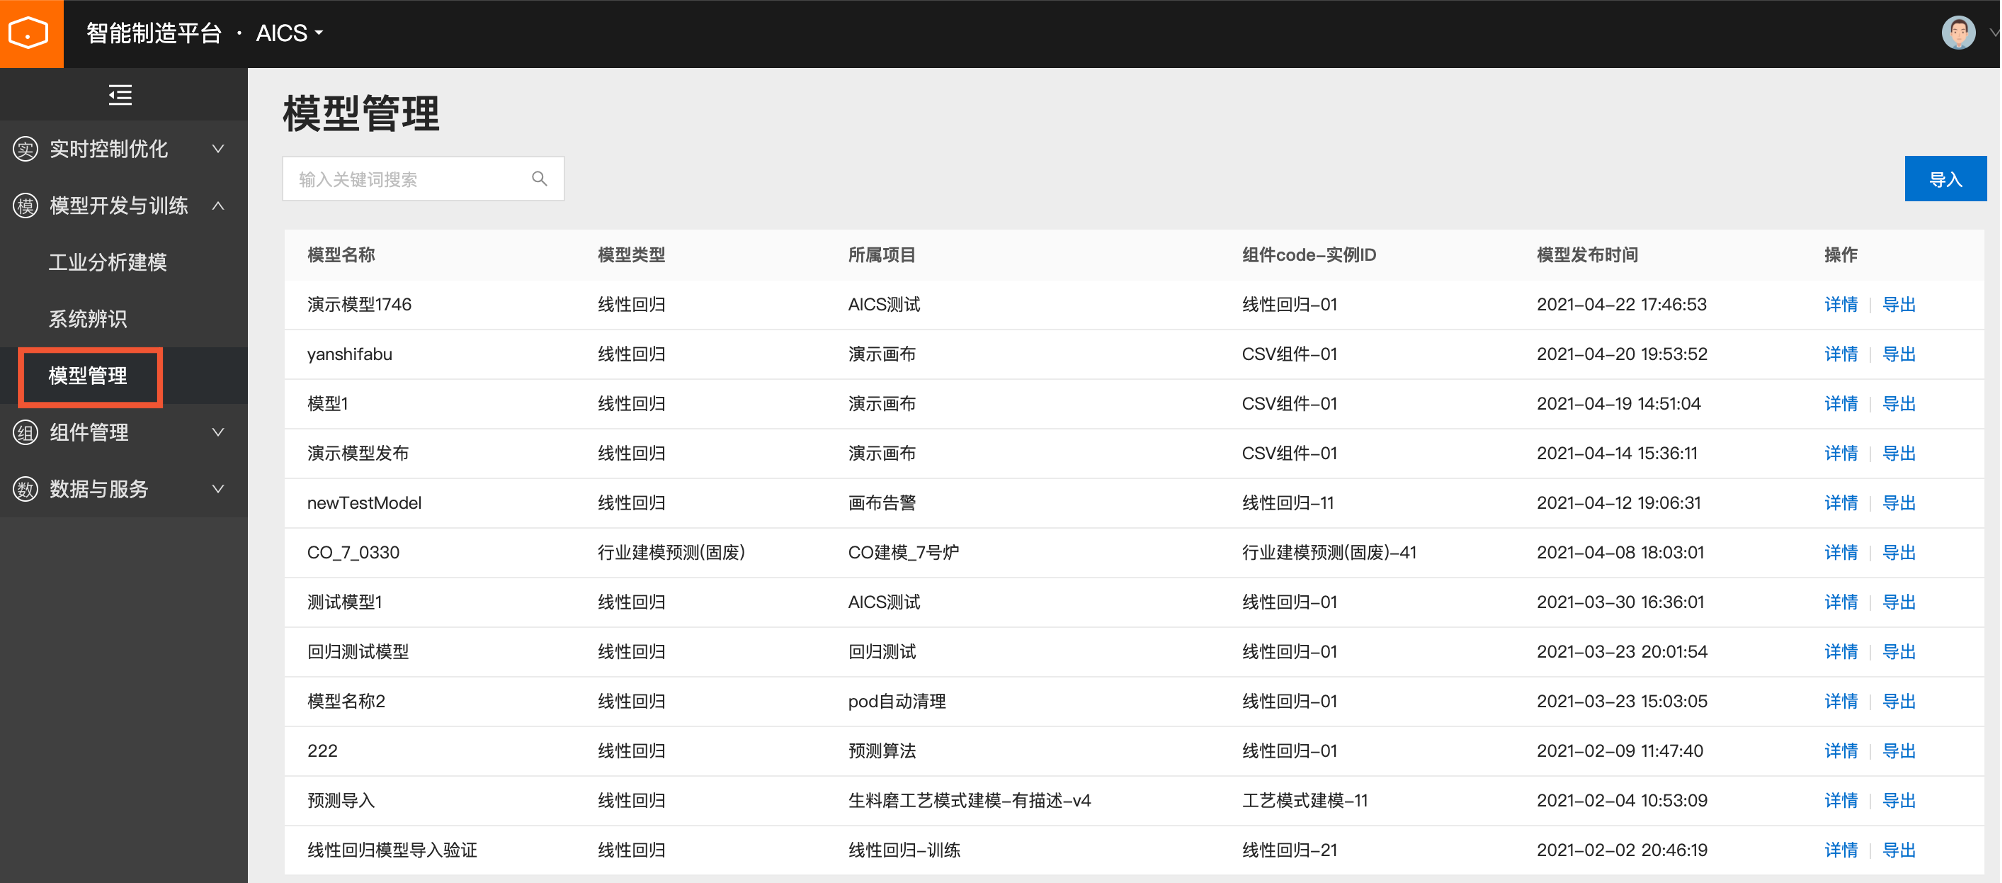
On the Model Management page, you can view all models that you have trained and published.
Use the model
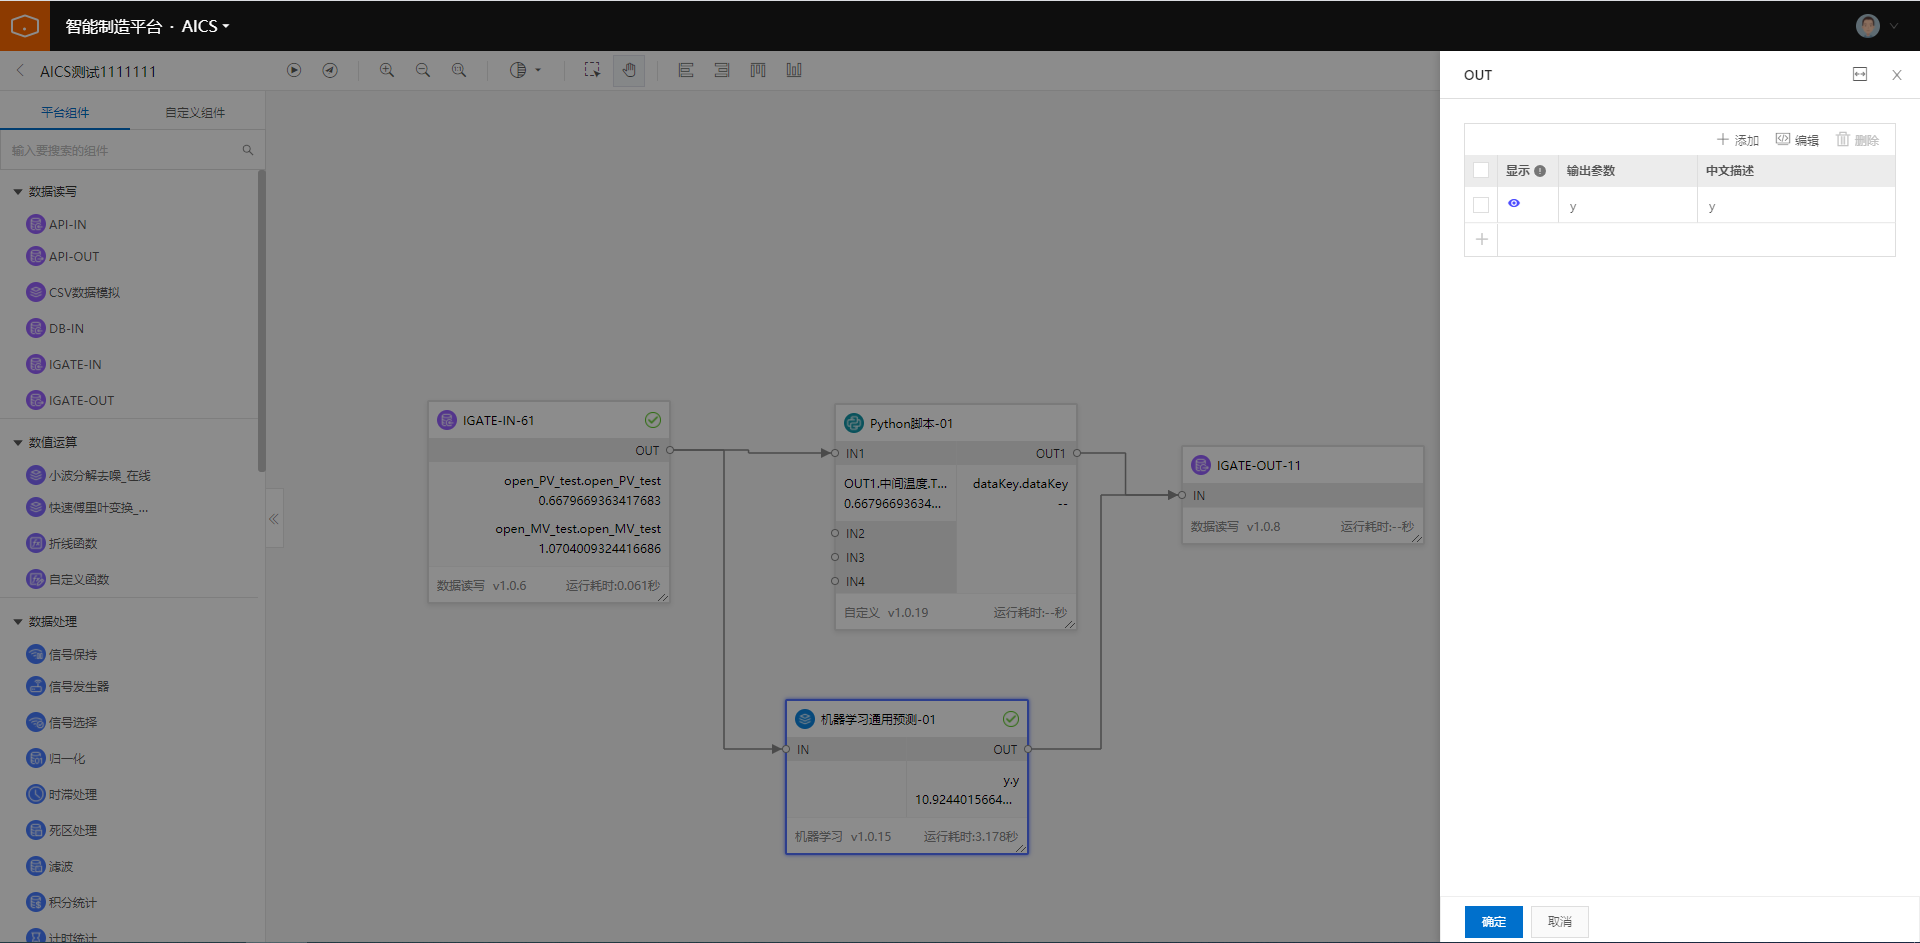
You can use published models in the real-time algorithm orchestration feature of AICS. The following example shows how to use a model with the general machine learning prediction component.
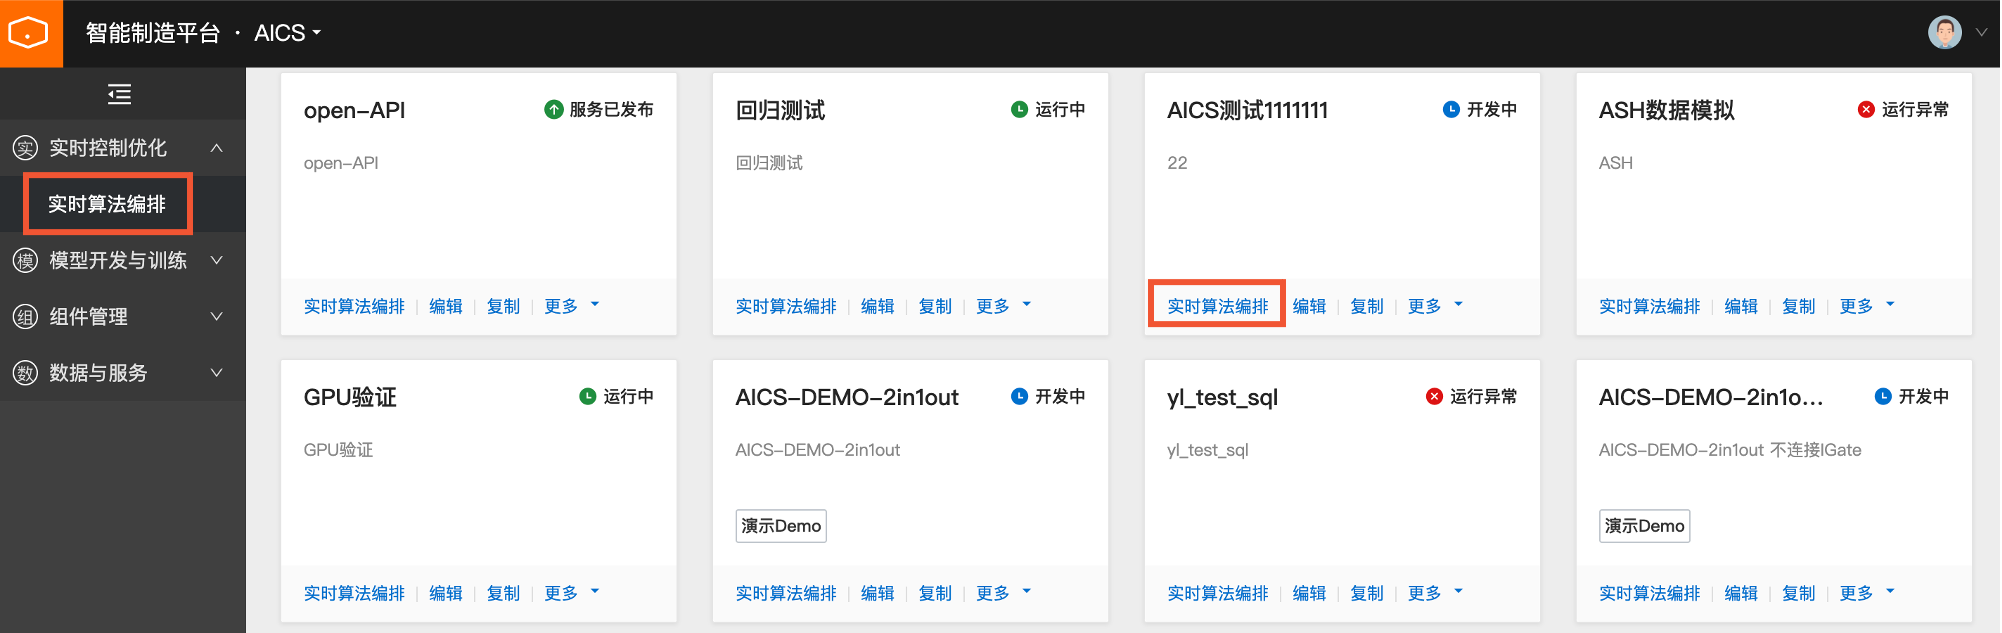
In the navigation pane on the left of the AICS console, choose Real-time Control & Optimization > Real-time Algorithm Orchestration. Find the project where you want to use the model and click Real-time Algorithm Orchestration on its card.
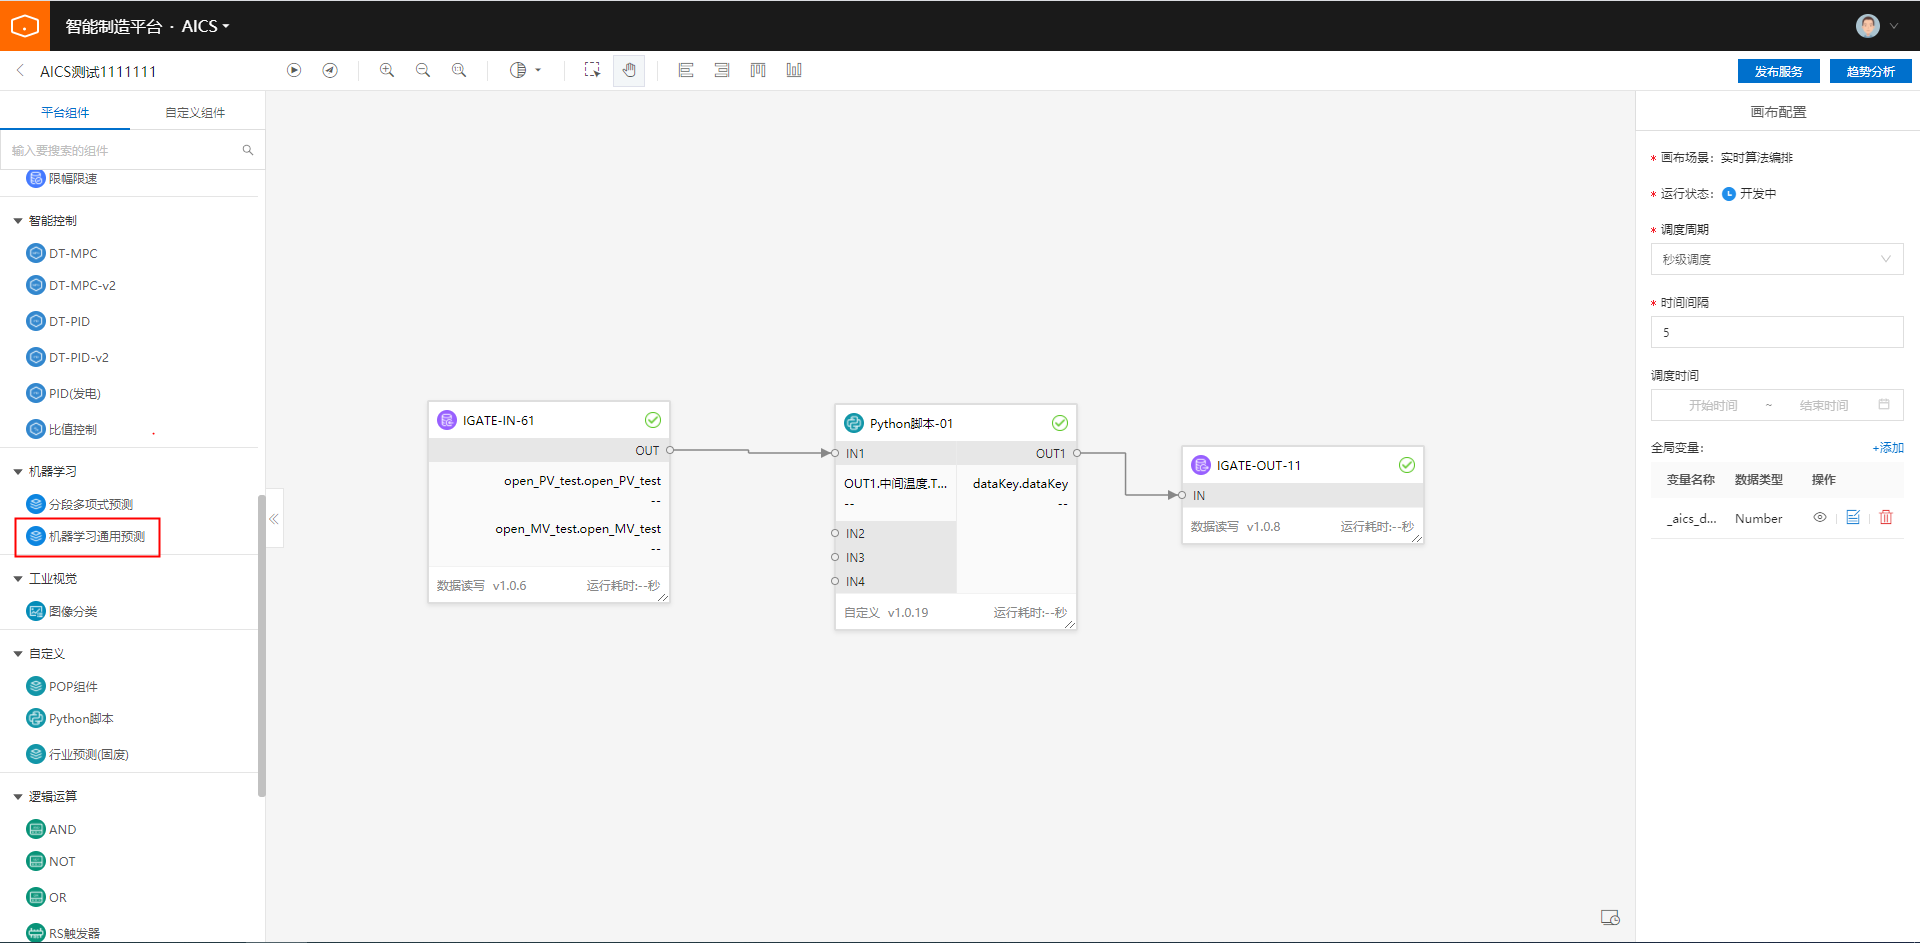
From the component list on the left, drag the general machine learning prediction component to the canvas.
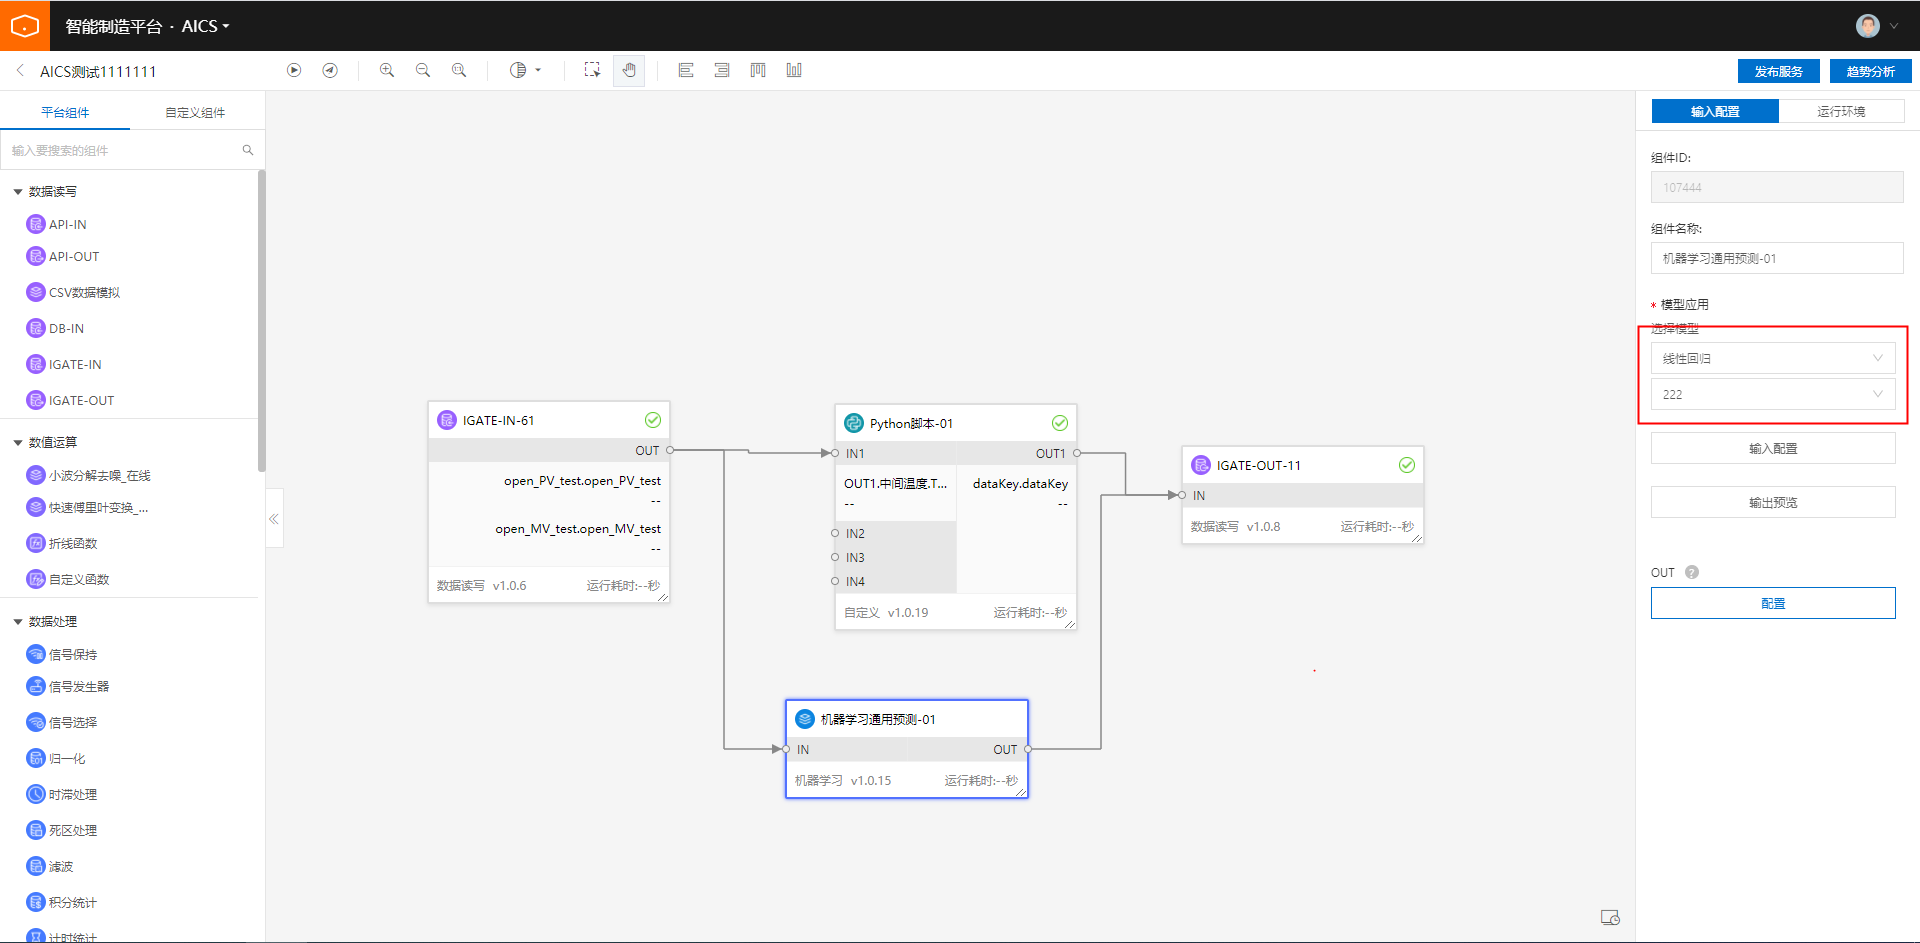
On the canvas, connect the input and output ports of the general machine learning prediction component.
In the configuration pane on the right, select the desired model from the Model Application list.
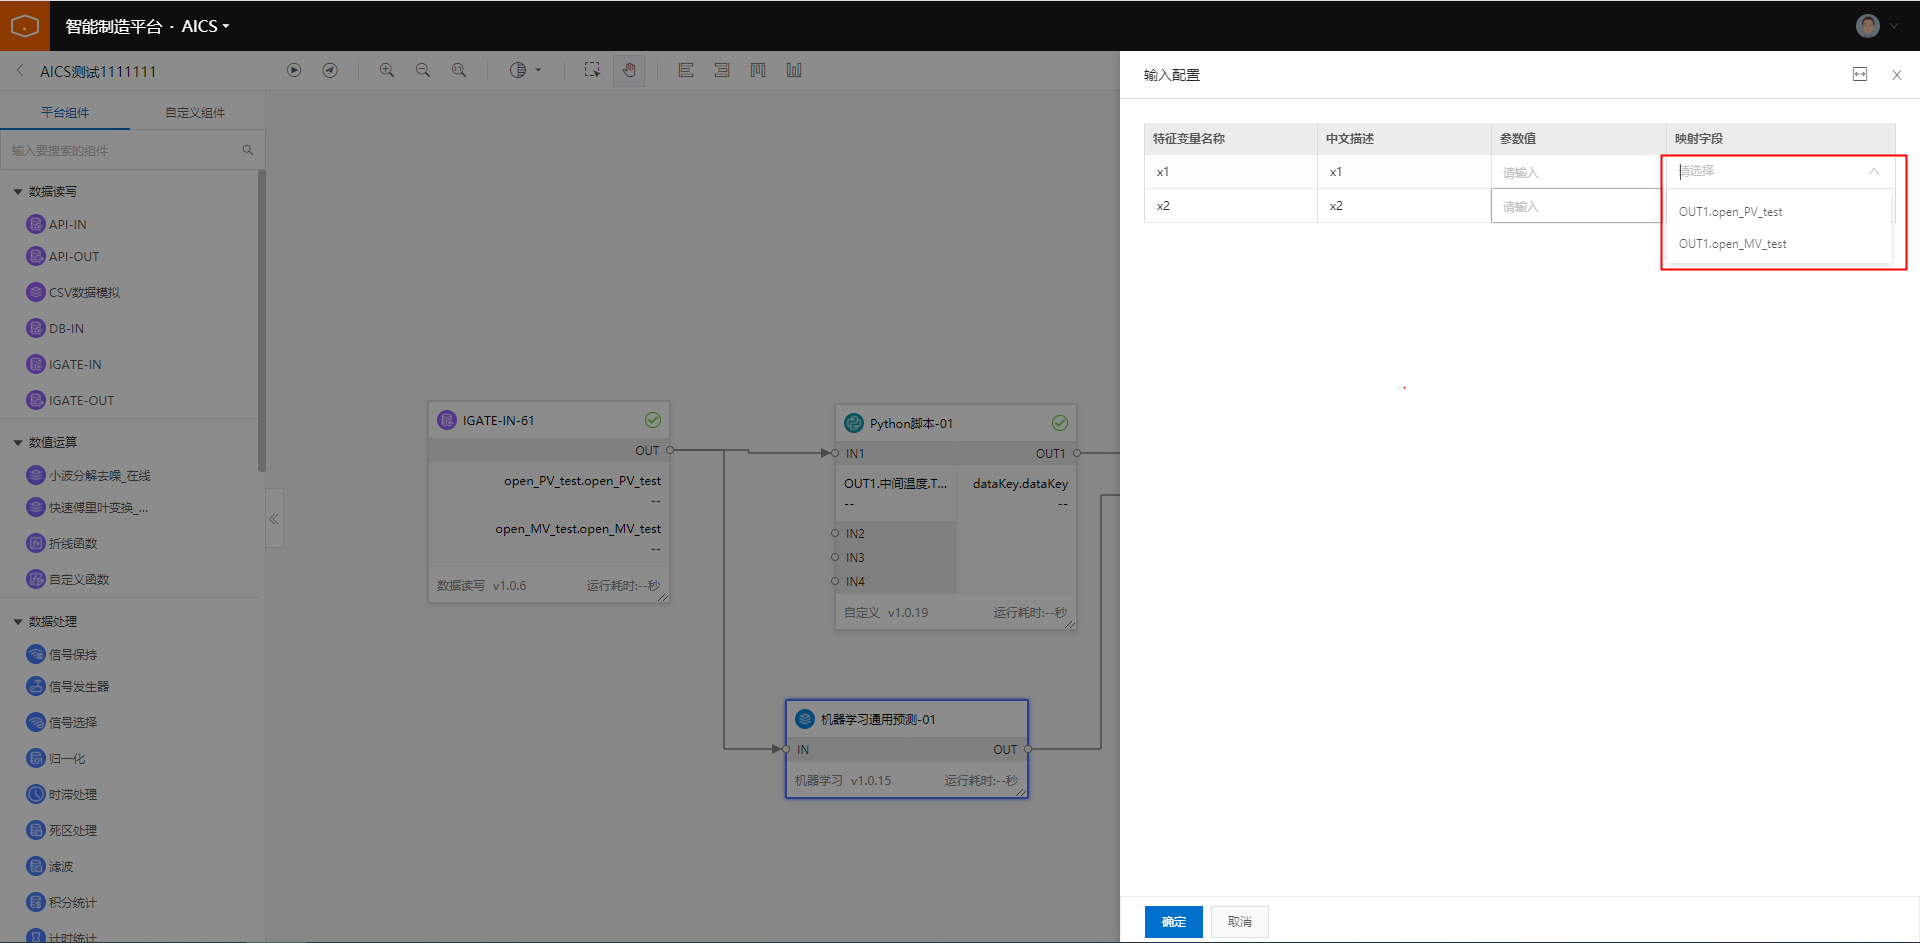
Click Input Configuration, select the field mapping, and then click OK.
NoteInput Configuration corresponds to the feature variables of the model. You do not need to configure Output Preview.
For the OUT port, click the Configuration button. Enter the output parameter and its description, and then click OK.
ImportantThe output parameter must be identical to the target variable name used during model training. You can find this name in Output Preview.