Pipeline
The pipeline component draws continuous polylines or curved pipelines for industrial scenarios, such as water services and power distribution. This topic describes how to configure the pipeline component.
Step 1: Add the component
-
Create a web application. For more information, see Create a web application.
-
In the web application editor, click the component icon
 on the far left.
 - In the search box above the component list on the left side of the canvas, enter pipeline. Find the component and drag it onto the canvas.
For more information about adding components, see Add a component.
Step 2: Configure styles
- On the canvas, add anchor points to draw a pipeline.
- Optional: Hover over the pipeline. When a blue dot appears, click it to add an anchor point and drag the point to adjust the pipeline's shape.
To delete an anchor point, select it and press the Backspace or Delete key.
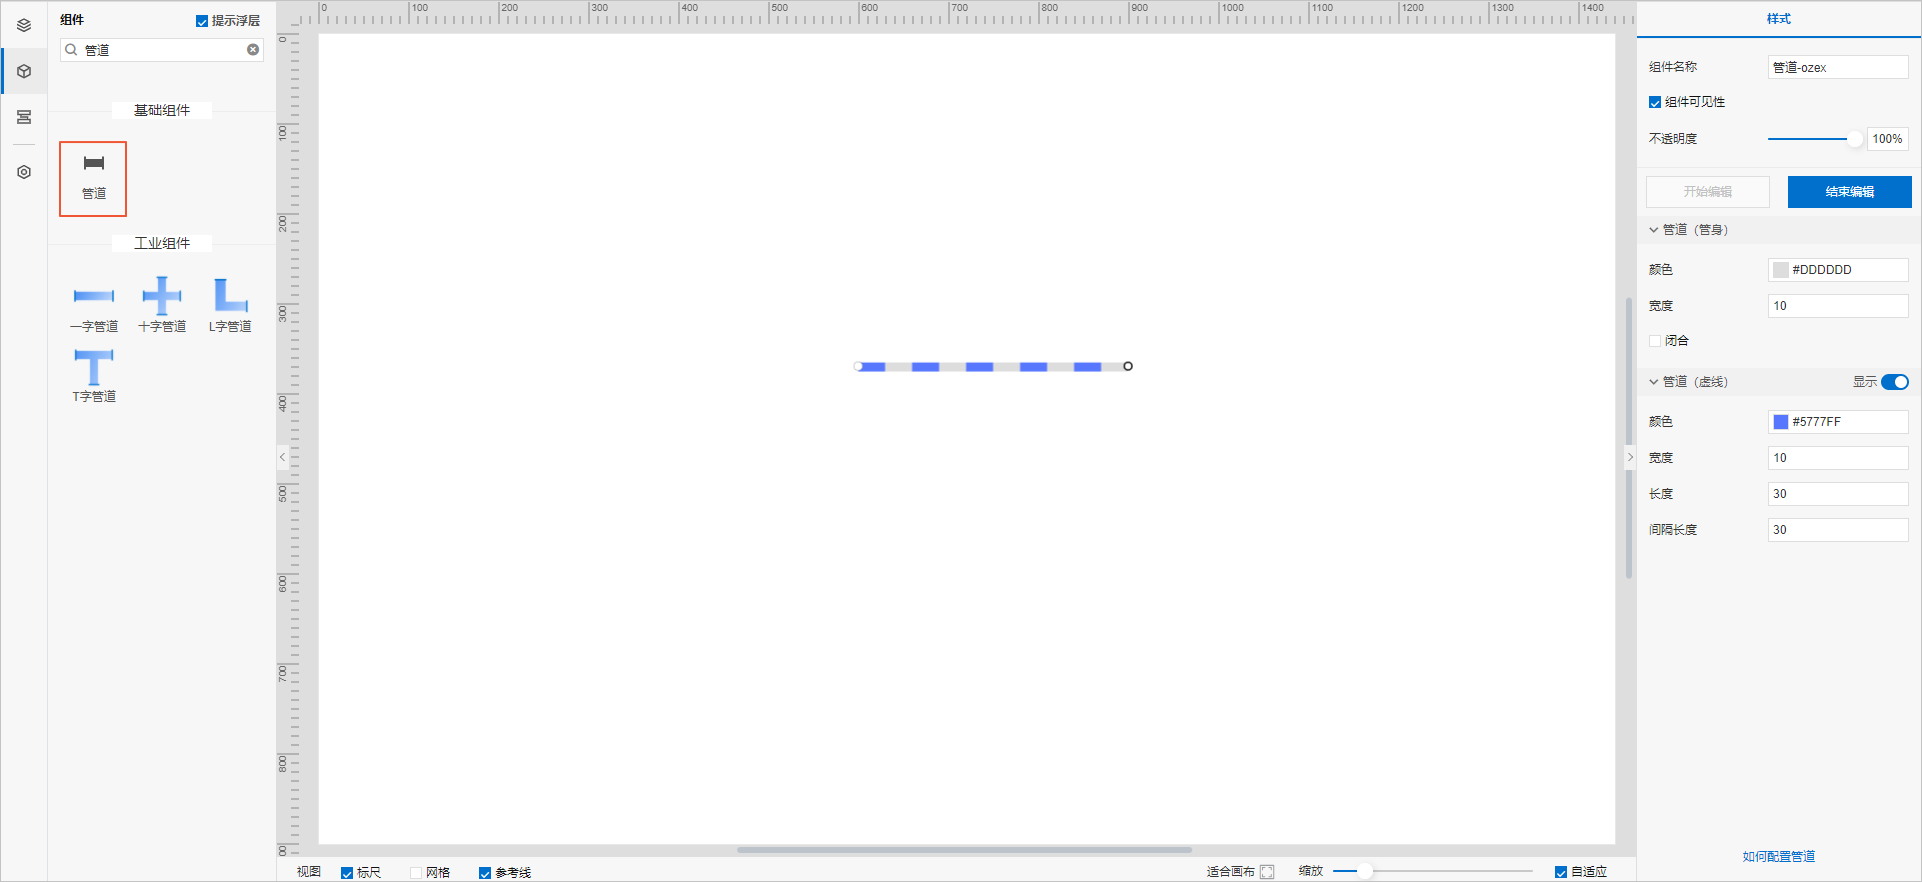
- When you finish drawing, click End Editing in the Style panel on the right or press the Esc key.
To edit the pipeline component again, click Start Editing in the Style panel on the right, or double-click the component on the canvas.
- In the Style panel on the right, configure styles for the pipe (body) (color, width, and whether it is closed) and the pipe (dashed line) (visibility, color, width, length, and gap).
-
Adjust the component's position on the page. For more information about general component style settings, see Configure styles.
-
Click Preview in the upper-right corner of the page to view and debug the component's data and style.