This topic describes how to perform a full data import from RDS using Lindorm Tunnel Service (LTS).
Notes
The full data import from RDS feature was discontinued on March 10, 2023. This feature is available only for LTS instances that were purchased before March 10, 2023.
Prerequisites
The LTS instance was purchased before March 10, 2023.
You have purchased the LTS data migration and synchronization service and set the username and password to log on to the LTS management page.
You have established network connectivity among the LTS instance, the HBase migration cluster, and the RDS instance.
You have added an HBase cluster data source or a Phoenix data source.
You have added an RDS data source.
Applicable versions
HBase
Self-managed HBase 1.x and 2.x
EMR HBase
Standard Edition and Cluster Edition of ApsaraDB for HBase
MySQL
Self-managed MySQL
RDS for MySQL
Create a task
On the LTS management page, choose in the navigation pane on the left.
Click Create Migration Task. Set the RDS Data Source and the Target Data Source (HBase, Phoenix). Enter the table mapping information for the migration.
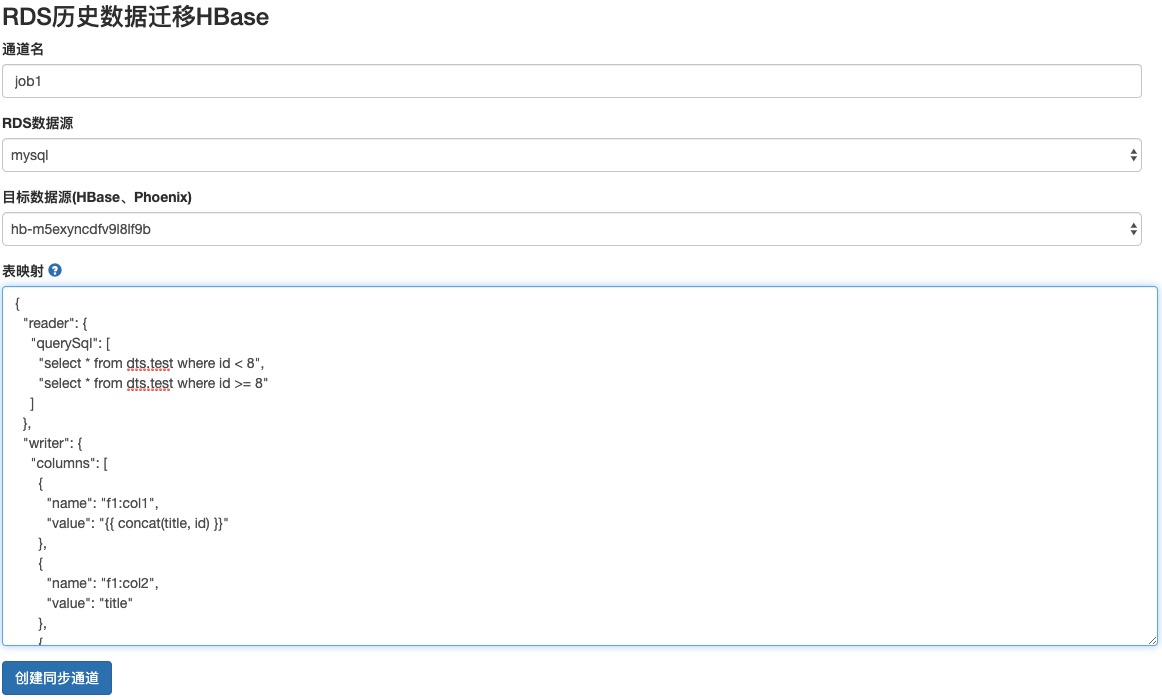
Click Create Synchronization Channel.
View the task progress.

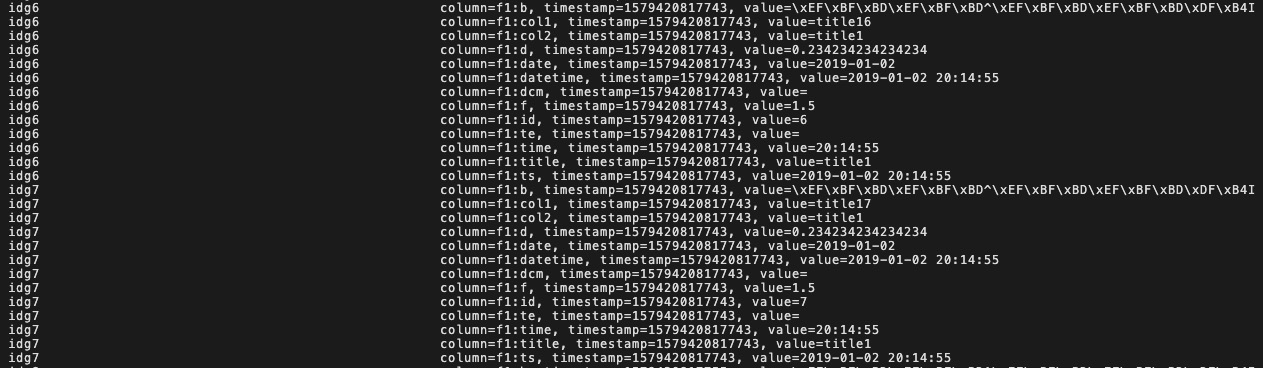
After the migration is complete, view the HBase table.
Parameters
HBase table mapping
{
  "reader": {
    "querySql": [ // The task is split and run in a distributed manner based on the number of querySql statements.
      "select id, title, content from rds.test where id < 8",
      "select id, title, content from rds.test where id >= 8"
    ]
  },
  "writer": {
    "columns": [
      {
        "name": "f1:col1",
        "value": "{{ concat(title, id) }}"  // Concatenates the title and id fields from MySQL to use as the value for the f1:col1 column in HBase.
      },
      {
        "name": "f1:col2",
        "value": "content",
        "type": "string" // The type field is optional. By default, all data is processed as the string type and written to HBase.
      },
      {
        "name": "f1:*" // Columns from MySQL that are not matched use the default mapping.
      }
    ],
    "rowkey": {
      "value": "{{ concat('idg', id) }}"
    },
    "tableName": "default:t1"
  }
}
Simple expressions are supported. The expressions use Jtwig syntax, as shown in the following code:
{
  "name": "cf1:hhh",
  "value": "{{ concat(title, id) }}"
}
Dynamic columns are supported. The default mapping is applied to unmatched columns.
{
    "name": "cf1:*",
}
Phoenix table mapping
{
  "reader": {
    "querySql": [
      "select id, title, ts, datetime, date, time, b, f, d from rds.test where id < 8",
      "select id, title, ts, datetime, date, time, b, f, d from rds.test where id >= 8"
    ]
  },
  "writer": {
    "columns": [
      {
        "isPk": true,
        "name": "id"
      },
      {
        "name": "title",
        "value": "title" // The title field in MySQL maps to the title field in Phoenix. If the field names are the same, you can omit this mapping.
      },
      {
        "name": "ts"
      },
      {
        "name": "datetime"
      },
      {
        "name": "date"
      },
      {
        "name": "time"
      },
      {
        "name": "b"
      },
      {
        "name": "f"
      },
      {
        "name": "d"
      }
    ],
    "tableName": "dtstest"
  }
}