AI Coding Assistant is an intelligent development assistant tool embedded in JetBrains or VSCode integrated development environment (IDE), designed to simplify the software development process through artificial intelligence technology and improve development efficiency. This topic describes how to use different features of AI Coding Assistant during development. The features include Q&A based on large language models (LLMs), unit test generation, scenario-specific code optimization, documentation writing, and generation of high-quality AI-driven code based on existing code. These features enhance development convenience and efficiency.
Use of shortcut keys
Default shortcut keys
AI Coding Assistant provides out-of-the-box shortcut keys for multiple operations. The following table lists several commonly used shortcut keys.
Feature | Windows shortcut key | macOS shortcut key |
Trigger completion at any position | Alt + P | Option + P |
Replace generated results | Alt + ] | Option + ] |
Accept all generated code | Tab | Tab |
Accept generated code line by line | Ctrl + ↓ | Cmd + ↓ |
Close or open the Q&A panel | Ctrl + Shift + L | Cmd + Shift + L |
In addition, in the Q&A panel of AI Coding Assistant, you can use Cmd+Enter (for macOS/Linux) or Ctrl+Enter (for Windows) to create a line break. If you directly press the Enter key, your question is submitted to the model that is used.
If you use the shortcut key for replacing generated results, the temperature parameter that specifies generation diversity increases, and longer or more divergent content may be generated.
Custom shortcut keys
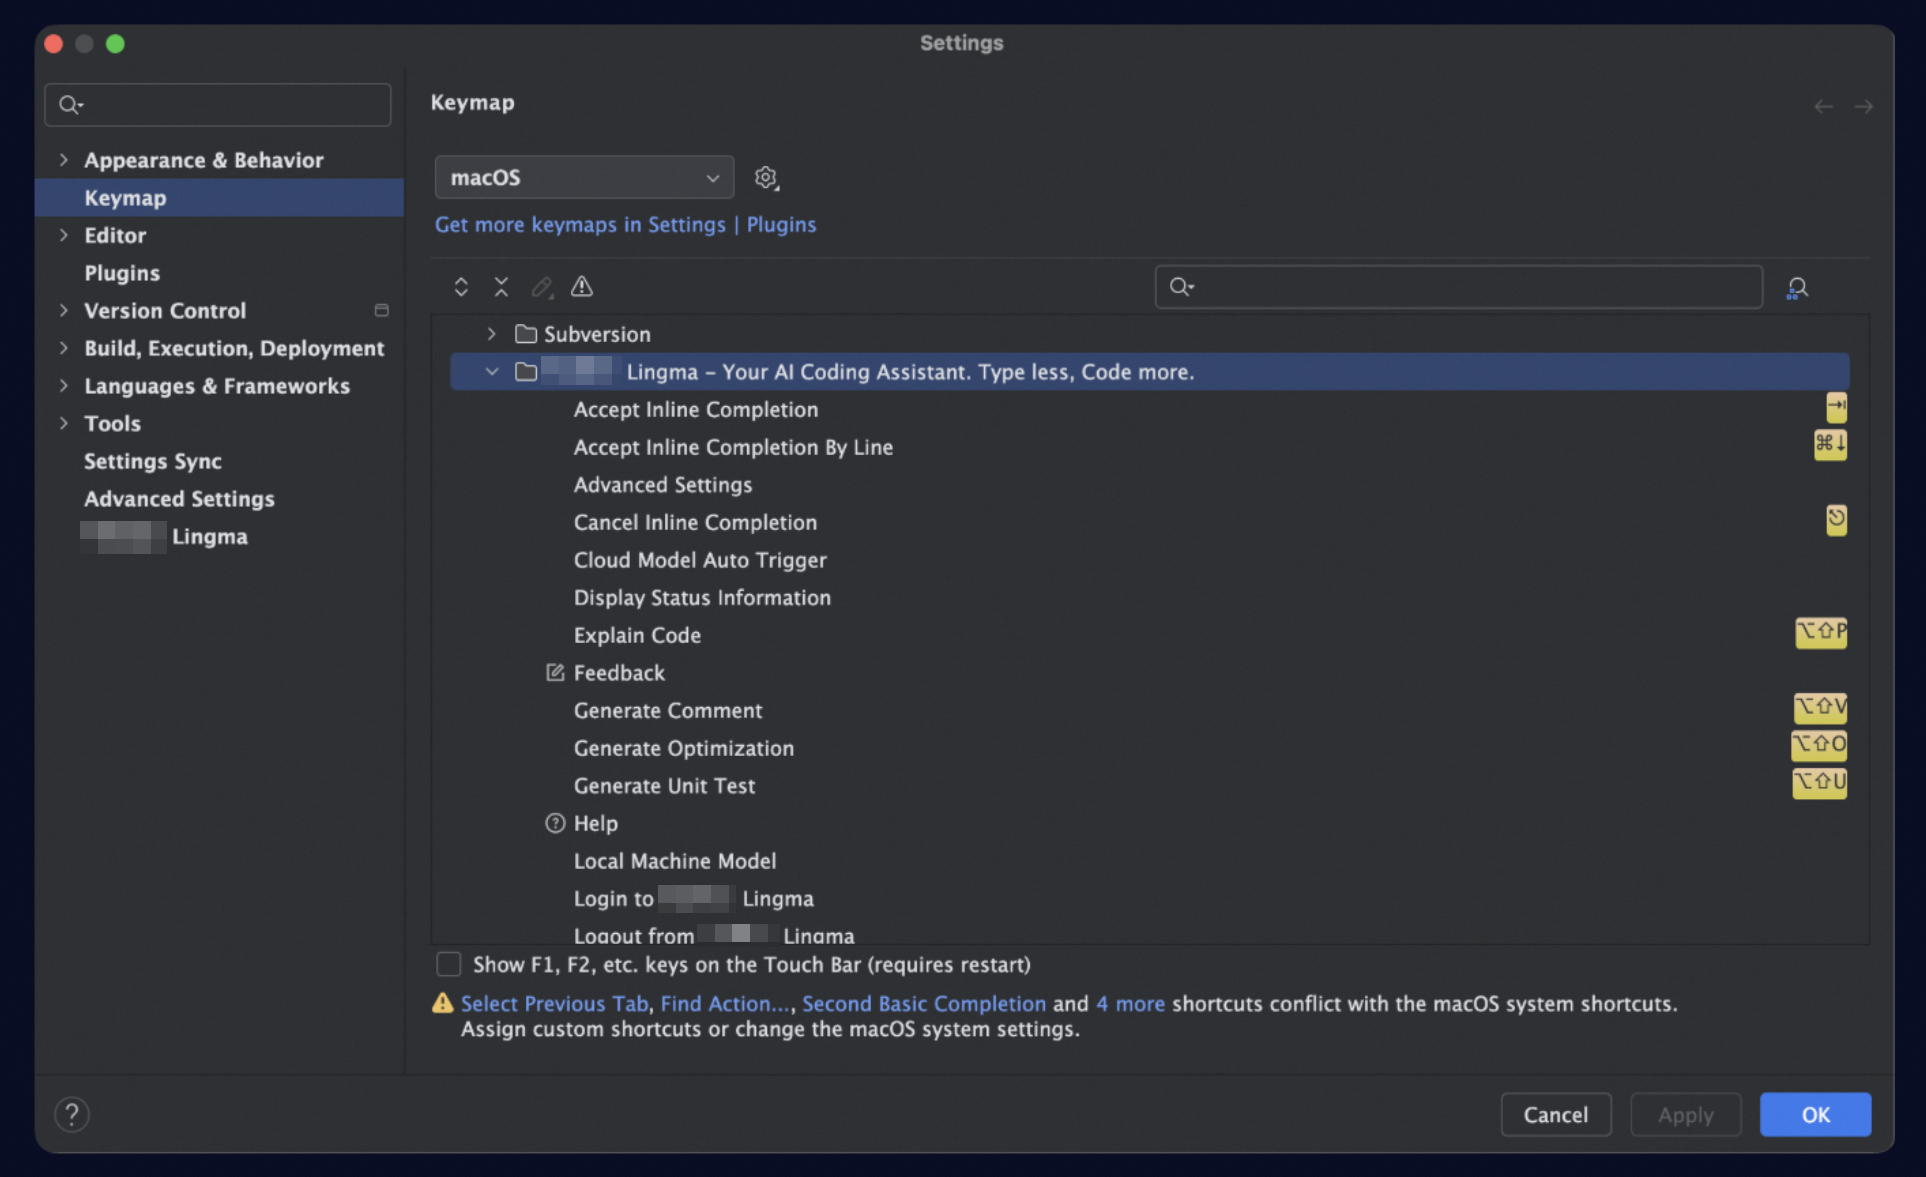
JetBrains IDE
Go to the Settings page.
In the left panel, select "Keymap", and then find "TONGYI Lingma" under "Plugins". Expand it to view and edit the related shortcut keys.
VSCode
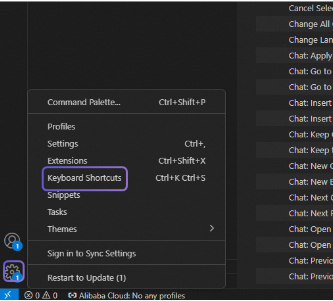
Click the settings icon in the lower-left corner of the IDE, and then select the Keyboard Shortcuts menu.
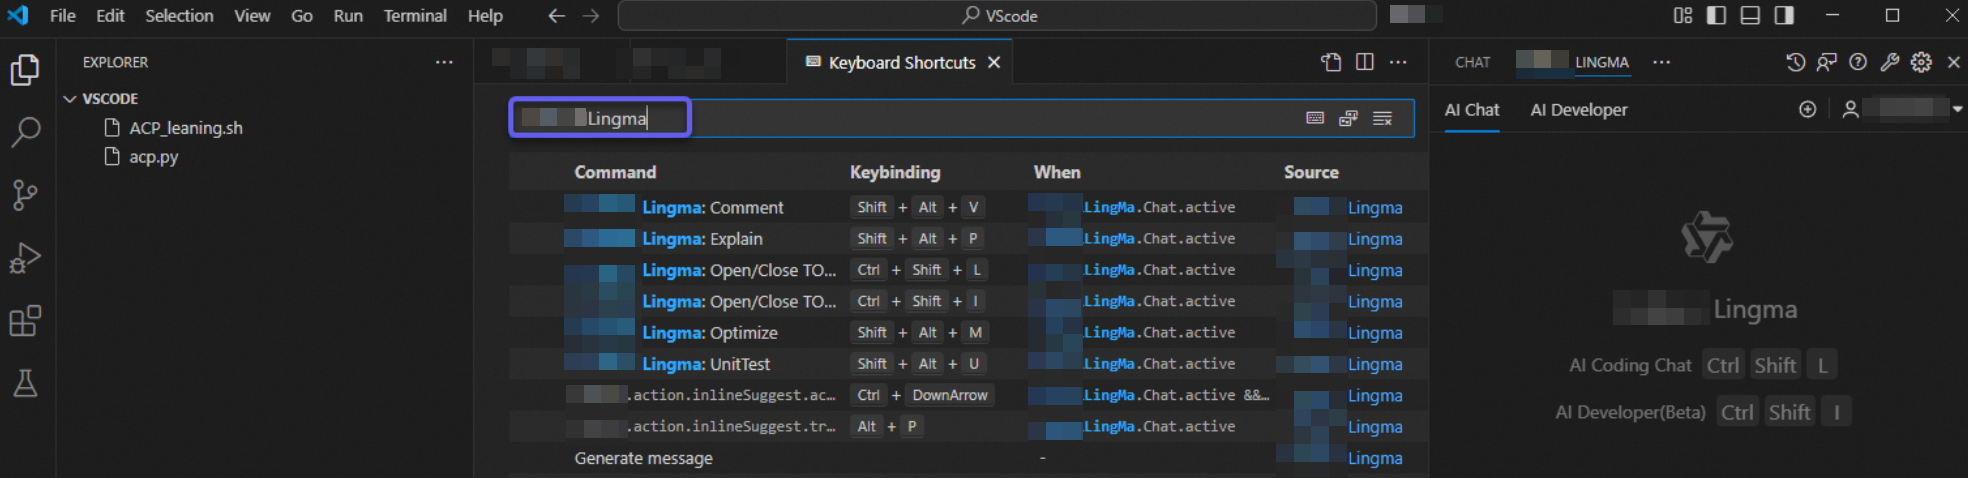
Search for "Lingma" on the page to view and edit all shortcut keys.
 Note
NoteFor easy identification, most AI Coding Assistant shortcut keys in VSCode are named with the prefix TONGYI Lingma. However, the shortcut keys for triggering inline suggestions and displaying previous/next inline suggestions reuse existing system-level functions, so their naming style is slightly different.
Use of configuration
Configuration panel
JetBrains IDE
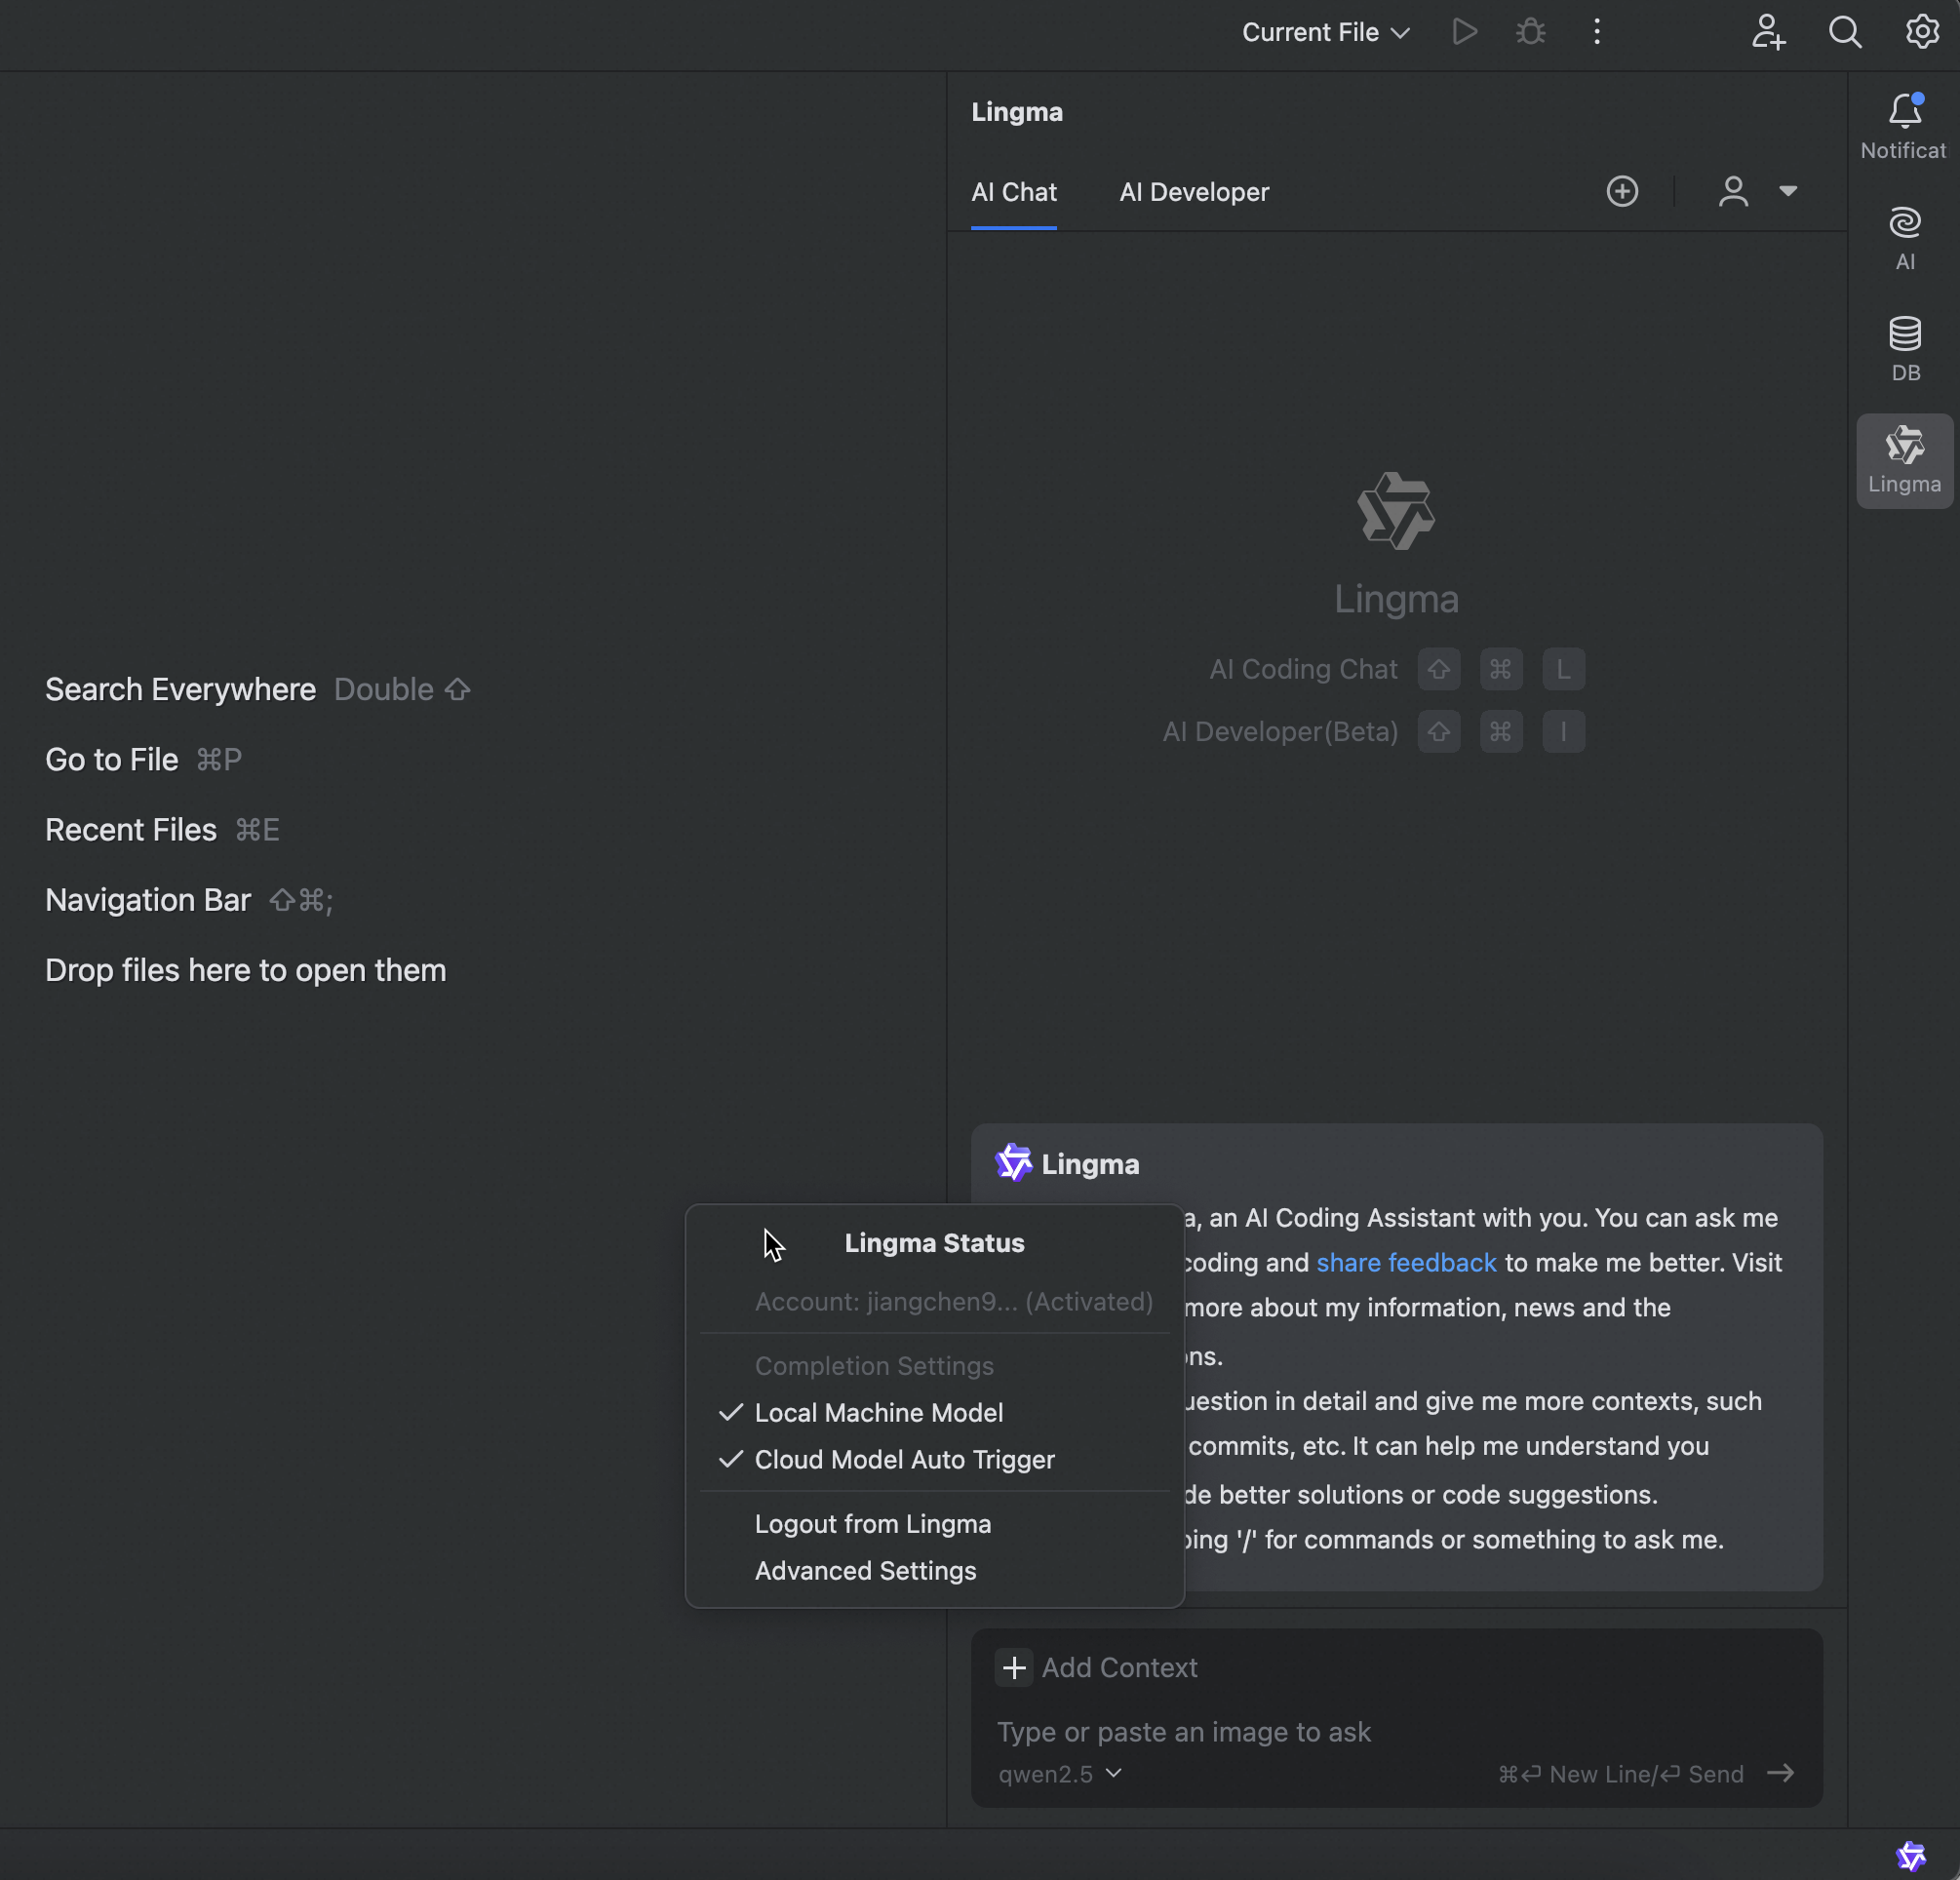
The configuration panel of JetBrains IDE is located in the top-level "Lingma" section of the Settings page. You can quickly access it by clicking the AI Coding Assistant icon in the status bar and selecting "Advanced Settings".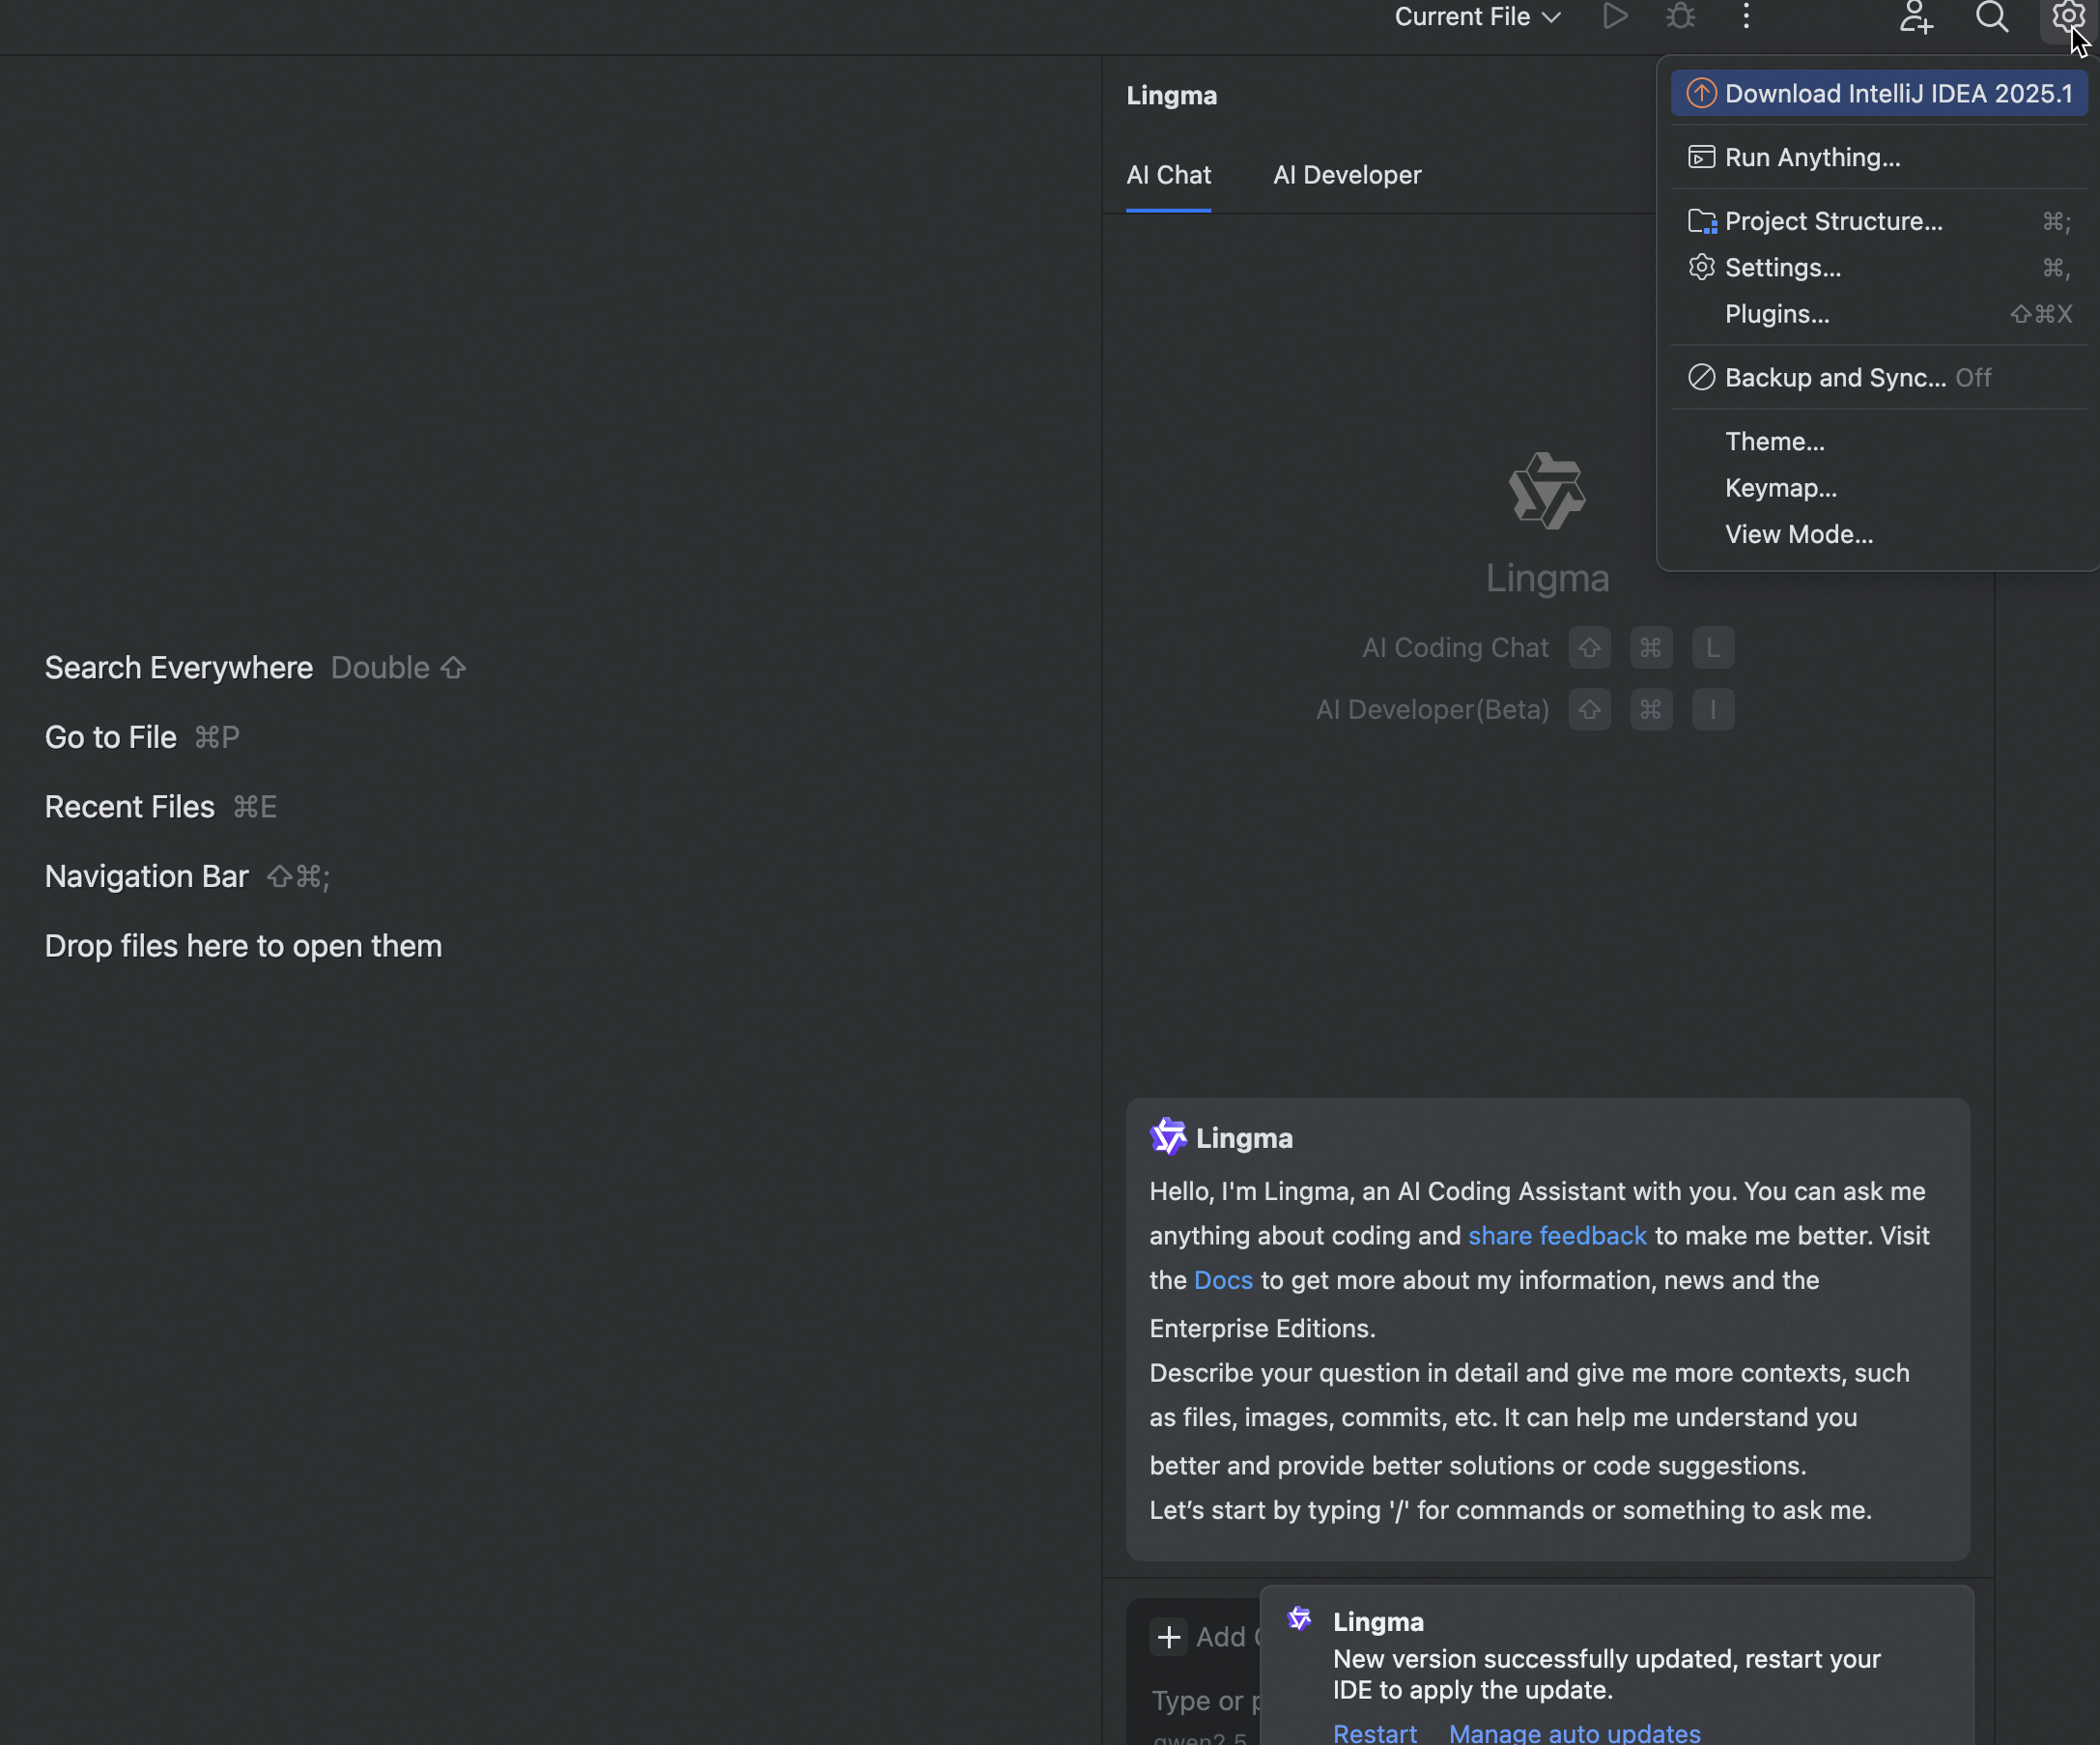
VSCode
The configuration panel of VSCode can also be accessed by clicking the AI Coding Assistant icon in the lower-right corner of the status bar and selecting "Advanced Settings".
Common configuration items
Disable autocompletion by file type.
If autocompletion causes interference for specific file types, you can add the suffixes of the files to a list. Separate multiple suffixes with commas (,). Example: txt,md.
IDE
Configuration
JetBrains IDE

VSCode
NoteYou can disable autocompletion for specific file types to prevent automatic triggering of autocompletion. If you use the Alt+P shortcut key to manually trigger autocompletion for the files, you can still use LLM-based code generation and completion.
Retain completion results when drop-down suggestions appear.
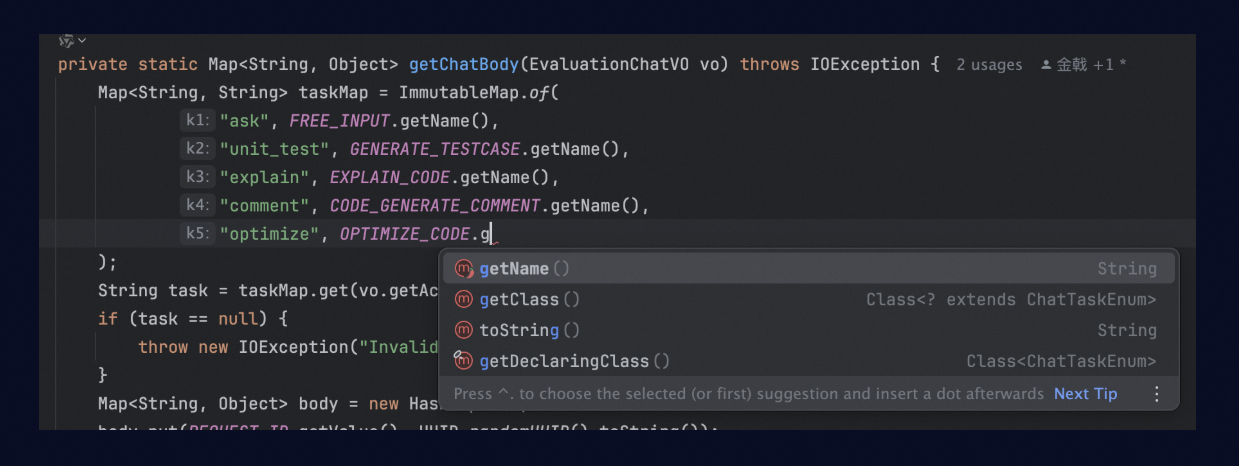
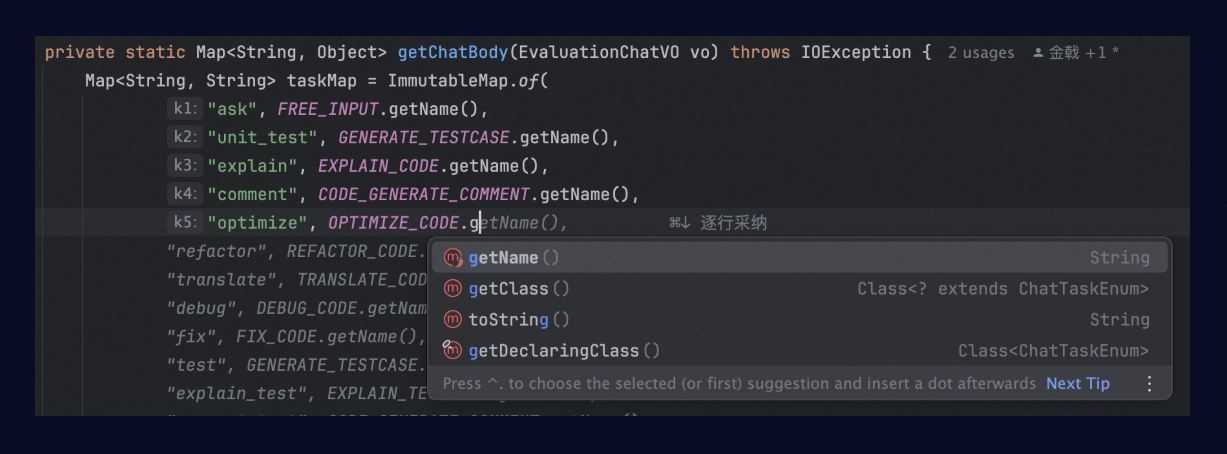
By default, when the IDE displays syntax-based drop-down completion suggestions, AI Coding Assistant automatically stops displaying LLM completion content to avoid visual conflicts.
If you want AI Coding Assistant to always generate LLM completions, you can select this configuration item. The effect is shown in the following figure. In this case, pressing the Tab key accepts the LLM-generated result.
IDE
Configuration
JetBrains IDE
VSCode
Control the maximum length of the generated code.
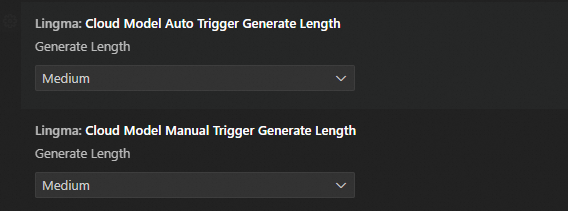
AI Coding Assistant supports setting different maximum length parameters for automatically triggered and manually triggered code completion. We recommend that you specify a larger length for manually-triggered code completion, whose shortcut key is Alt+P by default.
IDE
Configuration
JetBrains IDE
VSCode
NoteAmong the configuration items, each specifies the maximum length of code that can be generated. If a model generates code that is less than the maximum length during completion, the model does not increase the code length even if you change the maximum length.





Use of code comments
Guide completion generation through comments
If no comments are provided, the model predicts code to be generated based only on the existing code along with the referenced and similar code in the current project. If the prediction does not meet your expectations, you can add code comments to provide more references for the model.
For example, in the following code, the model first predicts a
CHAT_CONTEXTfield, which is not what we expect.In this case, you can add a comment to instruct the model to generate a historical record field. Then, the model generates the expected field and its corresponding data filling code.
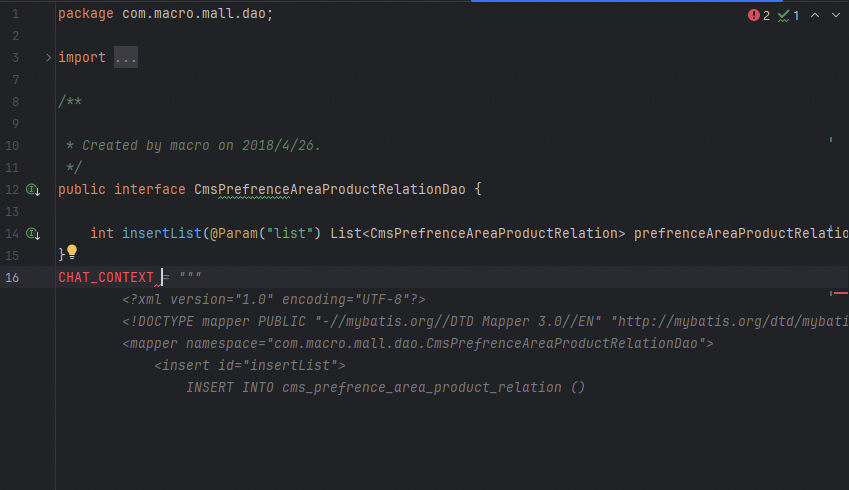
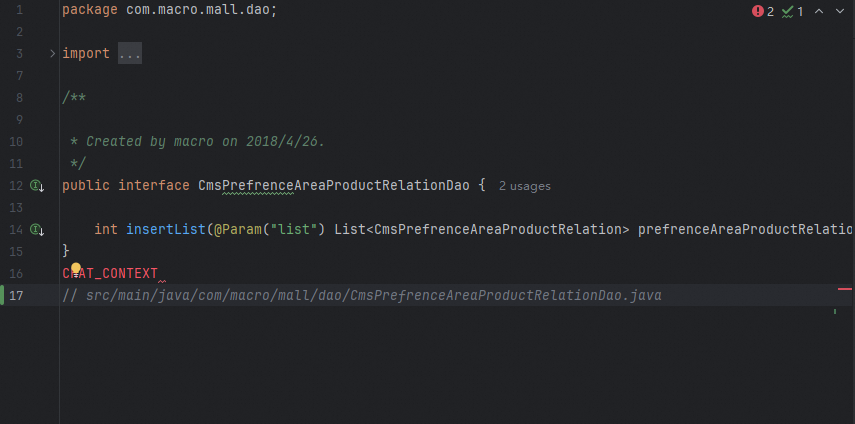
Generate methods using descriptions
You can generate an entire method based on comments either by "guiding completion through code comments in the editor" or by "using the Q&A panel of AI Coding Assistant". Because the LLM used in the intelligent Q&A scenario of AI Coding Assistant usually has more parameters than the code completion model, we recommend directly asking the question in the Q&A panel for this type of scenario.
If you have specific requirements for the language or method signature (including method name, parameter type, and return value type) of the generated code, please describe the method signature in detail when asking the question.
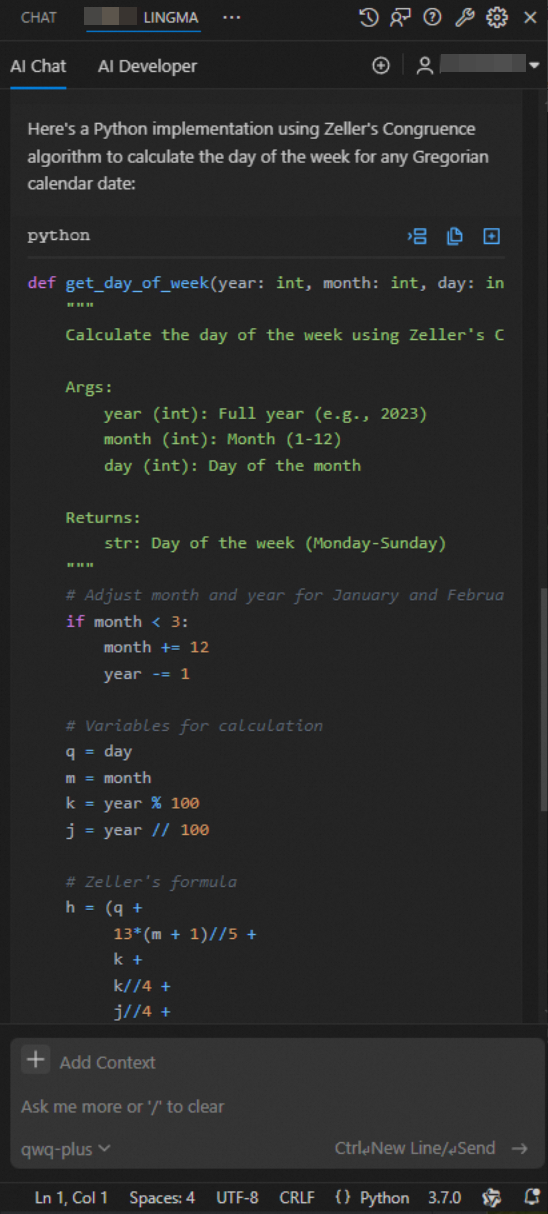
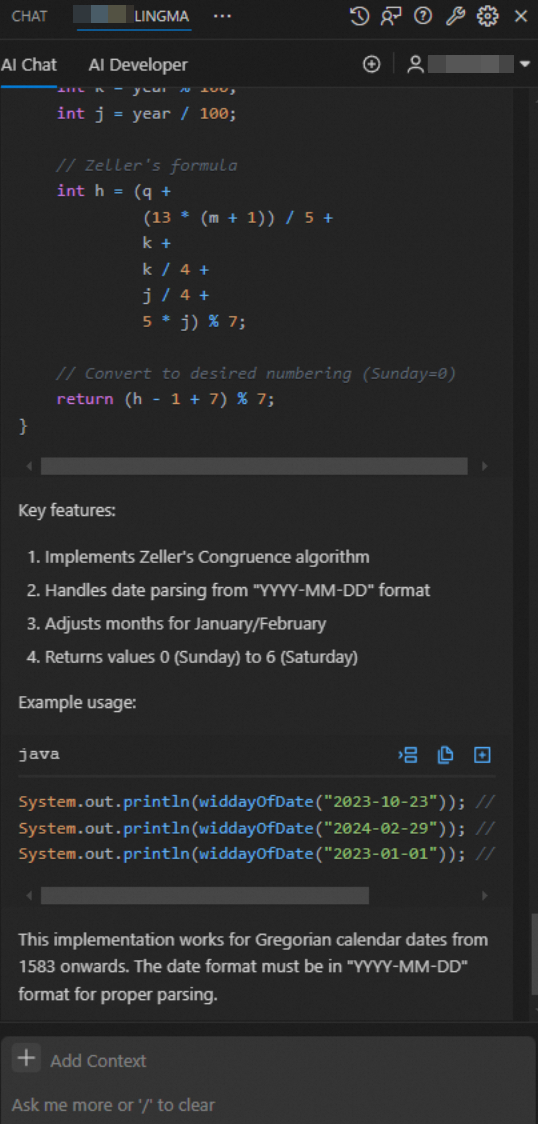
Use of cross-file indexes
Save files and update indexes in a timely manner
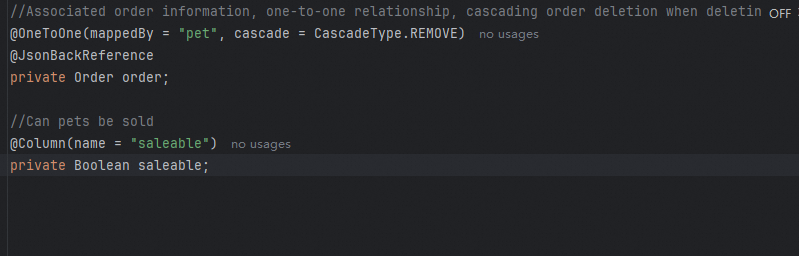
Cross-file indexing in AI Coding Assistant is an important mechanism to suppress code hallucinations. Models can automatically identify file types and method definitions involved in the current context to recognize the members of other file types in the current project and the related method parameters. When you open a new project for the first time, AI Coding Assistant automatically creates file indexes for the project. Subsequently, each time a file is saved, an incremental index update is triggered for the file. In most cases, IDEs cache files in memory. After you edit a file and switch to another file, the model may fail to identify the new or modified content because local indexes are not updated in time and continue to perform prediction based on the existing type structure. For example, in a code project, we add a saleable property to the Pet object.
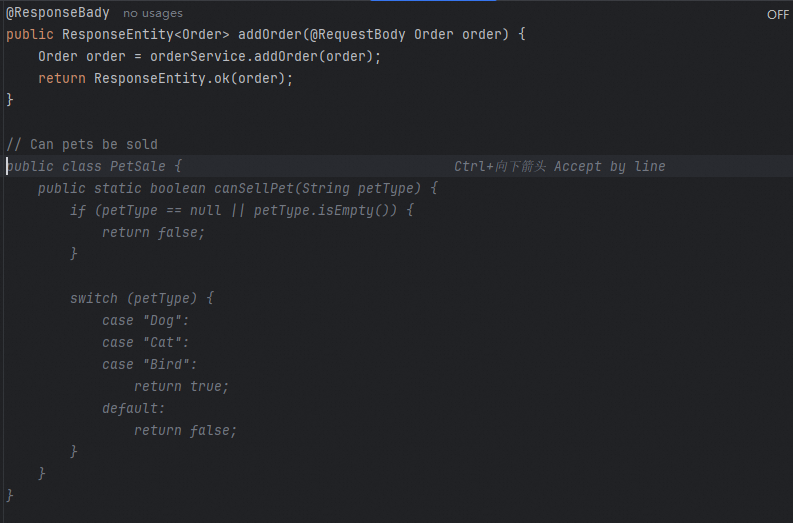
Then, we switch to another file and try to let the LLM complete the code, but the model infers logic using another less relevant field.
To eliminate this information discrepancy, we recommend actively pressing the file save key
shortcut key Ctrl+Safter editing the previous file, and then continuing to edit other files. This way, the generated content will correctly reference the modified object structure.
Optimization solution for MyBatis scenarios
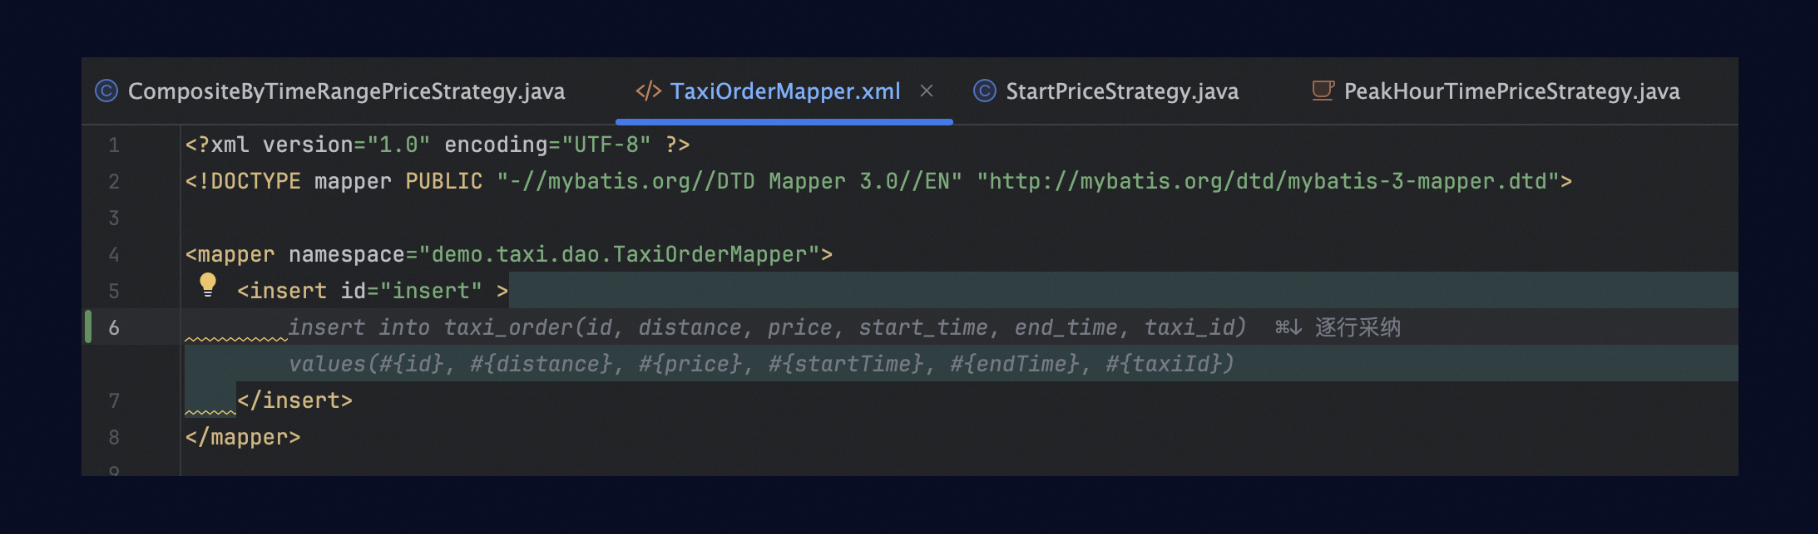
In addition to cross-file reference functions for mainstream programming language projects such as Java, Python, and JavaScript, AI Coding Assistant also supports automatically identifying the table structure types referenced by Mapper objects when writing MyBatis XML files. For example, when writing the following insert statement, it will use the TaxiOrder type information in the current project to ensure that each generated field is correct.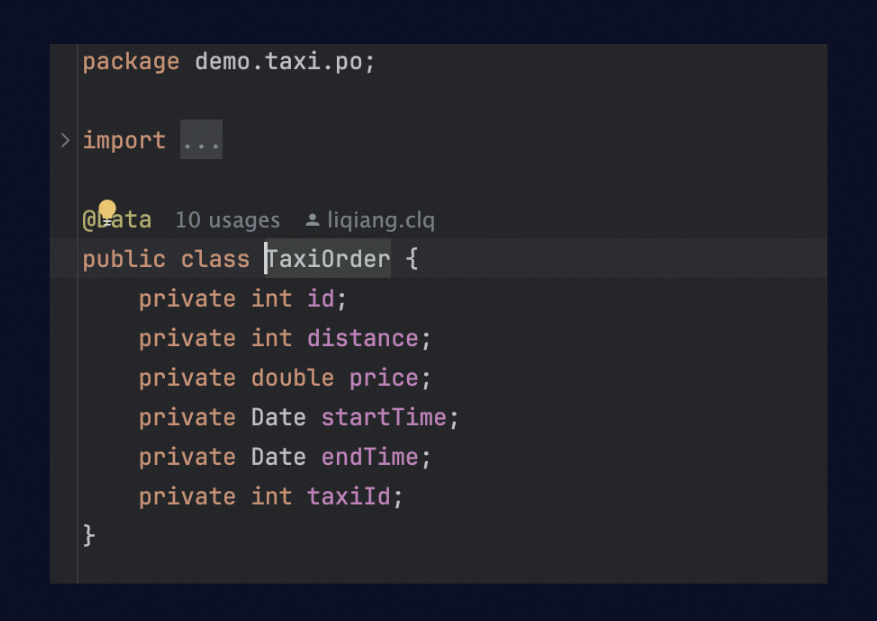
Timely clearing of context information
Clear context at appropriate times
In the same conversation session, previous dialogue content is automatically provided to the model as context for a new question. When the actual question is unrelated to the previous content, this additional information may interfere with the model's response.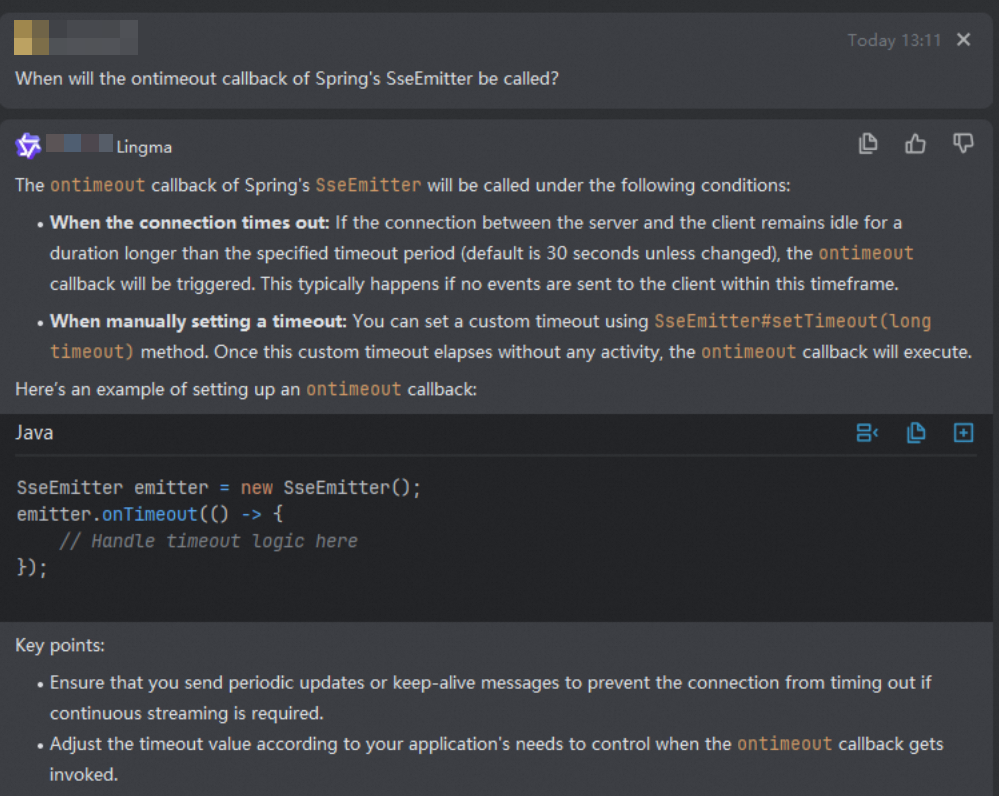
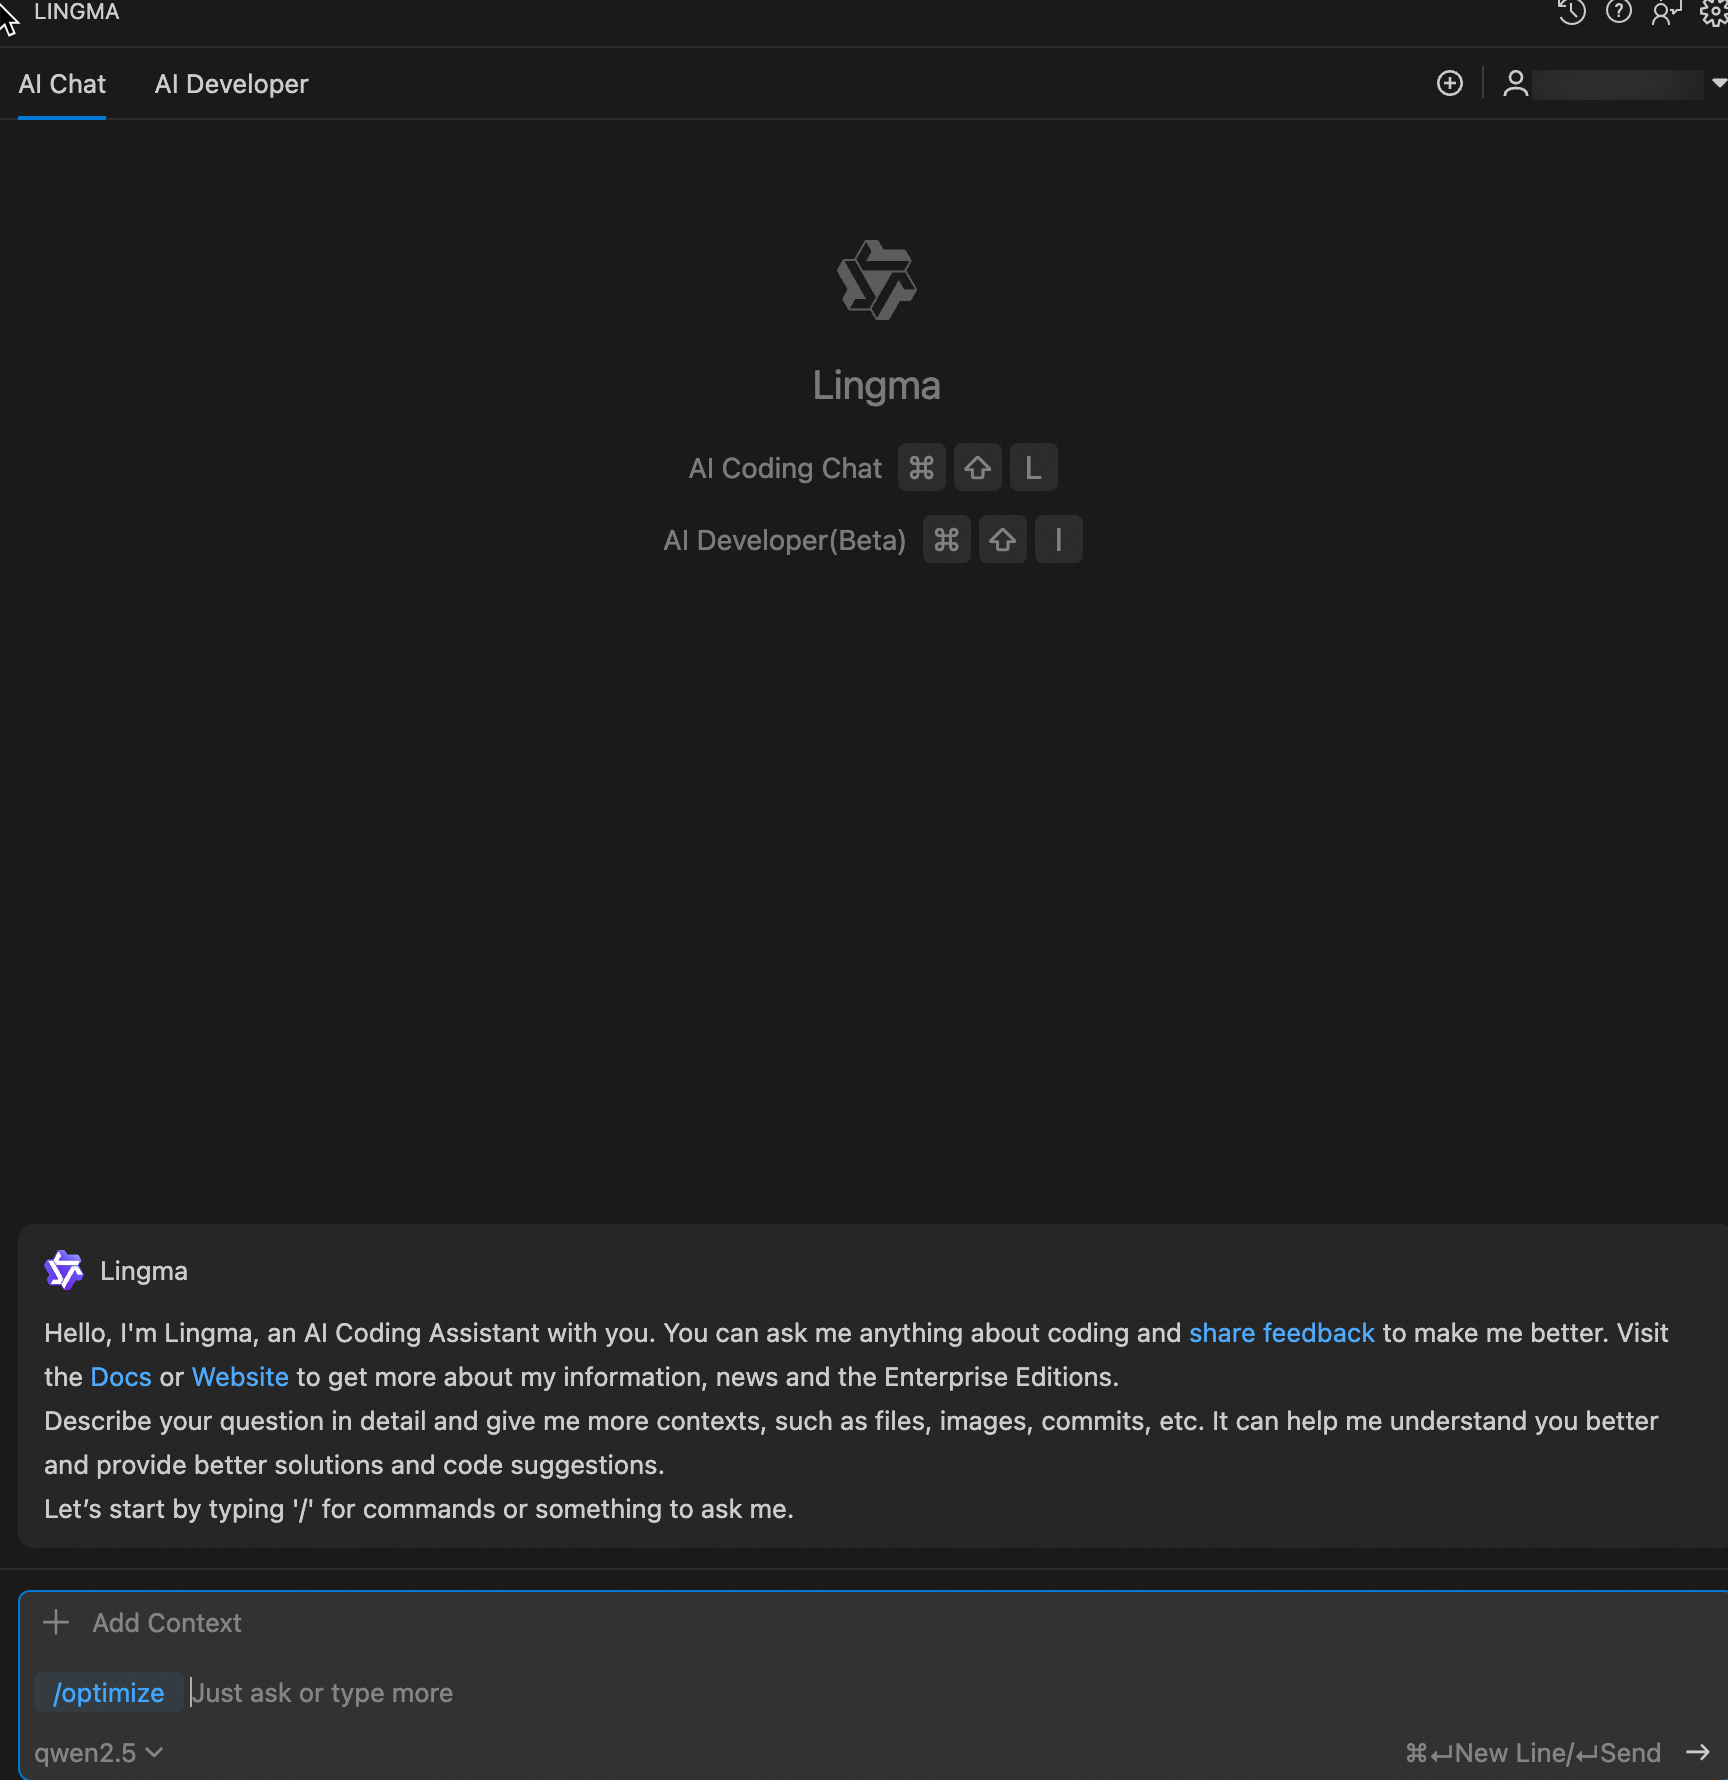
In this case, you can click the new session button at the top of the Q&A panel to ask questions in a new session, or use the /clear context command to clear the context and reduce the interference of previous content on subsequent Q&A.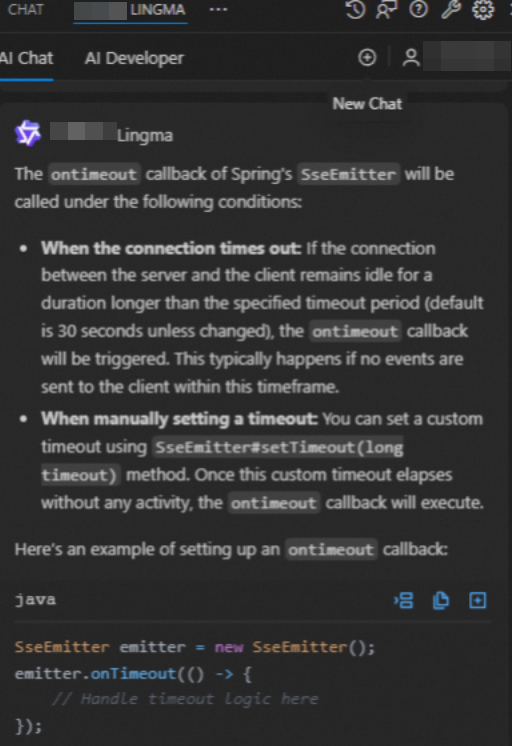
View historical conversation records
After creating a new session, if you need to find previously asked content, you can use the history function to return to previous topics and continue asking follow-up questions.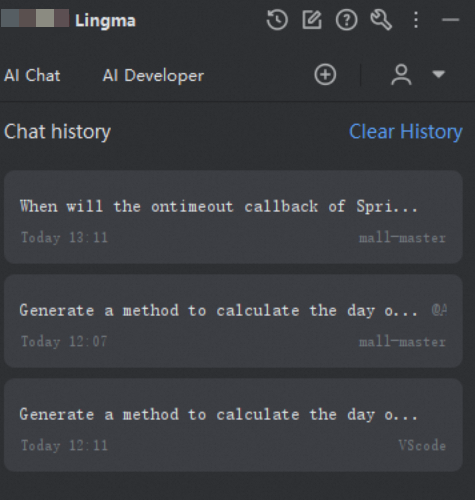
Code-based Q&A
General Q&A
If you need to ask questions based on specific code segments, in addition to directly pasting the code content into the Q&A area, you can also first select a piece of code in the code editor, and then ask questions about the selected code in the Q&A area, for example.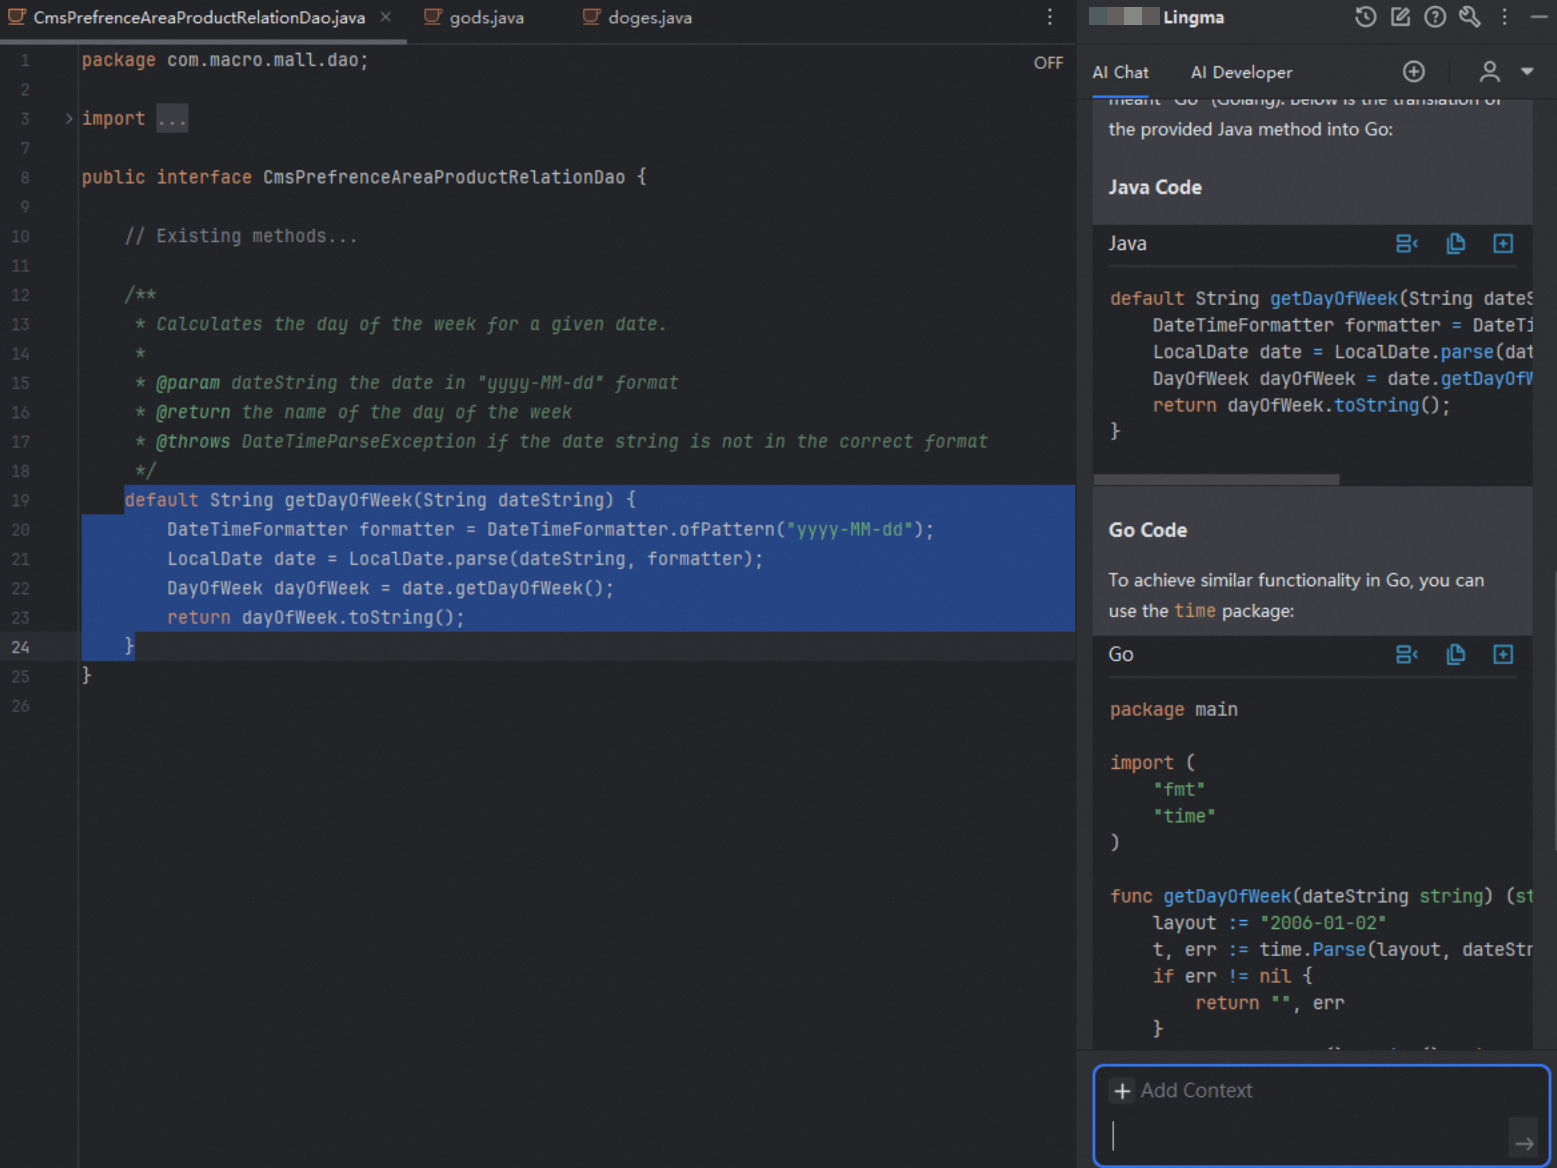
Built-in code tasks
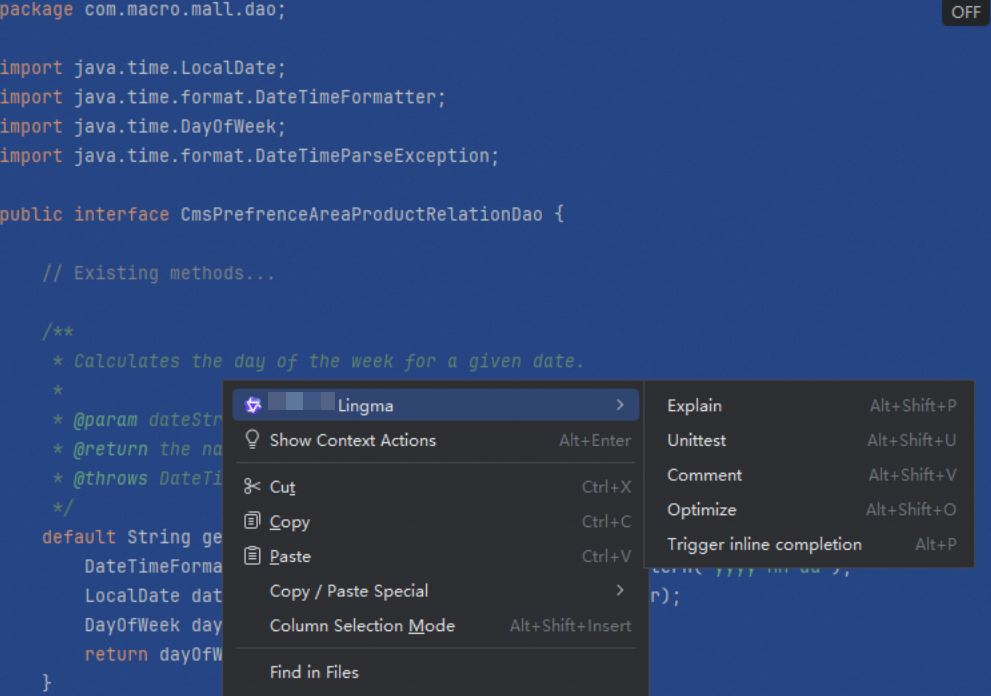
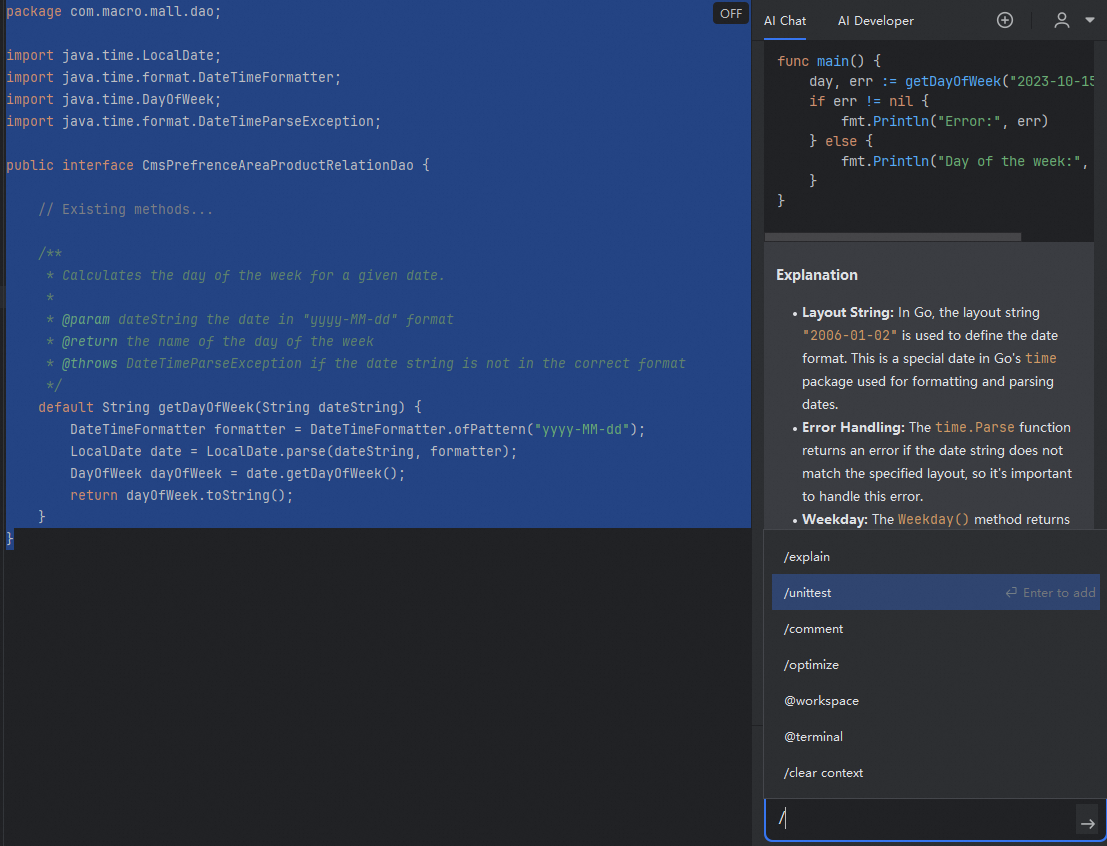
AI Coding Assistant has four built-in code tasks: explain code, generate unit tests, generate code comments, and generate optimization suggestions. The LLM of AI Coding Assistant has been specially trained for these tasks. For unit test generation, we recommend that you use the required built-in task instead of selecting code and entering a generation method.
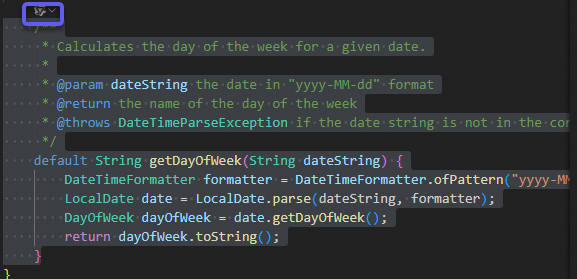
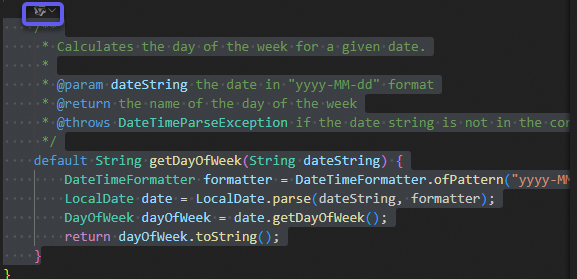
AI Coding Assistant supports three methods for using the built-in code tasks. The most commonly used method is to click the AI Coding Assistant icon at the beginning of a method definition and directly select the task to be executed from the drop-down options.
Method 1: Use a drop-down menu in an IDE.
IDE
Configuration
JetBrains IDE
VSCode
Method 2: Select the code, right-click, and select the "AI Coding Assistant" option from the context menu.
Method 3: Select the code and enter a slash (/) in the Q&A panel to activate the built-in task menu, then select the corresponding task.
Prompt usage tips
Reference selected code in questions
If you select text or a code snippet in your code editor when you ask a question, the selected content is automatically appended to the question in the Markdown quote format. To reference the selected content in prompts, we recommend that you use "code below" or "following content".
Recommended example: Check whether the following code has a risk of an index out-of-bounds error.
Poor example: Check whether the selected code has a risk of an index out-of-bounds error. (In this example, the model cannot identify the selected code.)
Attach relevant information when using commands
By adding more auxiliary information after a command, you can provide richer context for Q&A and obtain responses that better meet your expectations.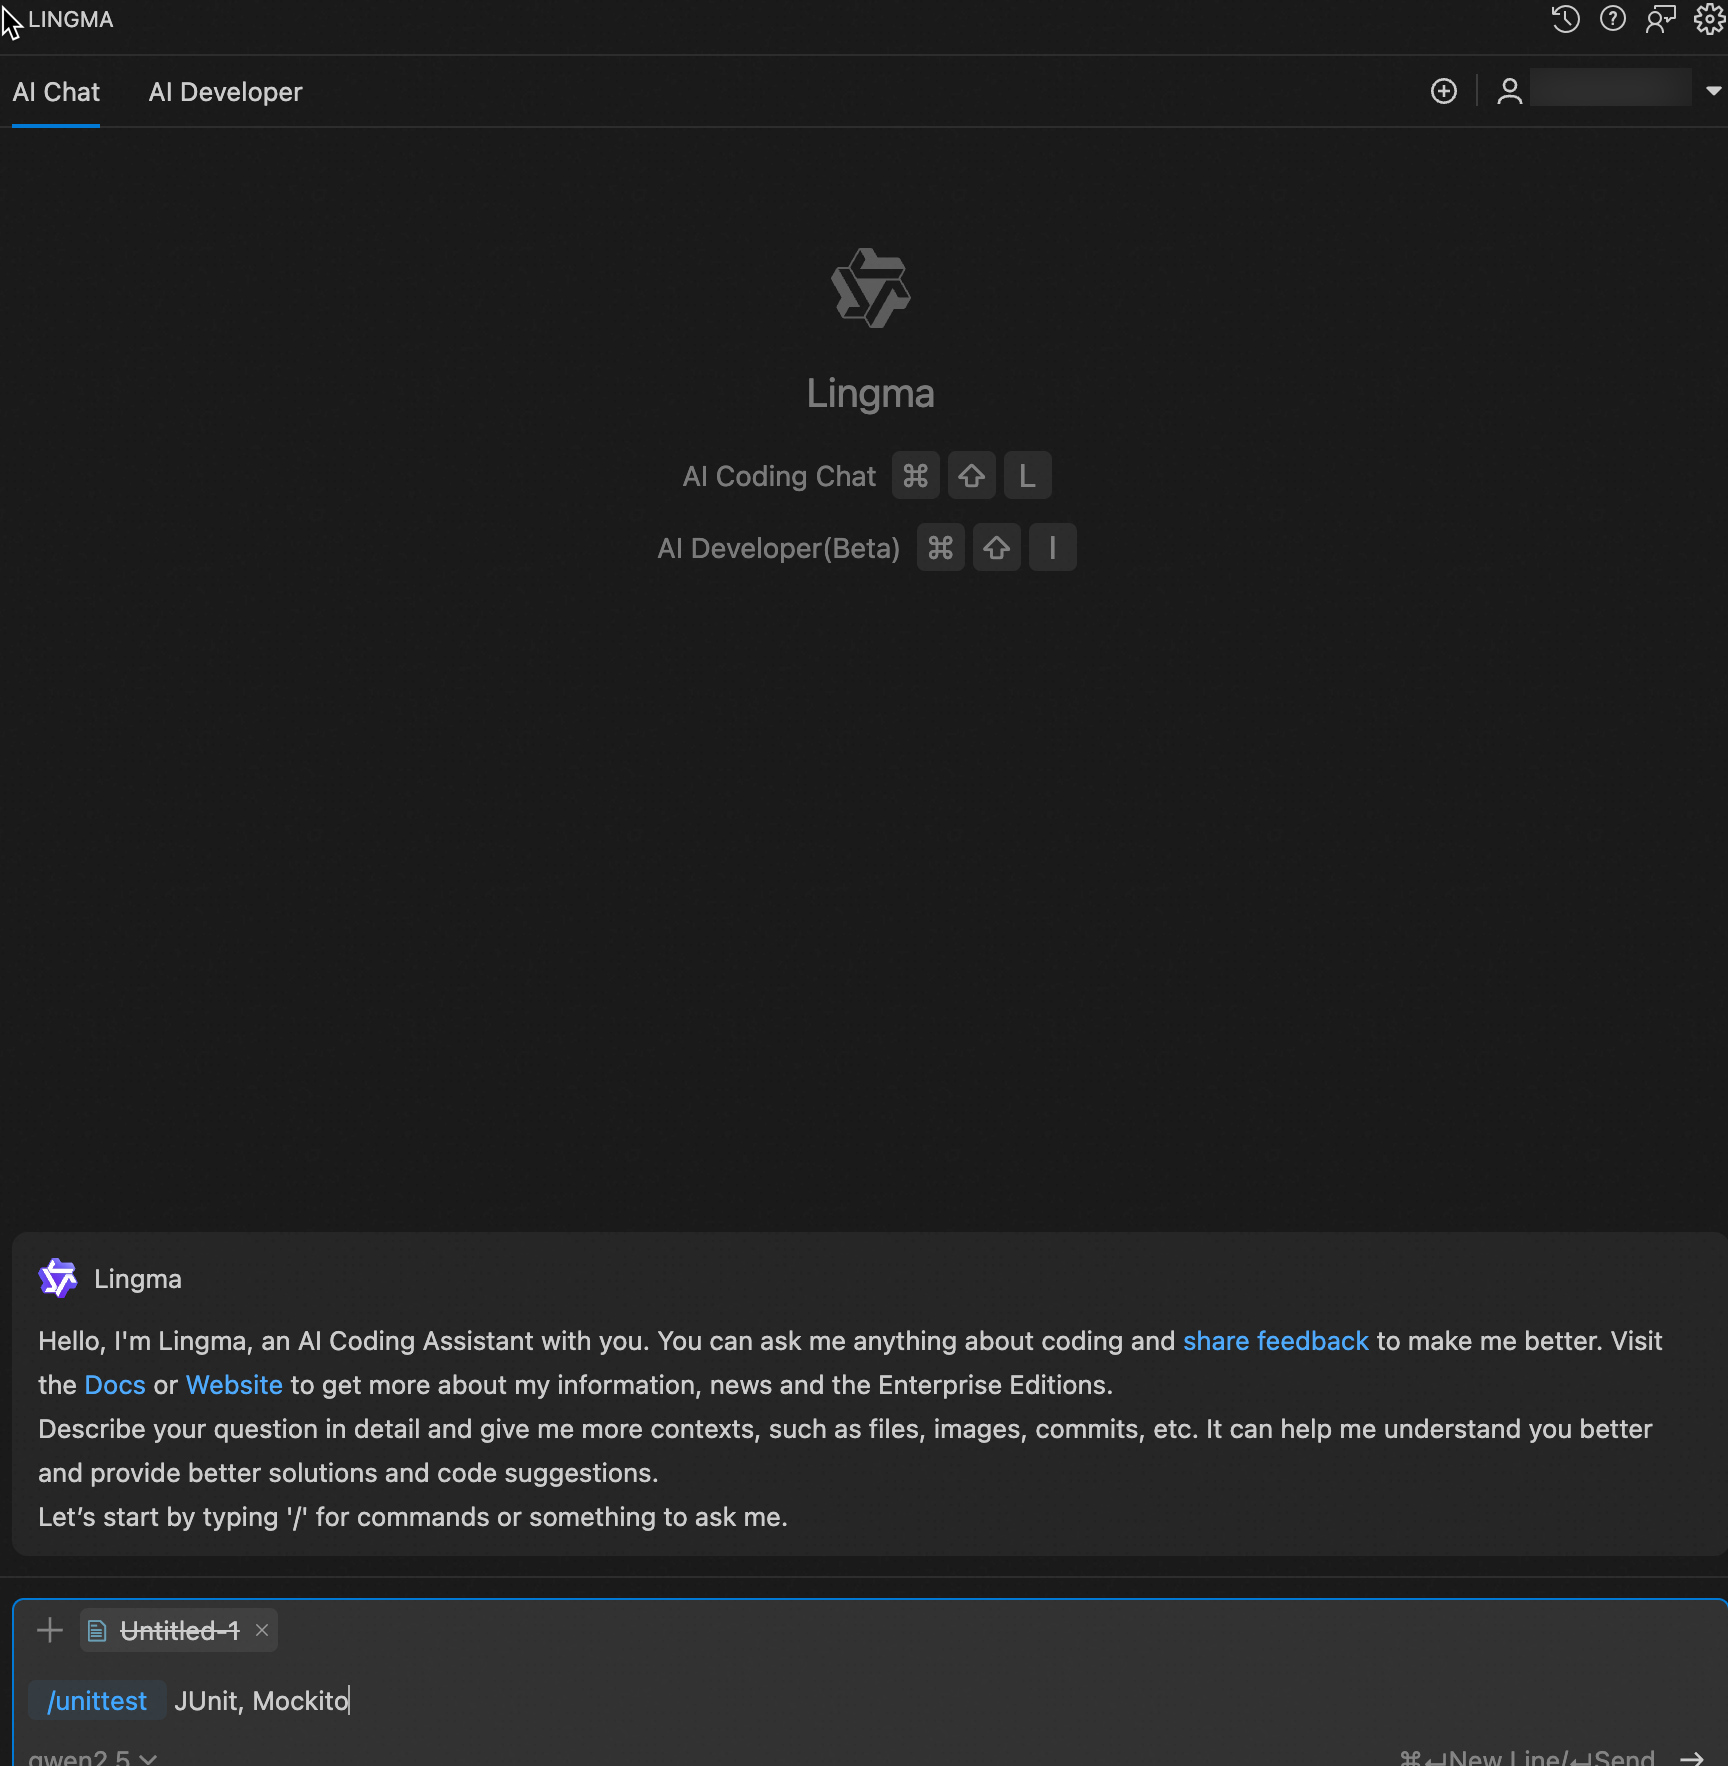
Generate effective code through multi-round conversations
In LLM-based conversations, the quality of generated results improves when more detailed context information is provided, which helps better meet your expectations. You can continue Q&A based on previous conversations to add more context information to subsequent questions. This way, the generated results can better reflect the complete conversation history. However, sometimes the historical information from previous rounds may cause interference. In this case, you need to clear the context at appropriate times.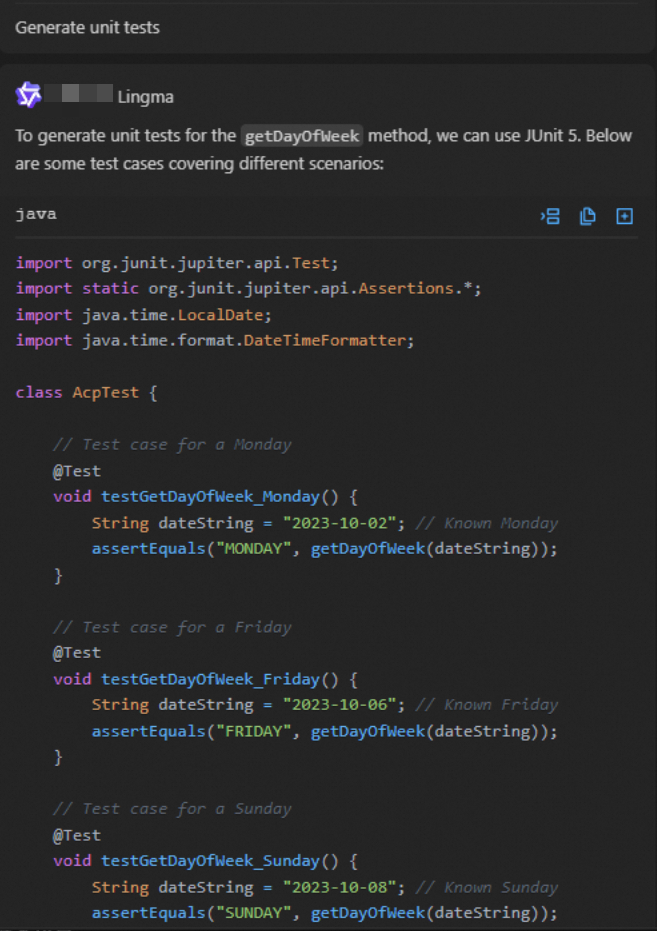 Based on the previous round, you can ask more in-depth follow-up questions.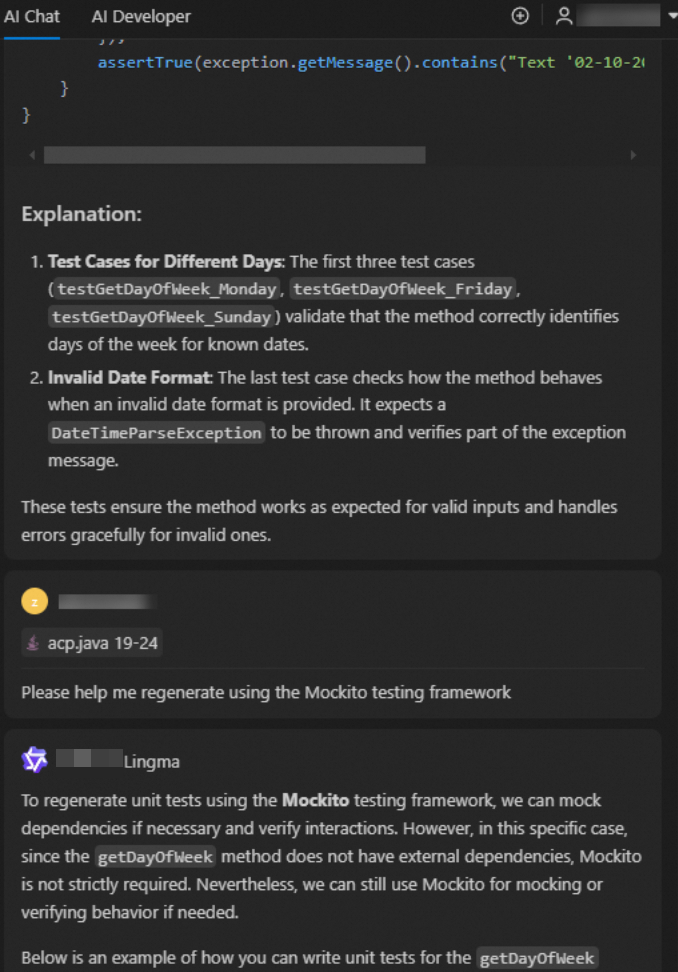
Provide reference examples for the model
If you want a model to generate output in a specific format or in compliance with preconfigured rules, we recommend that you provide a reference example instead of text descriptions. For example, the running result file of a program can be organized by AI Coding Assistant into a specific JSON structure document. First, you must open the file, select the problematic content in the file, and then enter your question in the Q&A panel. Among the following prompts, the second prompt can lead to results in the expected data format.
Prompt 1: Organize the file into a test report in the JSON format. Make sure that the results of each test case are organized into a JSON structure. Populate the name field with the test case name, the success field with the test case status, the duration field with the running duration in milliseconds, and the coverage field with the test coverage ratio. Make sure that the detail field is in the JSON format and includes the input and output fields for each test case.
Prompt 2: Organize the file into a test report in the JSON format. Refer to the input report for the format details.
...Report content omitted...The following example provides the input report. Organize the file into a test report in the JSON format based on the following example:
[
  {
    "name": "If the page number exceeds the valid value range, the system is expected to return an empty list or prompt no-more-data",
  "duration": 3434,
  "coverage": 80,
  "detail": [
    {
      "input": "…",
    "output": "…"
    }
  ]
  }
]