User guide
This topic describes how to configure and use the Tongyi Tingwu - Industrial Instruction Transcription Agent.
Preparations
Activate the Tongyi Tingwu Agent service.
NoteAfter you activate the service, you can use all Tongyi Tingwu Agent services on the Alibaba Cloud Model Studio platform.
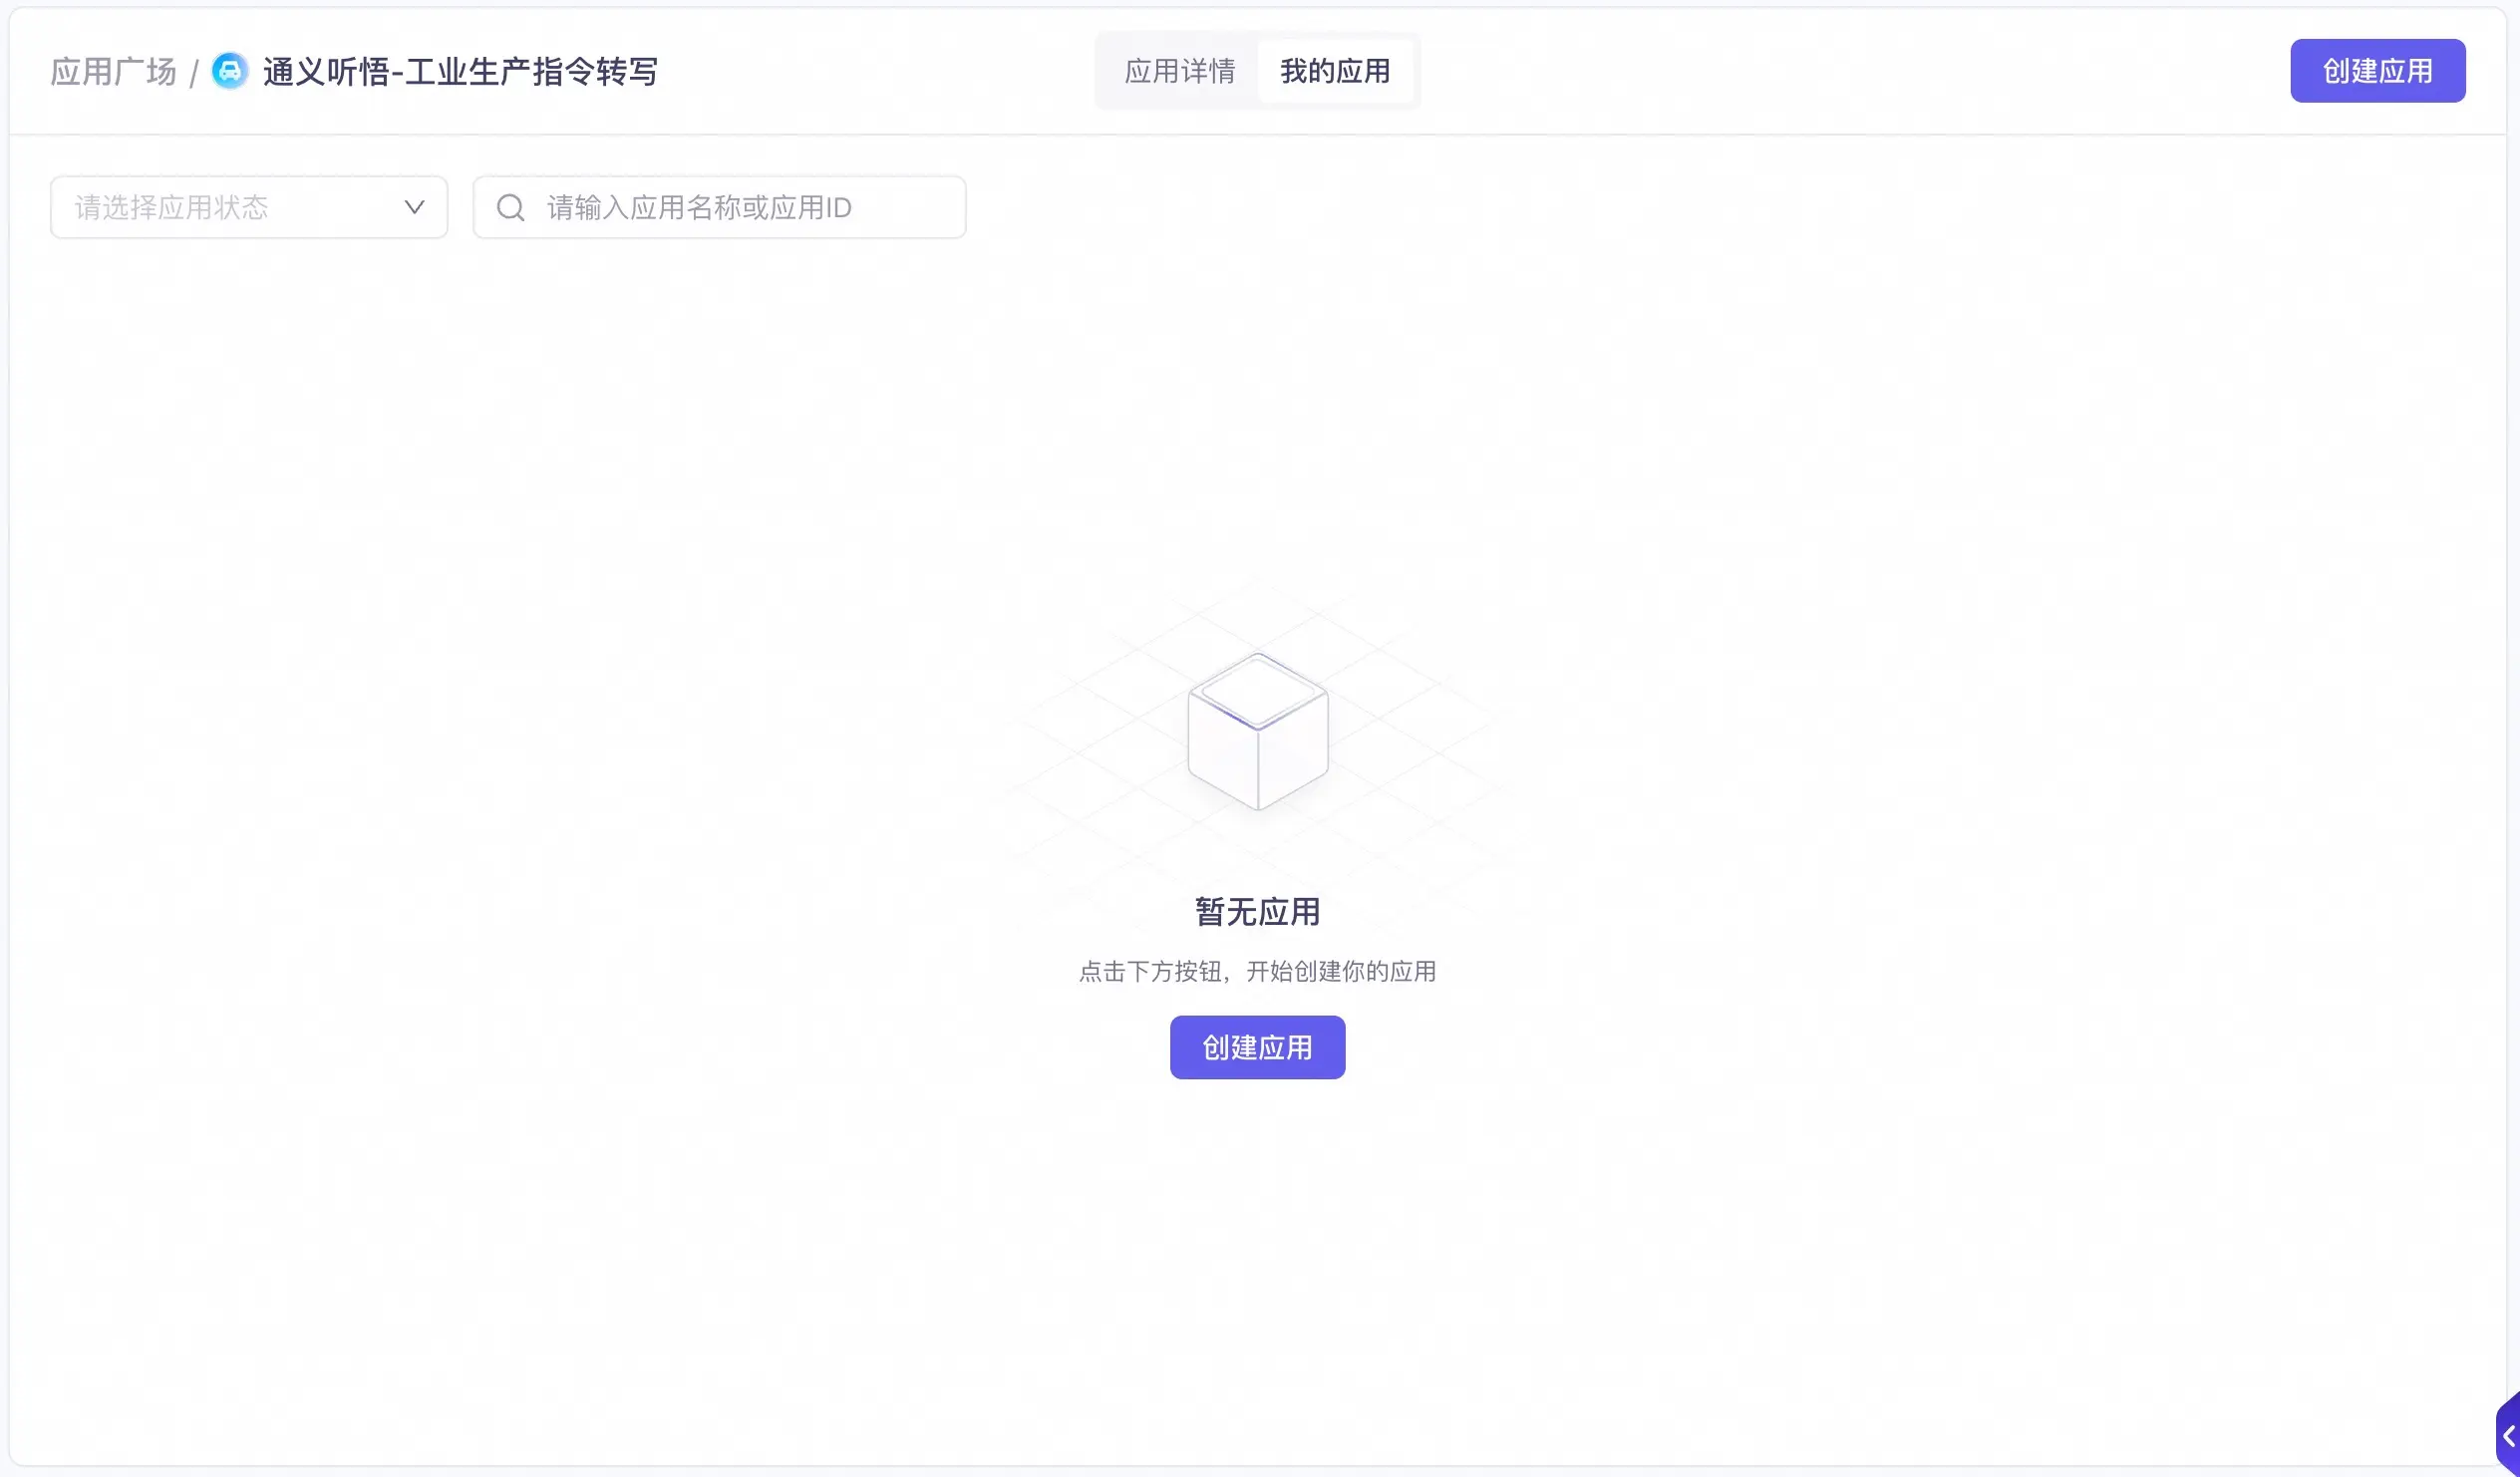
1. Create an application
Click the Create Application button in the middle or upper-right corner of the console page to create an application. You can create up to 100 applications.
2. Configure and test
After you configure and test the application, you can review the results multiple times. When you confirm that the results meet your expectations, publish the application. For more information about development and API calls, see API integration.
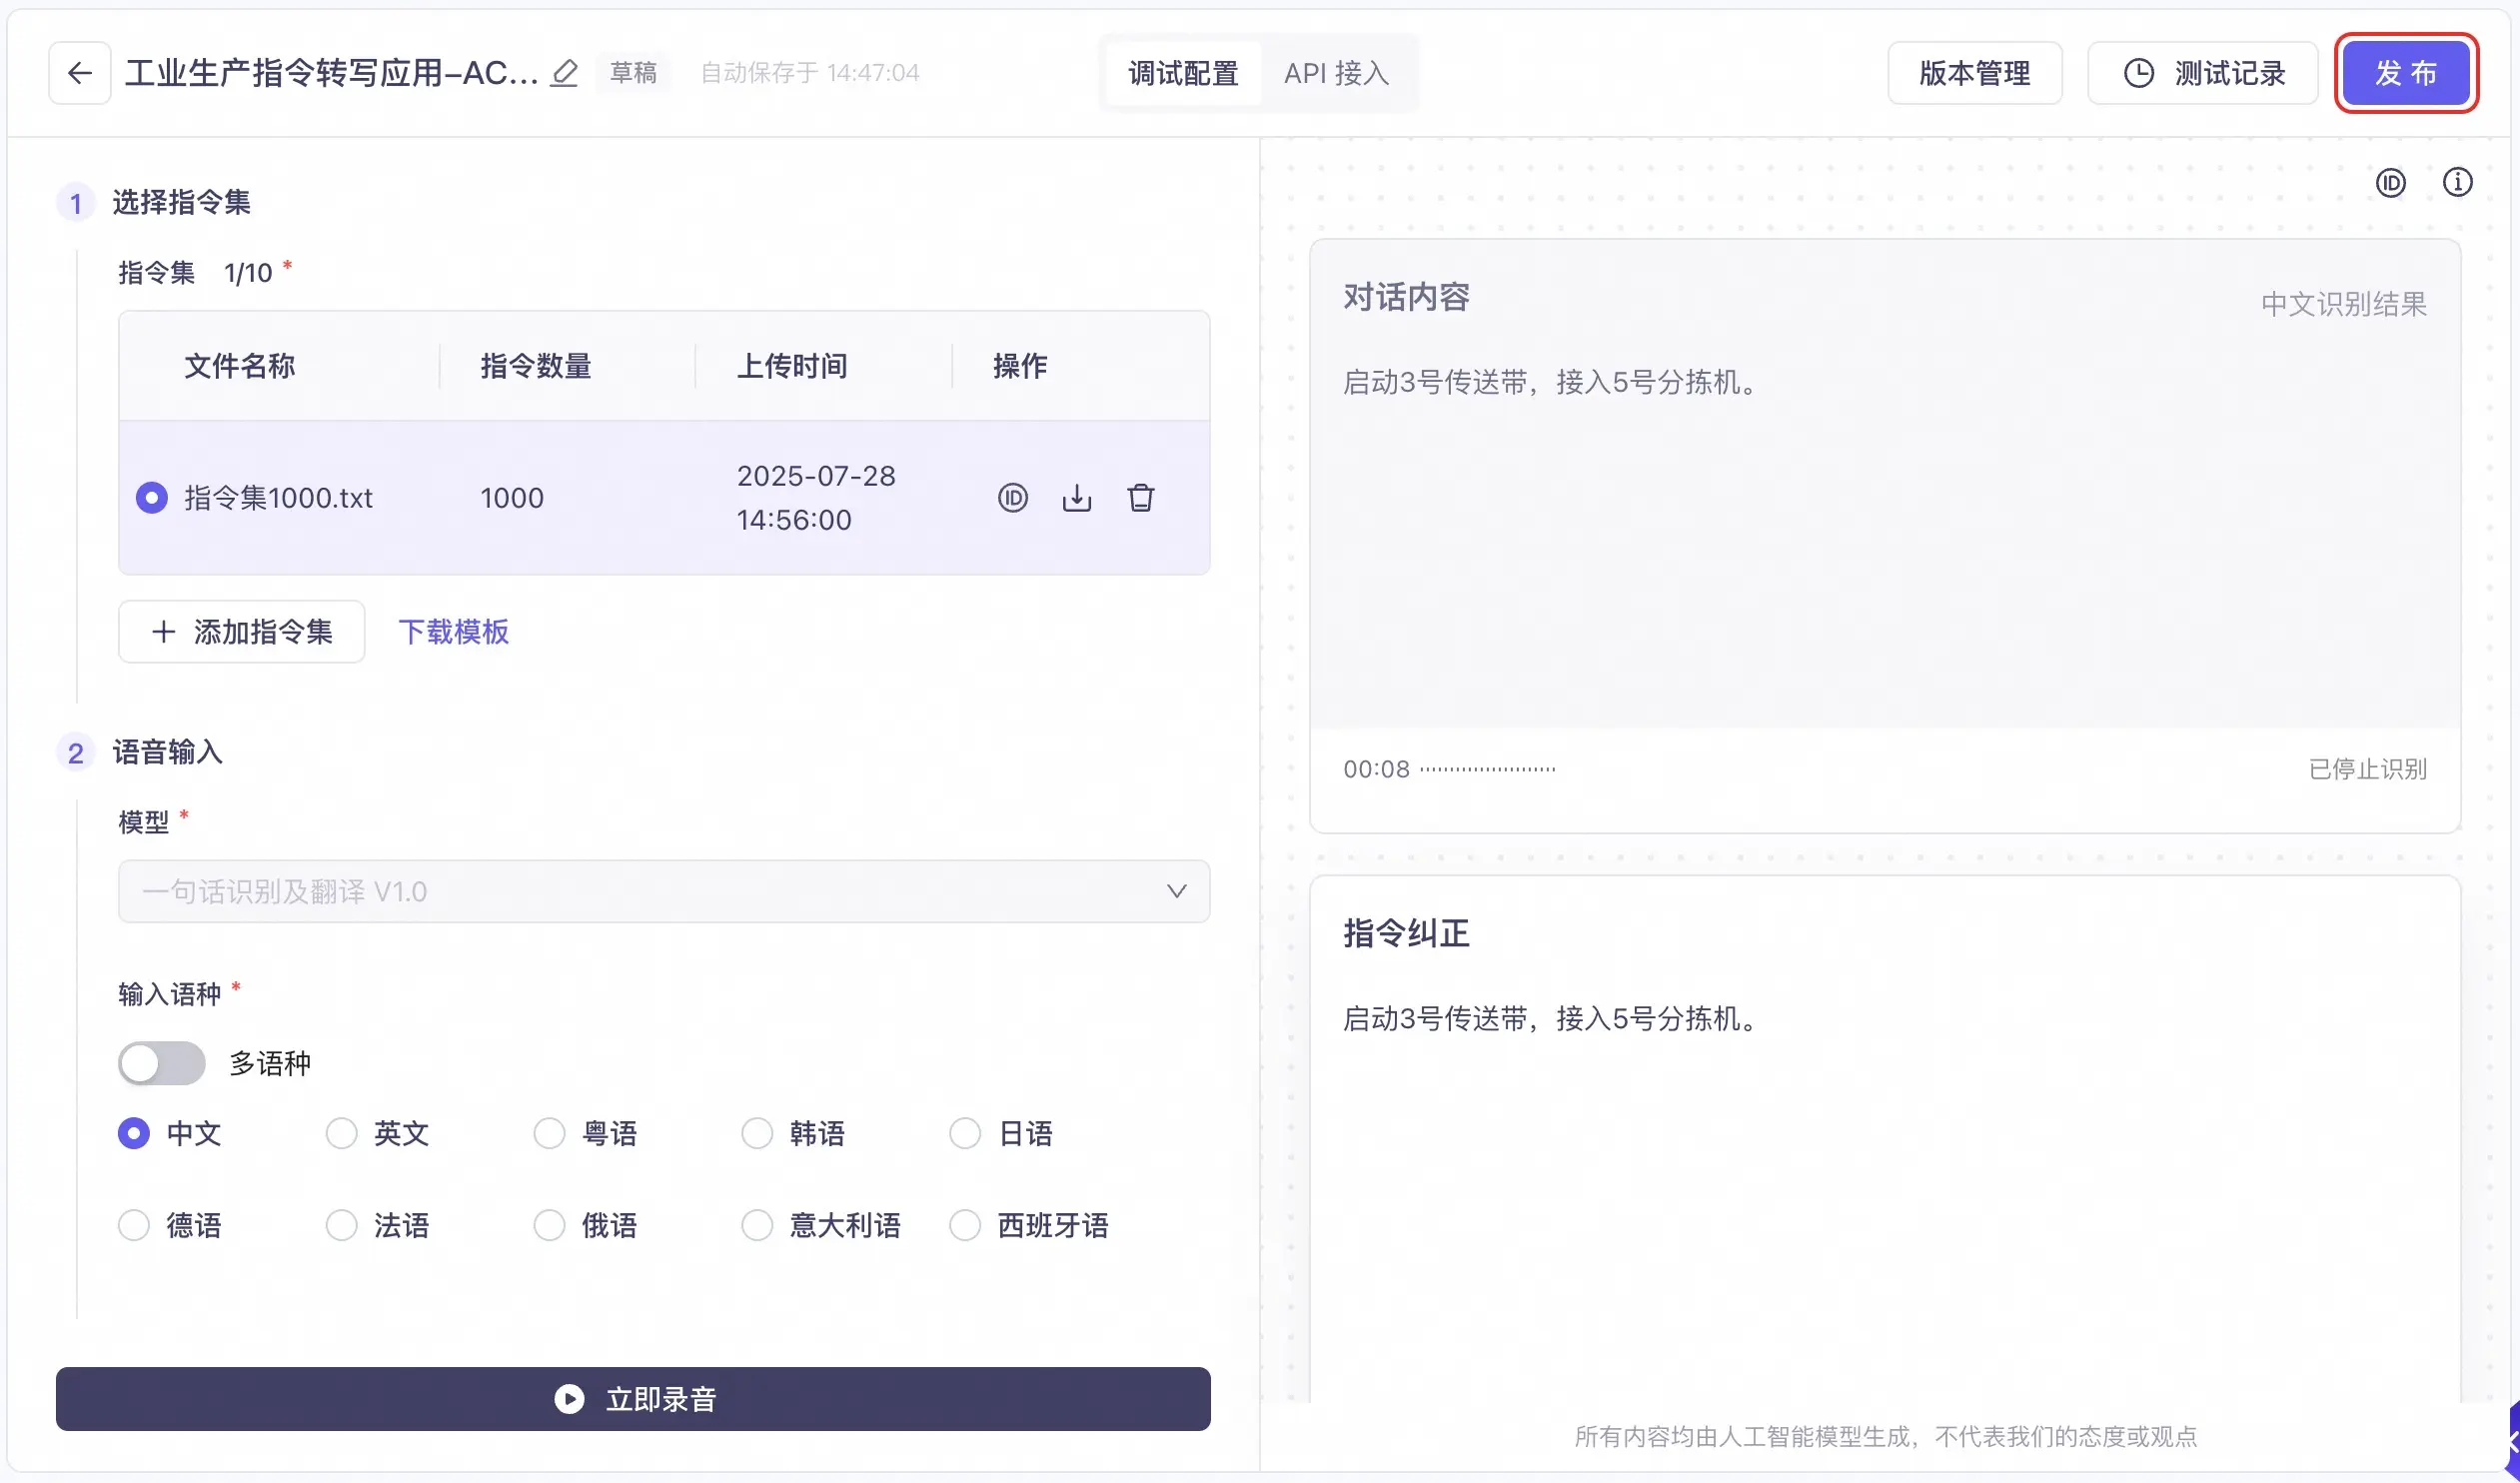
1. Select an instruction set
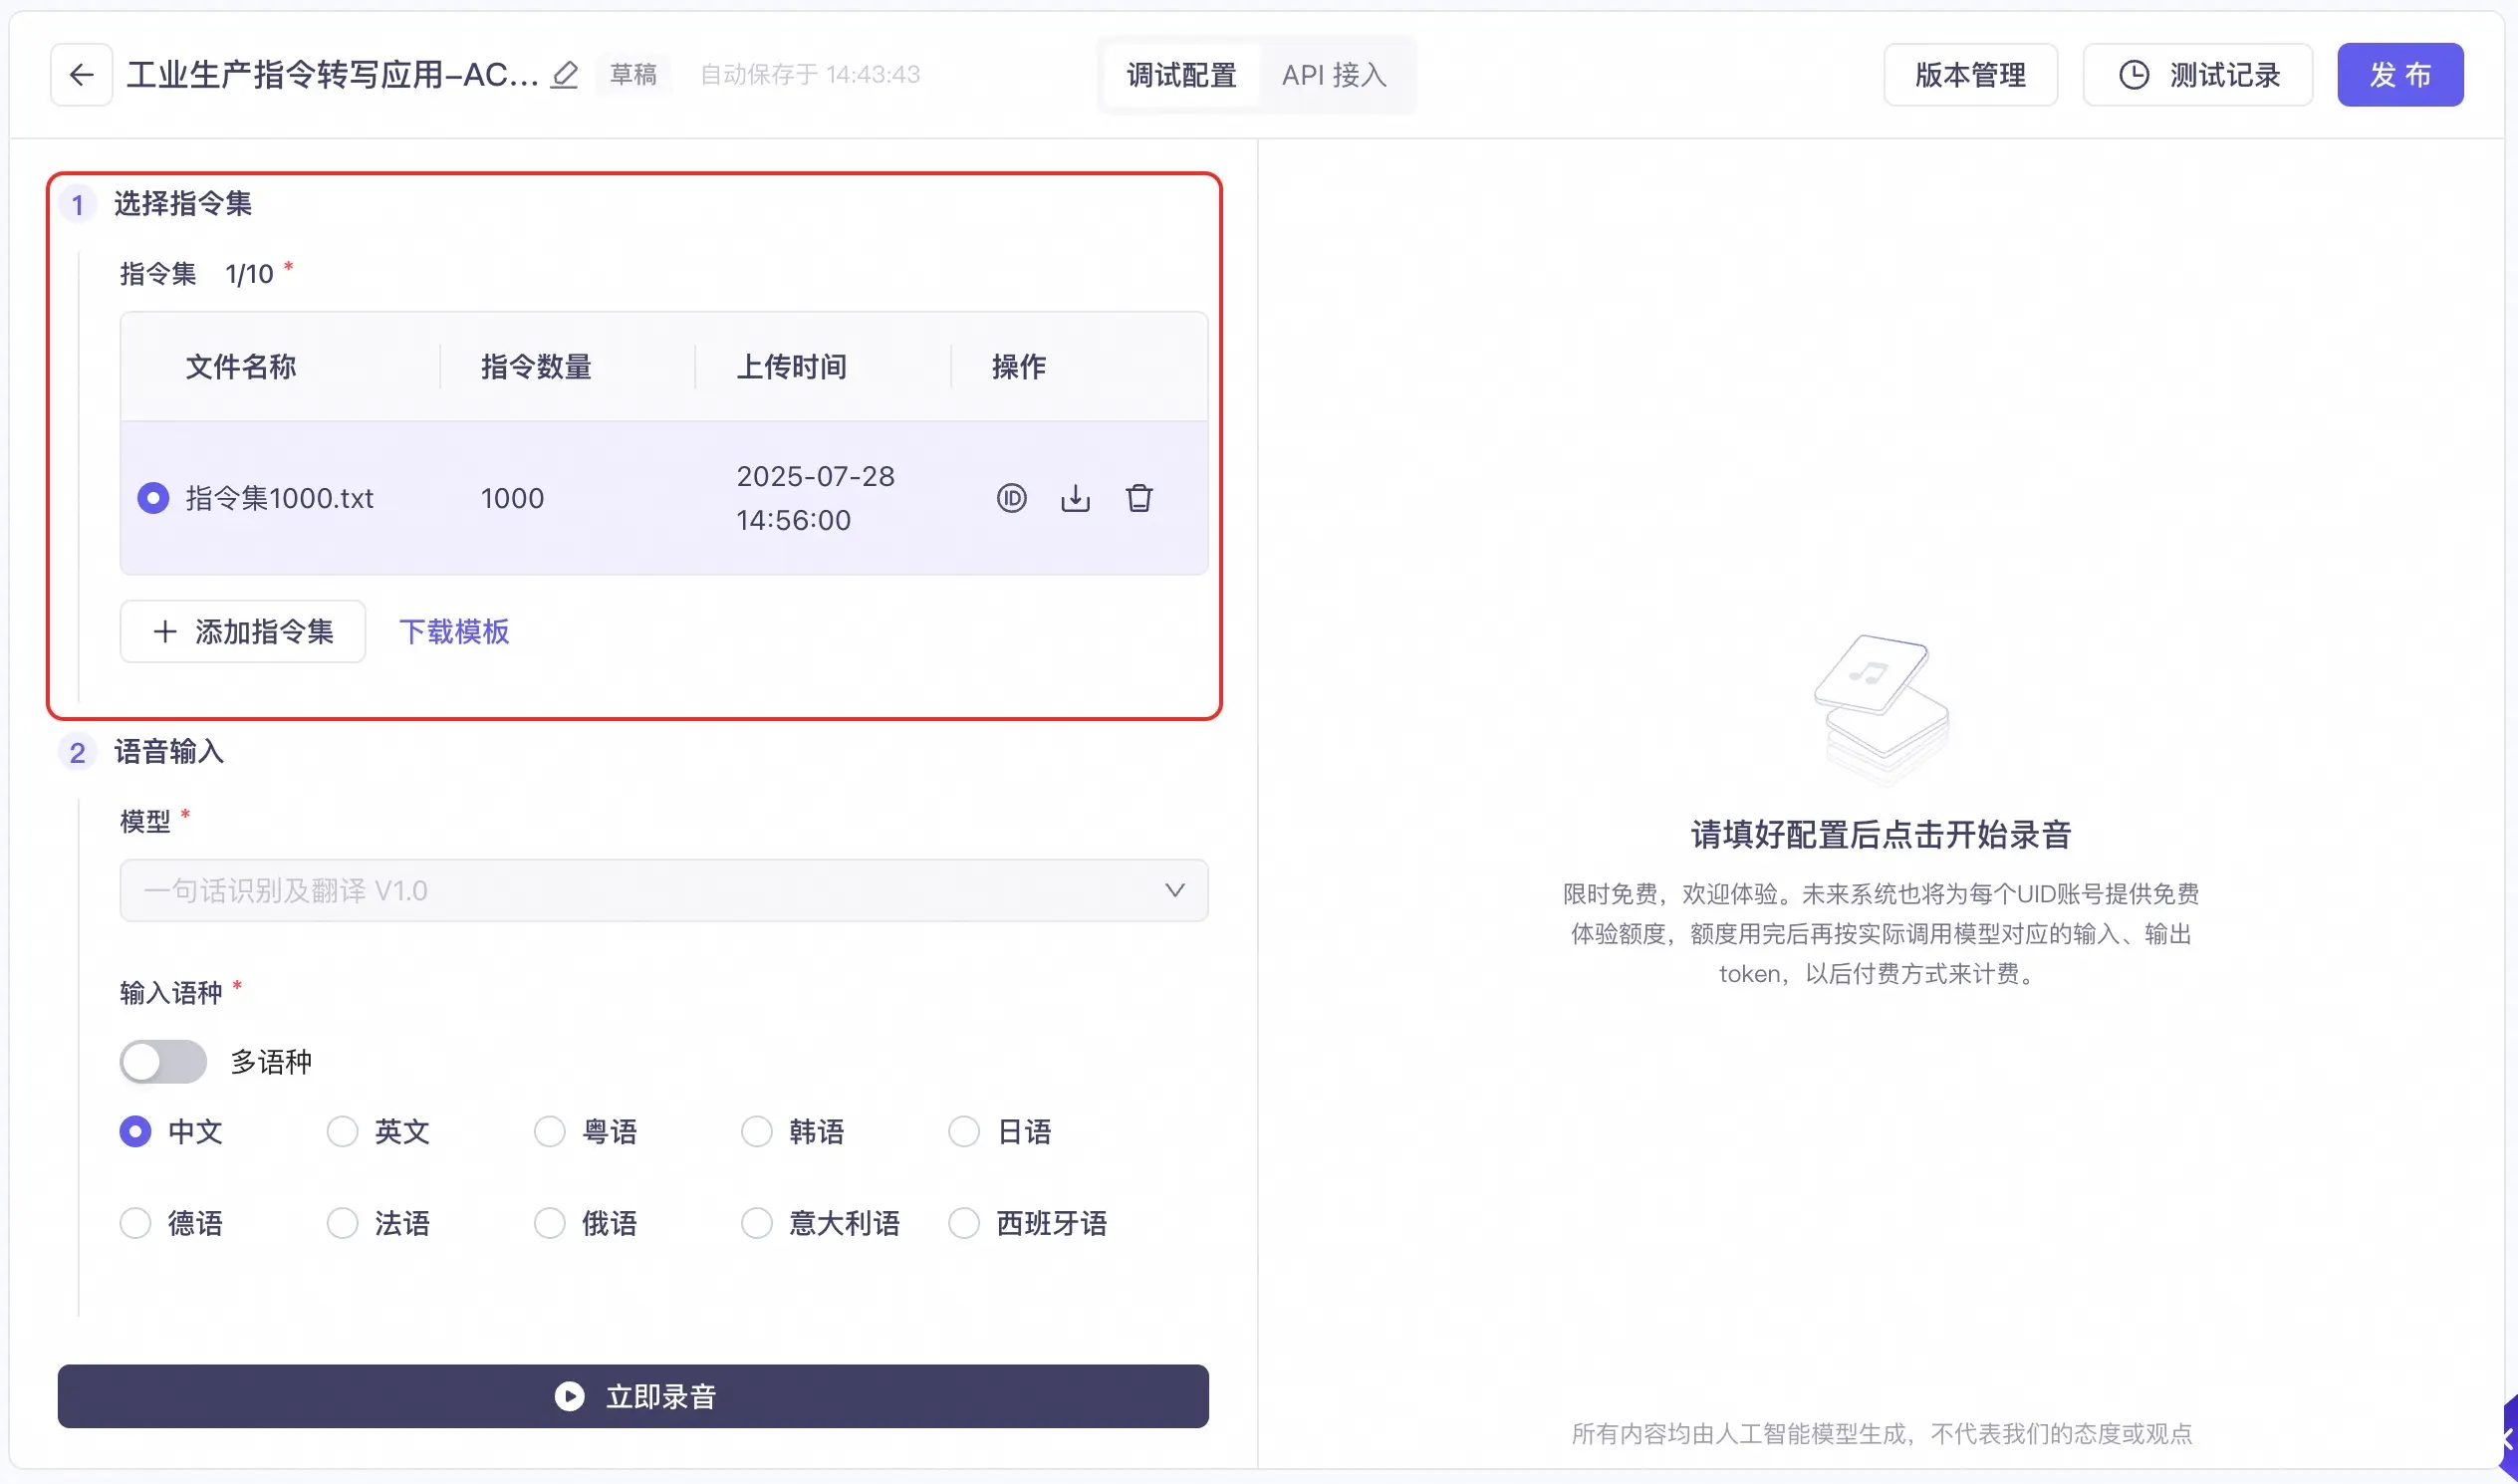
You can select an instruction set to use for transcription. The instruction set can contain professional terms or special instructions that are difficult to recognize, such as:
- Left fender and left front panel
- Paint slag
- Fold down the right rear seat back
- Superior mesenteric artery embolism
If you do not have an instruction set, you can add one by uploading a file. The supported file formats are .xlsx, .xls, .csv, and .txt. Note the following:
- Each instruction set can contain a maximum of 1,000 instructions. Each instruction must be 2 to 30 characters long.
- Instructions can contain only Chinese characters, English letters, and numbers. Symbols are not supported.
- For the required file format, click Download Template and refer to the sample instruction set file.
You can add up to 10 instruction sets. The instruction sets are shared among all your industrial instruction transcription applications.
2. Speech input
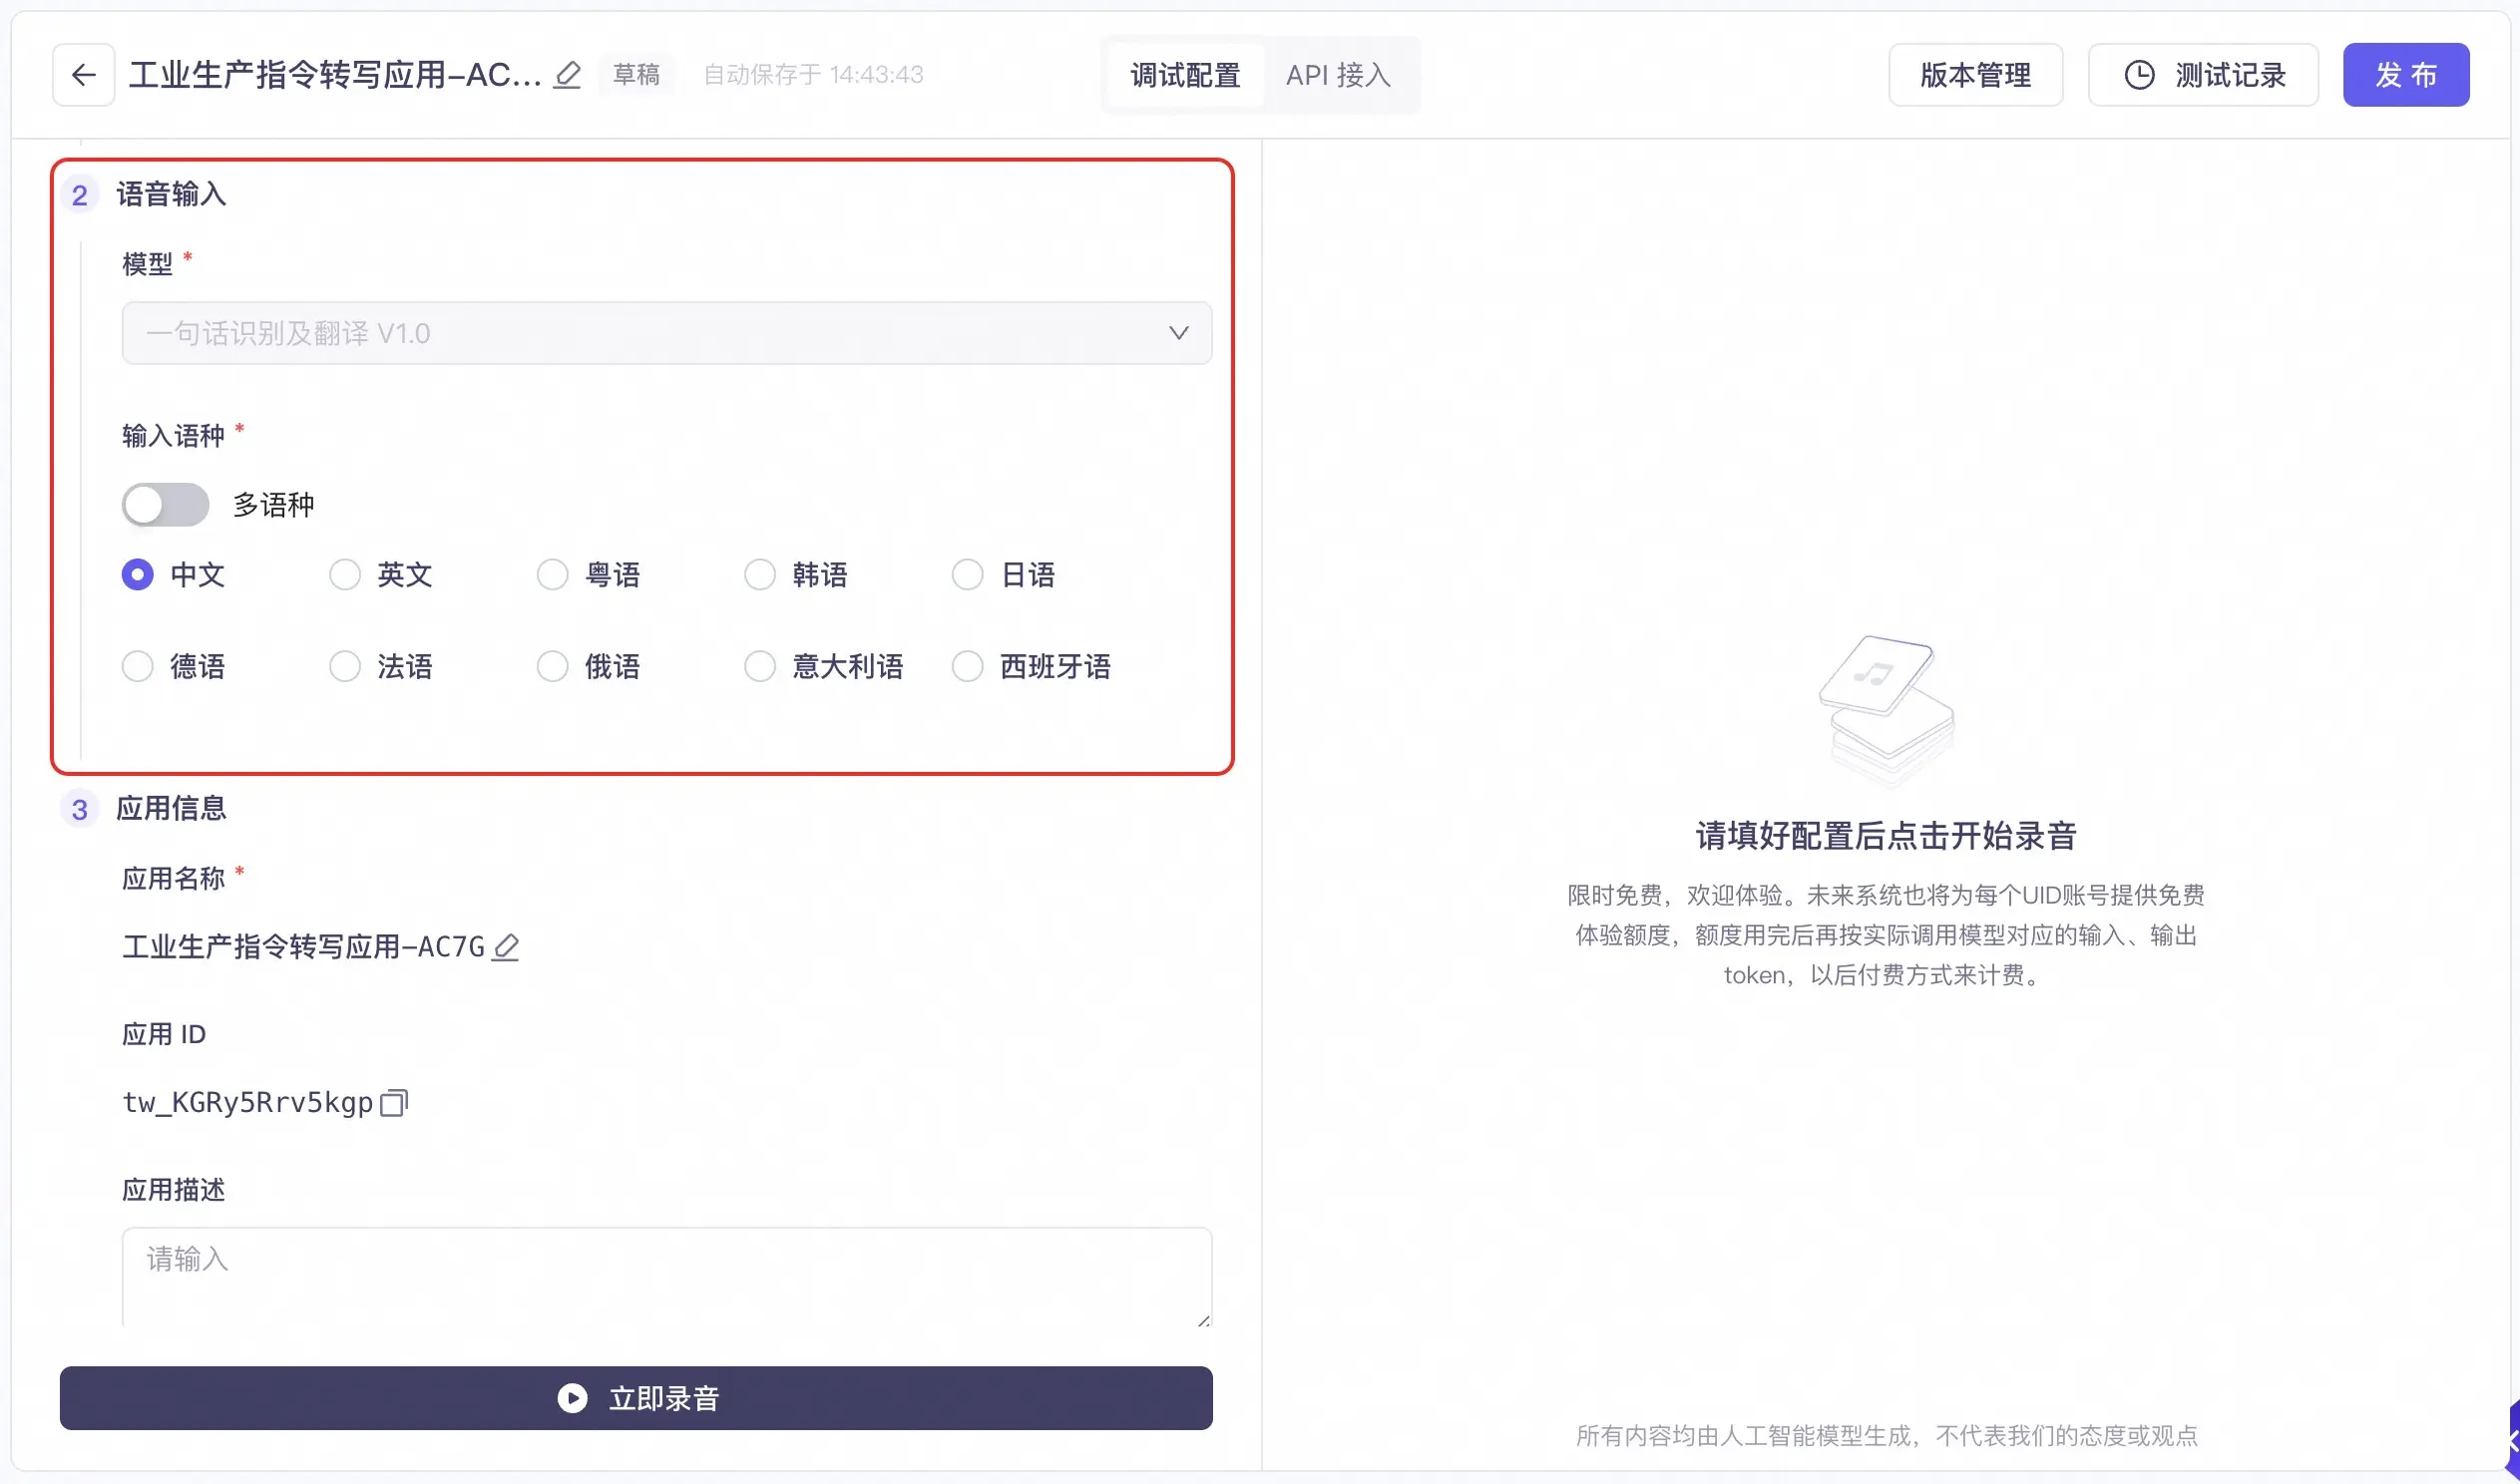
Model selection
The supported models are:
- Short Speech Recognition and Translation V1.0 model, which supports recognition and translation for audio up to 60 seconds long.
Input language
You can configure the language for recognition during recording. You can select one of the following options:
- Multi-language: Automatically detects the spoken language.
- Single language: If your application involves only one language, you can specify it. Supported languages include Chinese, English, Cantonese, Korean, Japanese, German, French, Russian, Italian, and Spanish.
NoteConfiguration changes made in the interface are applied to the API after you publish the application.
After you complete the configuration, click the Start Recording button to begin testing. The information in Step 3. Application information is required only for API calls.
To view the test results and test records, see Review the results.
3. Application information
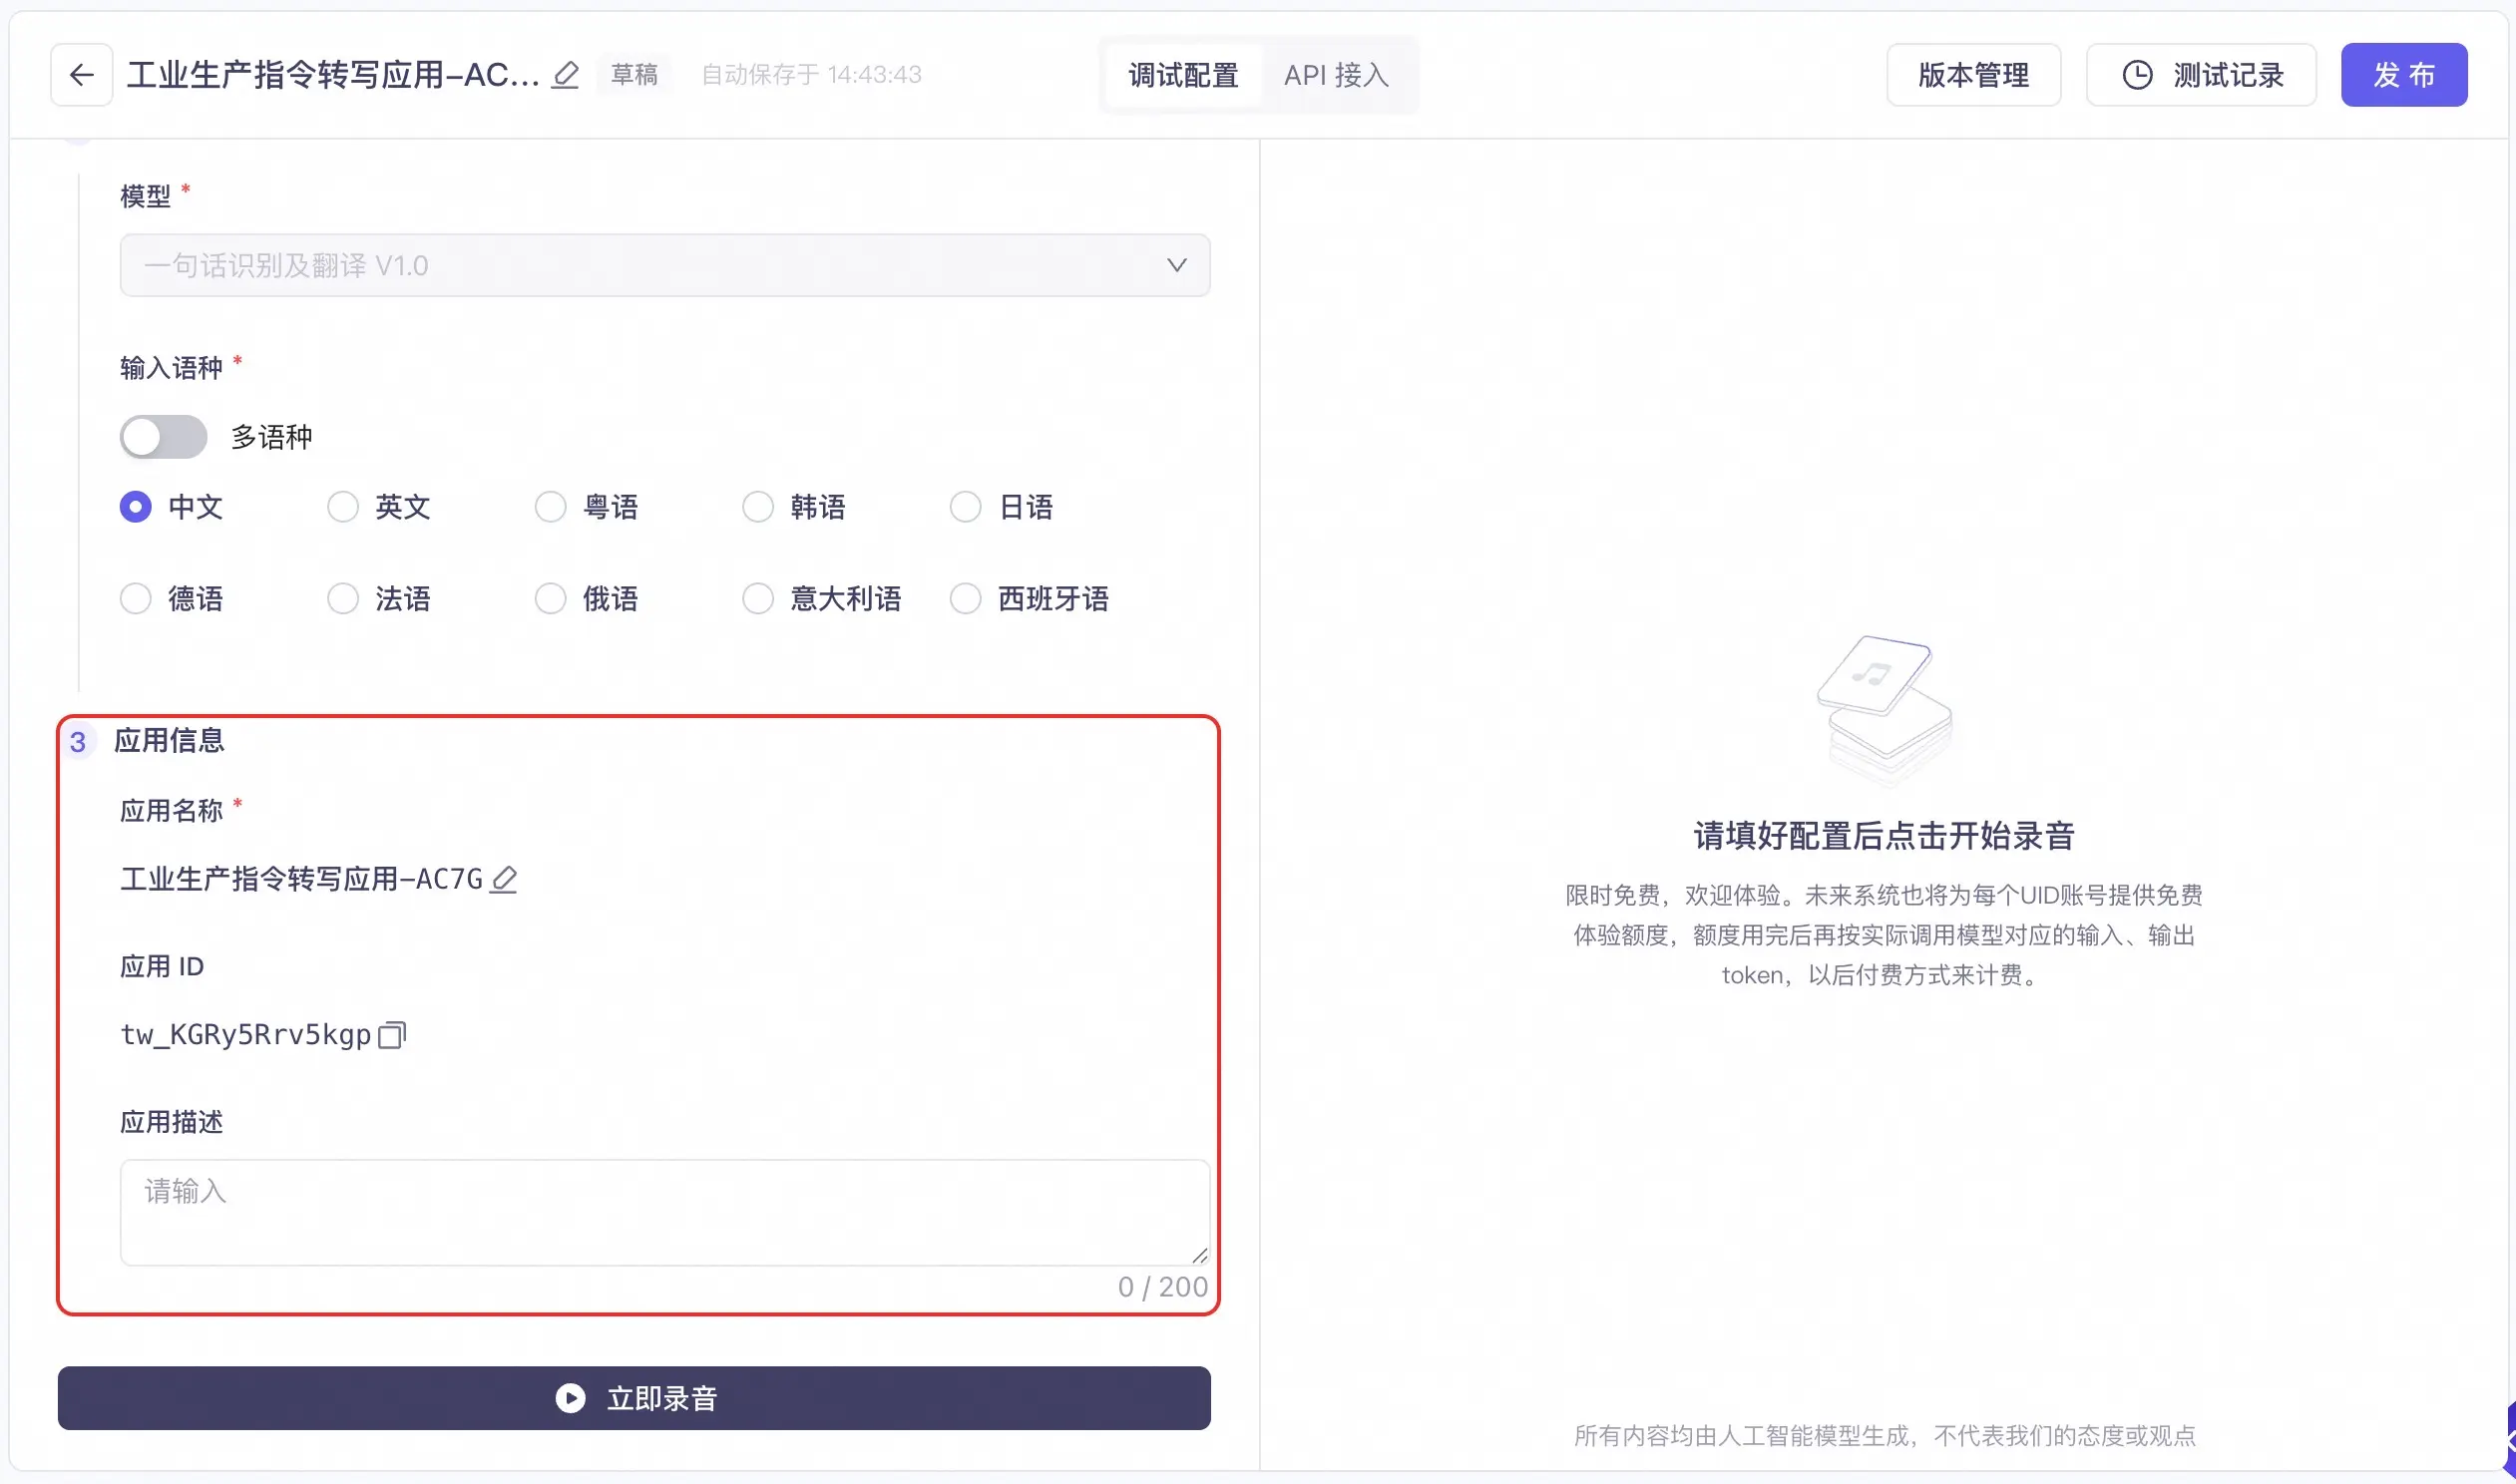
Application name
You can copy or modify the application name here.
Application ID
You can view or copy the application ID here.
Application description
You can add a description for the application here.
3. Review the results
After you click the Start Recording button, your browser may request permission to access your microphone. Click Allow.
You can then use your microphone to record an industrial instruction for the test. After you click Stop Recording, or after the model automatically detects the end of a sentence, the final corrected instruction is returned.
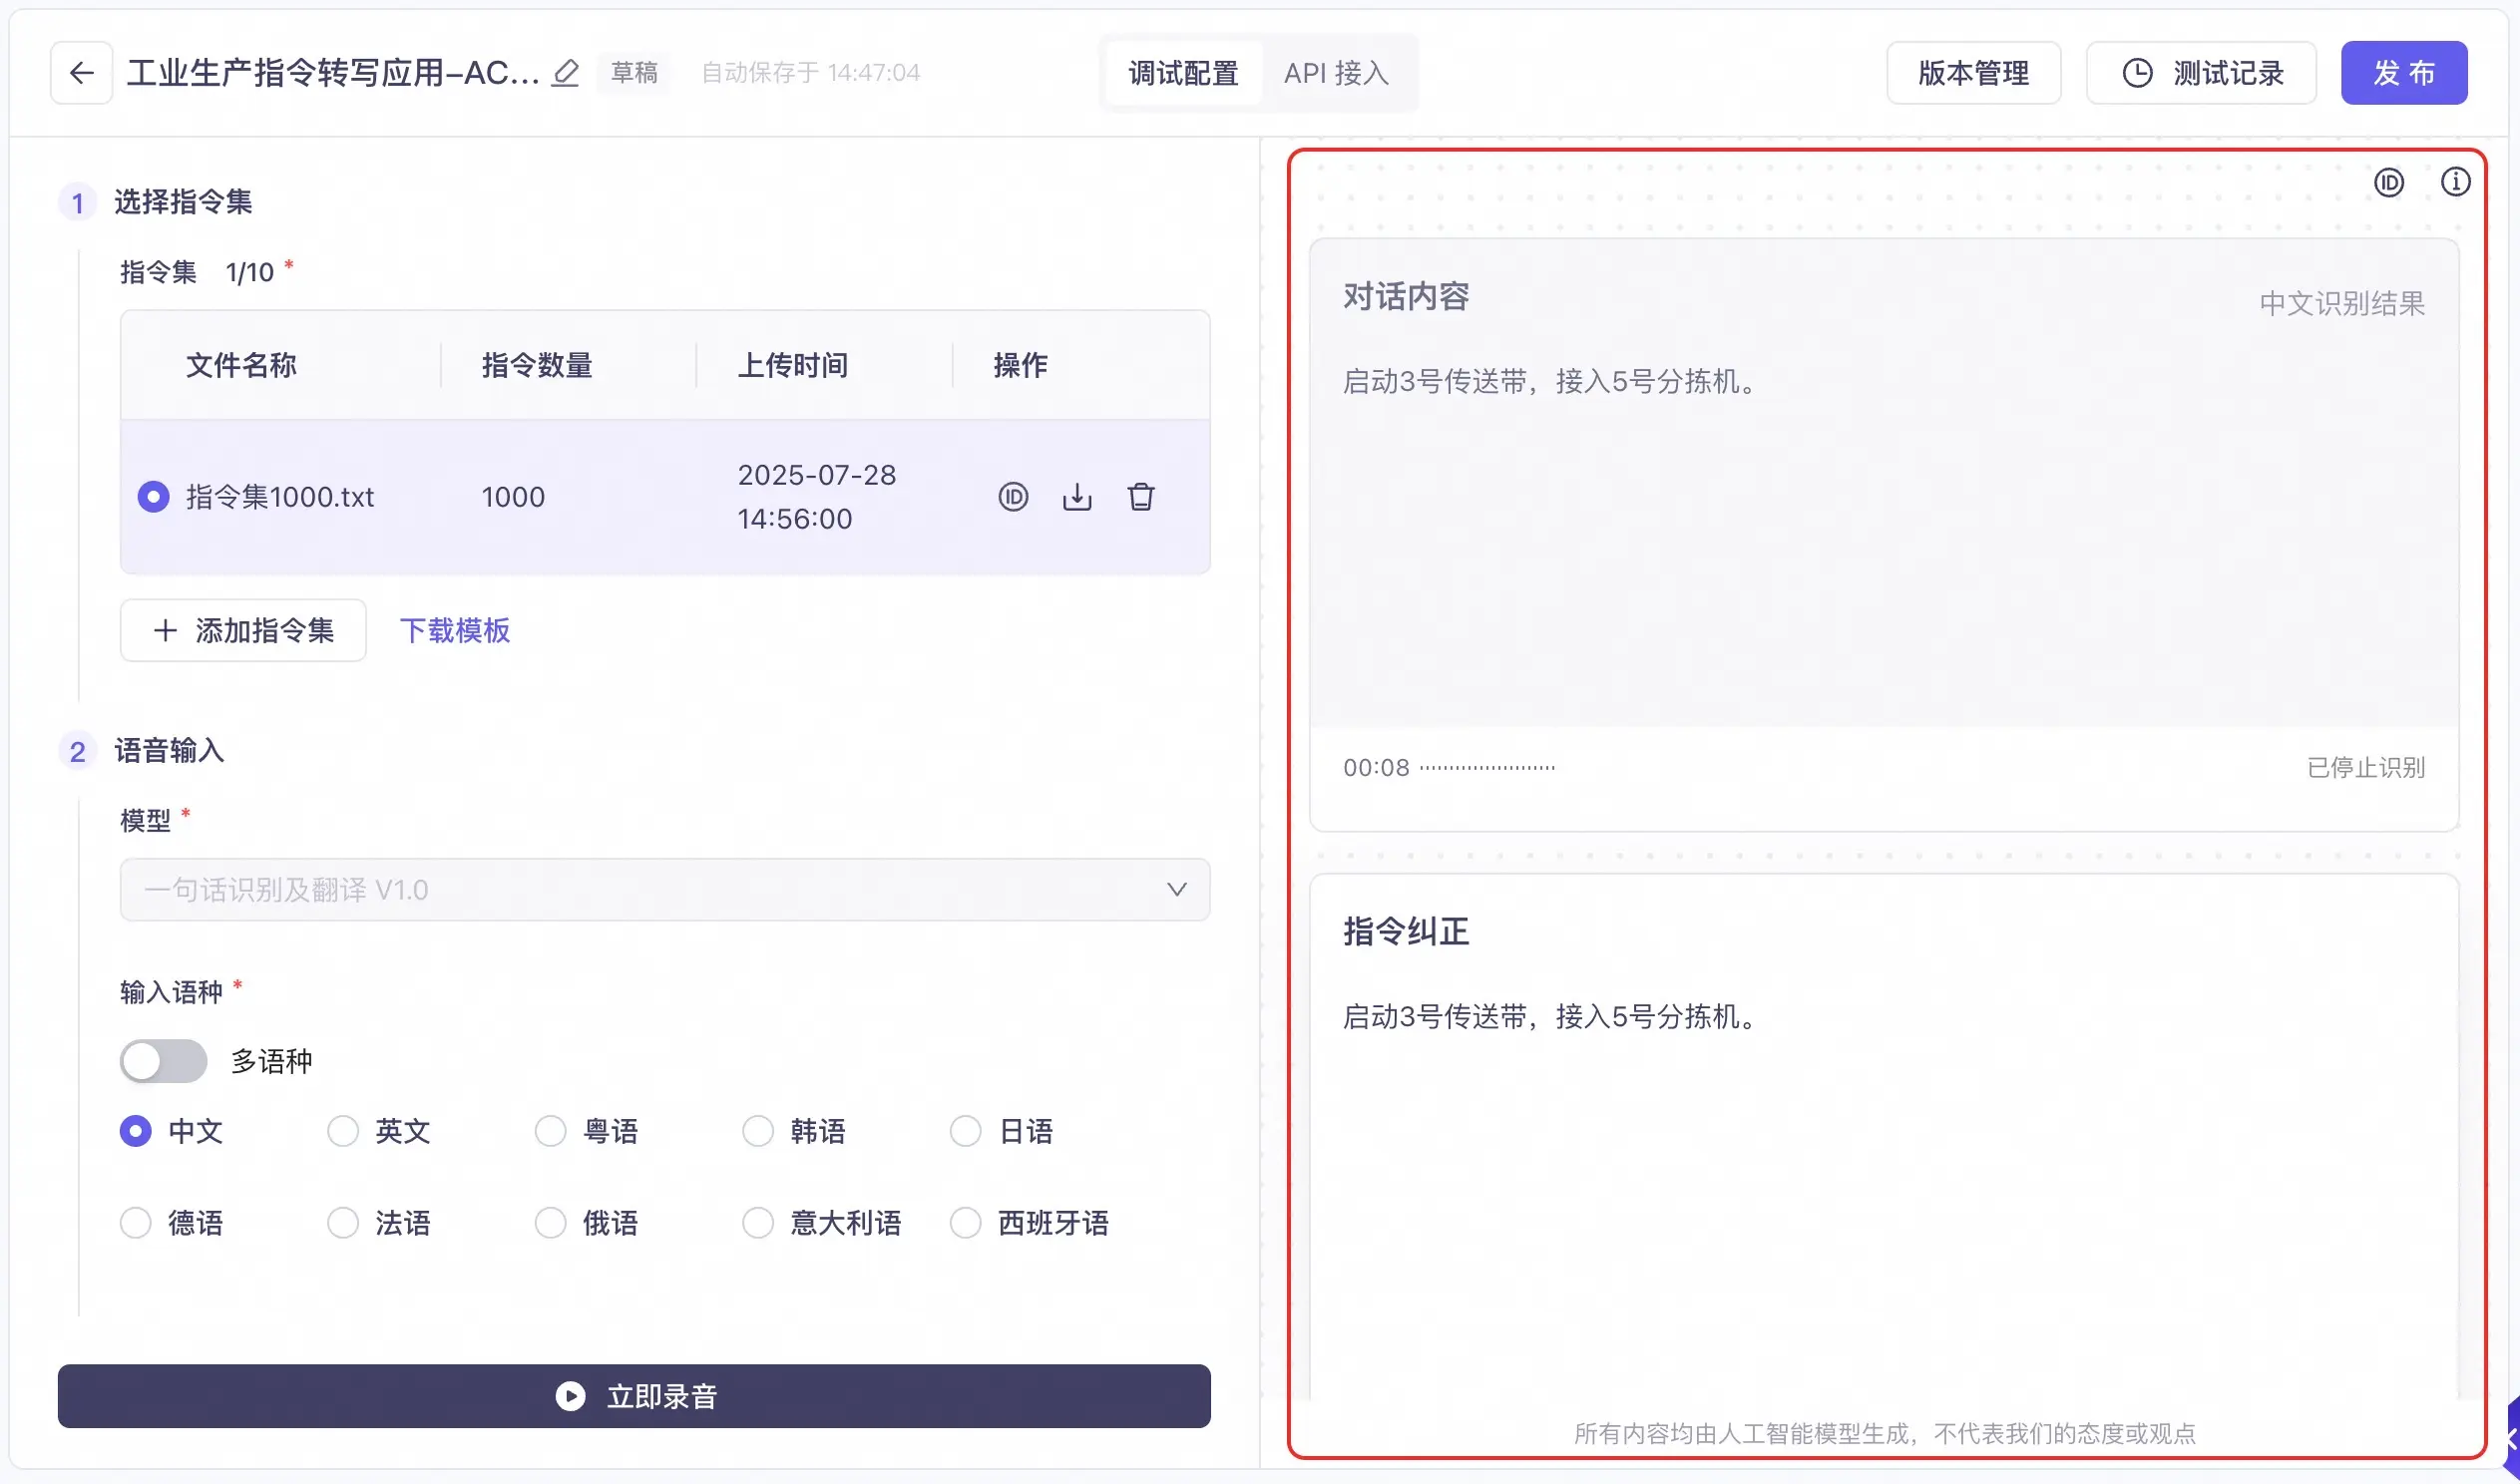
Dialogue content
This section shows the transcription of the input audio.
Instruction correction
This section shows the corrected instruction that is generated by the large model.
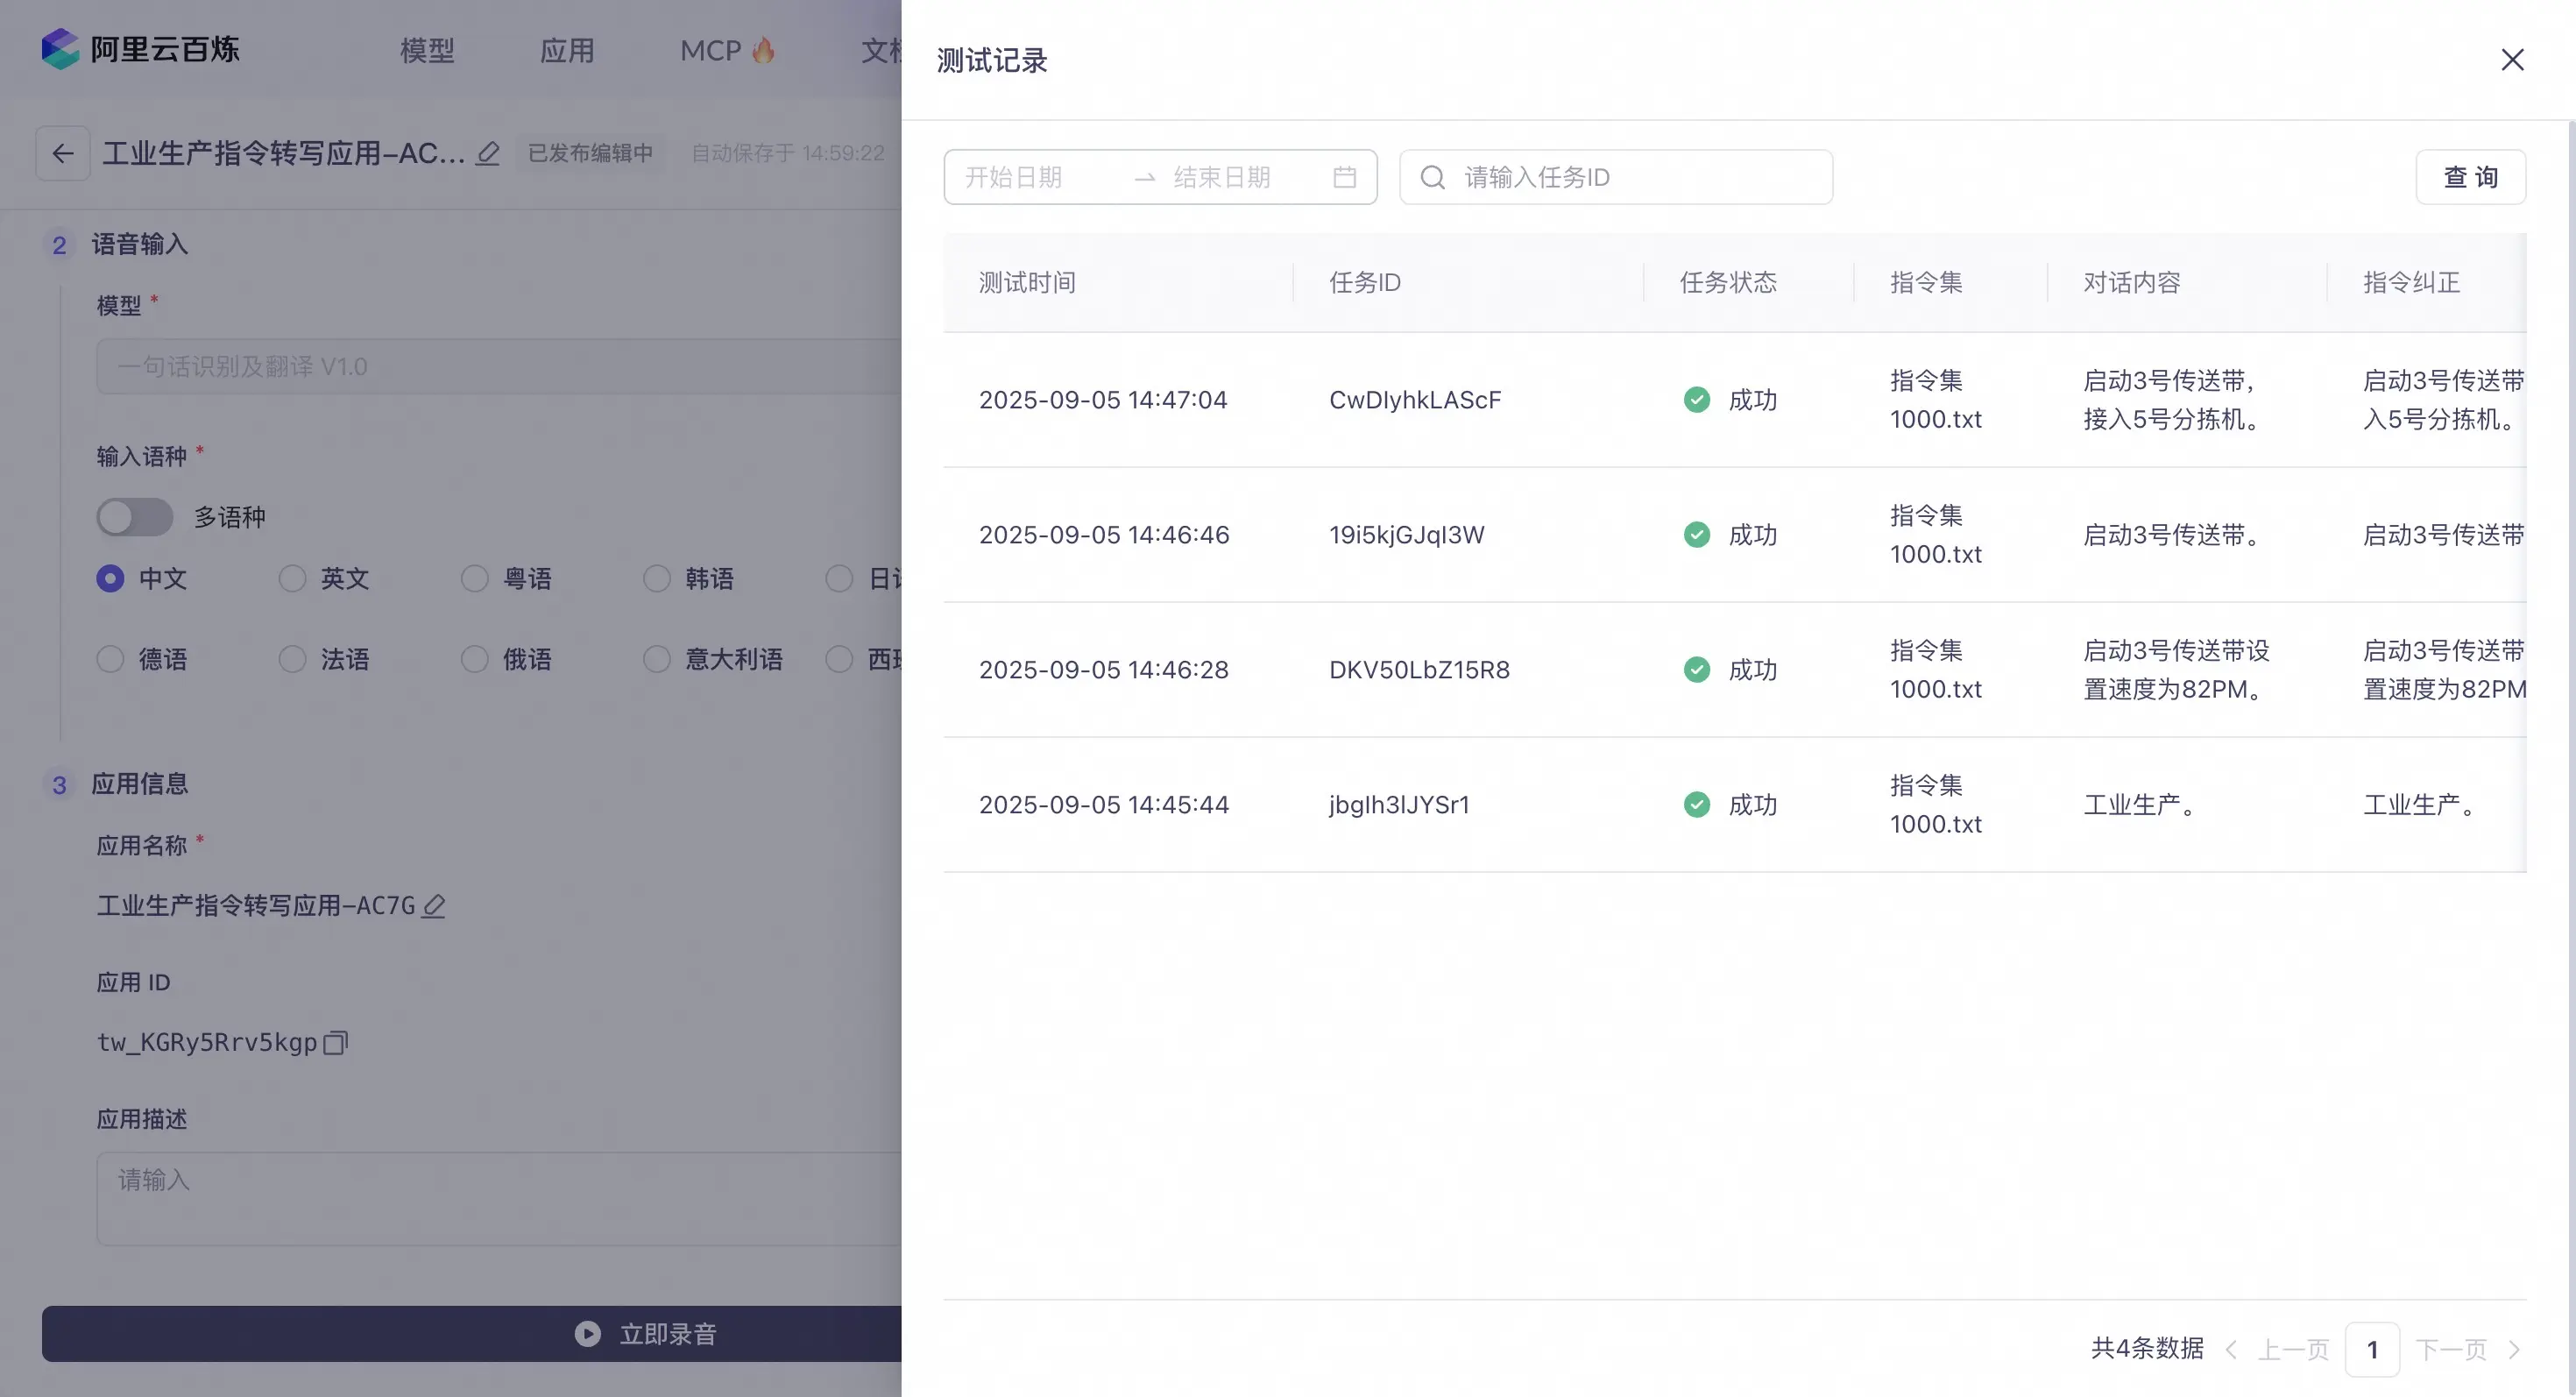
Test records
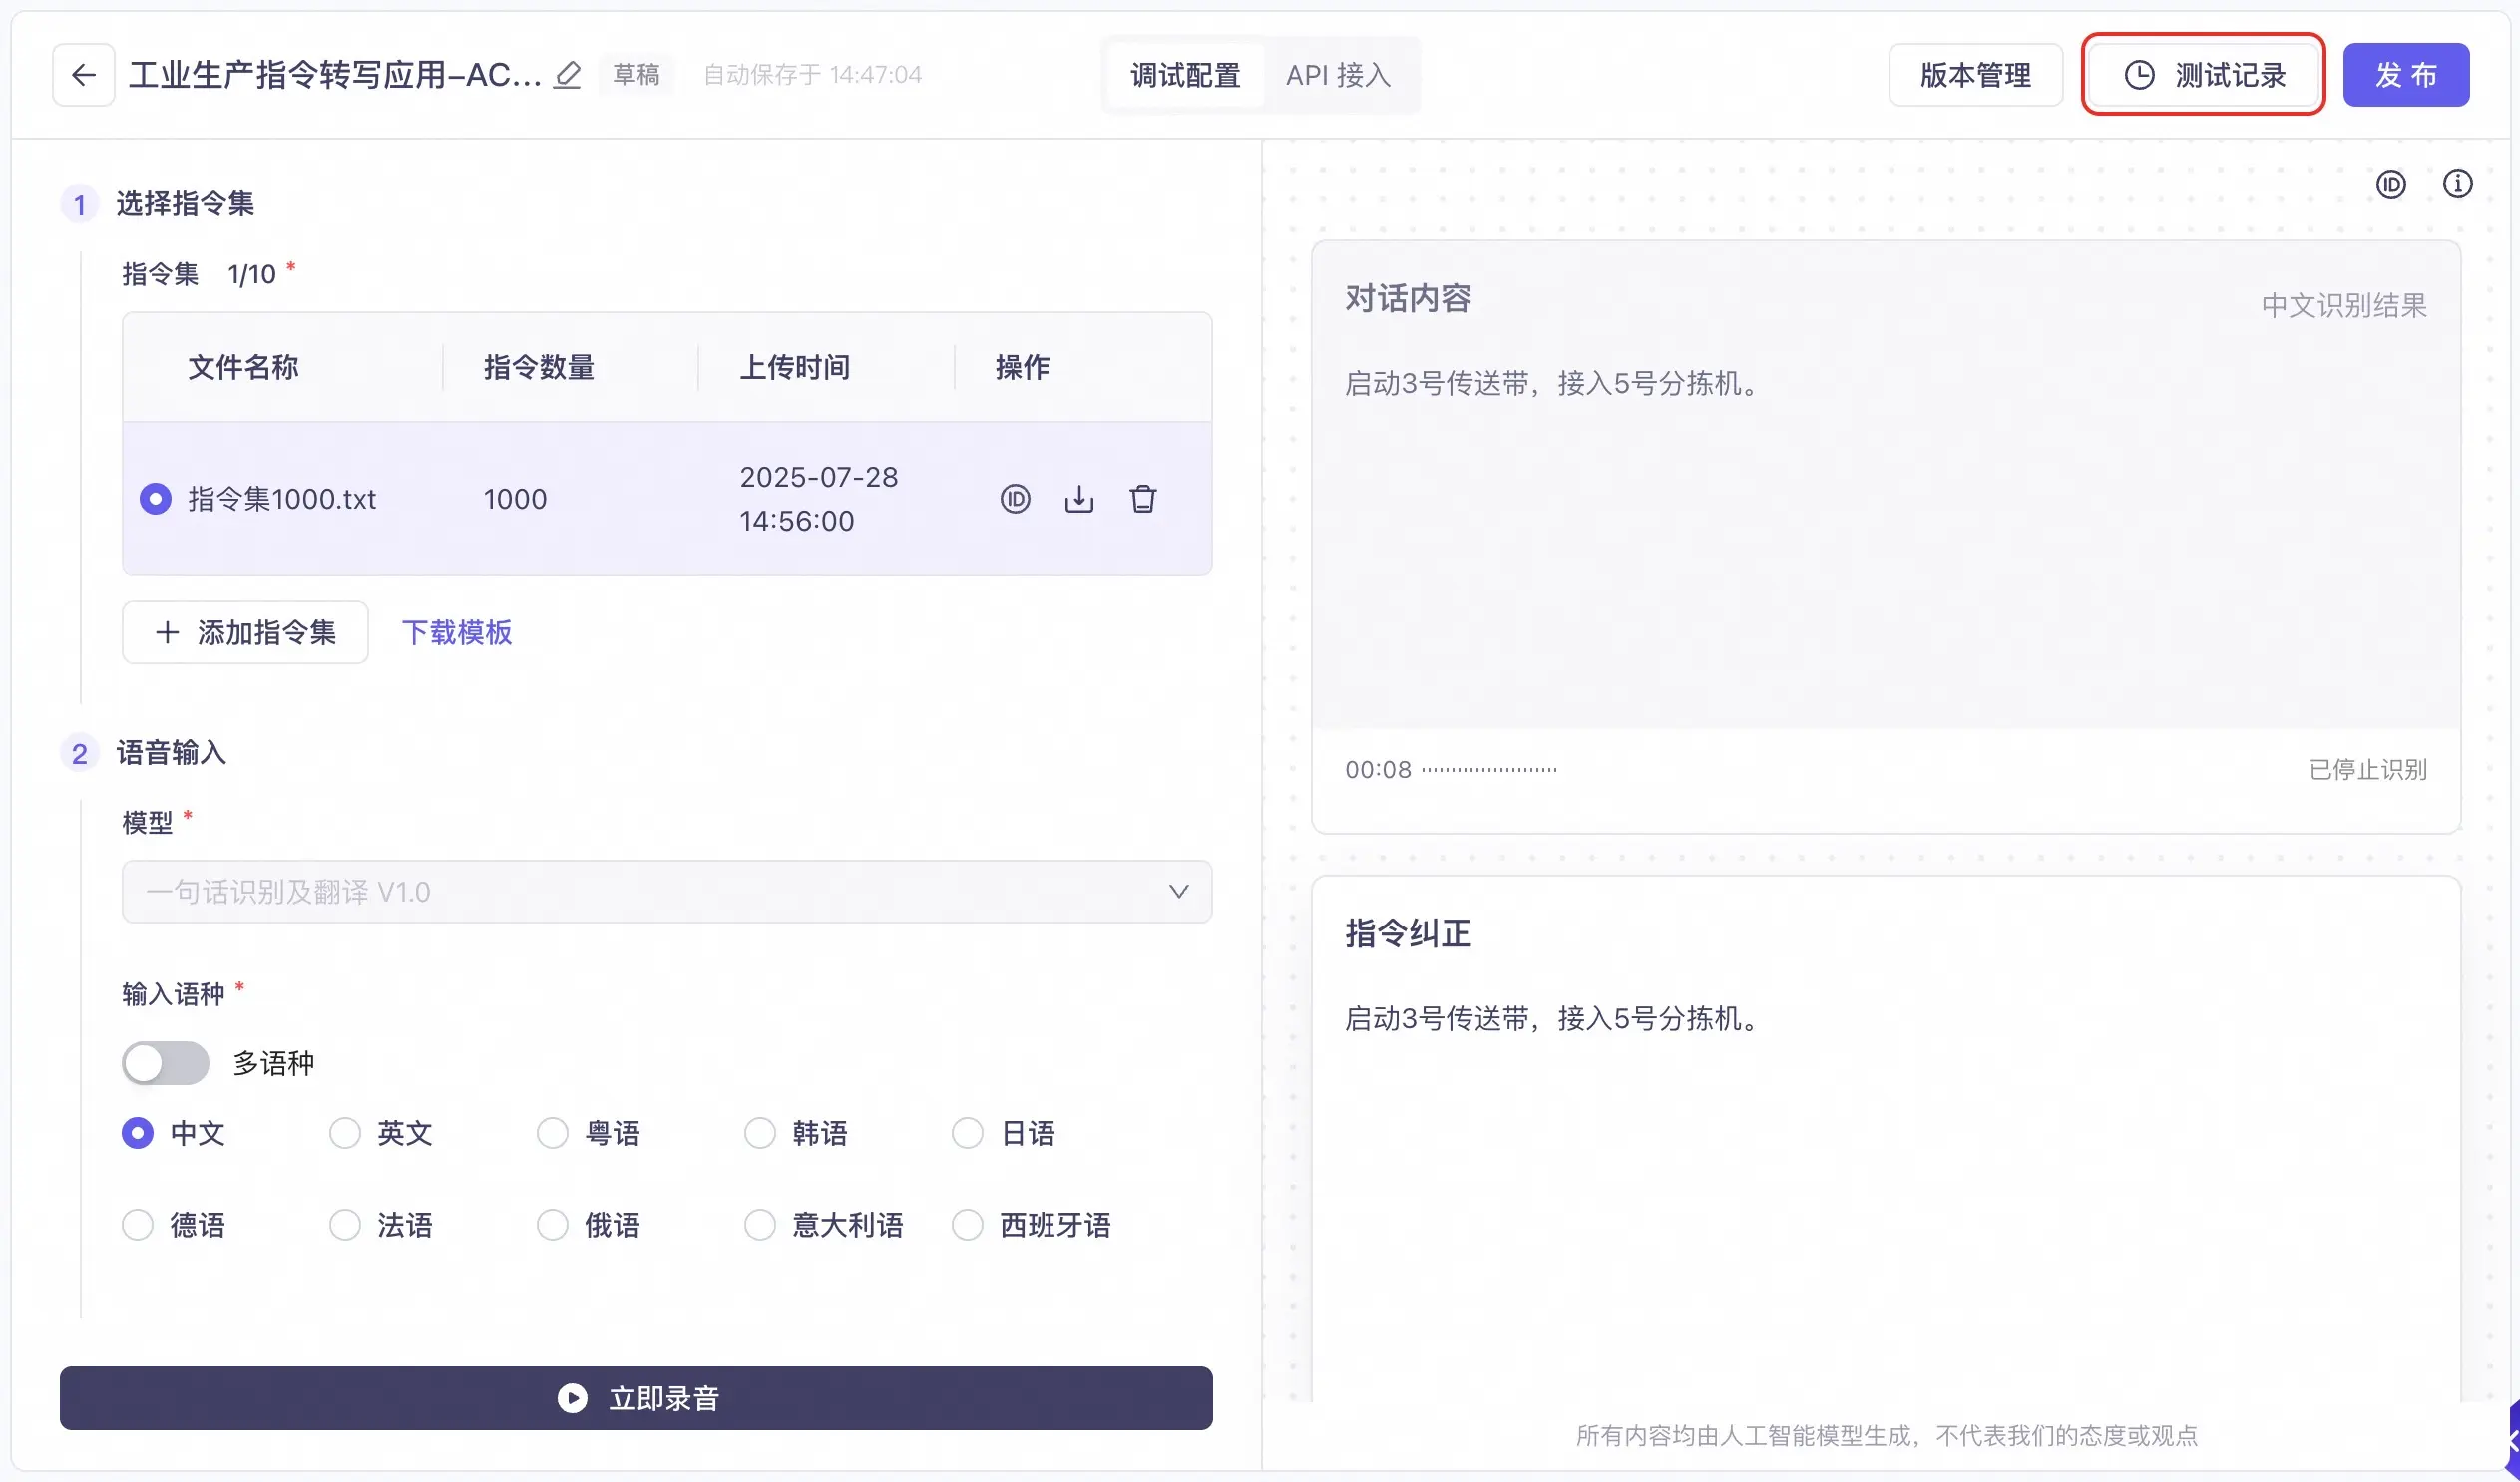
All test results for the current application are saved. You can click the Test Records button in the upper-right corner of the console to view them.
The test records list displays the test time, task ID, task status, instruction set used, dialogue content, and the instruction correction result.
4. Publish the application
Click the Publish button in the upper-right corner of the console and enter a version description to publish the application. After you publish the application, the changes take effect immediately.
Version control
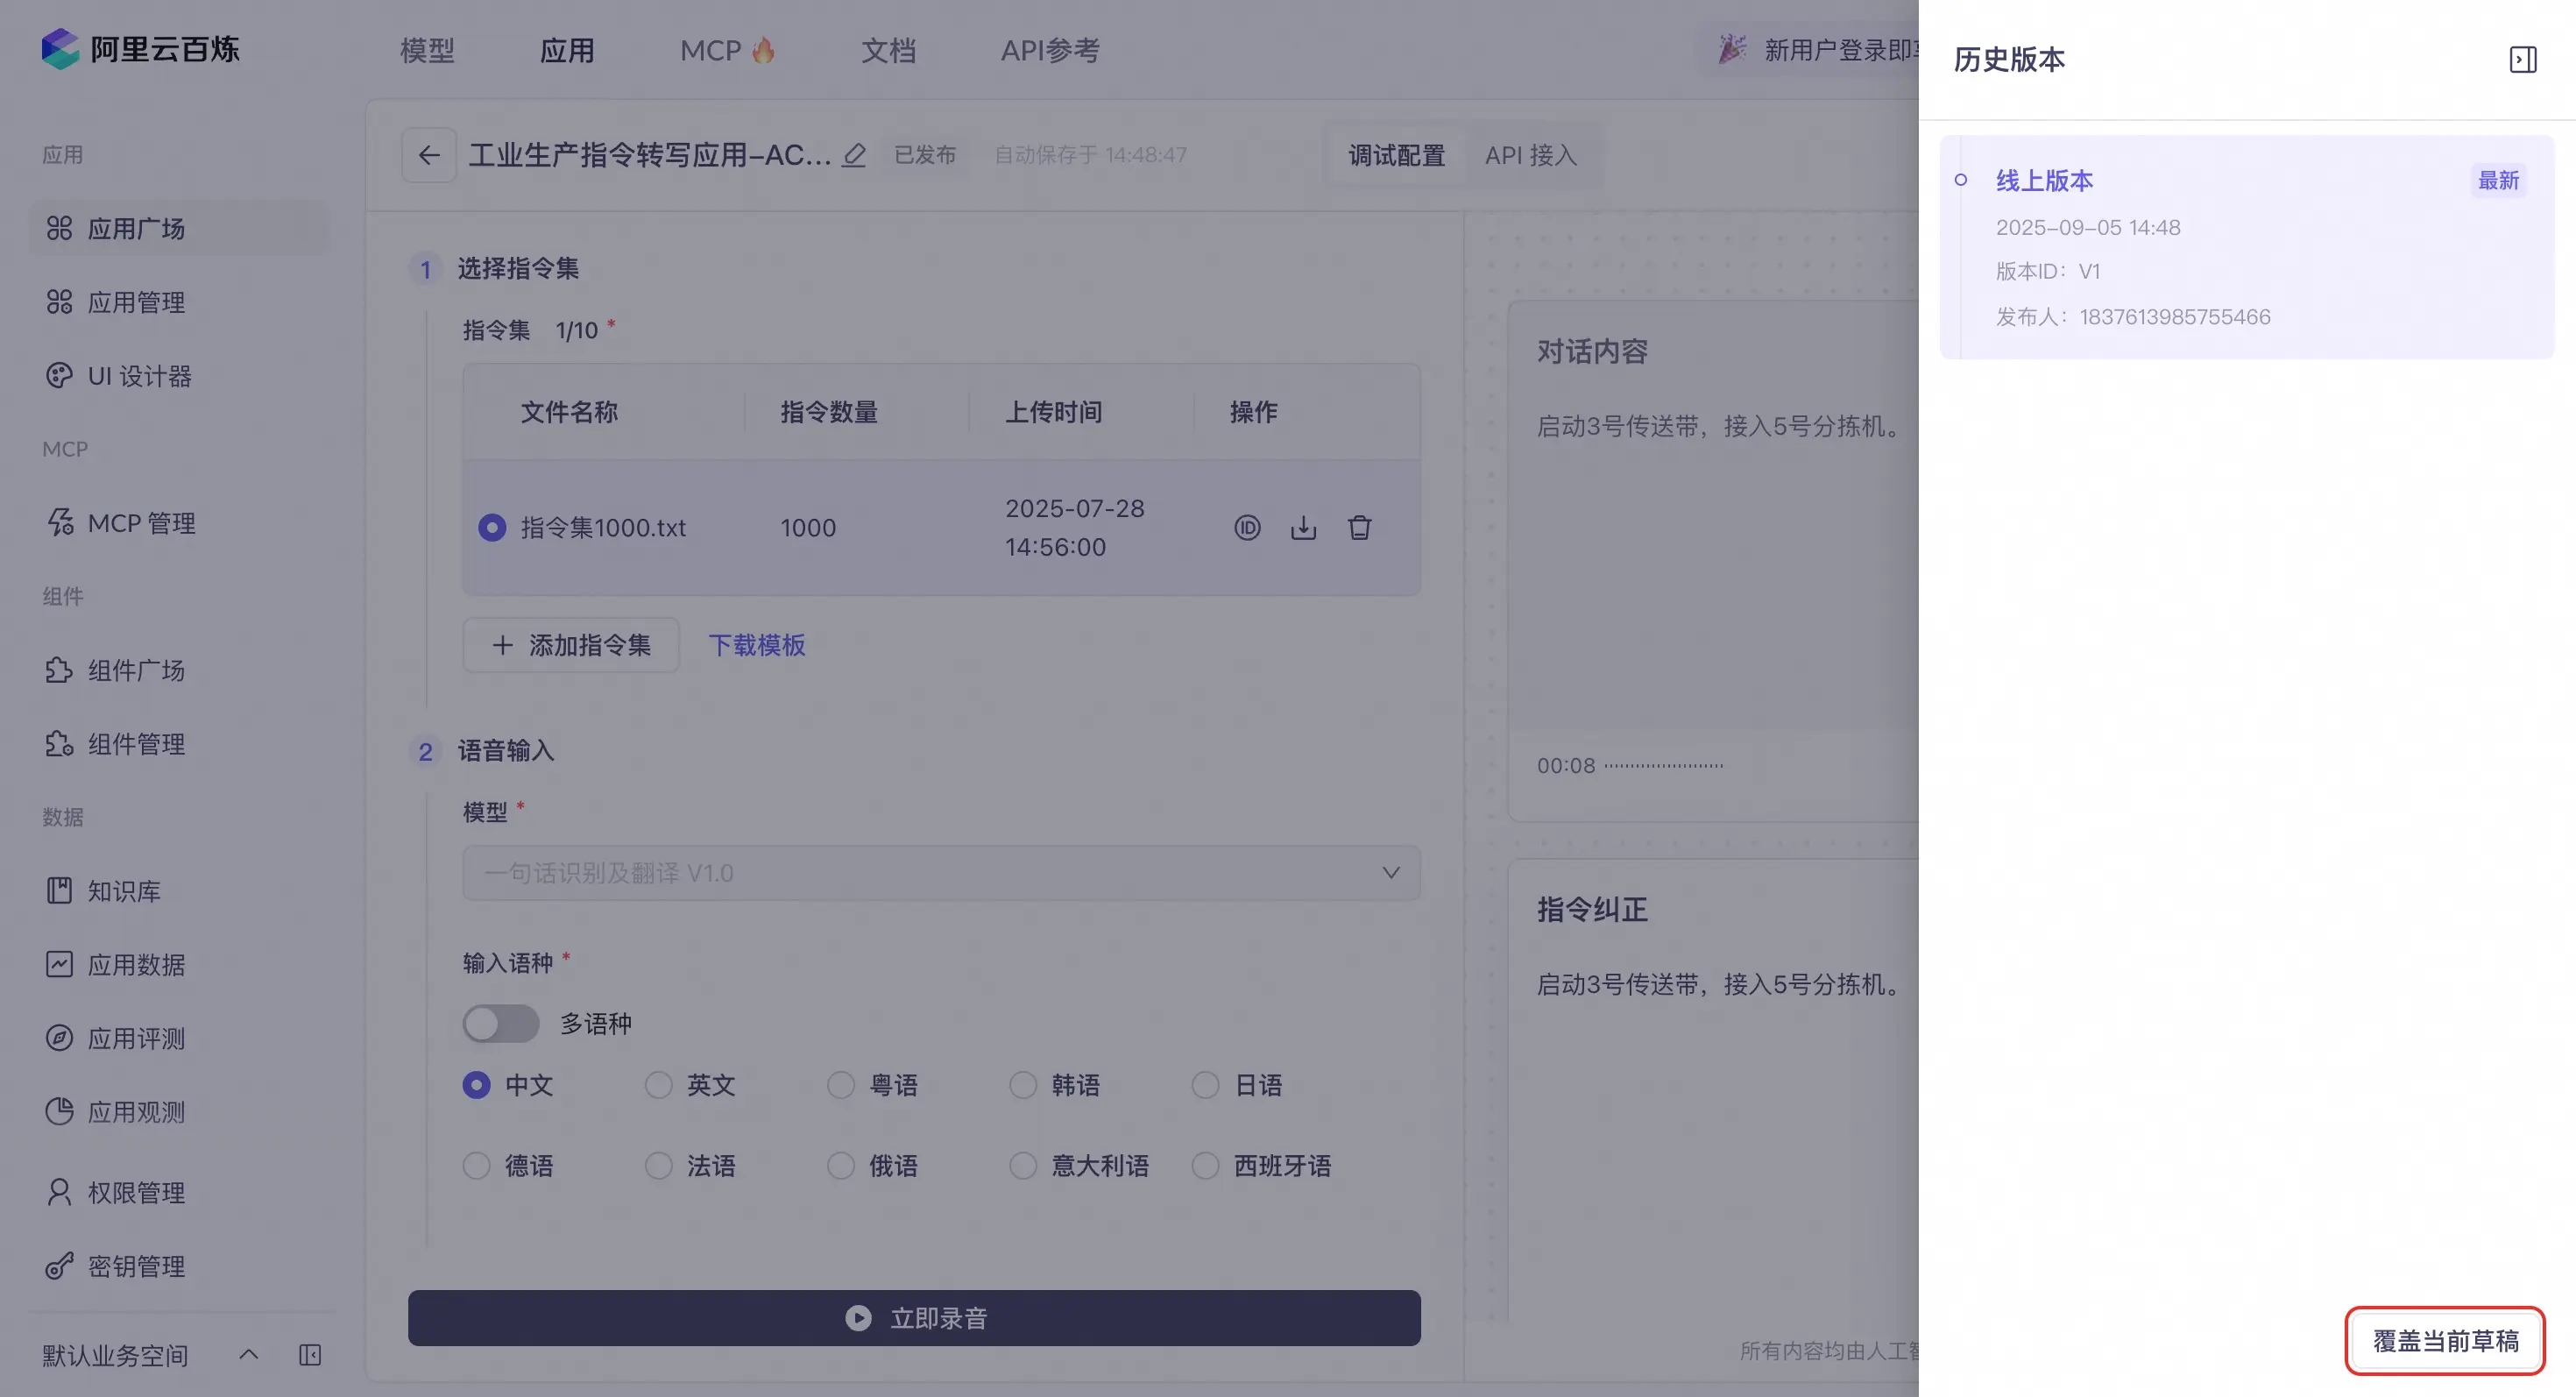
After you publish an application, you can view its historical versions in Version Control in the upper-right corner of the console. Select a historical version and click the Overwrite Current Draft button in the lower-right corner. The configuration of the selected version is then applied to the current draft.
5. API integration
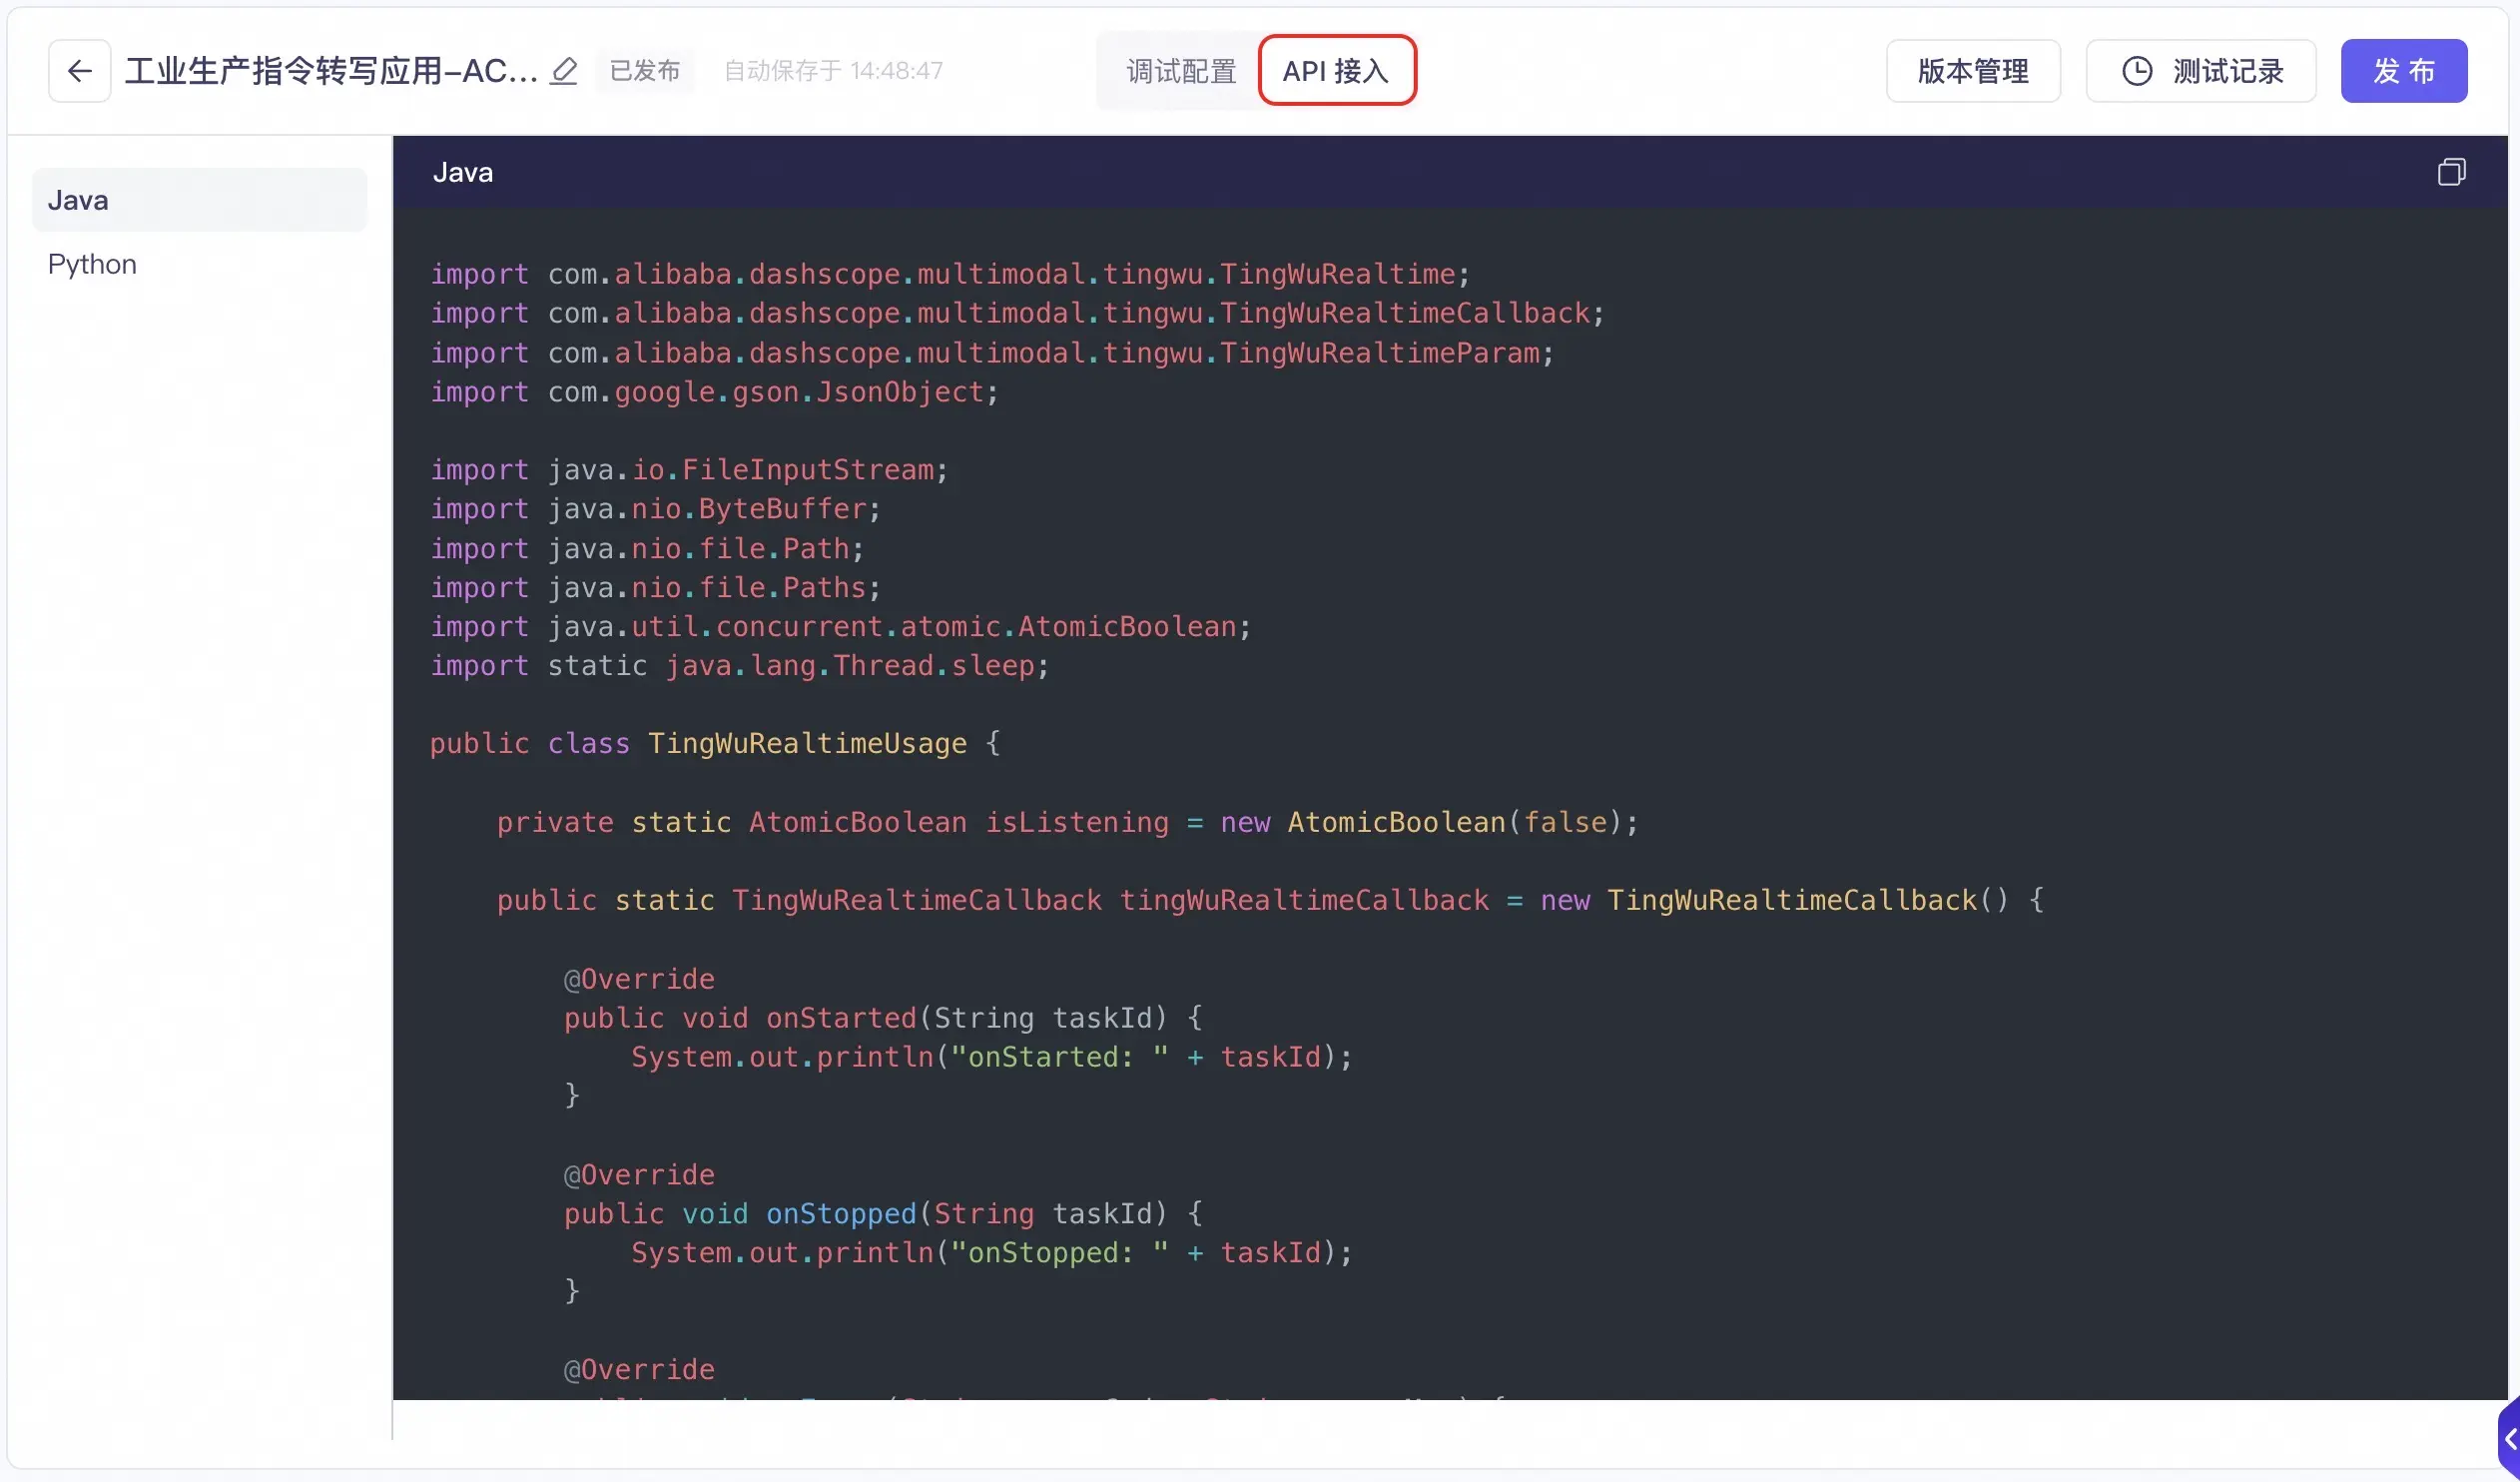
After the application is published, click the API Integration button at the top of the console to view the reference code for Java and Python. You can then integrate the service into your business system.
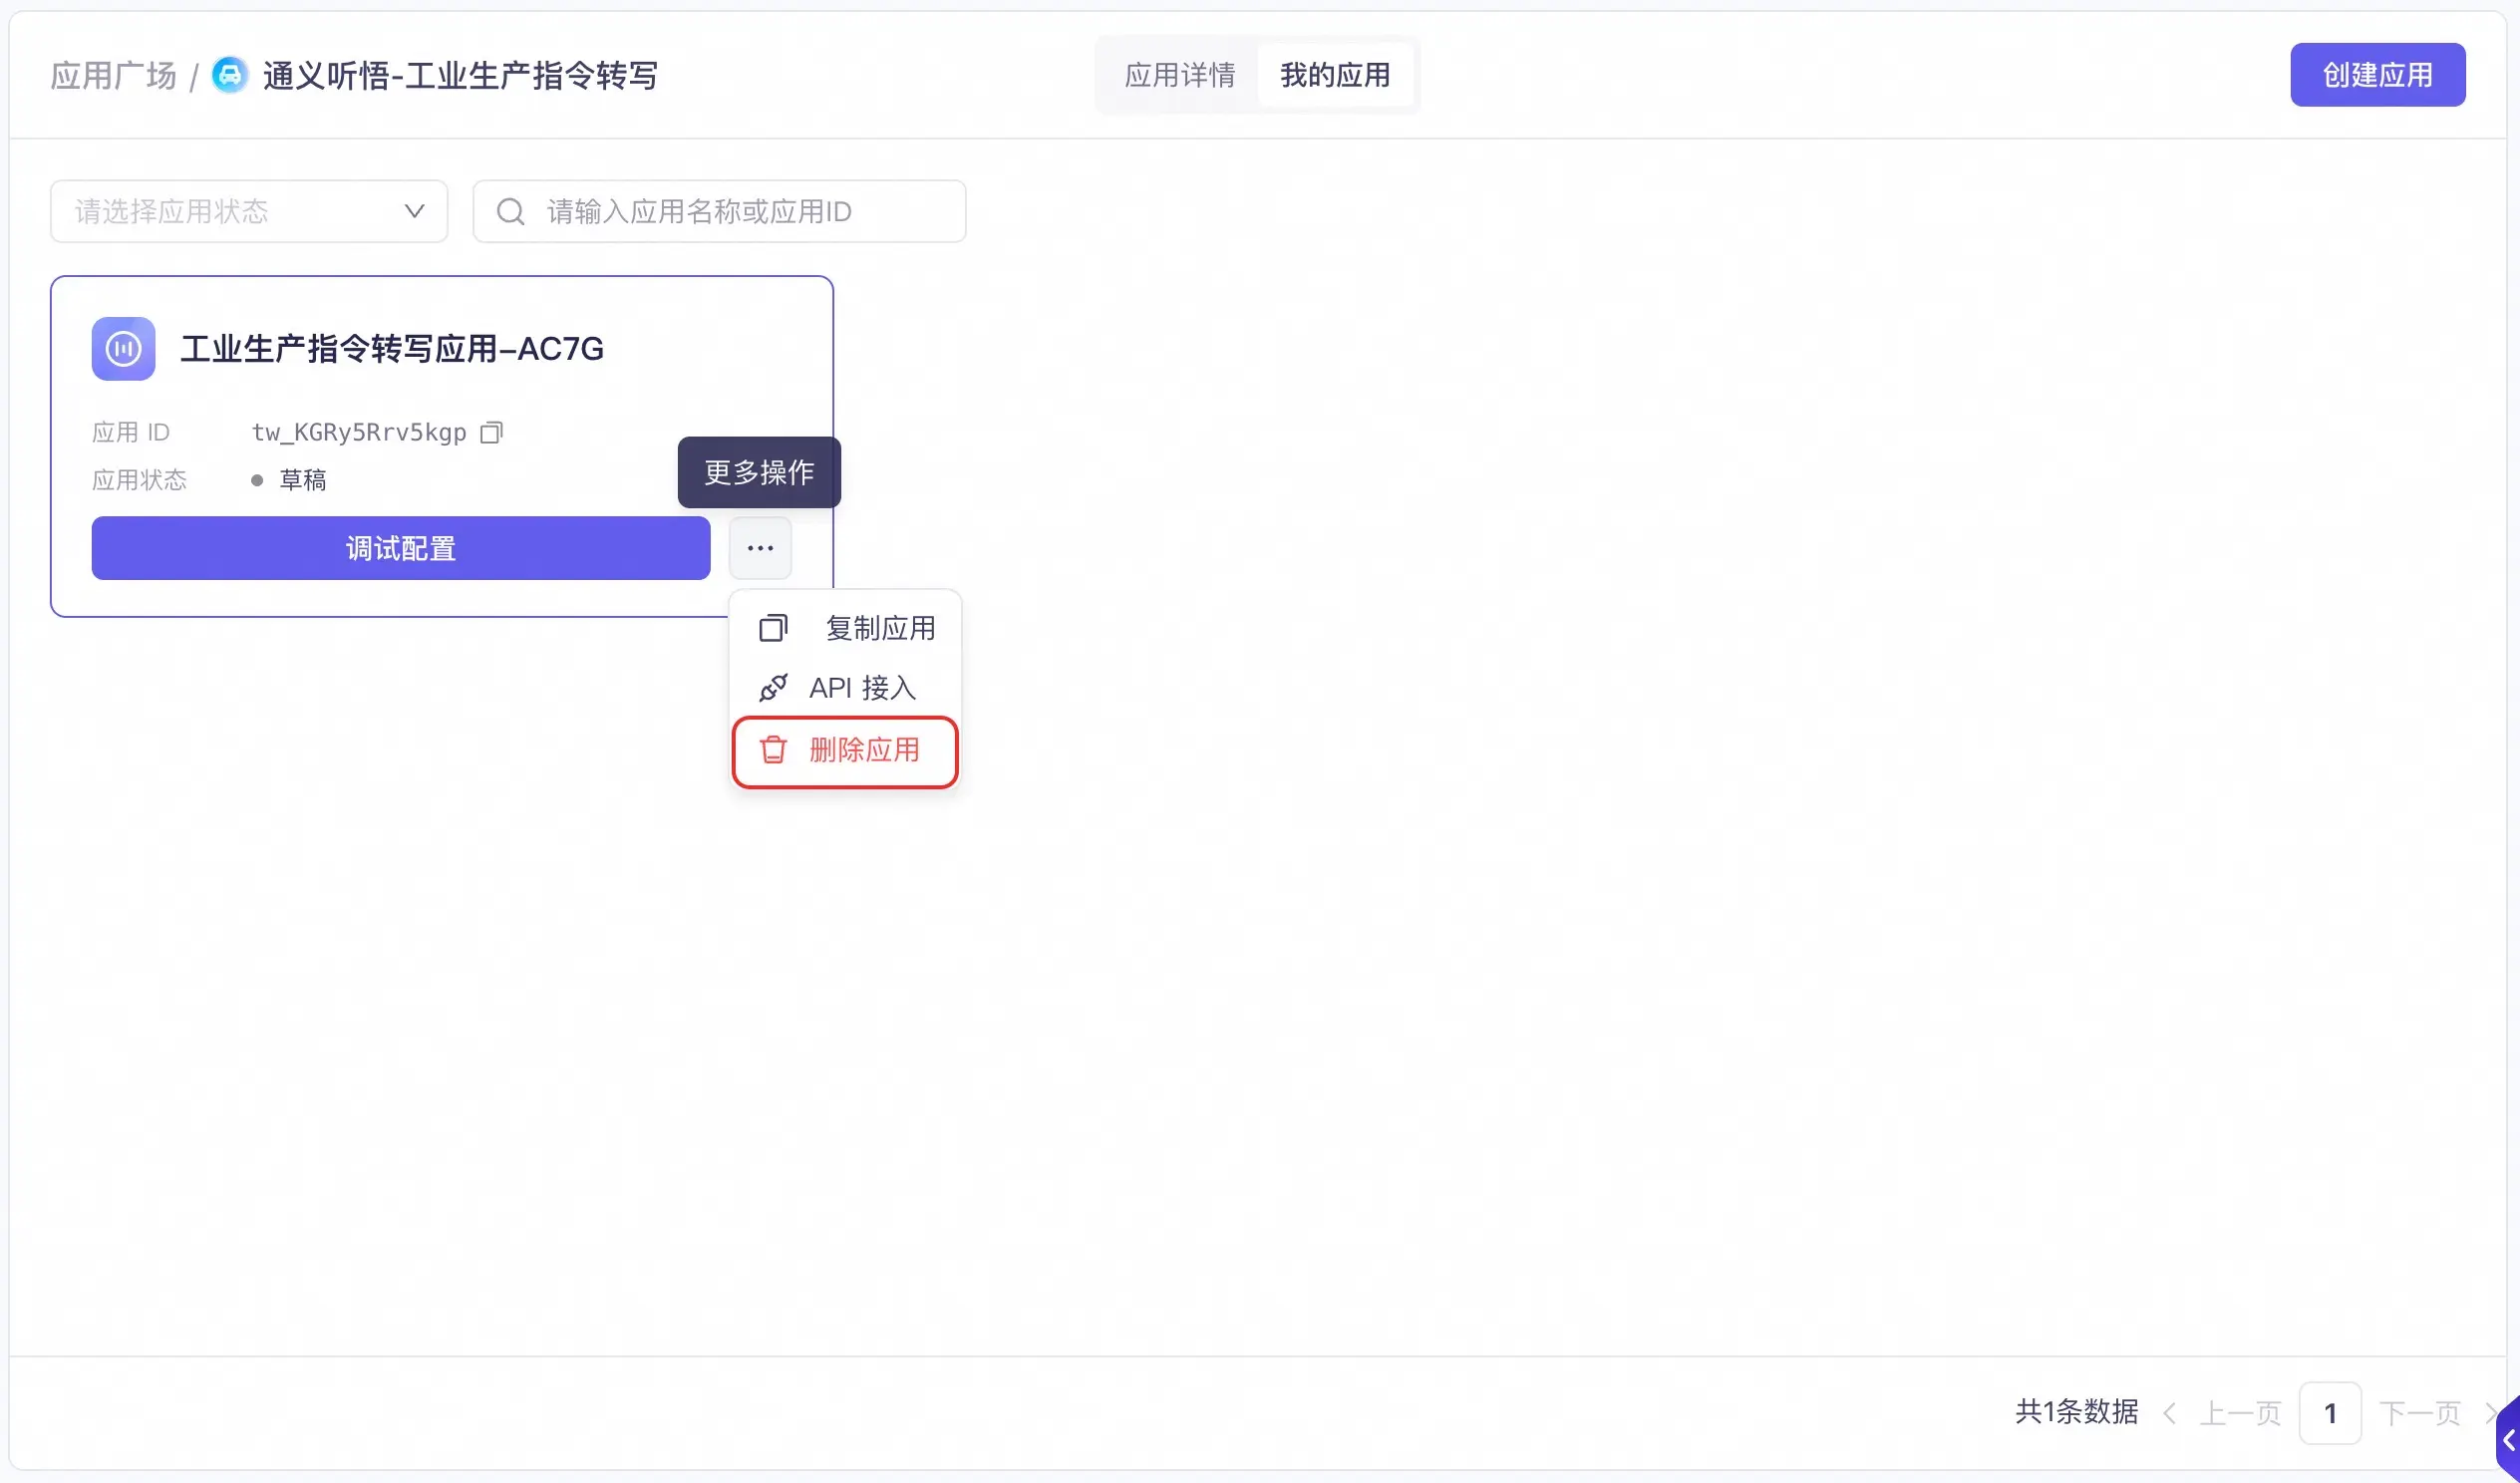
6. Delete an application
In the My Applications list, you can delete an application.
This operation cannot be undone. To avoid affecting your online services, proceed with caution.