Lightweight ticket and receipt batch export
The Alibaba Cloud OCR lightweight application is a lightweight SaaS tool that uses OCR to help you solve business problems with simple steps and no development required.
Procedure
The lightweight application for batch exporting tickets and receipts lets you upload and recognize images of various documents in batches and export the categorized results to an Excel file. You can try out the application on the lightweight application for batch exporting tickets and receipts page in the console.
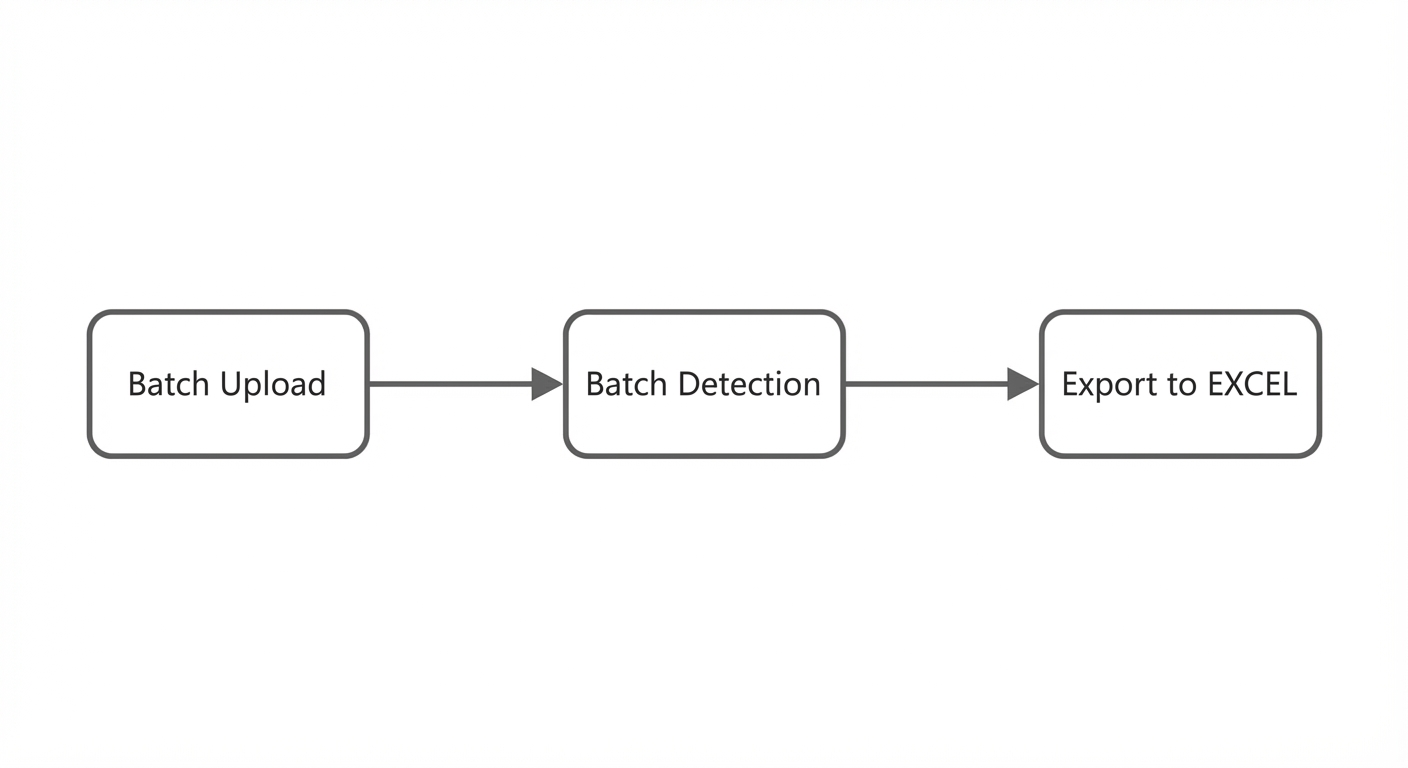
Upload
-
Select a document type.
-
The available document types are: personal certificate recognition, bill and receipt recognition, enterprise qualification recognition, and vehicle and logistics recognition.
-
-
Upload images for recognition.
-
Click the
add imagesbutton to select images. -
You can import up to 50 images at a time. Each image file cannot exceed 10 MB in size.
-
The supported image formats are JPG, JPEG, PNG, BMP, GIF, TIFF, and WebP.
-
-
Review the uploaded images.
-
Successfully uploaded images appear in the image list, sorted in the order they are parsed.
-
For each uploaded image, you can click view or delete.
-
To remove all images from the list, click clear list.
-
Recognition
-
Click start recognition to process the uploaded images.
-
Recognition successful: If an image is recognized successfully, a green checkmark appears below it, and you will be charged for the task.
-
Recognition failed: Recognition may fail for reasons such as an incorrect document type, a blurry image, or a service timeout. To try again, click
retry recognitionon the image thumbnail. You are not charged for failed recognition tasks.
-
-
Add and recognize more images.
-
After the current batch of images is processed, you can click add images to upload more images for recognition.
-
After you add new images, click start recognition. The application then processes any unrecognized or failed images. You will be charged for the successfully recognized images.
-
While recognition is in progress, you must wait for it to complete before adding more images.
-
Export
-
After recognition is complete, click export Excel to export the structured data. The data is saved as an Excel file in your file records.
-
After you export the results, any unrecognized or failed images are automatically deleted, and the image list is cleared. Alternatively, before you export, you can click start recognition again to process these images.
-
Important
If you do not export the results promptly, actions such as logging out or closing the page may cause you to lose the recognition results.
-
-
After you export, a file record is generated. You can then click
downloadordeleteon that record.-
Each image corresponds to one row in the Excel file, which includes the image name and the recognized fields. If some fields are not recognized, the corresponding cells in the table are left empty.
-
The filename is formatted as: Document type_Export date.
-