This guide describes how to get started with Alibaba Cloud Operation & Maintenance (O&M) Event Center. It walks you through the process, from configuring your personal information to receiving your first event notification.
For definitions of the terms used in this guide, see Terms.
Prerequisites
You must have an Alibaba Cloud enterprise account. If you do not have one, go to the Alibaba Cloud official website to create an account.
The O&M Event Center service must be activated.
If you use a RAM user, you must first grant the required permissions to the user.
Grant permissions to a RAM user
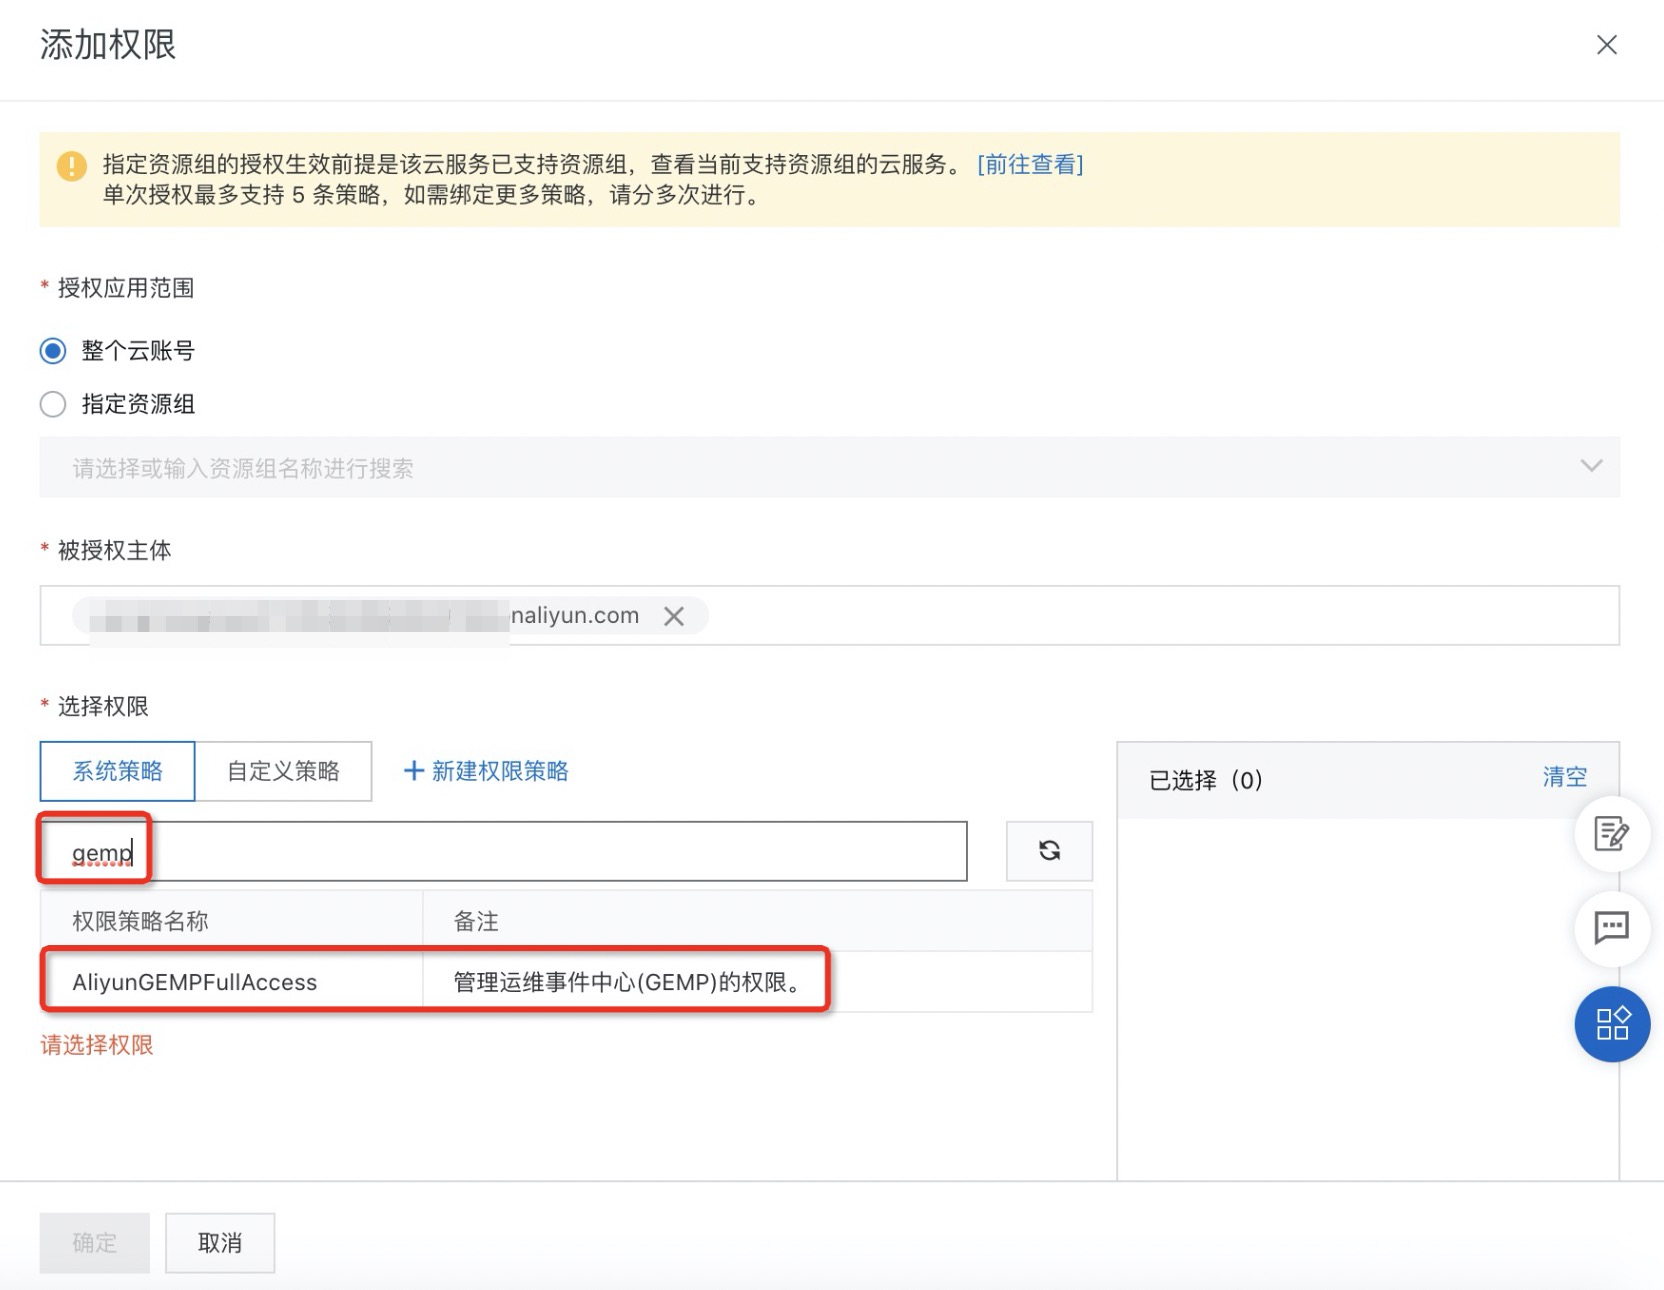
1. In the Resource Access Management (RAM) console, create a RAM user and grant the AliyunGEMPFullAccess permission to the user.
Only the root account or an account with management permissions for this product can create RAM users and grant permissions.
Step 1: Configure user information
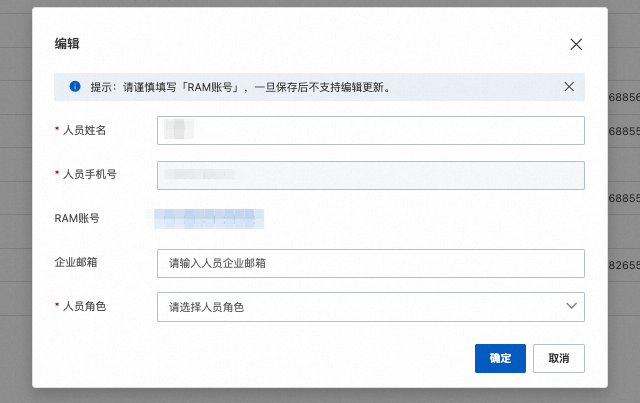
Only the root account can edit its own information and the information of other RAM users. RAM users must enter their personal information before they can access the service.
Root account personal information
As the root account, in the navigation pane on the left, choose .
Click the edit button for the root account. In the Edit dialog box, complete the configuration as prompted.
Click Confirm.
RAM user personal information
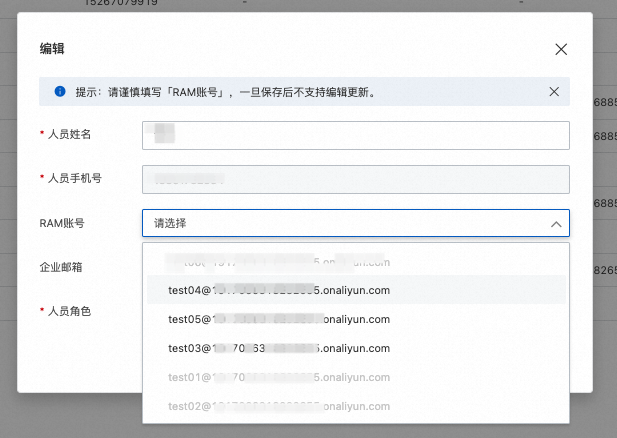
After a RAM user is created and granted permissions, the RAM user must go to the O&M Event Center to complete their personal information.
Step 2: Create a service
In the navigation pane on the left, choose .
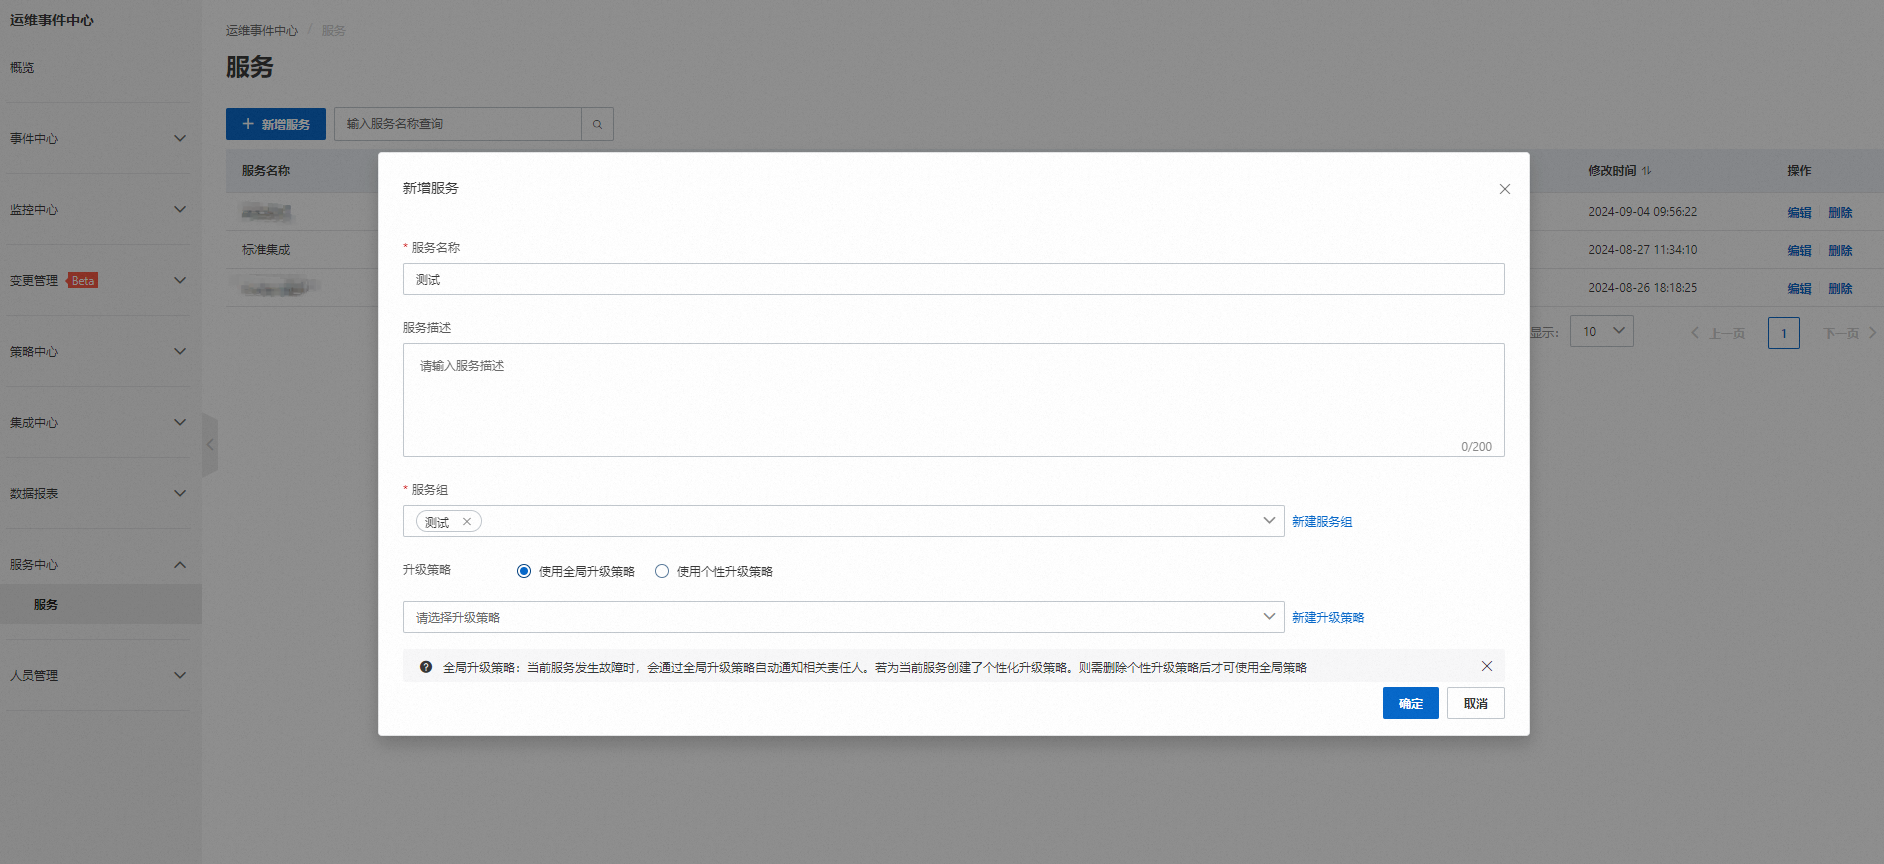
Click the Add Service button. The Add Service dialog box appears.
Configure the service name, service group, and upgrade policy.
Click OK.
Step 3: Manually add a triggering event
In the navigation pane on the left, choose .
Click the Add Event button. The Add Event dialog box appears.
In the Add Event dialog box, enter an Event Name, select an Associated Service, select a Priority and Impact Degree, select a Default Assignee, configure notification channels, and then click Confirm.
Event Name: The name of the event. The name can be up to 36 characters long.
Associated Service: The service affected by the event. A service is a collection of events. An event can be associated with only one service. After the event is created, subscribers of the affected service receive event notifications based on the subscription rules.
Priority: The priority for handling the event. The value can be P1, P2, P3, or P4. P1 is the highest priority and P4 is the lowest.
Impact Degree: The degree of impact of the event. The value can be High or Low.
Default Assignee: The object to which the event is automatically assigned after it is created. If you select Individual, you can select only one person.
Configure Notification Channels: If you set Default Assignee to Individual, you must specify the notification channels. Supported channels are Phone, Text Message, and Email. You can select multiple channels.
As shown in the following figure: