This topic describes how to store attachments for a WordPress personal website in a remote location.
Prerequisites
- You have activated OSS and created a bucket with the public-read permission.
- For more information, see Activate OSS.
- For more information, see Create buckets.
- You have set up a personal WordPress website.
Background information
The remote attachment feature stores uploaded attachments directly on a remote storage server. This is typically done over FTP. Platforms such as Discuz! forums, PHPWind forums, and WordPress websites support this feature.WordPress does not natively support this feature. However, you can use a third-party plugin to implement it. This topic uses WordPress 4.3.1 and the Hacklog Remote Attachment plugin as an example.
Procedure
- Log in to your WordPress site with an administrator account.
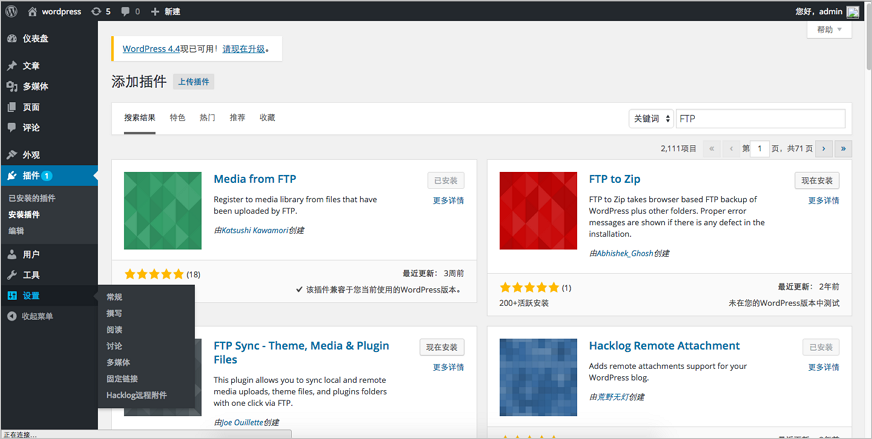
- Click Plugin, and enter FTP in the Keyword
- Find Hacklog Remote Attachment and click Install Now.
- After the plugin is installed, click .
- In the Hacklog Remote Attachment Options dialog box, configure the FTP service information.
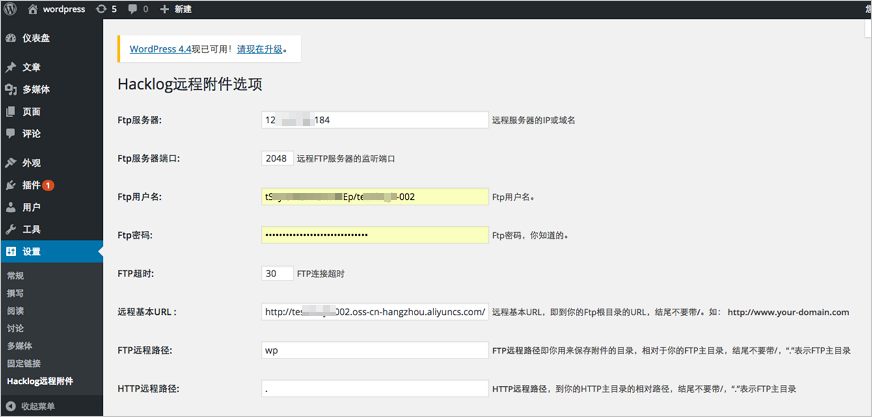
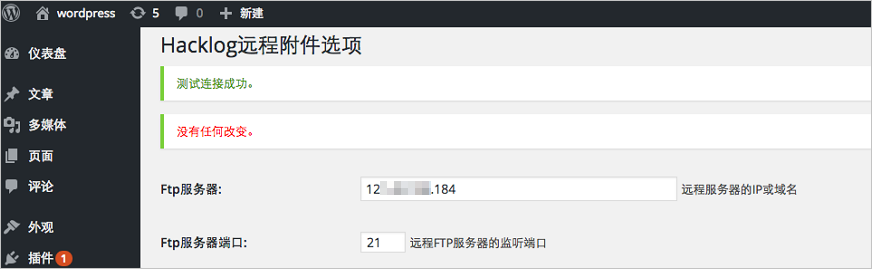
Configuration item Description FTP server The address where the OSS FTP tool runs. Typically, this is 127.0.0.1. FTP server port The default value is 2048. FTP username The format is AccessKeyID/BucketName. The forward slash (/) is a delimiter, not an 'or' operator. FTP password AccessKey secret. FTP timeout The default value is 30 seconds. Remote base URL The public endpoint of the bucket. The format is http://BucketName.Endpoint. In this example, the bucket is named test-hz-jh-002 and is in the China (Hangzhou) region. Therefore, the URL is http://test-hz-jh-002.oss-cn-hangzhou.aliyuncs.com/wp. For more information about endpoints, see Access OSS over IPv6. FTP remote path The storage path for attachments in the bucket. In this example, `wp` indicates that all attachments are stored in the `wp` folder of the bucket. The Remote base URL must correspond to the FTP remote path. HTTP remote path Enter a period (.). - Click Save.
When you click Save, a configuration test runs. The result appears at the top of the page.
- Publish a new article to verify the configuration.
- When writing a new article, click Add Media to upload an attachment.
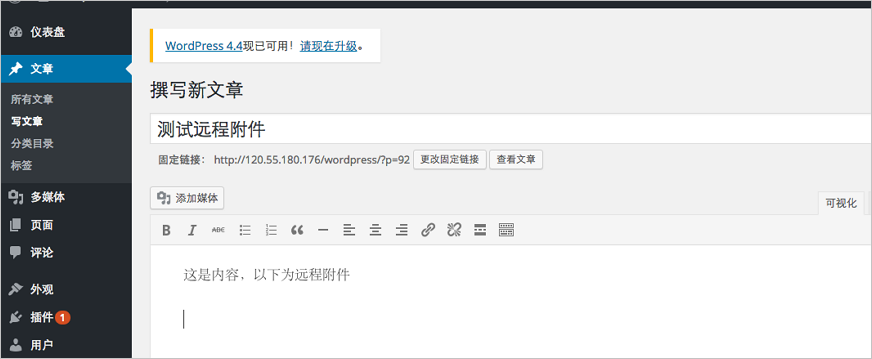 The following figure shows an attachment being uploaded.
 - Click Publish to view the new article.
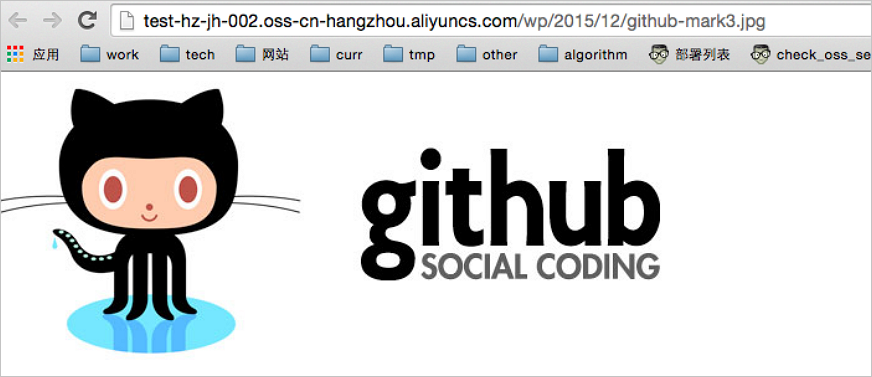
- Right-click the image and select Open link in new tab.
The URL in the figure shows that the image has been uploaded to the `test-hz-jh-002` bucket in OSS.
- When writing a new article, click Add Media to upload an attachment.
该文章对您有帮助吗?