Add a self-hosted StarRocks data source
Add a StarRocks data source to connect your StarRocks database to Quick BI. Once connected, you can analyze and visualize your data in Quick BI. Quick BI supports connecting to a StarRocks database over the public network or via an Alibaba Cloud VPC. This topic describes how to add a self-hosted StarRocks data source.
Prerequisites
Ensure that you have network connectivity:
If you connect to the StarRocks database from Quick BI over the public network, add the IP addresses of Quick BI to the database allowlist. For more information, see Use a security group.
If you connect to the StarRocks database from Quick BI over an internal network, connect your data source to Quick BI using one of the following methods:
If your StarRocks database is deployed on an Alibaba Cloud ECS instance, you can connect to it via an Alibaba Cloud VPC.
You can also set up a bastion host and access the database through an SSH tunnel.
A self-hosted StarRocks database.
The username and password for your StarRocks database.
Limitations
The following versions are supported: 2.5.18, 3.1.7, 3.1.9, and 3.2.6.
You can connect to StarRocks internal tables, and external tables for Hive and Iceberg.
Procedure
Log on to the Quick BI console.
To add the data source:
Navigate to the page for creating a data source.
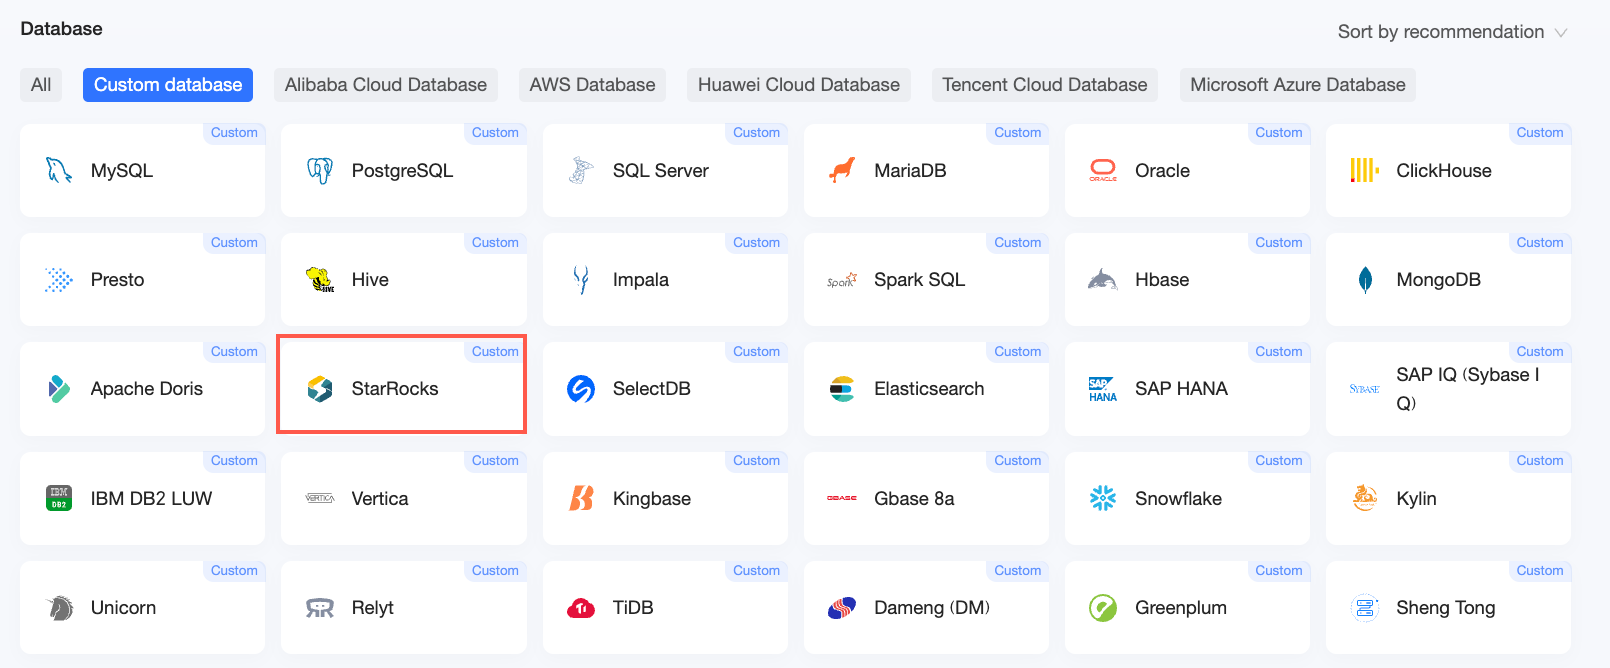
On the Self-hosted Data Sources tab, select the StarRocks data source.
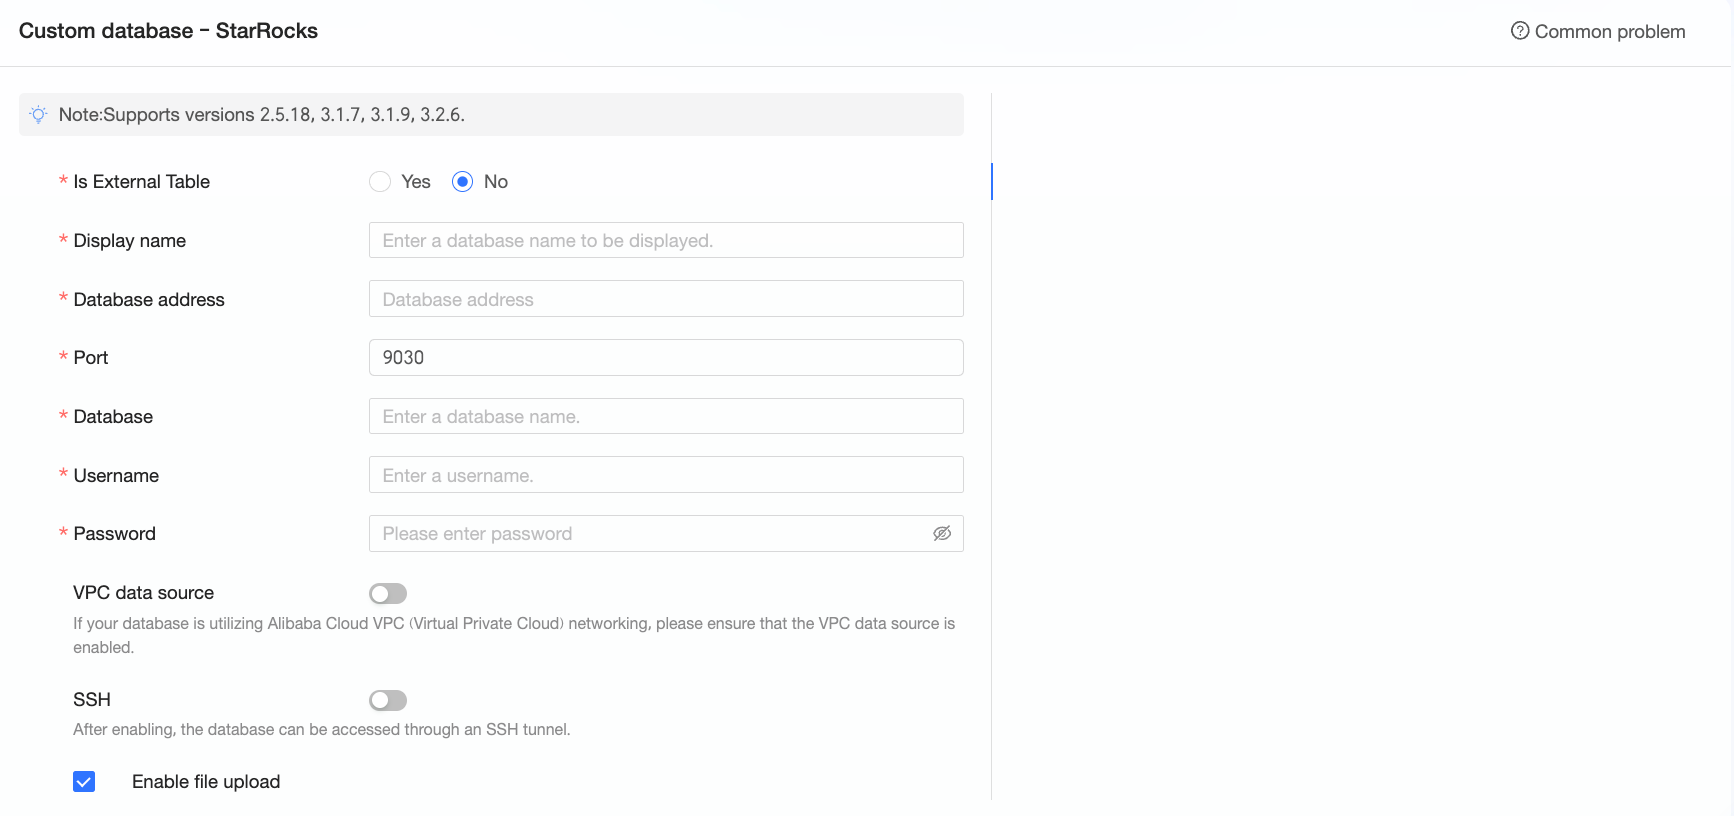
In the Configure Connection dialog box, configure the following parameters.
Parameter
Description
Display name
A display name for the data source.
The name must not contain special characters or leading or trailing spaces.
Database address
The IP address or domain name of the StarRocks database.
Port
The port number of the database.
Database
The name of the database that you specified during deployment.
Username and password
The username and password used to log on to the StarRocks database. The user must have CREATE, INSERT, UPDATE, and DELETE permissions on the tables in the database.
VPC data source
Enable VPC Data Source if your database is in an Alibaba Cloud VPC.
Select Instance if your database is on an ECS instance, or CLB if you connect through a Classic Load Balancer (CLB).
Instance
Purchaser's AccessId: The AccessKey ID of the account that purchased this instance.
For more information, see Create an AccessKey.
NoteThe AccessKey ID must have read permissions on the target instance. If the AccessKey ID also has write permissions, the system automatically adds the required IP addresses to the allowlist. Otherwise, you must add them manually. For more information, see Create a custom policy.
Purchaser's AccessKey: The AccessKey Secret that corresponds to the AccessKey ID.
For more information, see Create an AccessKey.
Instance ID: The ID of the ECS instance. You can find this ID on the Instances page in the ECS console.
For more information, see View instance information.
Region: The region where the ECS instance is located. You can find this in the upper-left corner of the ECS console.
For more information, see View instance information.
CLB
Purchaser's AccessId: The AccessKey ID of the account that purchased the CLB instance. This account must have read permissions on the CLB instance.
You can use an existing AccessKey or create a new one. For more information, see Create an AccessKey.
Purchaser's AccessKey: The AccessKey Secret that corresponds to the AccessKey ID.
NoteTo reduce the risk of an AccessKey leak, the AccessKey Secret is displayed only once upon creation and cannot be retrieved later. Store it securely.
Instance ID: The ID of the CLB instance. You can find this ID in the instance list on the Classic Load Balancer console.
Region: The region where the instance is located. Log on to the Classic Load Balancer console and find the region in the upper-left corner of the Instance Management page.
SSH
If you select SSH, you must configure the following parameters:
To access the database through an SSH tunnel, set up a bastion host. Obtain the required information from your system administrator.
SSH Host: The IP address of the bastion host.
SSH Username: The username to log on to the bastion host.
SSH Password: The password for the SSH username.
SSH Port: The port of the bastion host. Defaults to 22.
For more information, see Connect to a Linux instance by using OpenSSH or Xshell.
Initialize SQL
After you enable this feature, you can configure SQL statements that execute immediately after a connection is established.
Only SET statements are allowed. Separate multiple statements with semicolons (;).
Enable file upload entry
Enables file uploads.
Click Test Connection to verify the connection.

If the connection test is successful, click OK to add the data source.
Next steps
After creating the data source, you can create datasets and analyze your data.
Add data tables or custom SQL queries from your StarRocks database to Quick BI. For more information, see Create a dataset.
Create visualization charts to analyze data. For more information, see Create a dashboard and Overview of visualization charts.
Drill down to analyze data in depth. For more information, see Step 3: Drill-down settings and display.