Use Serverless App Engine (SAE) to host an Nginx service for two common scenarios: serving a static website or acting as a reverse proxy that forwards client requests to a backend application. This guide walks through building a custom Nginx image, pushing it to a registry, and deploying it on SAE.
How it works

Nginx receives client requests and either serves static files directly or forwards requests to a backend application based on URI patterns. The response goes back to the client through Nginx.
Choose your scenario
Identify which scenario applies to you before starting — some steps are scenario-specific.
| Scenario | Description | Steps to skip |
|---|---|---|
| Static website | Serve HTML, CSS, and images from the Nginx container | Skip the forwarding rules in step 2; skip the NAT gateway in step 4 |
| Reverse proxy | Forward client requests to a backend application based on URI | Complete all steps |
The Nginx container in this guide listens on port80. When you attach a Classic Load Balancer (CLB) instance in step 4, set Container Port to80.
Prerequisites
Before you begin, ensure that you have:
Docker installed in your local environment or on an Elastic Compute Service (ECS) instance
An image repository in Container Registry (ACR) — Enterprise Edition or Personal Edition
(Reverse proxy only) A backend application accessible from the internet or from within your Virtual Private Cloud (VPC)
Step 1: Prepare static website resources
This guide uses the following sample file: nginx-demo.zip.
The archive contains:
html/index.html— the default index pagehtml/error.html— the default 404 error pageconf/nginx.conf— the Nginx configuration file
In production, replace these files with your own static resources and configuration.
Step 2: Write the Nginx configuration file
The sample conf/nginx.conf covers two configurations: static resource access and request forwarding.
Configure static resource access
...
    server {
        listen       80 default_server; # Listen on port 80.
        ...
        root         /usr/share/nginx/html;
        include /etc/nginx/default.d/*.conf;

        # Serve index.html for requests to the root path.
        location / {
            root /usr/share/nginx/html; # Path where static files are stored in the container.
            index index.html;
        }

        # Return error.html for 404 errors.
        error_page 404 /error.html;
        location = /error.html {
            root /usr/share/nginx/html;
        }
    }
...
Configure forwarding rules (reverse proxy only)
Skip this section if you are only building a static website.
This example assumes the backend application endpoint is 121.40.xx.xx:80. The following configuration forwards requests with URIs matching /api/* to the backend and rewrites the path to /*:
...
        # Forward /api/* requests to the backend application.
        location /api/ {
            proxy_pass http://121.40.xx.xx:80/;
        }
...
If the Nginx service and the backend application are in the same VPC, use the backend's private endpoint instead of a public IP address. In that case, you do not need an Internet NAT gateway.
For full configuration options, see the official Nginx documentation.
Step 3: Build and push the image
Write a Dockerfile
# Base image
FROM nginx:1.20.2

# Copy the Nginx configuration file into the container.
COPY conf/nginx.conf /etc/nginx/nginx.conf

# Copy static files into the container.
COPY html /usr/share/nginx/html
Build the image
Run the following command in the directory where the Dockerfile is located:
docker build . -t my-nginx:1.0
# .: Use the current directory as the build context.
# -t: Set the image name and tag.
Test the image locally
# Start the container.
docker run -d -p 80:80 my-nginx:1.0

# Test static file access.
curl localhost:80/

# Test request forwarding (reverse proxy only).
curl localhost:80/api/
Push the image to ACR
Push the image to your Container Registry (ACR) repository. For instructions, see Push and pull images (Enterprise Edition) or Push and pull images (Personal Edition).
Step 4: Deploy Nginx and configure network access
Deploy the Nginx application from the image you pushed to ACR. See Deploy an application from an image.
(Reverse proxy with public backend only) By default, applications in SAE cannot access the internet. If your Nginx service forwards requests to a public endpoint, configure an Internet NAT gateway for the VPC. See Configure an Internet NAT gateway to enable SAE applications to access the internet.
Attach a CLB instance to expose the Nginx service on a public IP address. See Attach a CLB instance to an application to generate a public or private endpoint. Set Container Port to
80.To let clients access the Nginx service through a domain name, configure DNS resolution for the public IP address.
Open a browser and navigate to the public IP address to verify the deployment.
Step 5 (optional): Update the Nginx configuration without rebuilding the image
Use a configuration item (ConfigMap) to inject an updated nginx.conf into the running container. This avoids rebuilding the image every time you change the configuration.
A configuration file injected via a ConfigMap overwrites the original file in the container image.
Create a configuration item (ConfigMap) in the namespace of the Nginx application. See Create a configuration item (ConfigMap). Set Configuration Item Name to
nginx. Add a key namednginx.confand set its value to the content of the updated configuration file.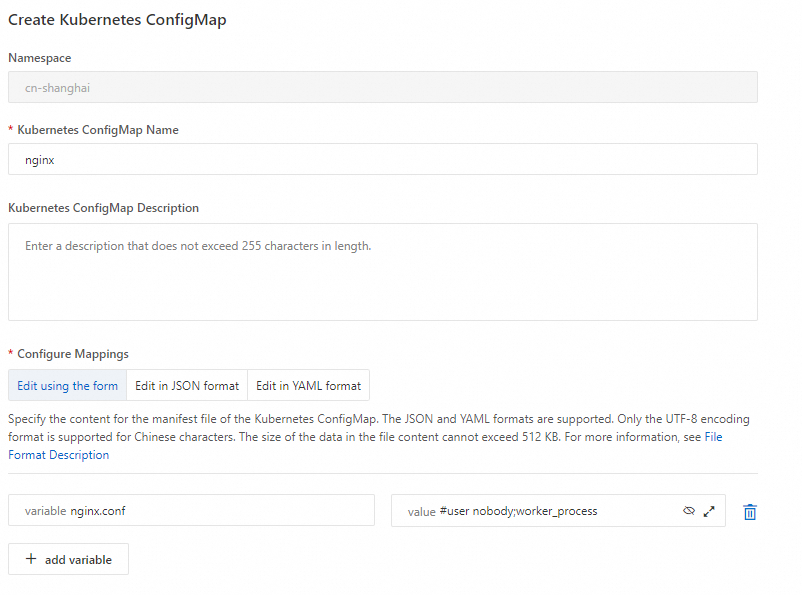
Inject the configuration file and redeploy the application. See Inject configurations. For Configuration Item, select the
nginxConfigMap. For Key, selectnginx.conf. Set Mount Path to/etc/nginx/nginx.conf.
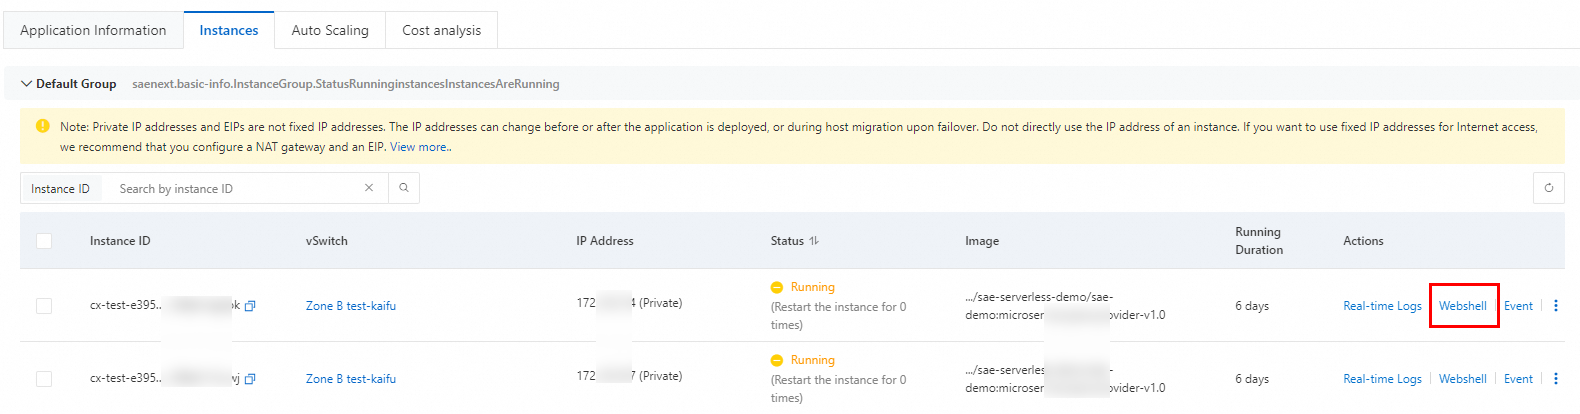
After the application redeploys, use WebShell to log in to an application instance and verify that the updated configuration file is in place.