This document describes how to use the case center in Smart Conversation Analysis. You can filter conversations that meet your requirements, add them to the case library, and use them for future analysis.
Access the feature
On the Smart Conversation Analysis platform, click Case Center to open the interface.
Features
Filter bar
In the filter bar on the Case Center page, Case Type offers three options: All, Good Case, and Bad Case. Data Type offers two options: Text Case and Voice Case. You can filter cases by case type and data type as needed.

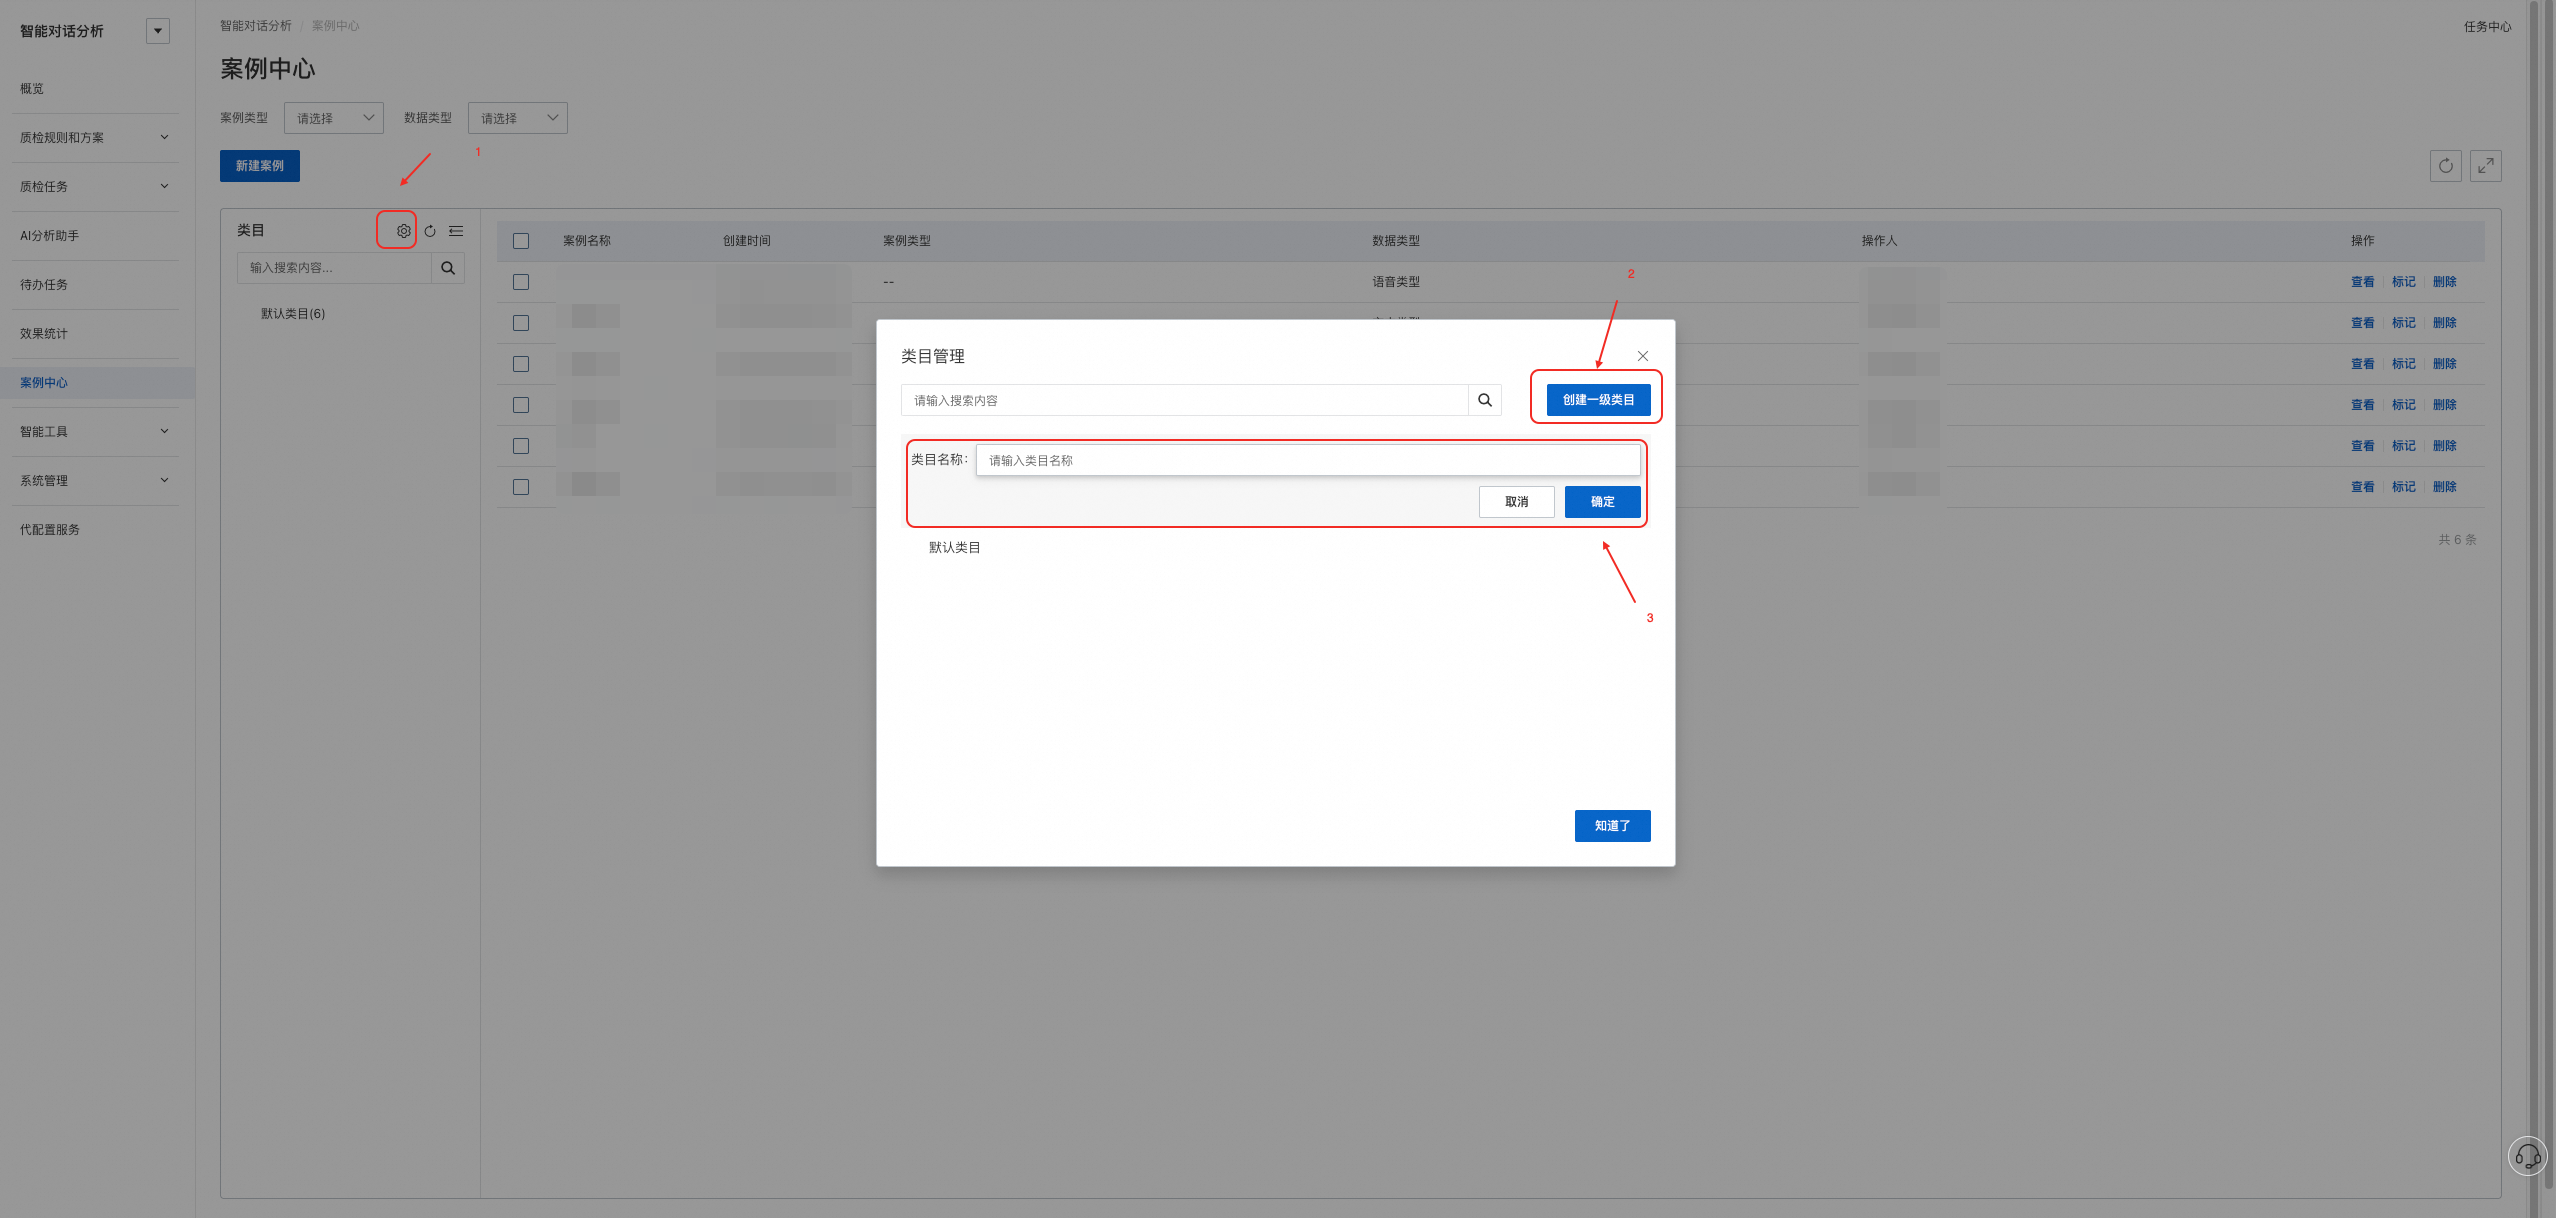
Manage categories
On the category management page, click Create Root Category to create a category.
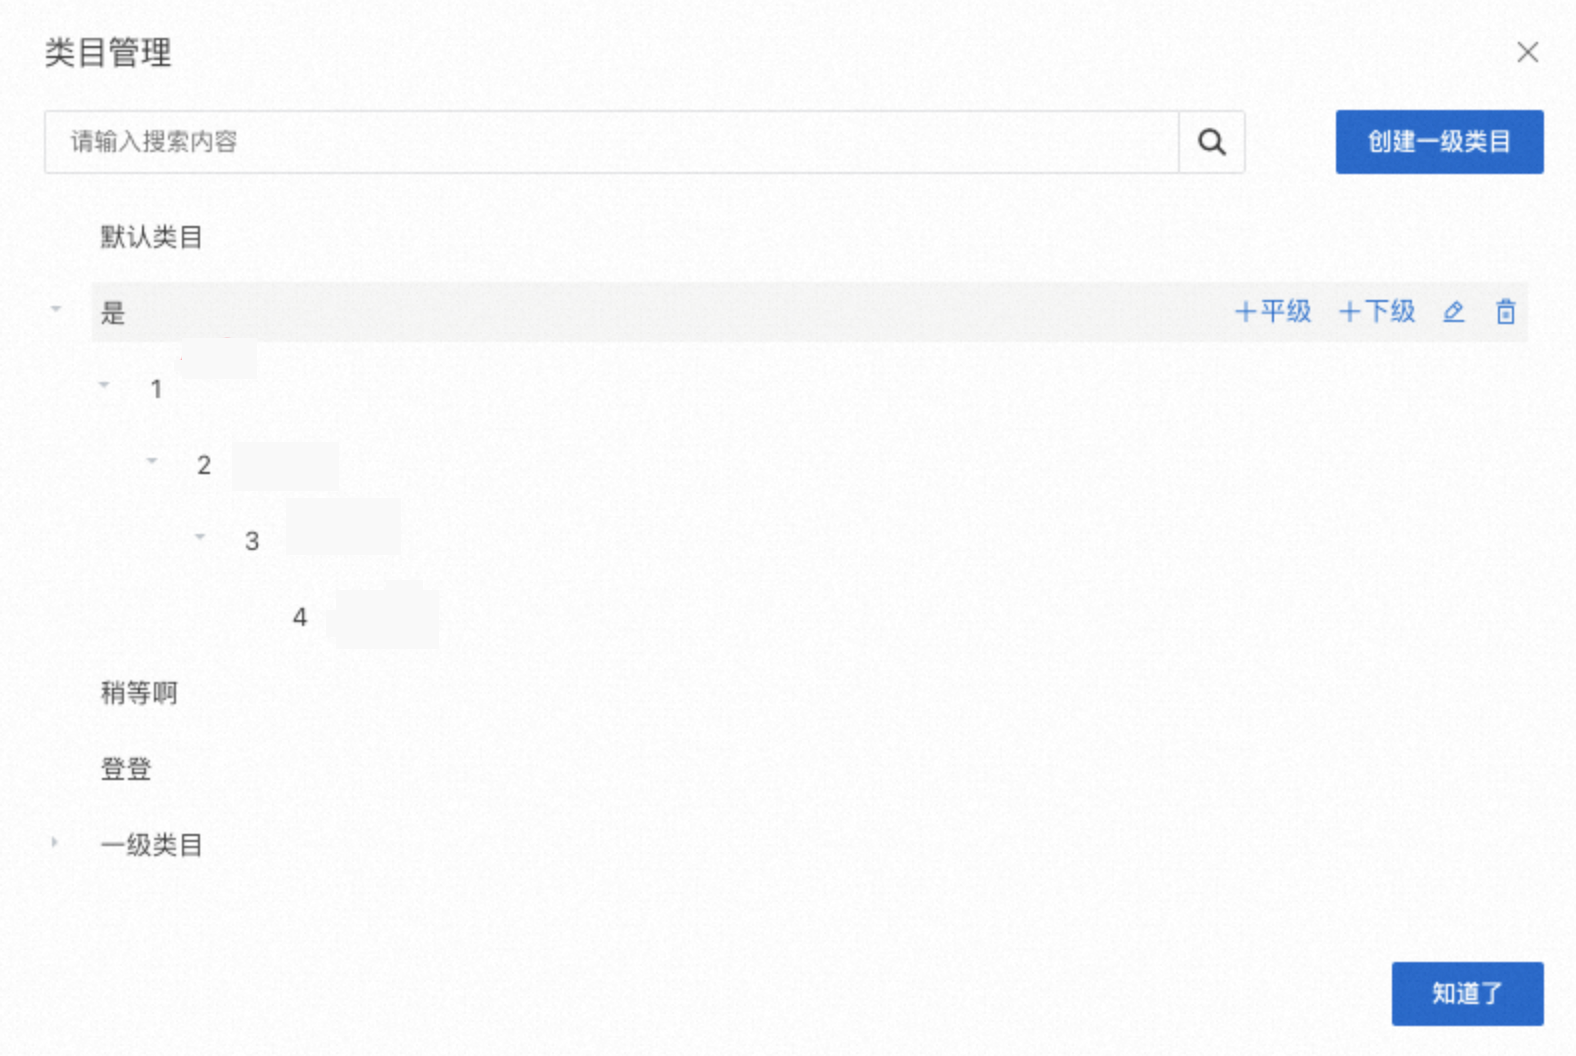
Click the Subcategory button to create subcategories within this category, as shown in the following figure:
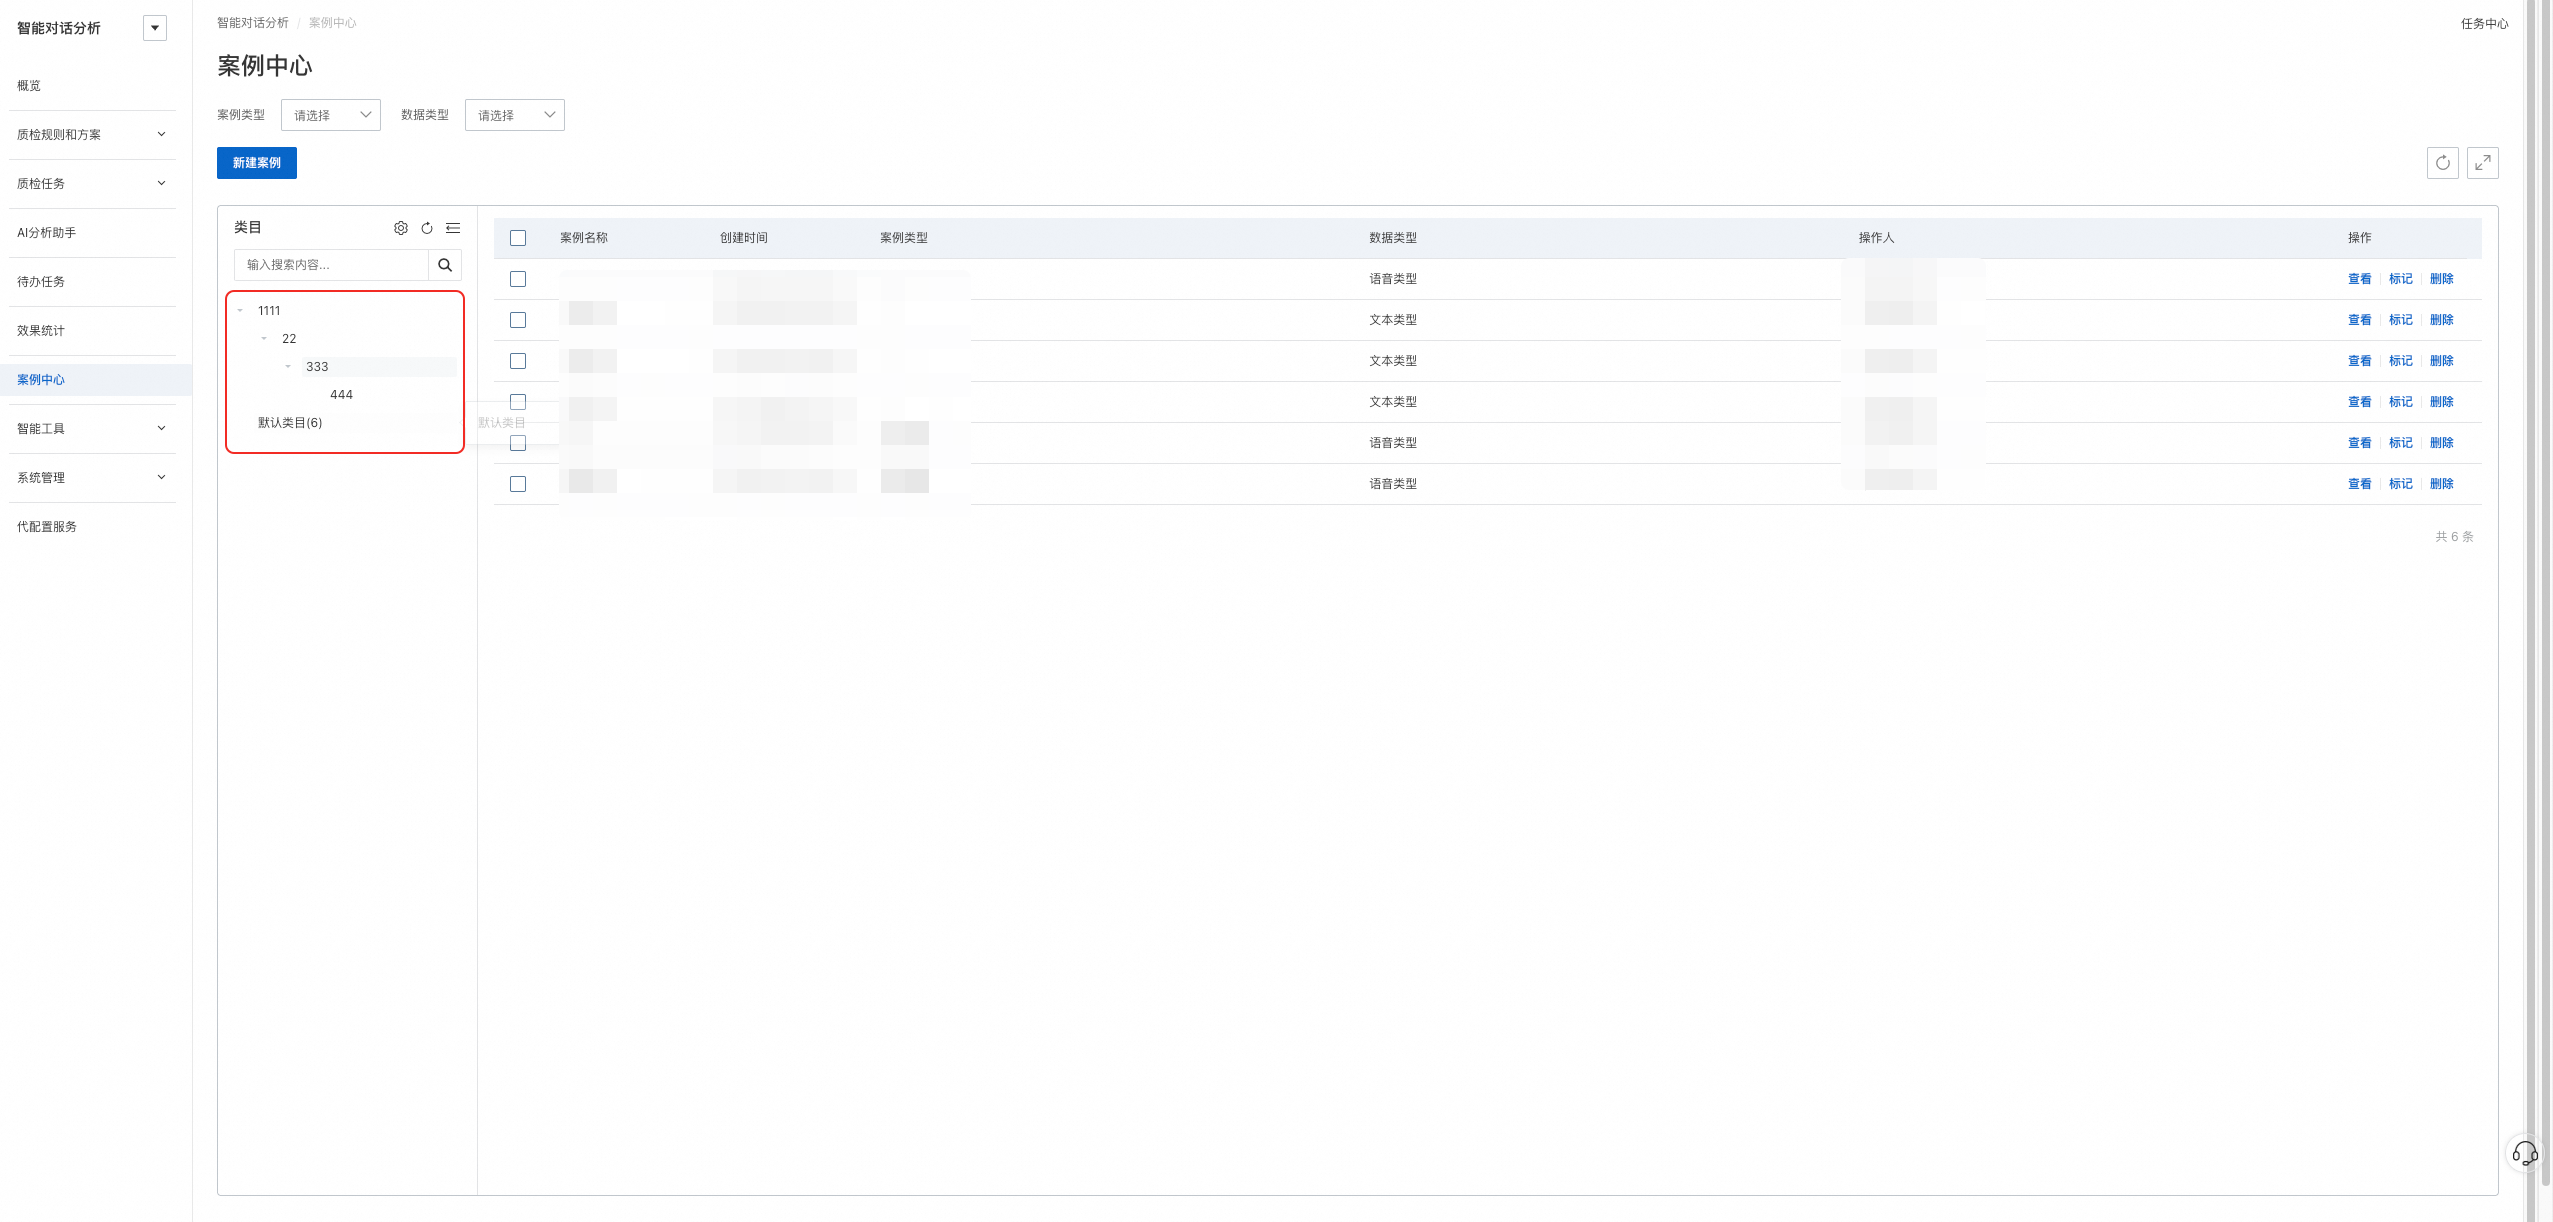
The following figure shows the result after saving:
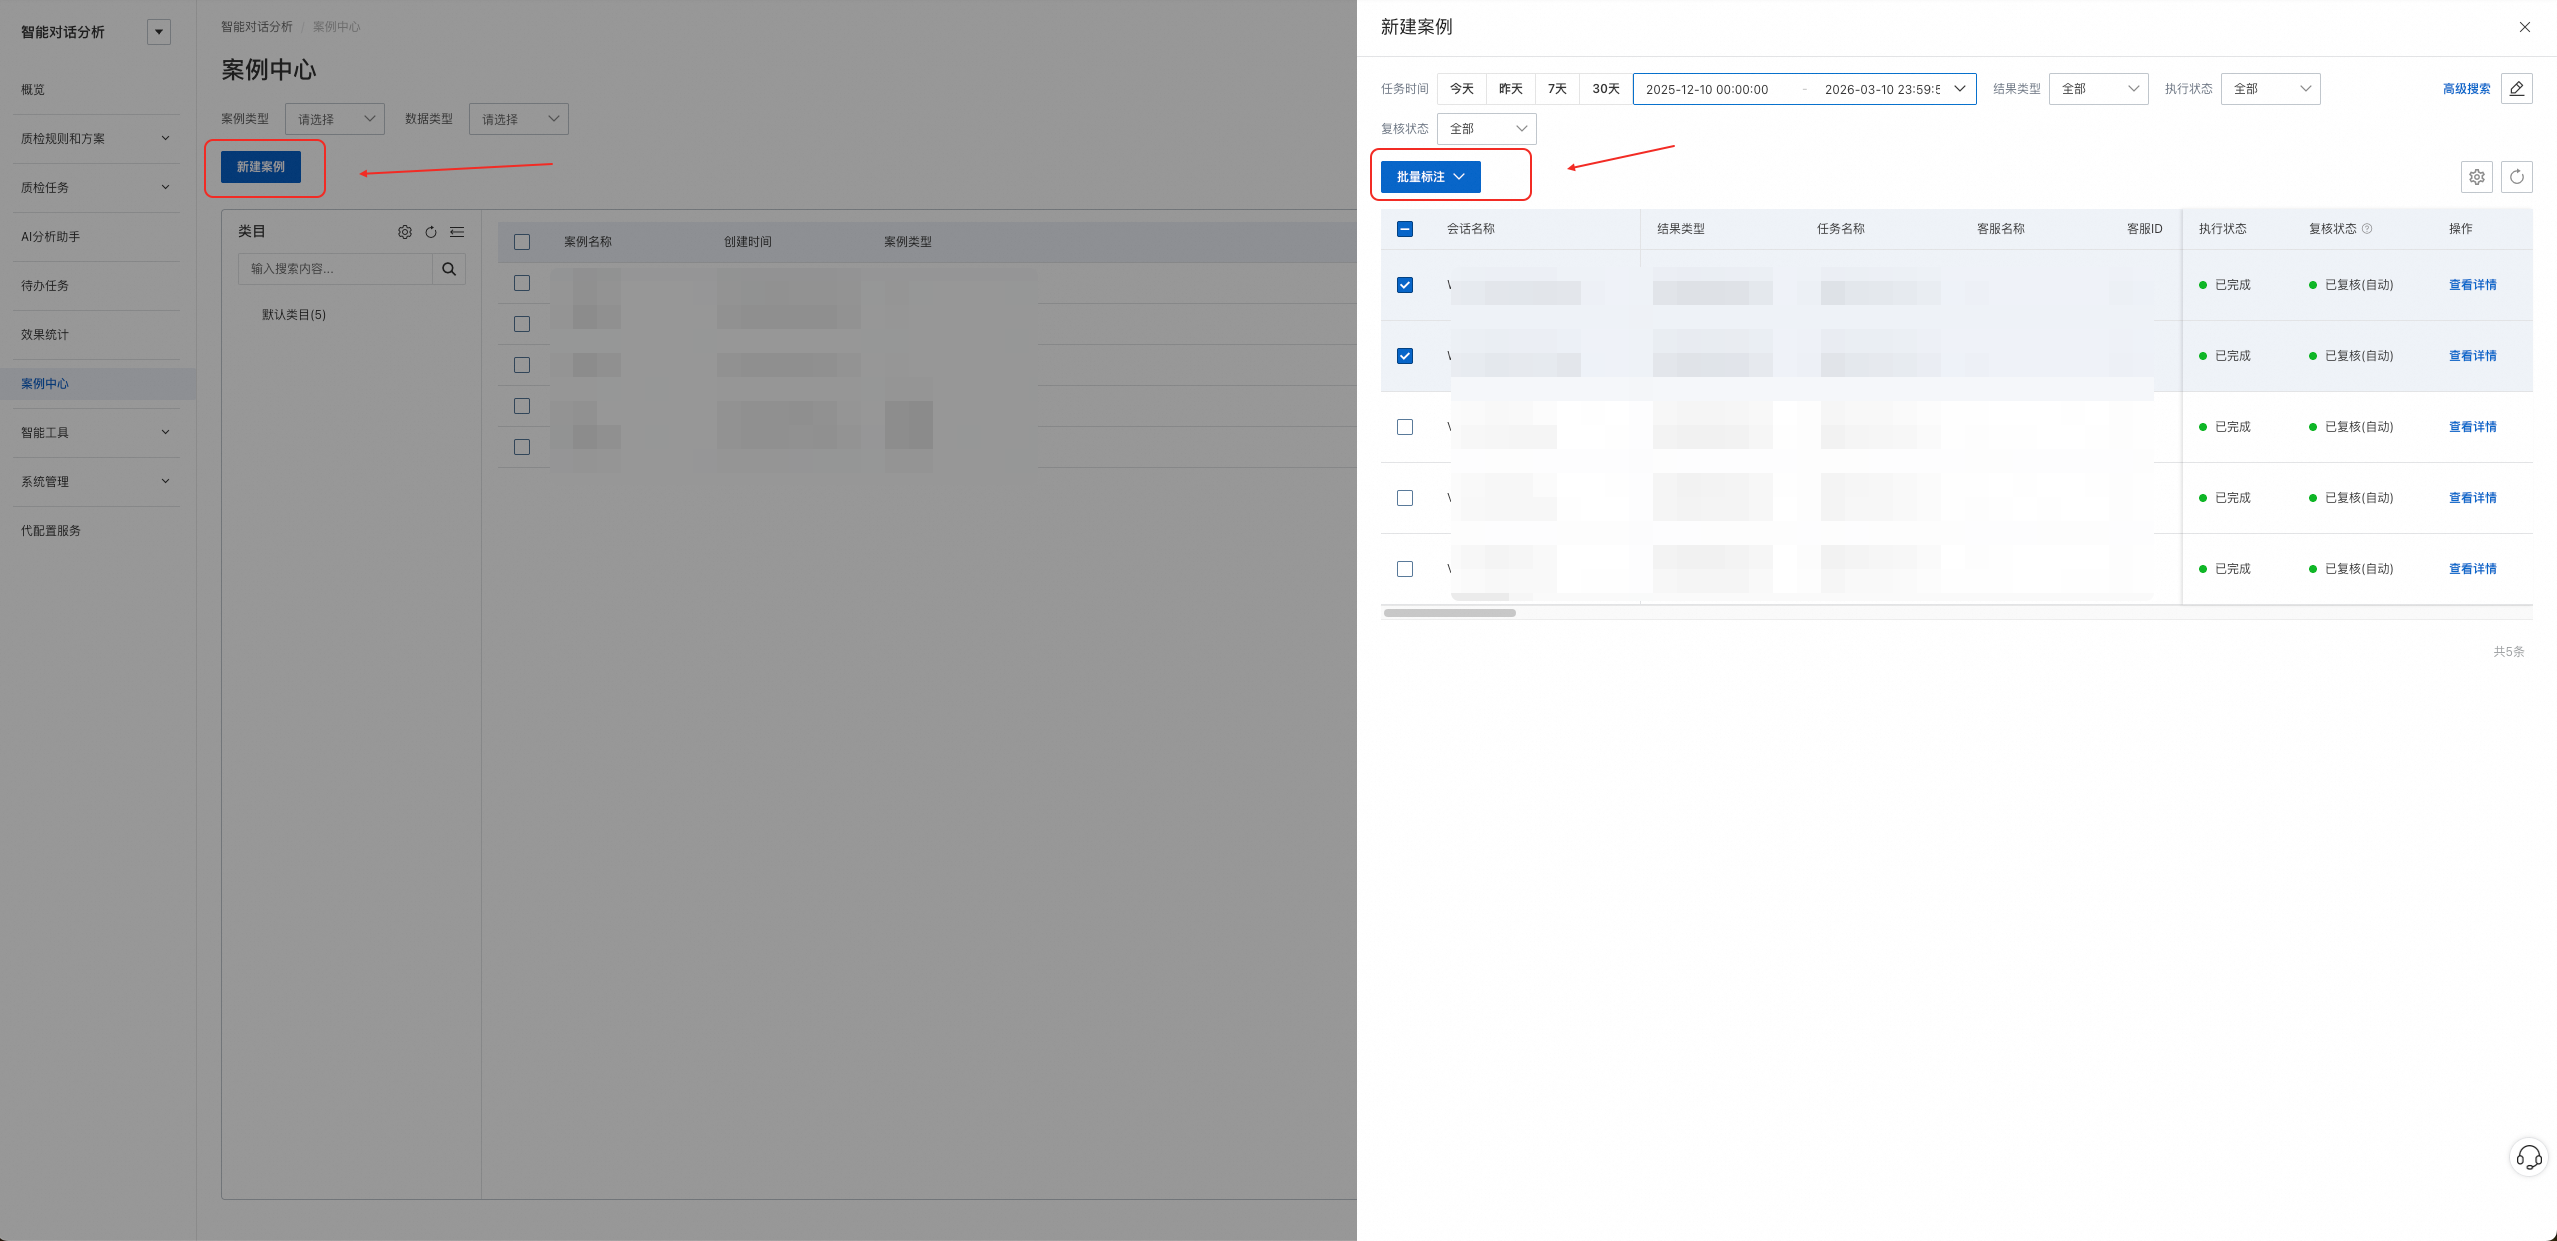
Create a case
Click Create Case to open the configuration page. You can filter tasks by task time, result type, execution status, or review status, or use advanced search. The filtered tasks appear in a list. Then, select multiple tasks to annotate and add them in a batch.

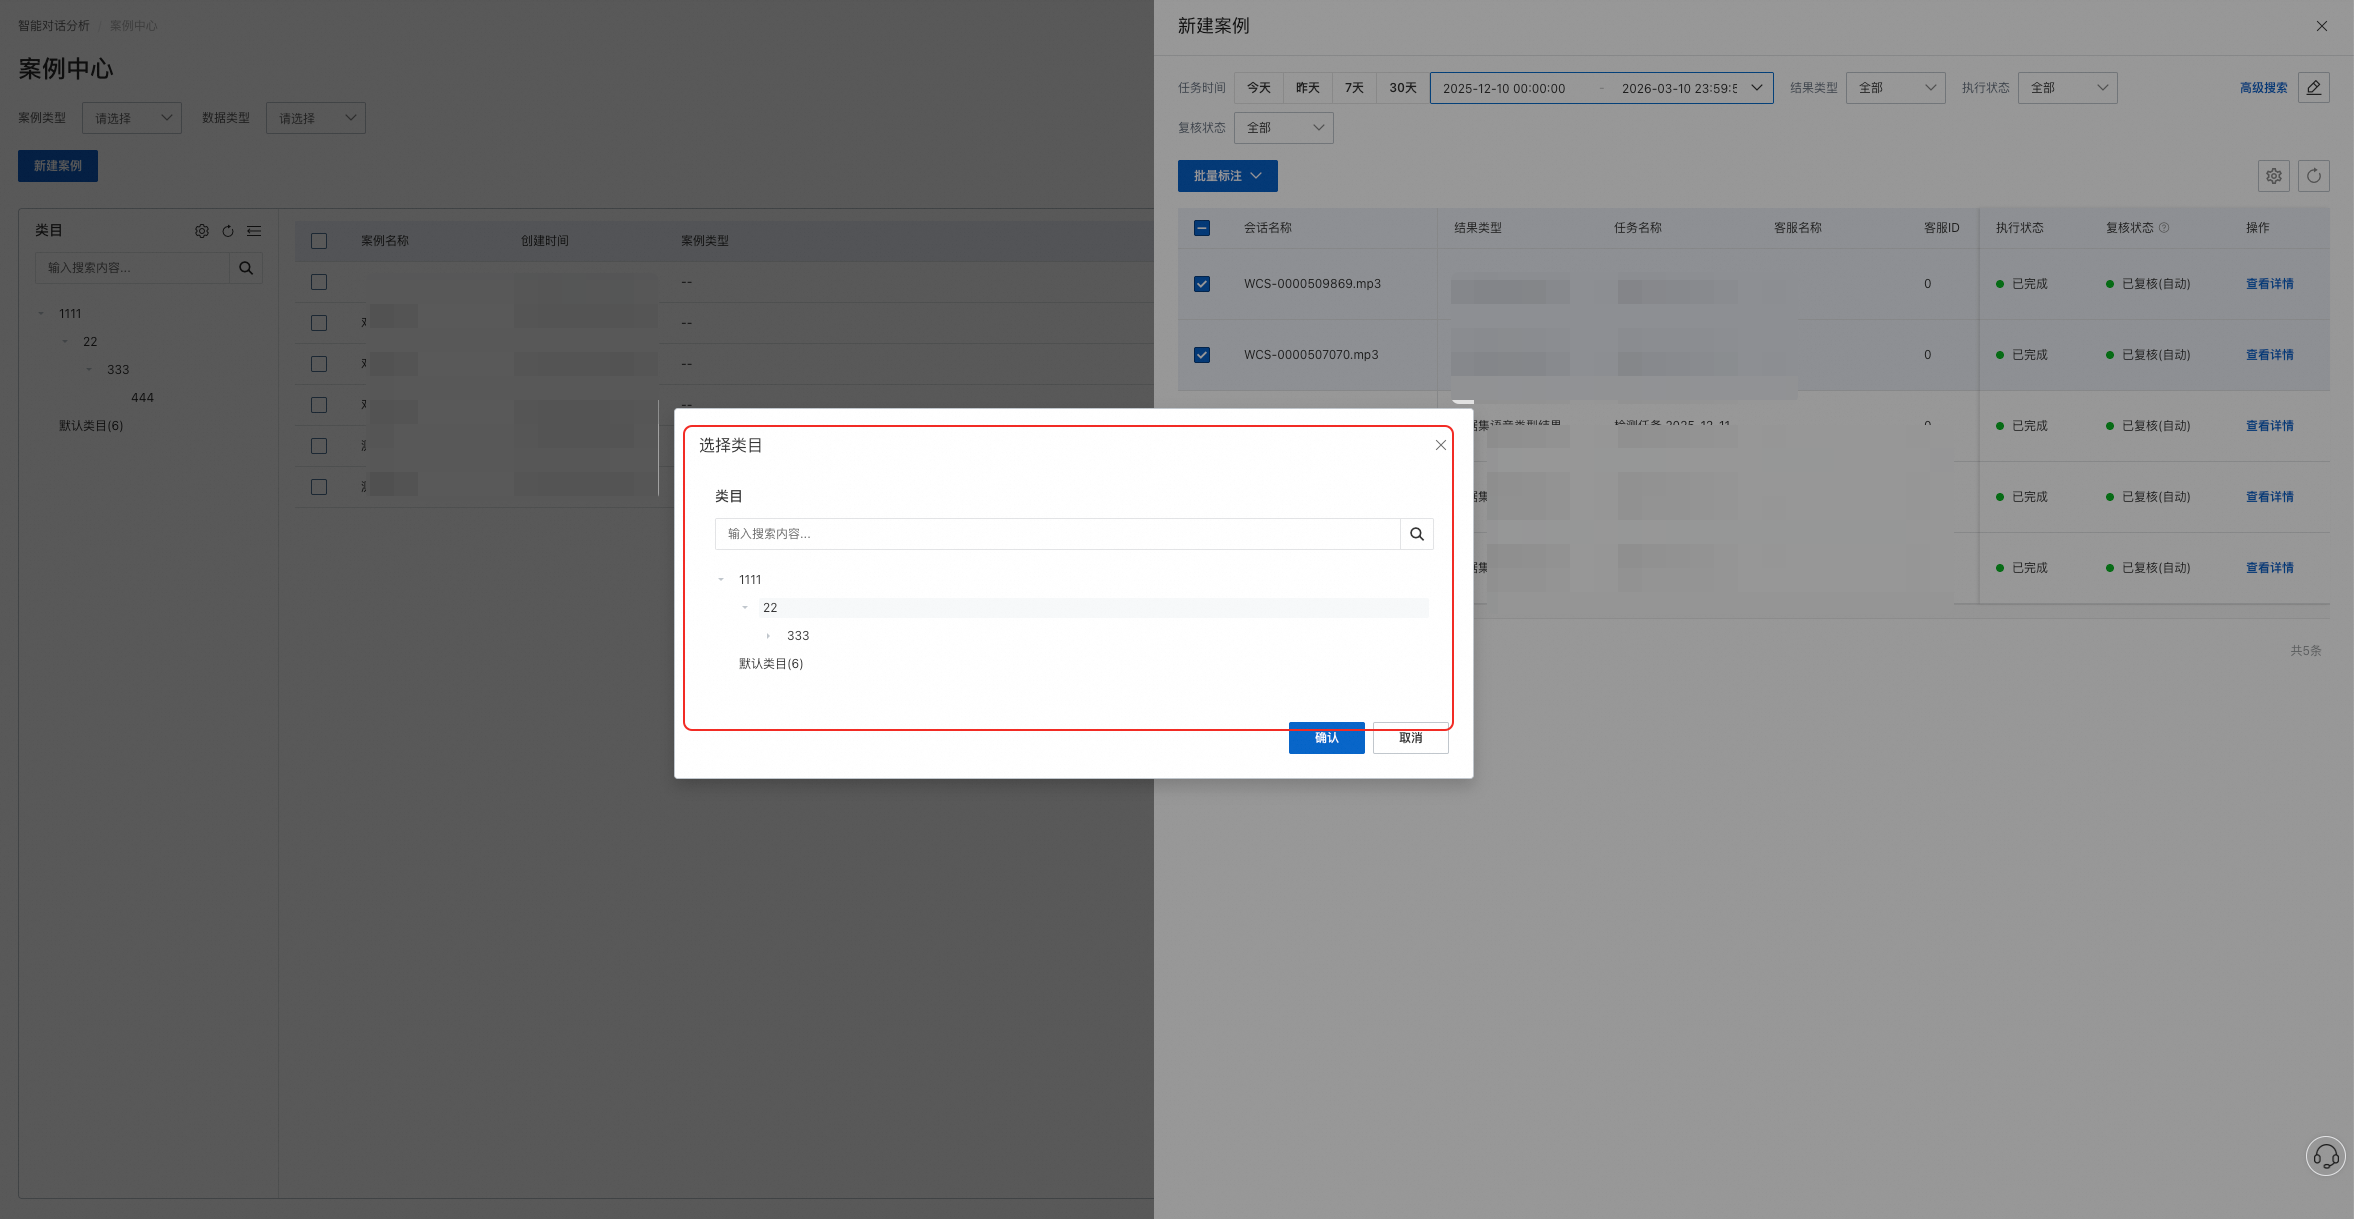
Select the quality inspection tasks. Click Batch Annotate, and then select the destination category to add the cases.
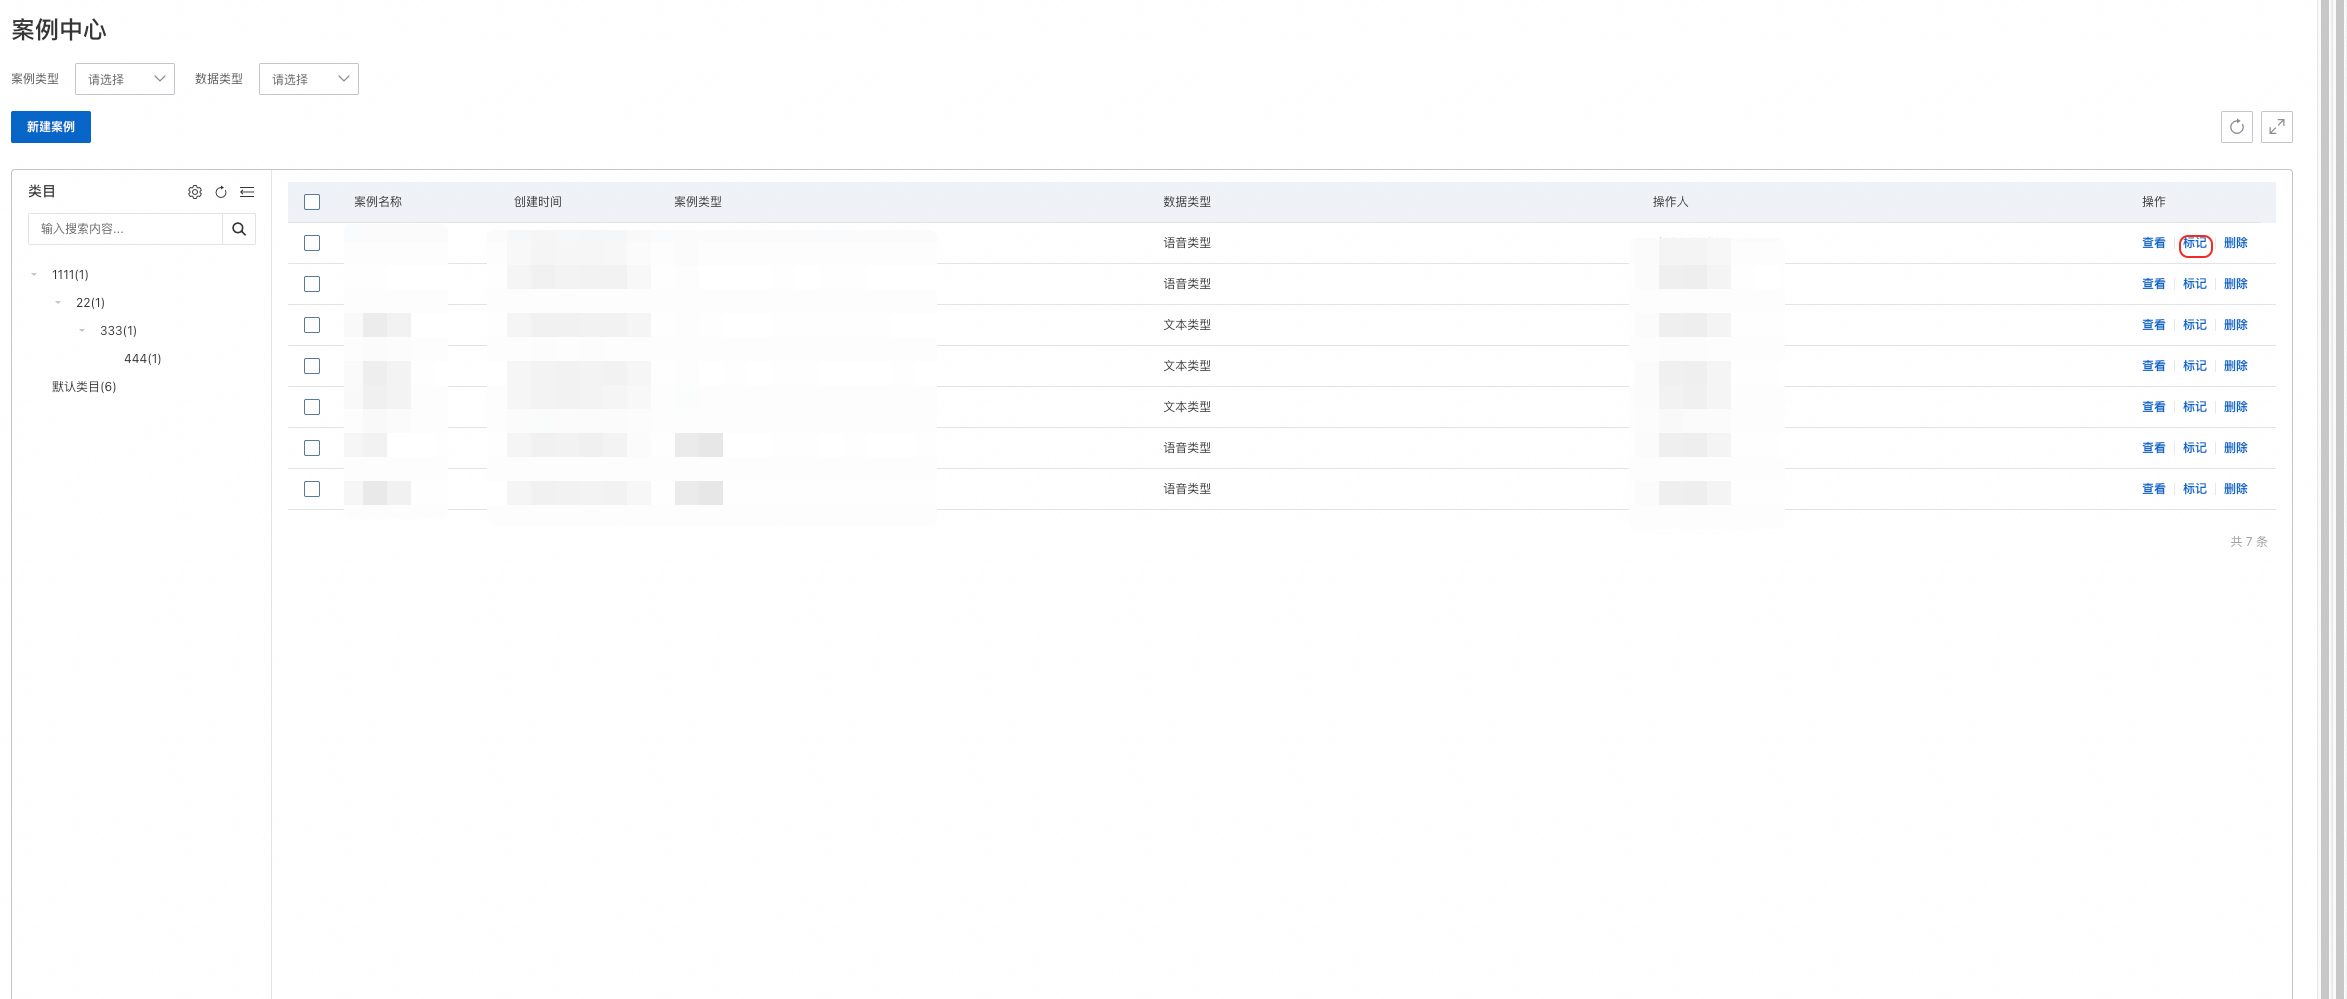
Marking example
On the case list page, click the Mark button to open the case details page. On the details page, you can view the information and mark the case.
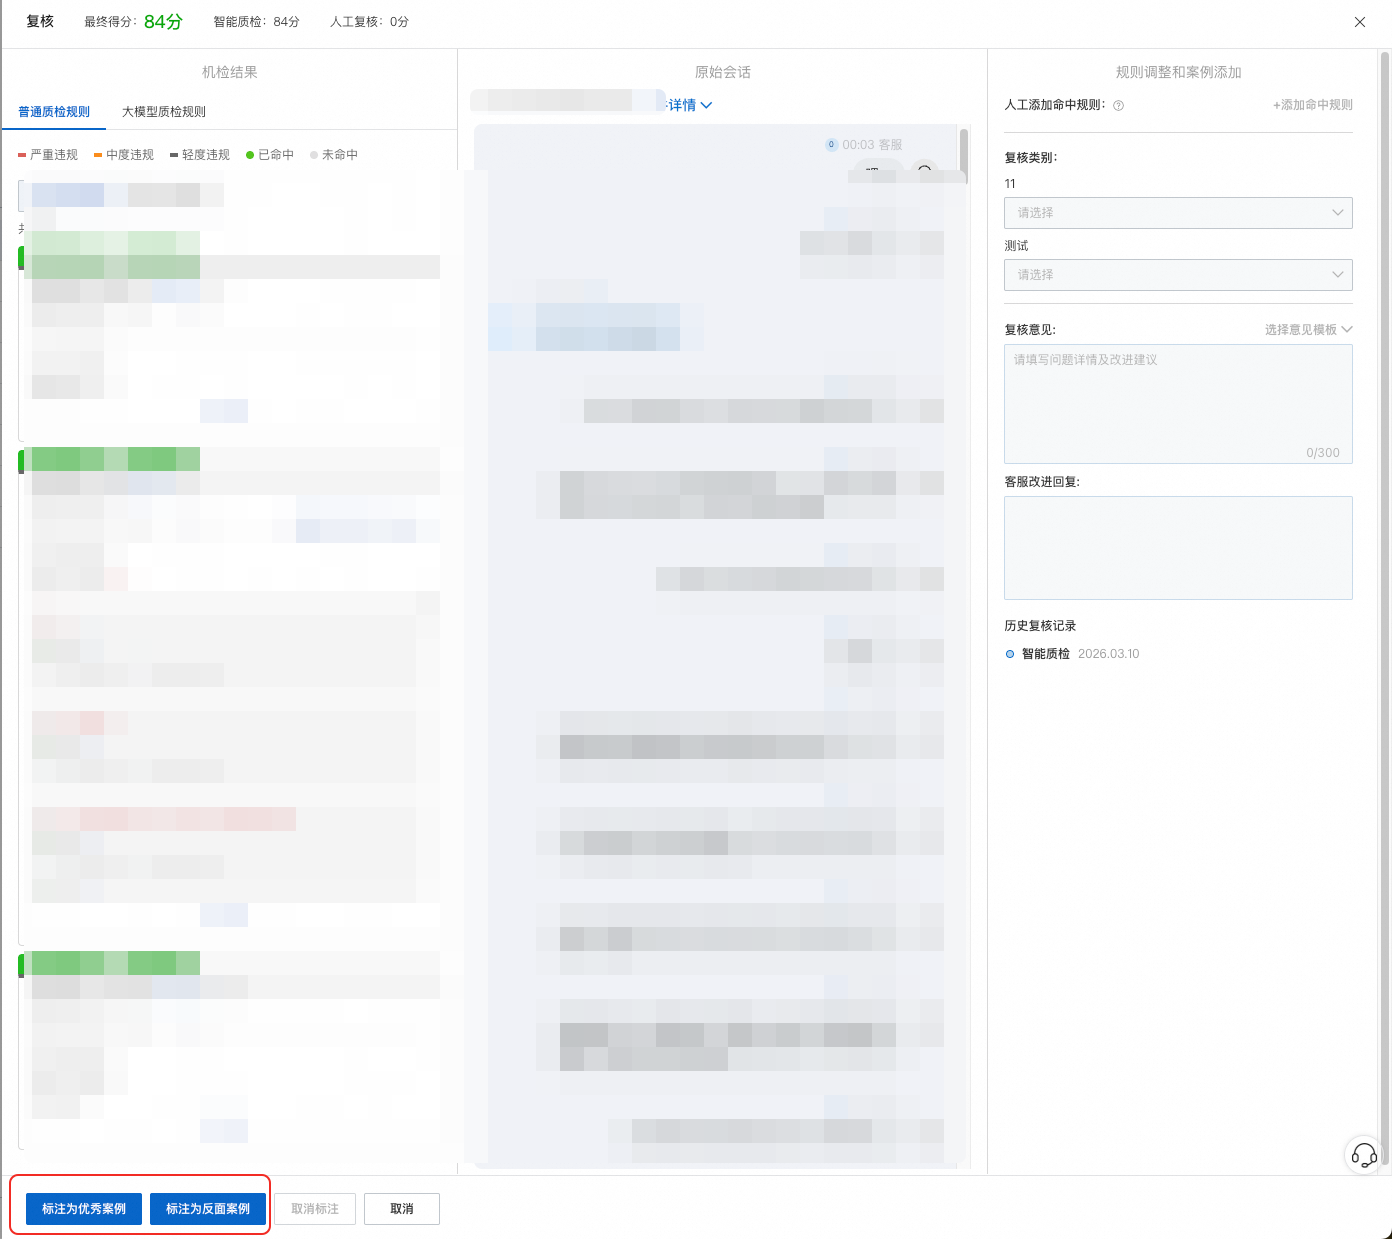
View a case
In the Case Center, click the View button to open the details of the corresponding case.
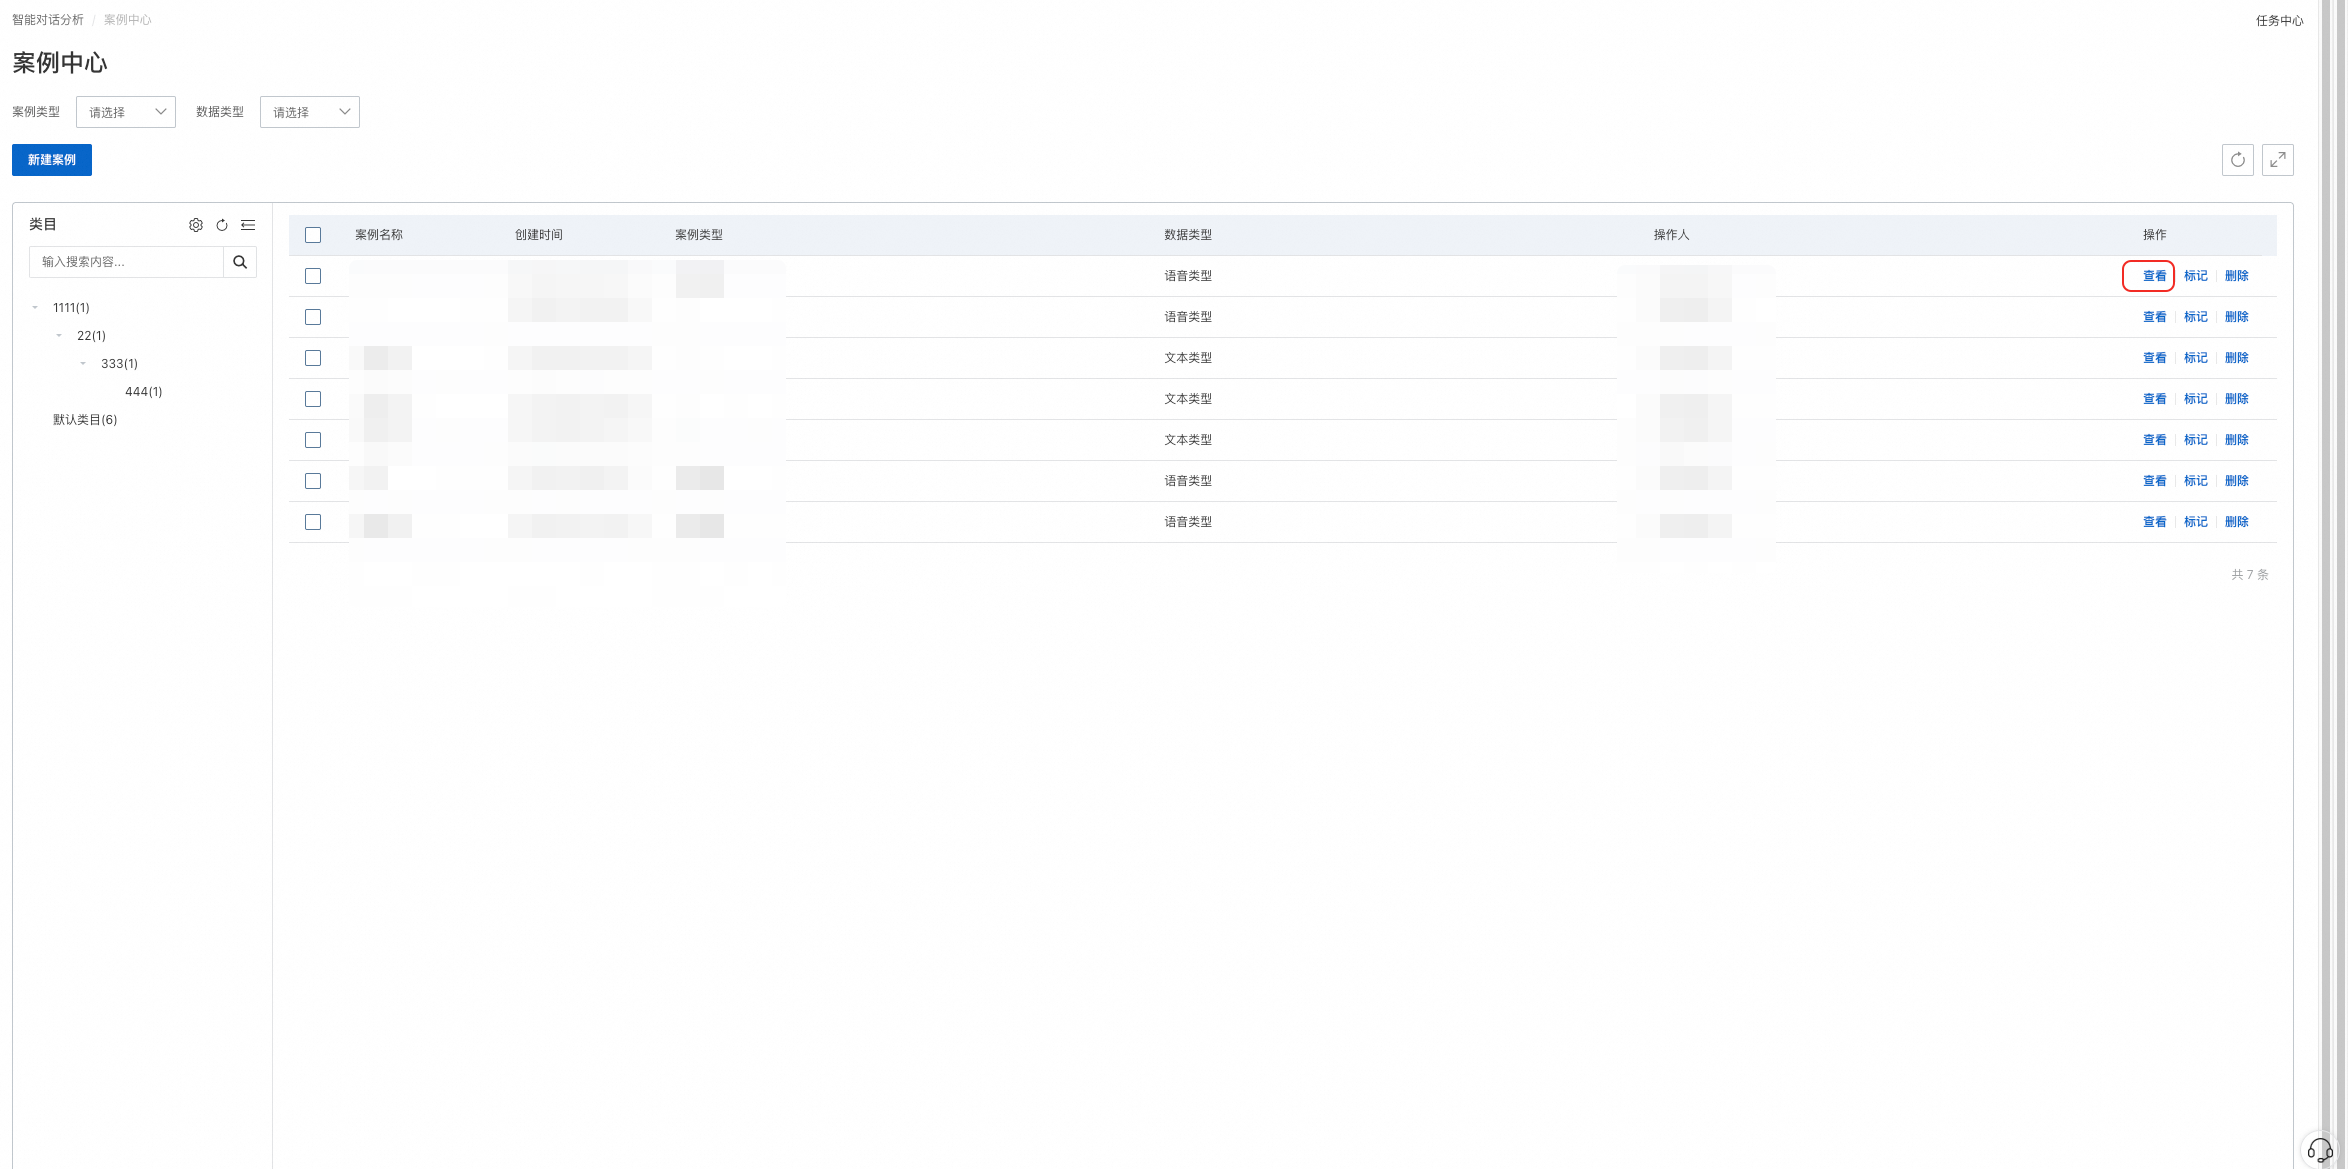
On this page, you can view related data, such as the automated inspection results for the case.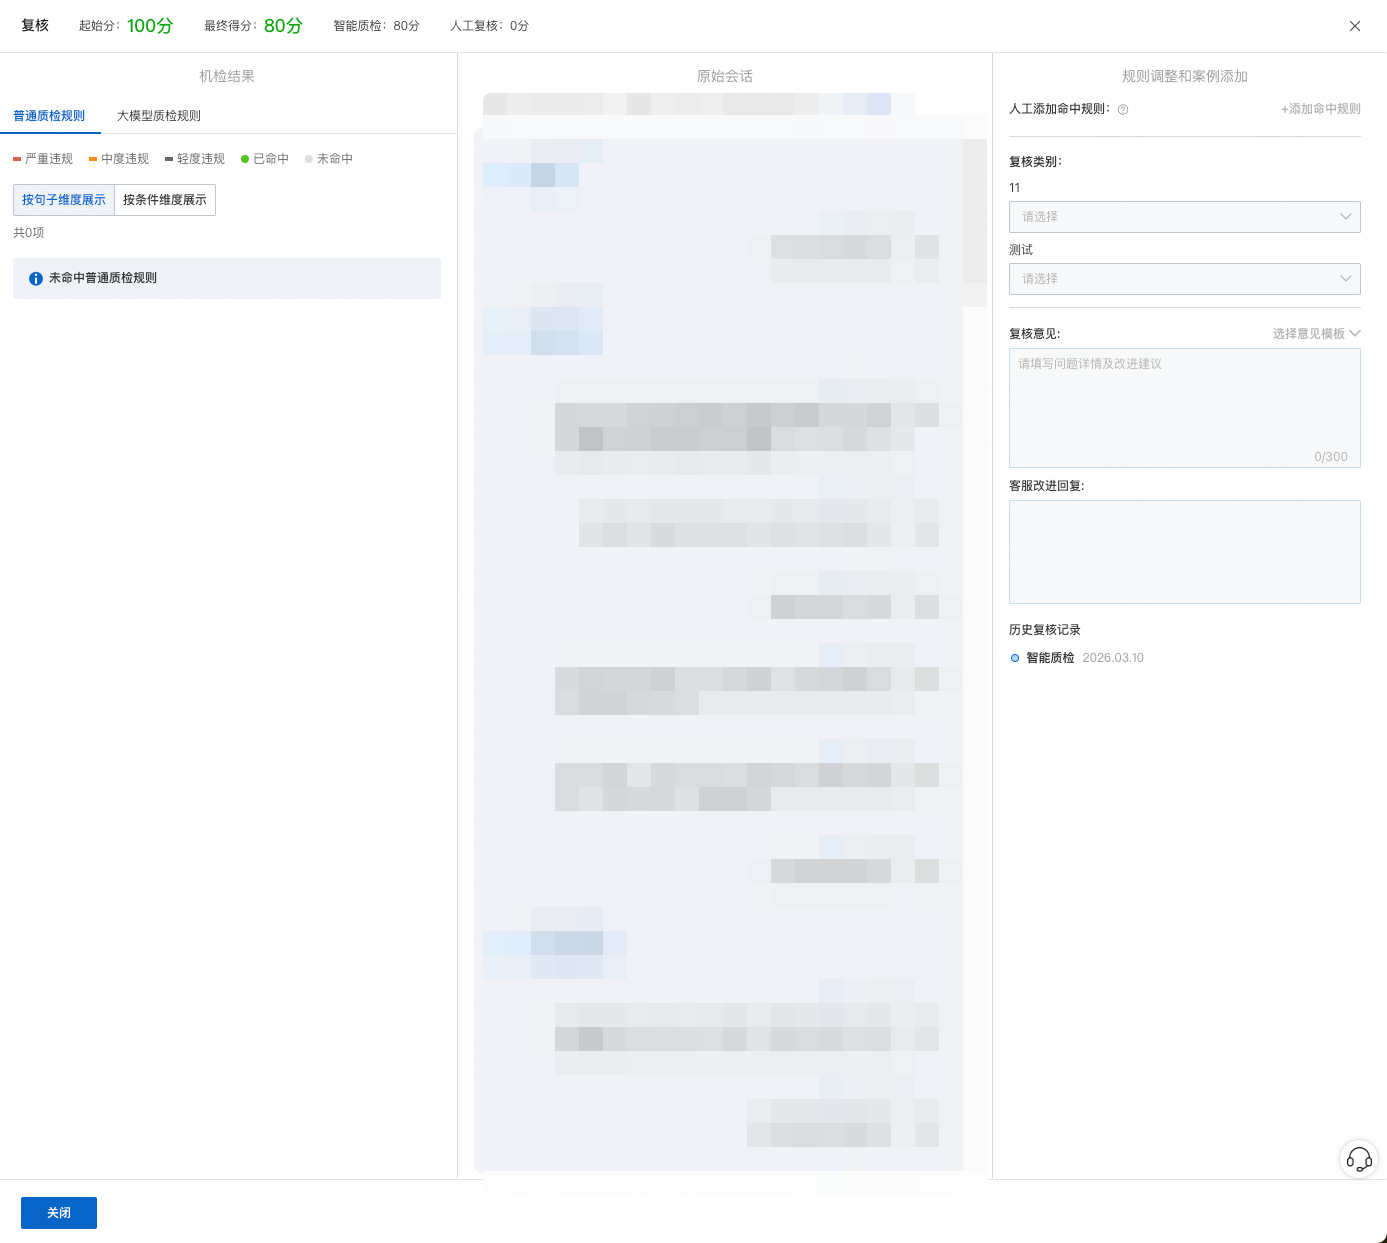
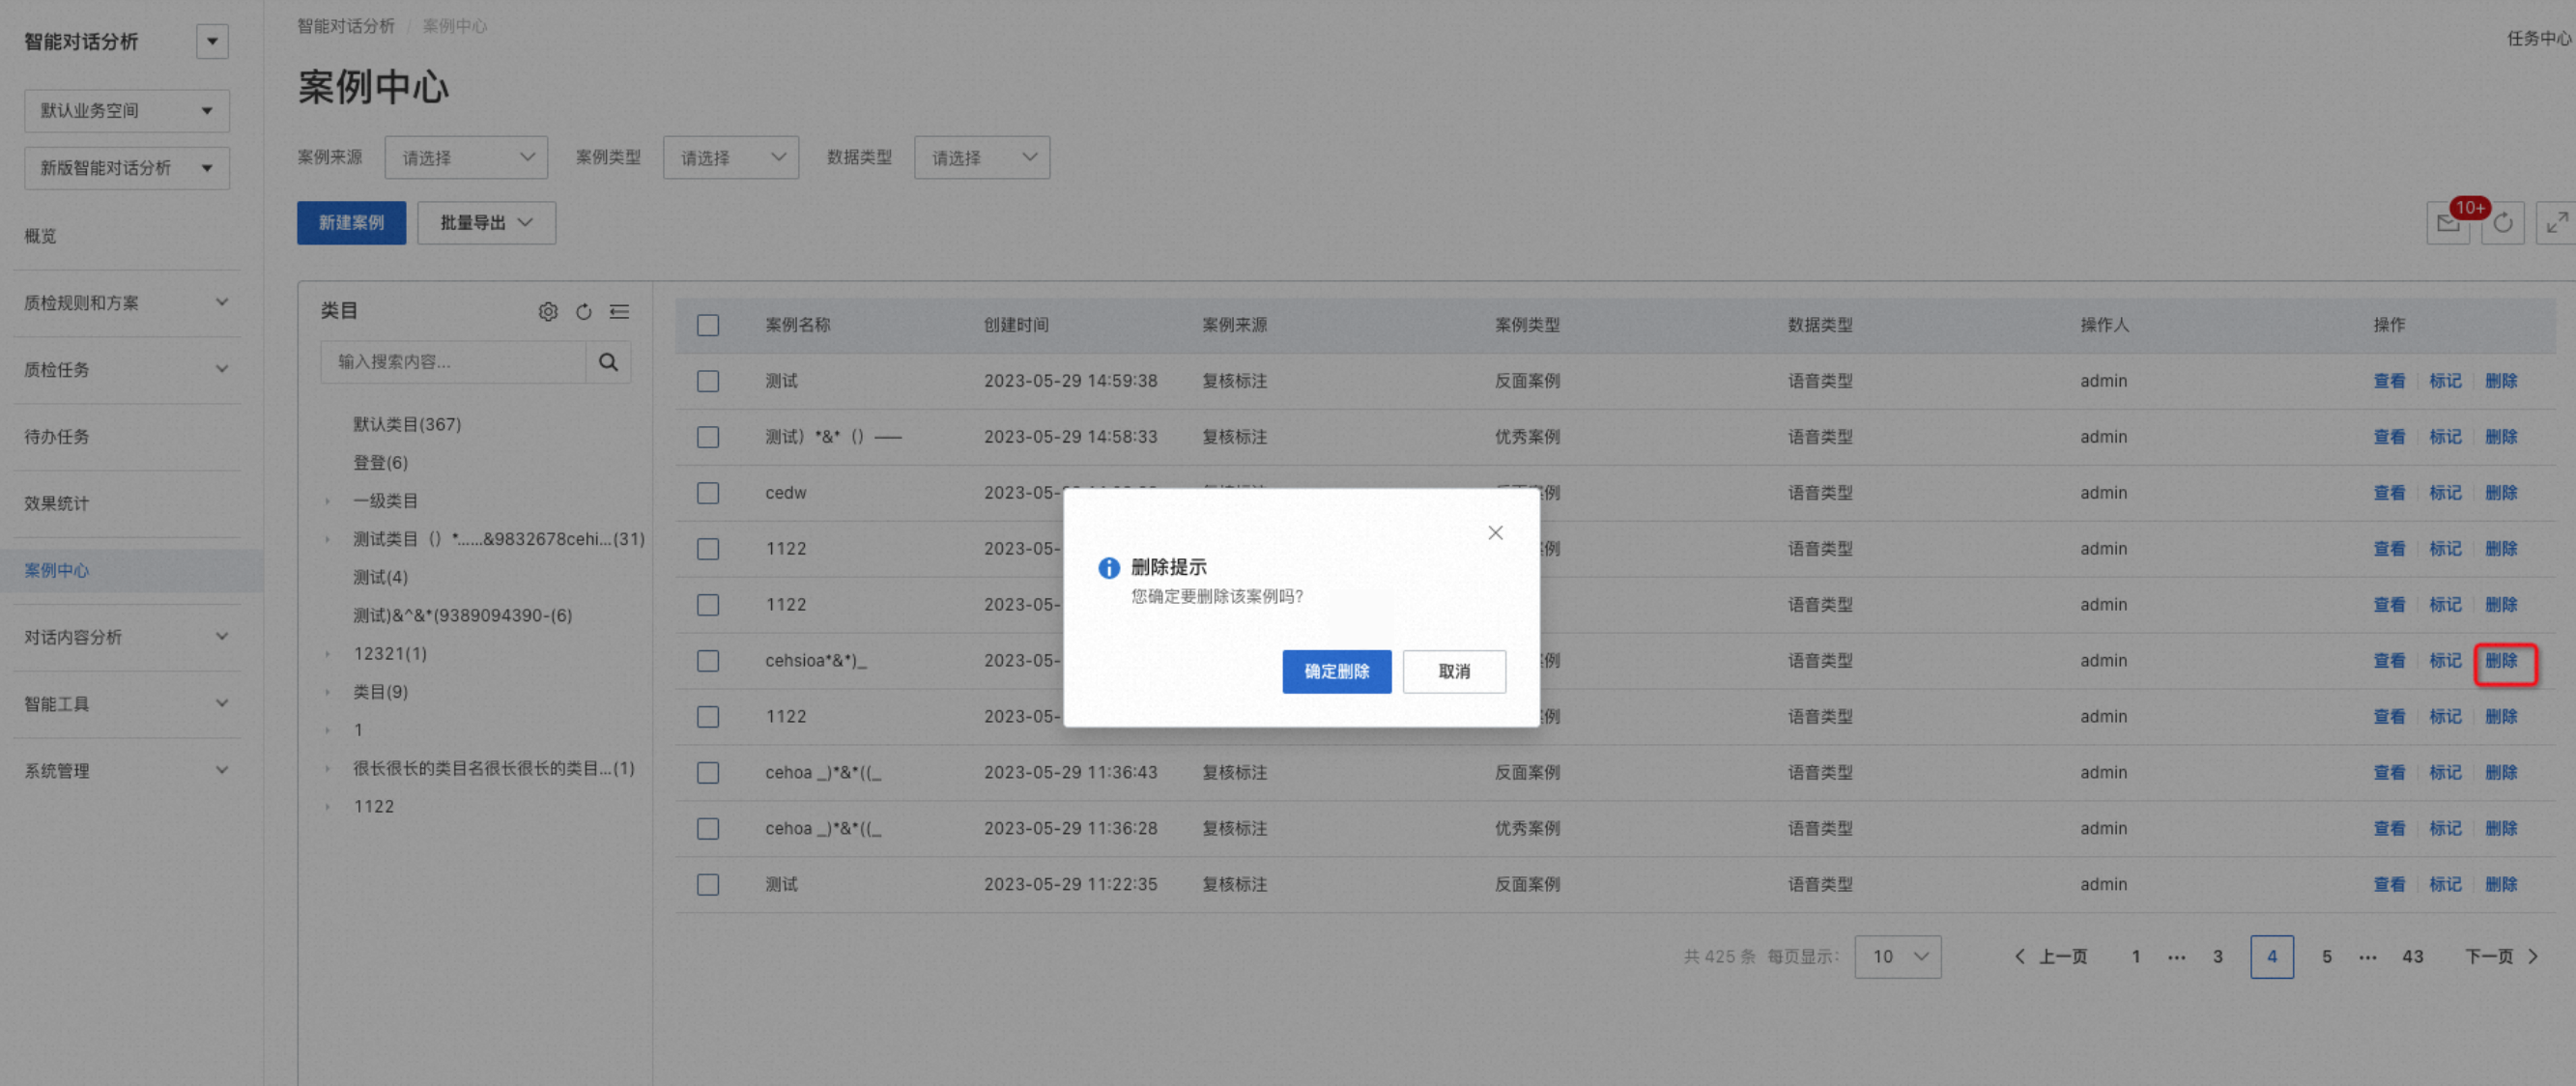
Delete a case
You can delete cases that you no longer need.