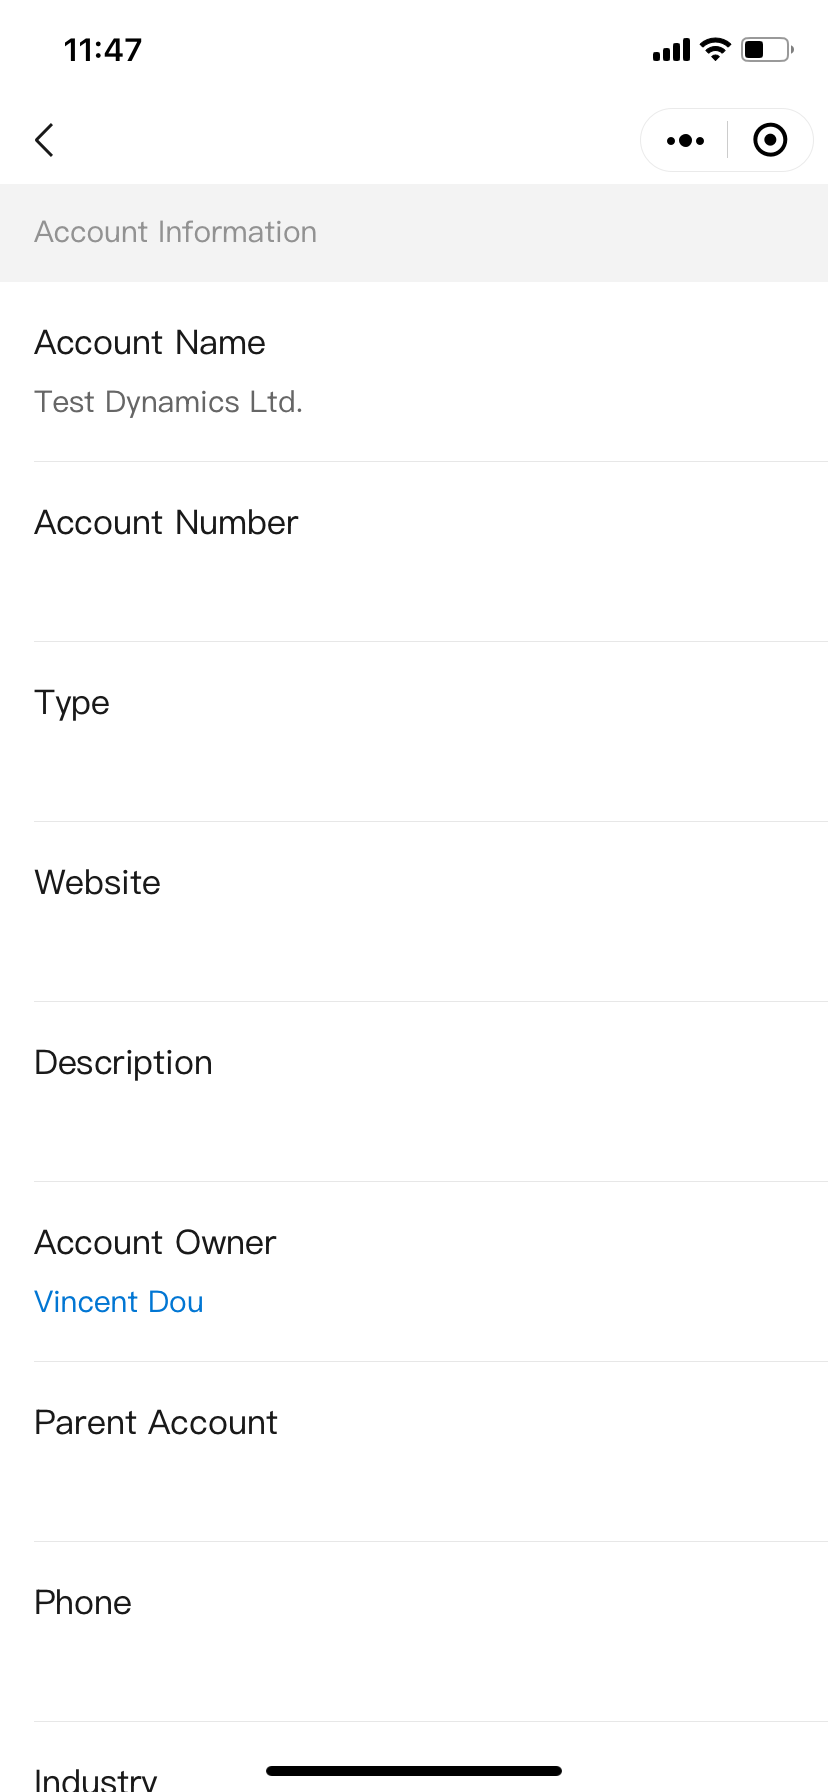
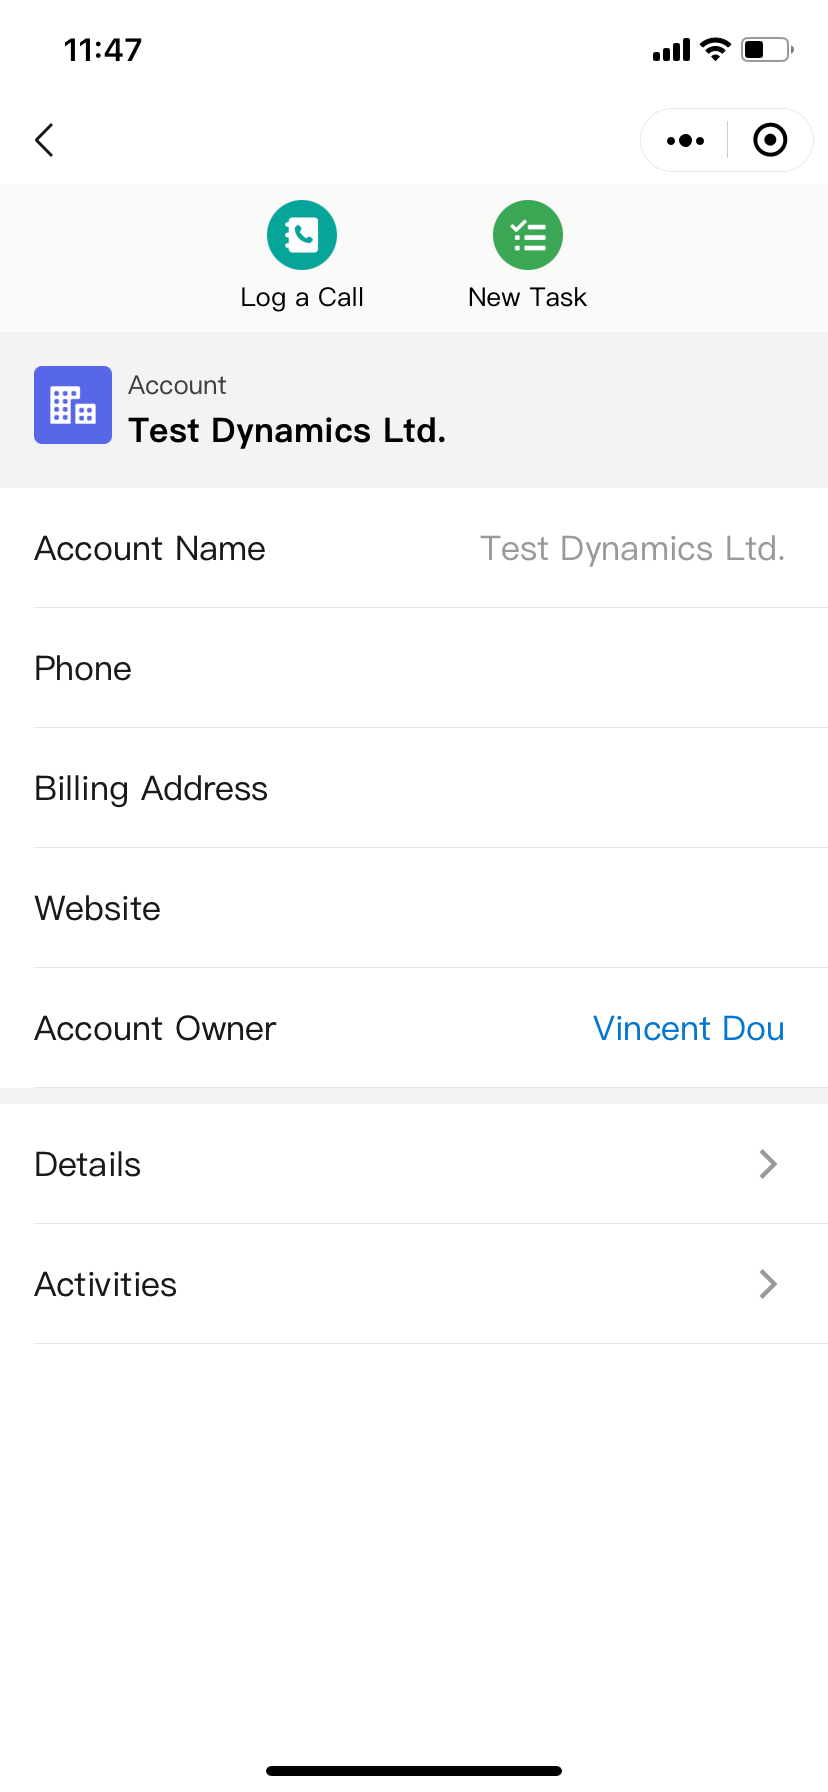
Add the CXG WeCom Connector

Updated at:

Prerequisites

  • You have administrative permission for Salesforce.

  • Your organization has installed the latest CXG package.

  • Your enterprise has activated WeCom and you have administrator permission for the WeCom management console.

  • Prepare a miniapp developer account. Apply at: https://open.weixin.qq.com/. Select Miniapp Developer Account to complete the application.

Important

After you meet all prerequisites above, complete the following preparatory steps.

Preparatory Step 1: Configure Integration User permissions

An Integration User is the identity that CXG uses to sync data to the Salesforce Platform or call Salesforce Platform APIs. Grant this user CRUD permissions on required data.

For instructions, see Configure Integration User permissions. As an administrator, manually create an Integration User. After creation, assign the CXG Integration User permission set and any other custom permission sets you created.

Preparatory Step 2: Download the WeCom sample code

To build your Salesforce WeCom application, use our sample code as a reference. Modify the miniapp code snippets to quickly customize the interface and user experience for your Salesforce miniapp.

In CXG-Setup-Connector, select the WeCom connector and click Download Sample Code.
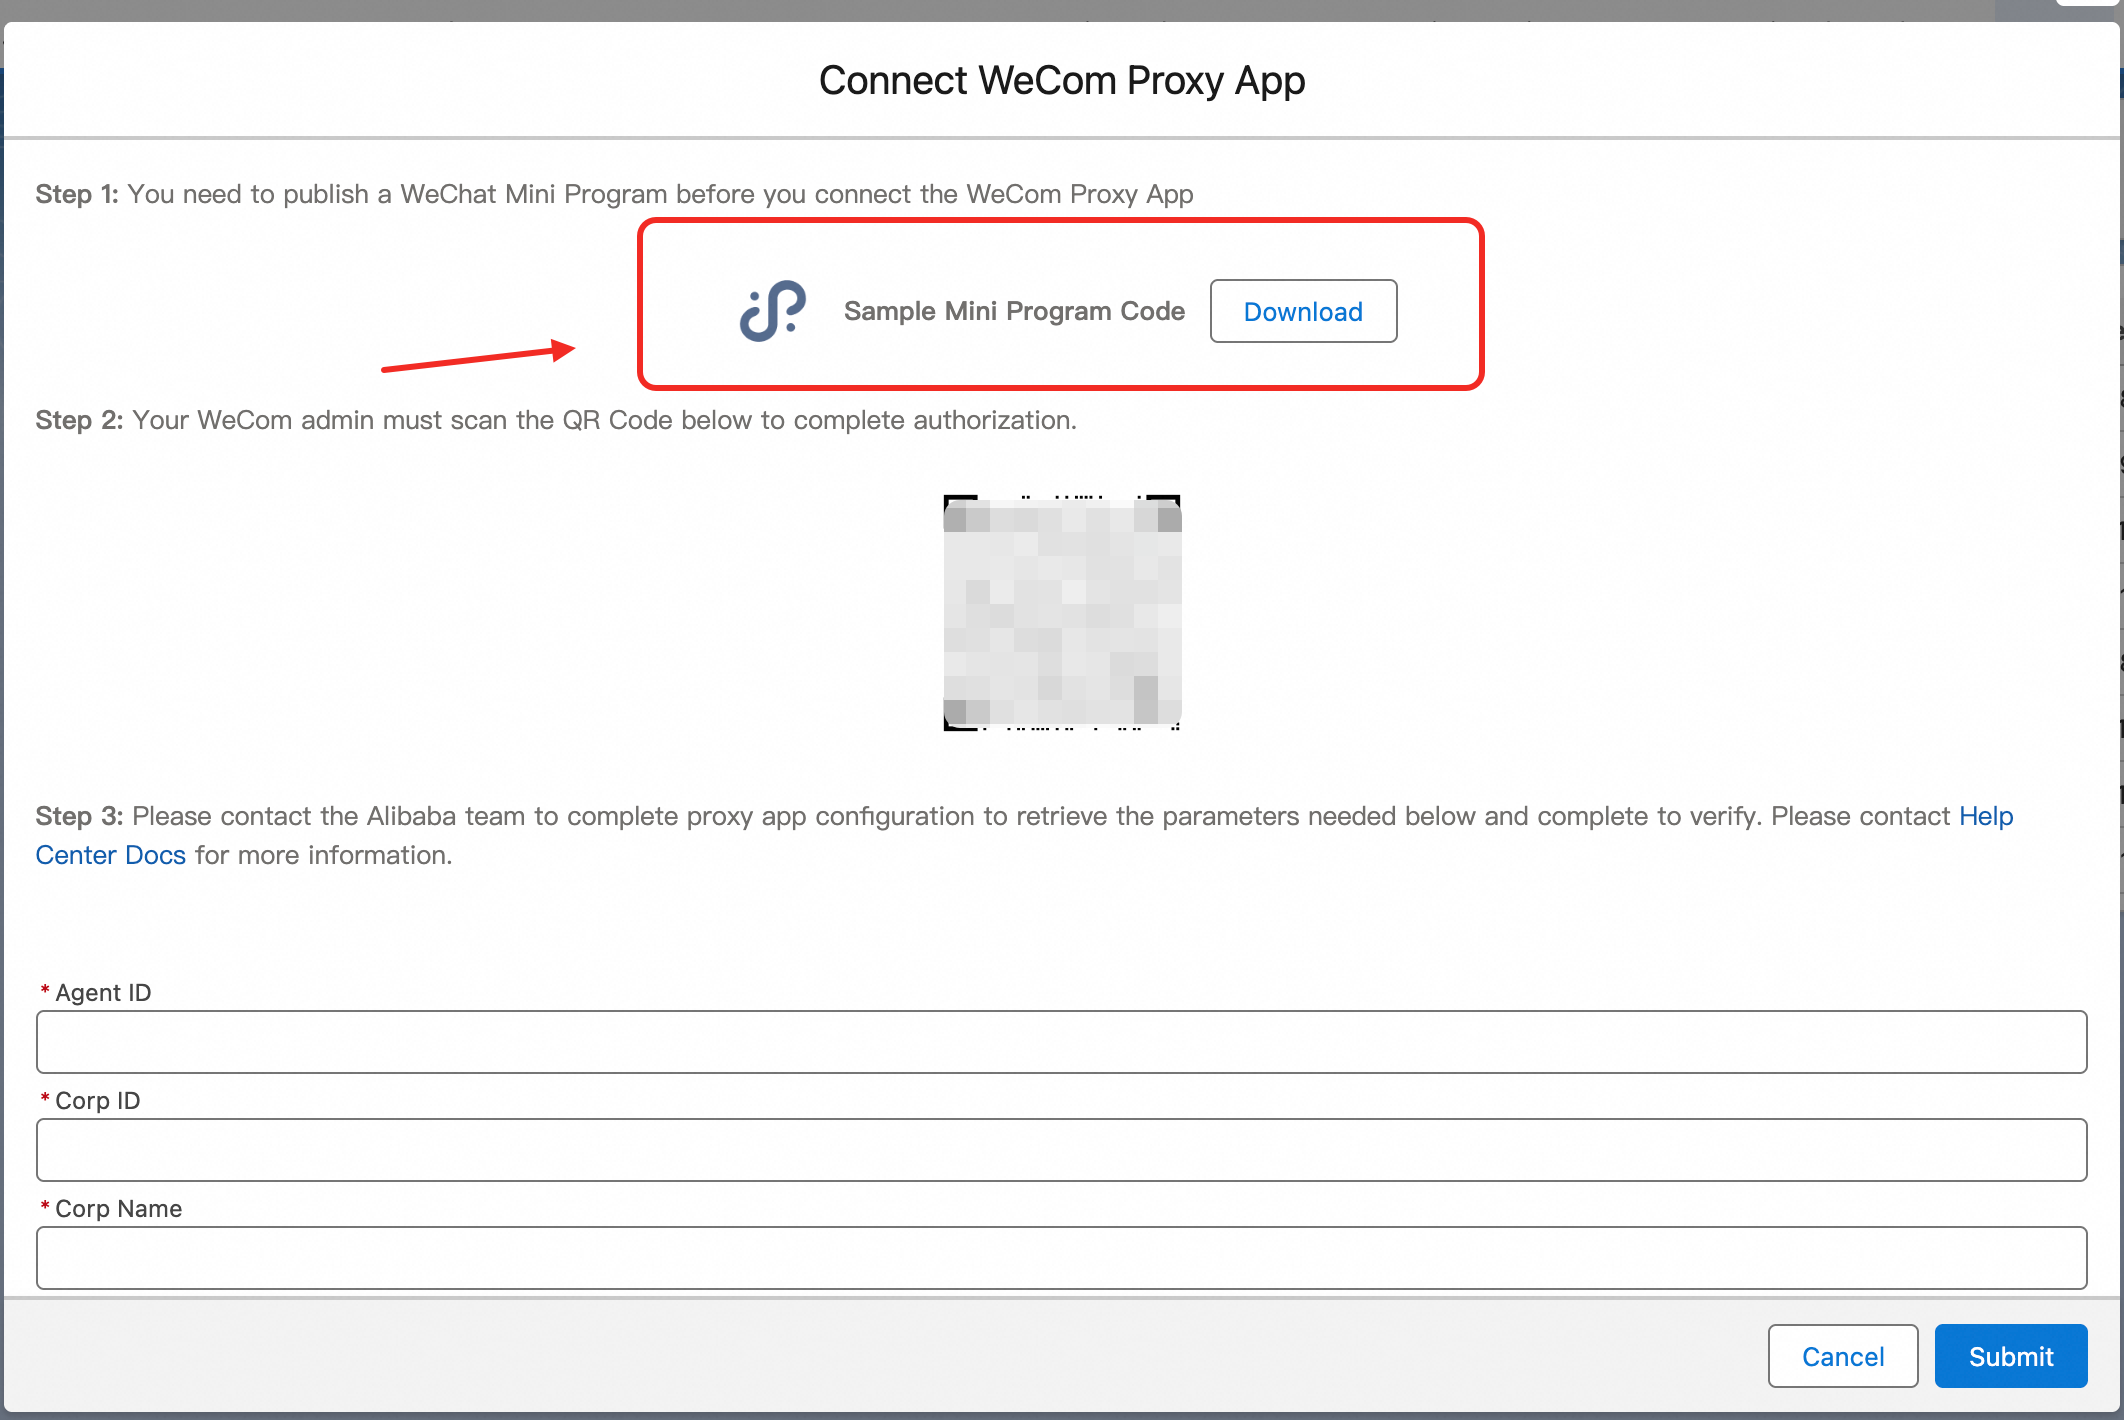
image.png

After extracting the files, read the README file to learn how to modify the code.

Preparatory Step 3: Adjust and publish the miniapp as described in the README

After you obtain the README file, follow its instructions. Then submit the modified sample code.
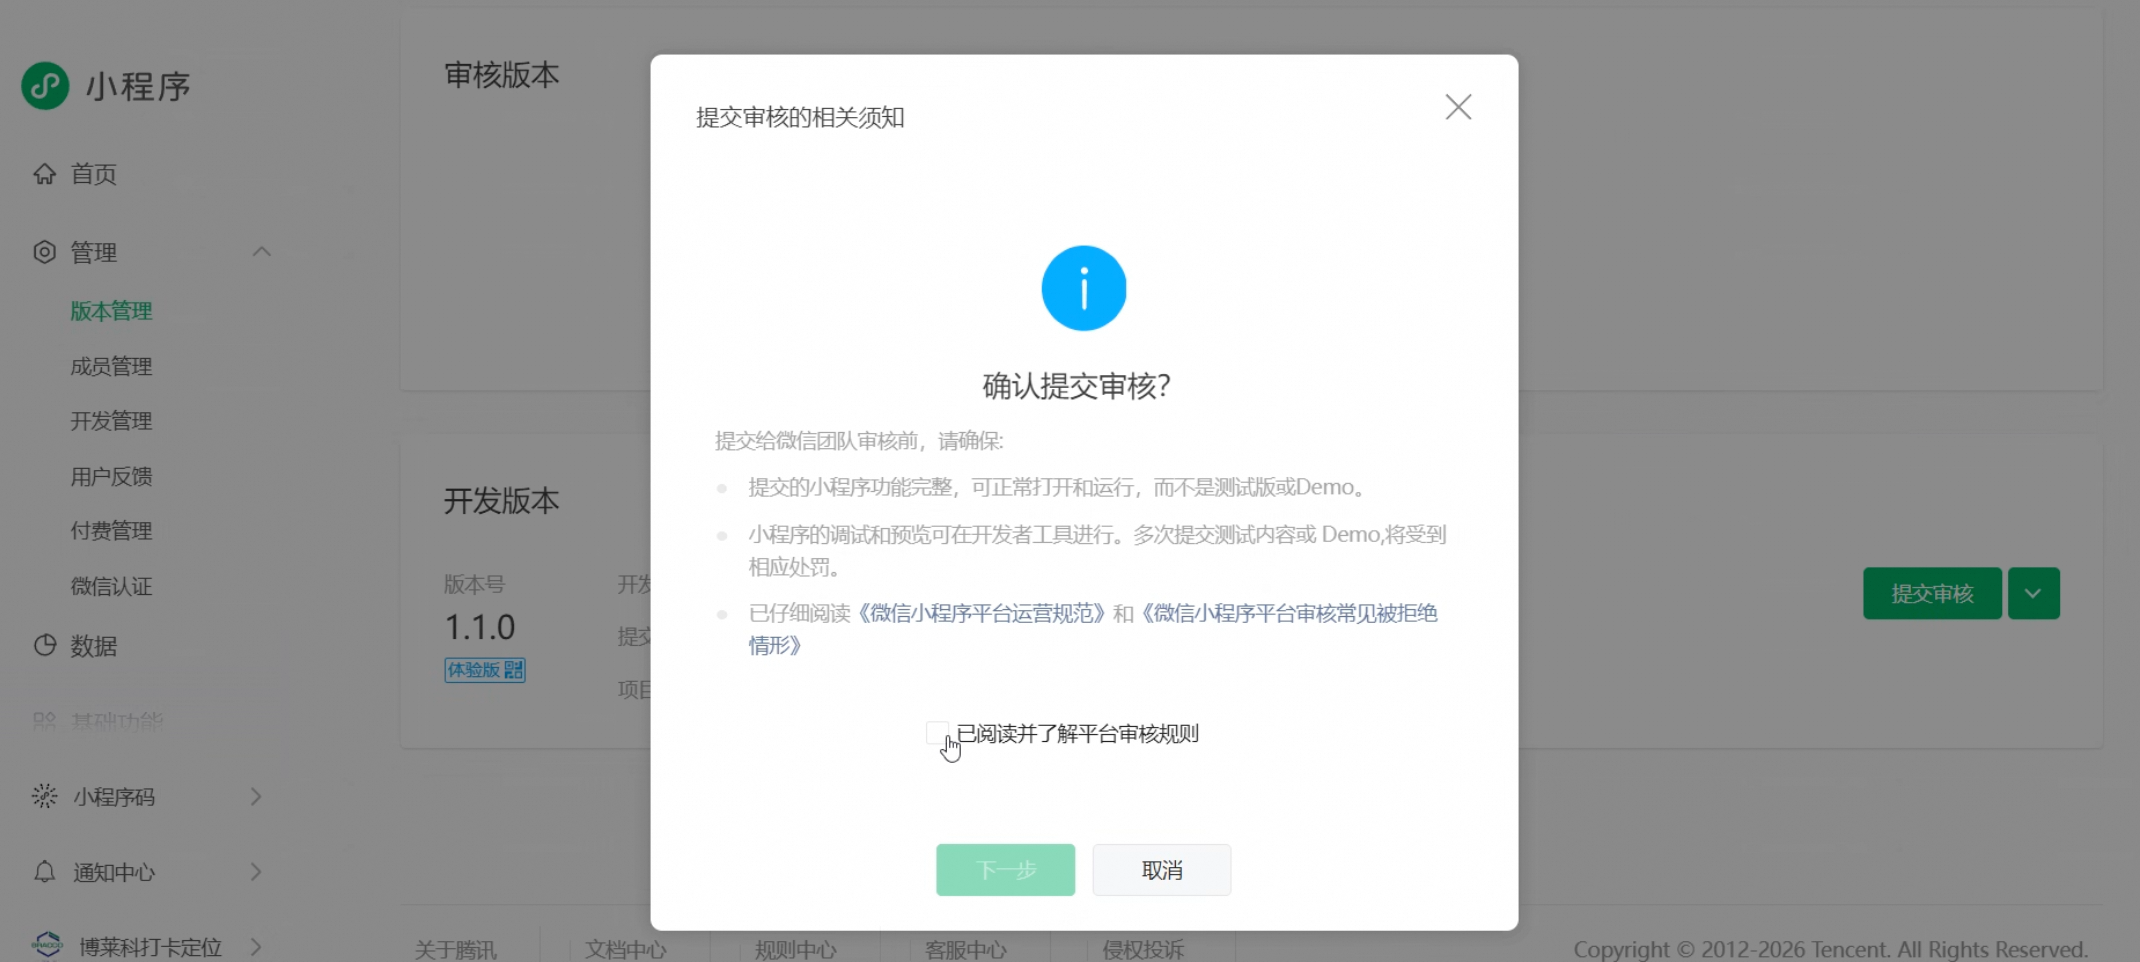
image.png

After submitting the code, go to the miniapp backend system. Go to Management > Version Management. Submit the miniapp for review and publish it.
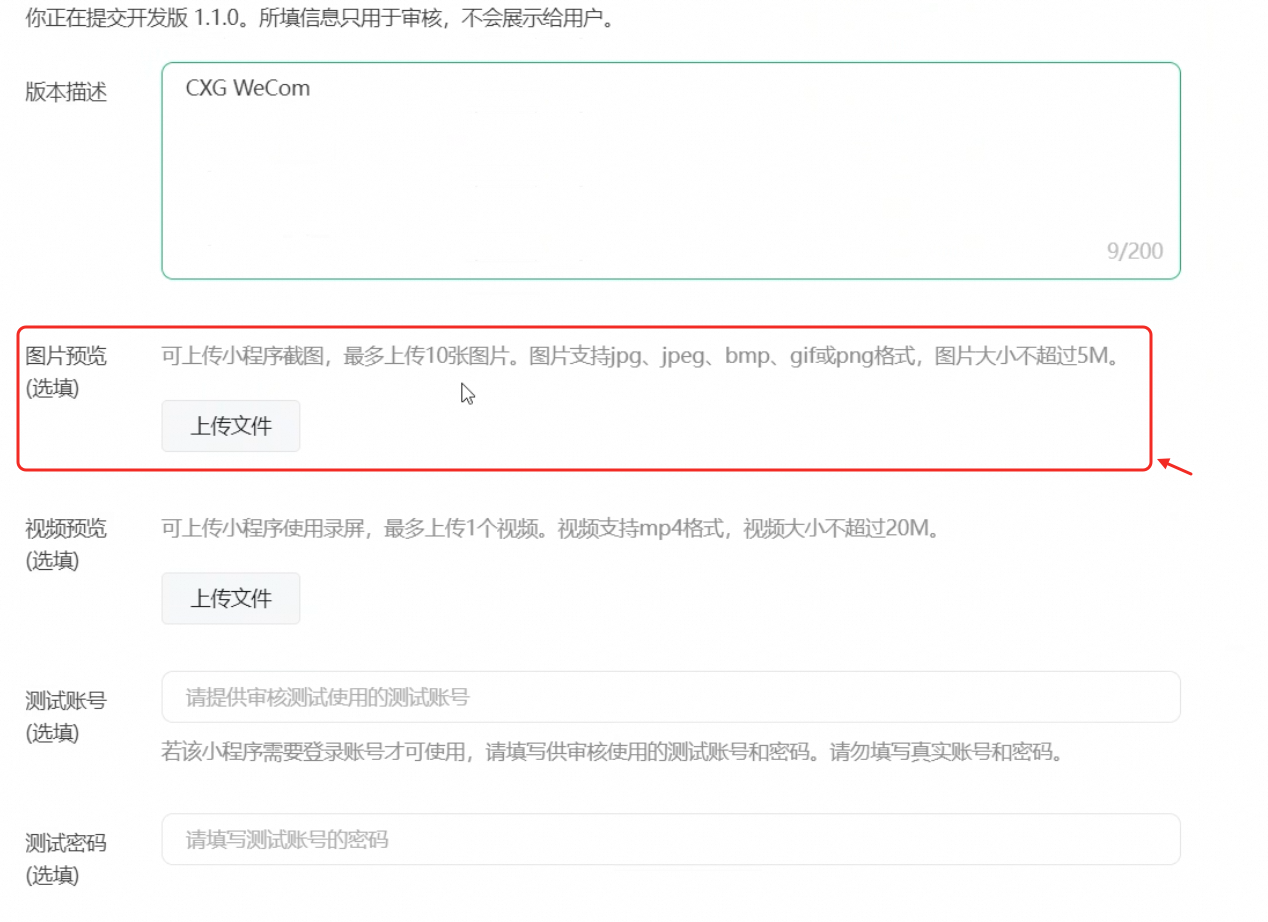
image.png

During review, submit the screenshots below as preview images. Preview images help speed up approval.

image.jpeg

Example screenshot 1

image.png

Example screenshot 2

Note

After you submit the miniapp for publishing, WeCom reviews it. Review takes about two business days.

Preparatory Step 4: Scan the QR code to authorize the CXG WeCom Connector and create the application

The super administrator scans the QR code on the CXG WeCom Connector using the WeCom mobile app.
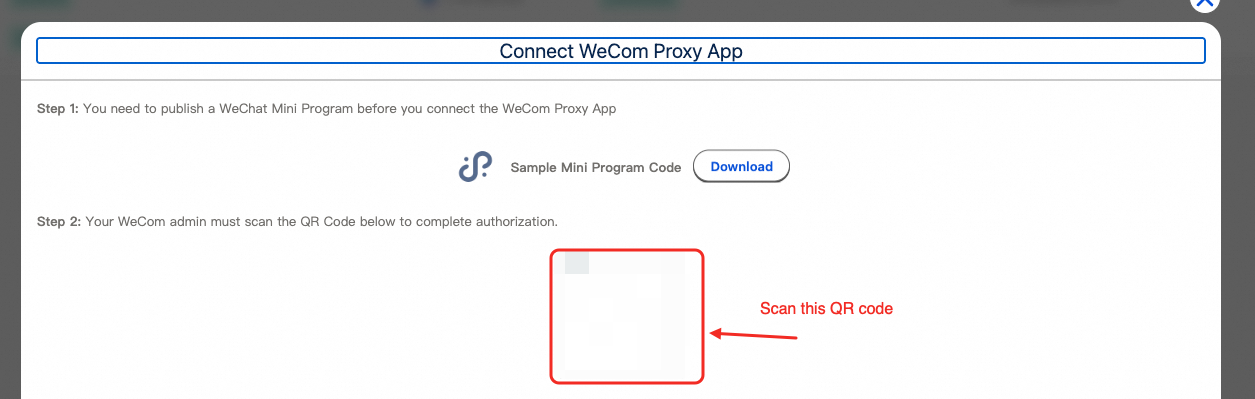
image.png

Follow the on-screen prompts to create and authorize the application. You can edit the application name and description here.
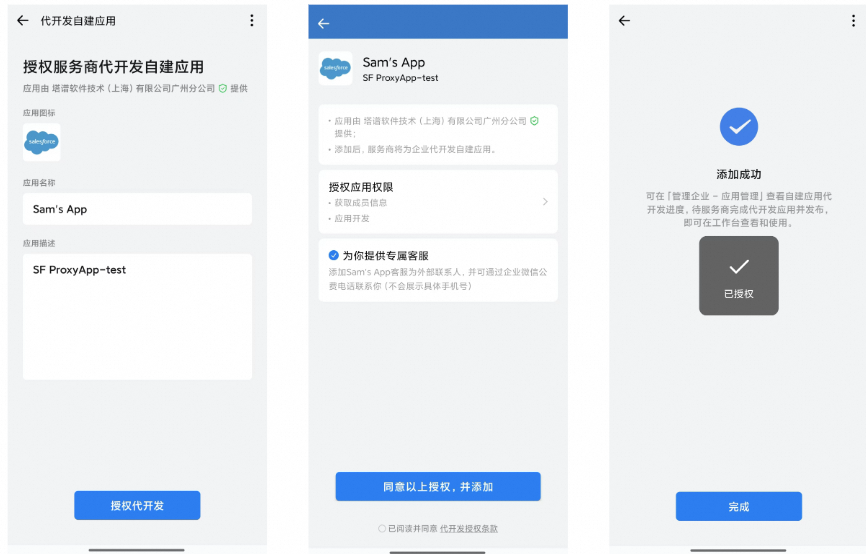
image.png

Create the WeCom Connector

Steps

Performed by

Description

Step 1: Bind the miniapp to the delegated development application and submit the application for publishing

Alibaba Cloud team

Because Alibaba Cloud team members must perform this step, contact your pre-sales representative or submit a ticket to schedule an online meeting.

The meeting takes about 20 minutes.

Step 2: Get your enterprise and application information

Customer side

Step 3: Complete connector creation

Customer side

Step 1: Bind the miniapp to the delegated development application [Contact Alibaba Cloud team]

In this step, an Alibaba Cloud team member logs in to the WeCom management console to view the QR code for the delegated development application. The team member invites the miniapp developer administrator to scan the QR code and bind the miniapp. Because the QR code expires, we recommend completing this step during an online meeting. Contact your pre-sales representative or submit a ticket to schedule a meeting.

After binding, the Alibaba Cloud team adds trusted domains and whitelisted IPs. They also configure organizational structure permissions for the delegated application. Enterprise WeCom administrators must approve these permission changes. Finally, the team enables trial access and creates an application order.

After these actions, the Alibaba Cloud team submits the application for publishing. WeCom reviews the request. Review takes about two to three business days.

Step 2: Retrieve your enterprise and application information

Log on to the WeCom management console from a PC. Retrieve your Enterprise ID and Application AgentId:

a. Go to App Management > Apps. In the Custom-Built group at the bottom of the page, find the application you just created.

Note

We recommend configuring Employee Visibility Range now to avoid forgetting it later.

This setting controls which WeCom employees see the new Salesforce application in their WeCom app list.

b. Click the application to open its product page. Record the AgentId. Go to My Enterprise > Enterprise Information. At the top of the page, record the Enterprise Short Name. At the bottom of the page, record the Enterprise ID.

Step 3: Enter the connector parameters

Open the Add WeCom Proxy Connector dialog box in Salesforce. Enter the AgentId, Enterprise ID, and Enterprise Short Name you recorded earlier into the corresponding fields.

Click Submit. When parameter verification completes, the connector is created.