This integration lets you interact directly with ZeroClaw in group or private chats using natural language.
Prerequisites
Before configuring a messaging channel, purchase and configure a Simple Application Server instance with the ZeroClaw application image, following the steps below or the instructions in the Deploy the ZeroClaw image topic. You can skip this section if you have already done so.
Step 1. Purchase a ZeroClaw plan
If you have already purchased a Simple Application Server instance, you can deploy ZeroClaw by reinstalling the OS. When doing so, select the ZeroClaw image from the application images. Reinstalling the OS erases all data on the server's system disk. Back up your data as needed. For more information, see Reinstall OS.
Purchase a Simple Application Server with the ZeroClaw application pre-installed.
On the Simple Application Server page, resource configurations are preset. Review the following parameters to change the configuration.
Instance: The memory must be 2 GiB or larger. You can switch plans based on your requirements.
Region: The default region is China (Beijing).
Purchase configuration: The default subscription period is 12 months. You can change the duration.
Step 2. Configure ZeroClaw
In the Simple Application Server console, click the instance ID on the server card. On the Server Overview page, click the Application Details tab.
In the How to Use ZeroClaw section, under Port Whitelisting, click One-Click Whitelist to open the ZeroClaw service port in the firewall.
ImportantTo prevent malicious scanning and targeted attacks, ZeroClaw does not use a fixed default port during initialization. Instead, it automatically generates a random port. You can view the ZeroClaw port number in the console.
Under Configure ZeroClaw, click Initialize to configure the Model Studio API key.
You can configure two types of Model Studio API keys:
Coding Plan-exclusive API key (recommended): This plan uses a flat-rate monthly fee model and provides a monthly request quota. Calls that exceed the quota return an error, preventing unexpected costs.
The Coding Plan currently supports models such as
qwen3.5-plus,kimi-k2.5,MiniMax-M2.5, andglm-5.Pay-as-you-go Model Studio API key based on token usage
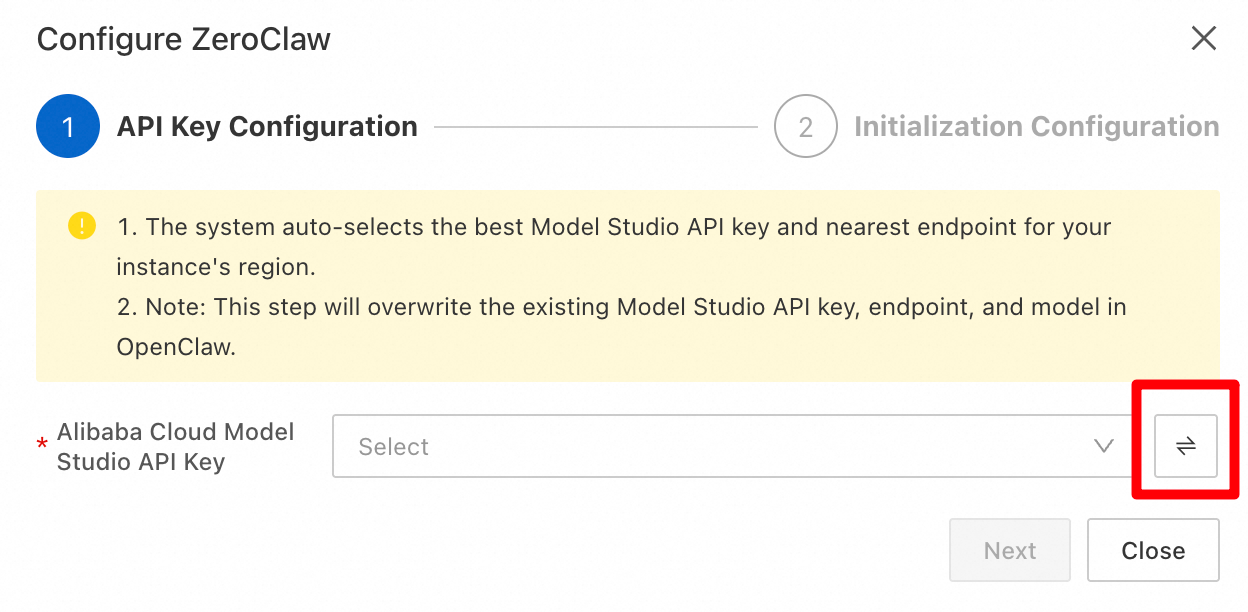
You can configure the API key using either System Recommendation or Manual Input. The system recommends the API key for the Model Studio Coding Plan (for predictable costs) and the API key for the Model Studio service in the region closest to your server (for lower latency). If you need to use an API key from a different region or account, select Manual Input.
System recommendation (select from a drop-down list)
Make your selection and click Next.
Instance region
Recommended API region
Coding plan API region
Chinese mainland regions
China (Beijing)
China (Beijing)
US and Europe regions
US (Virginia)
China (Hong Kong) and other regions in Asia
Singapore
Manual input
Select Manual Input, enter the Model Studio API key and its corresponding region, then click Next.
 Important
If you manually configure the API key, make sure you select the correct region. Otherwise, model calls will fail.
Access the WebUI panel.
In the Access WebUI Panel section, under Generate pairing code, click Execute Command to obtain and copy the pairing code for the ZeroClaw WebUI.
In the Access WebUI Panel section, under Get WebUI panel address, click Execute Command to obtain the website address. Open the address in your browser and enter the pairing code to start a conversation with the ZeroClaw agent.
The console supports integration with multiple mainstream messaging channels.
Integrate with DingTalk
This section describes how to integrate ZeroClaw with DingTalk to interact with ZeroClaw in DingTalk group or private chats.
1. Create a DingTalk app
Select or create an organization.
Select organization
Go to the DingTalk Open Platform. When you log in, the following prompt appears. Select an organization for which you have developer permissions, or select an organization and then obtain developer permissions.

Create organization
If no organization is available, use the DingTalk mobile client to scan the QR code below. You are redirected to the organization creation page to create a new organization.

Your DingTalk mobile client must be version 6.5.45 or later.
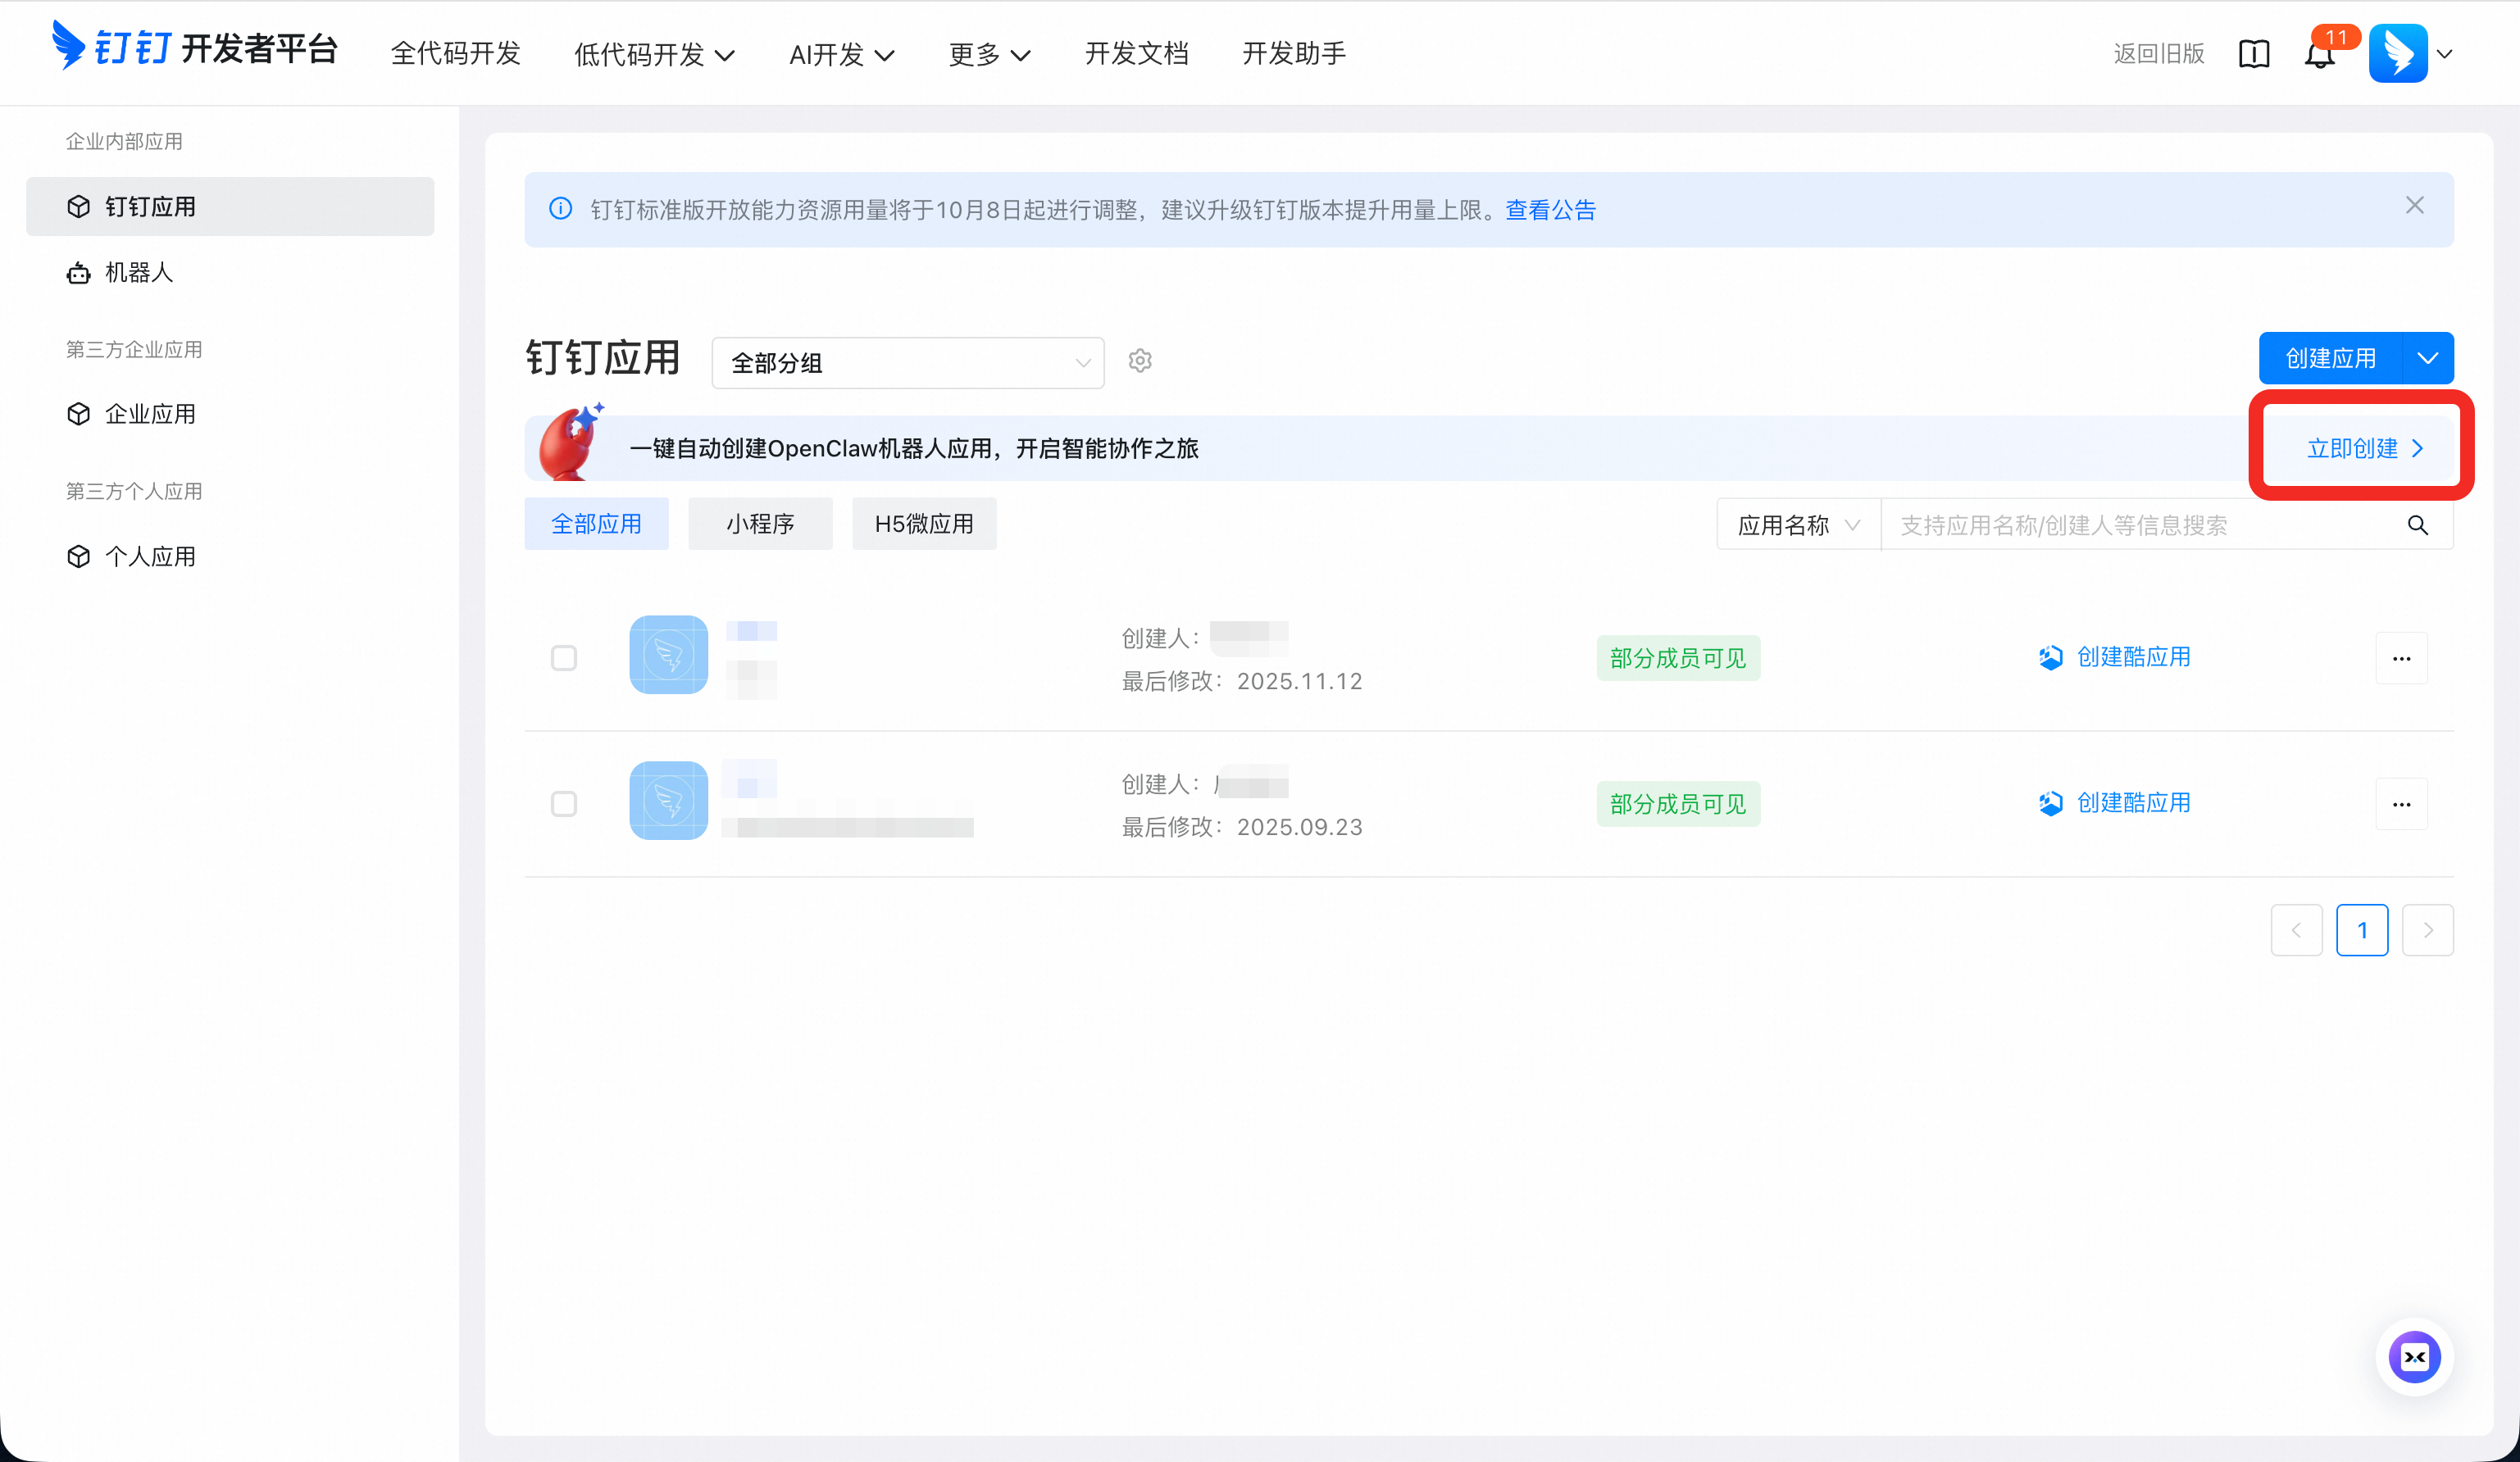
Go to the DingTalk Open Platform. In the developer console, click Create Now in the section for automatically creating a ZeroClaw bot.
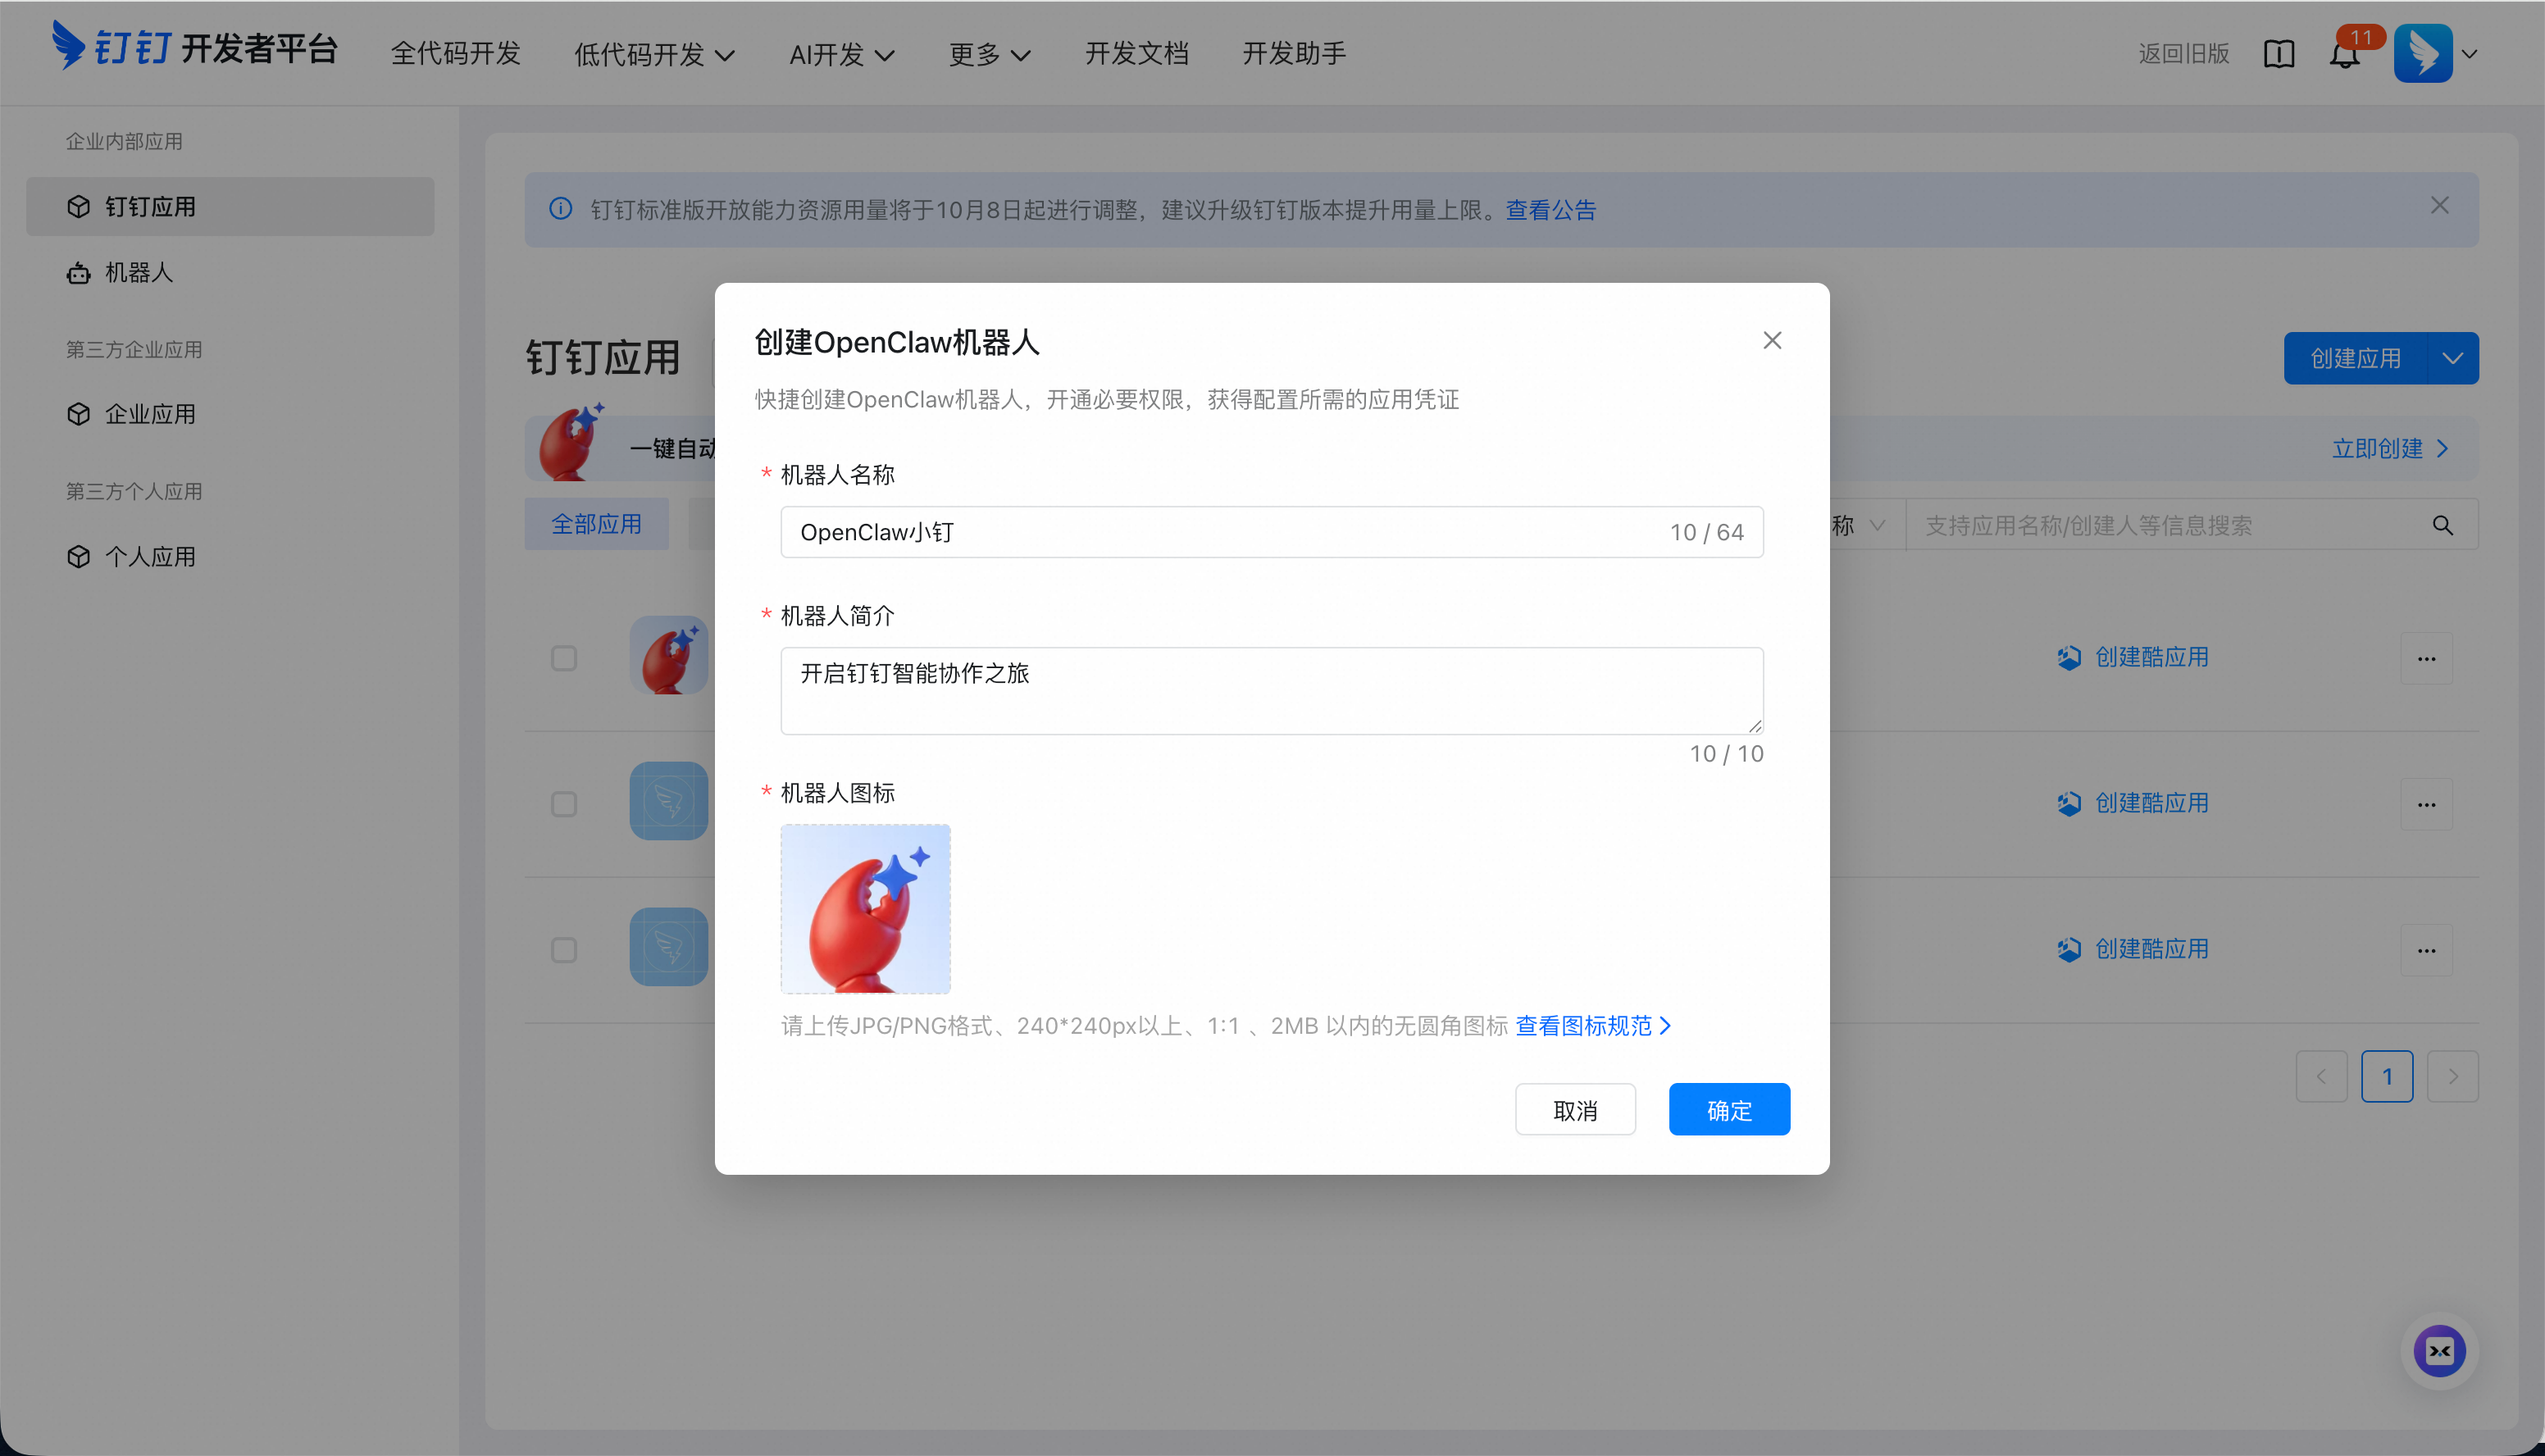
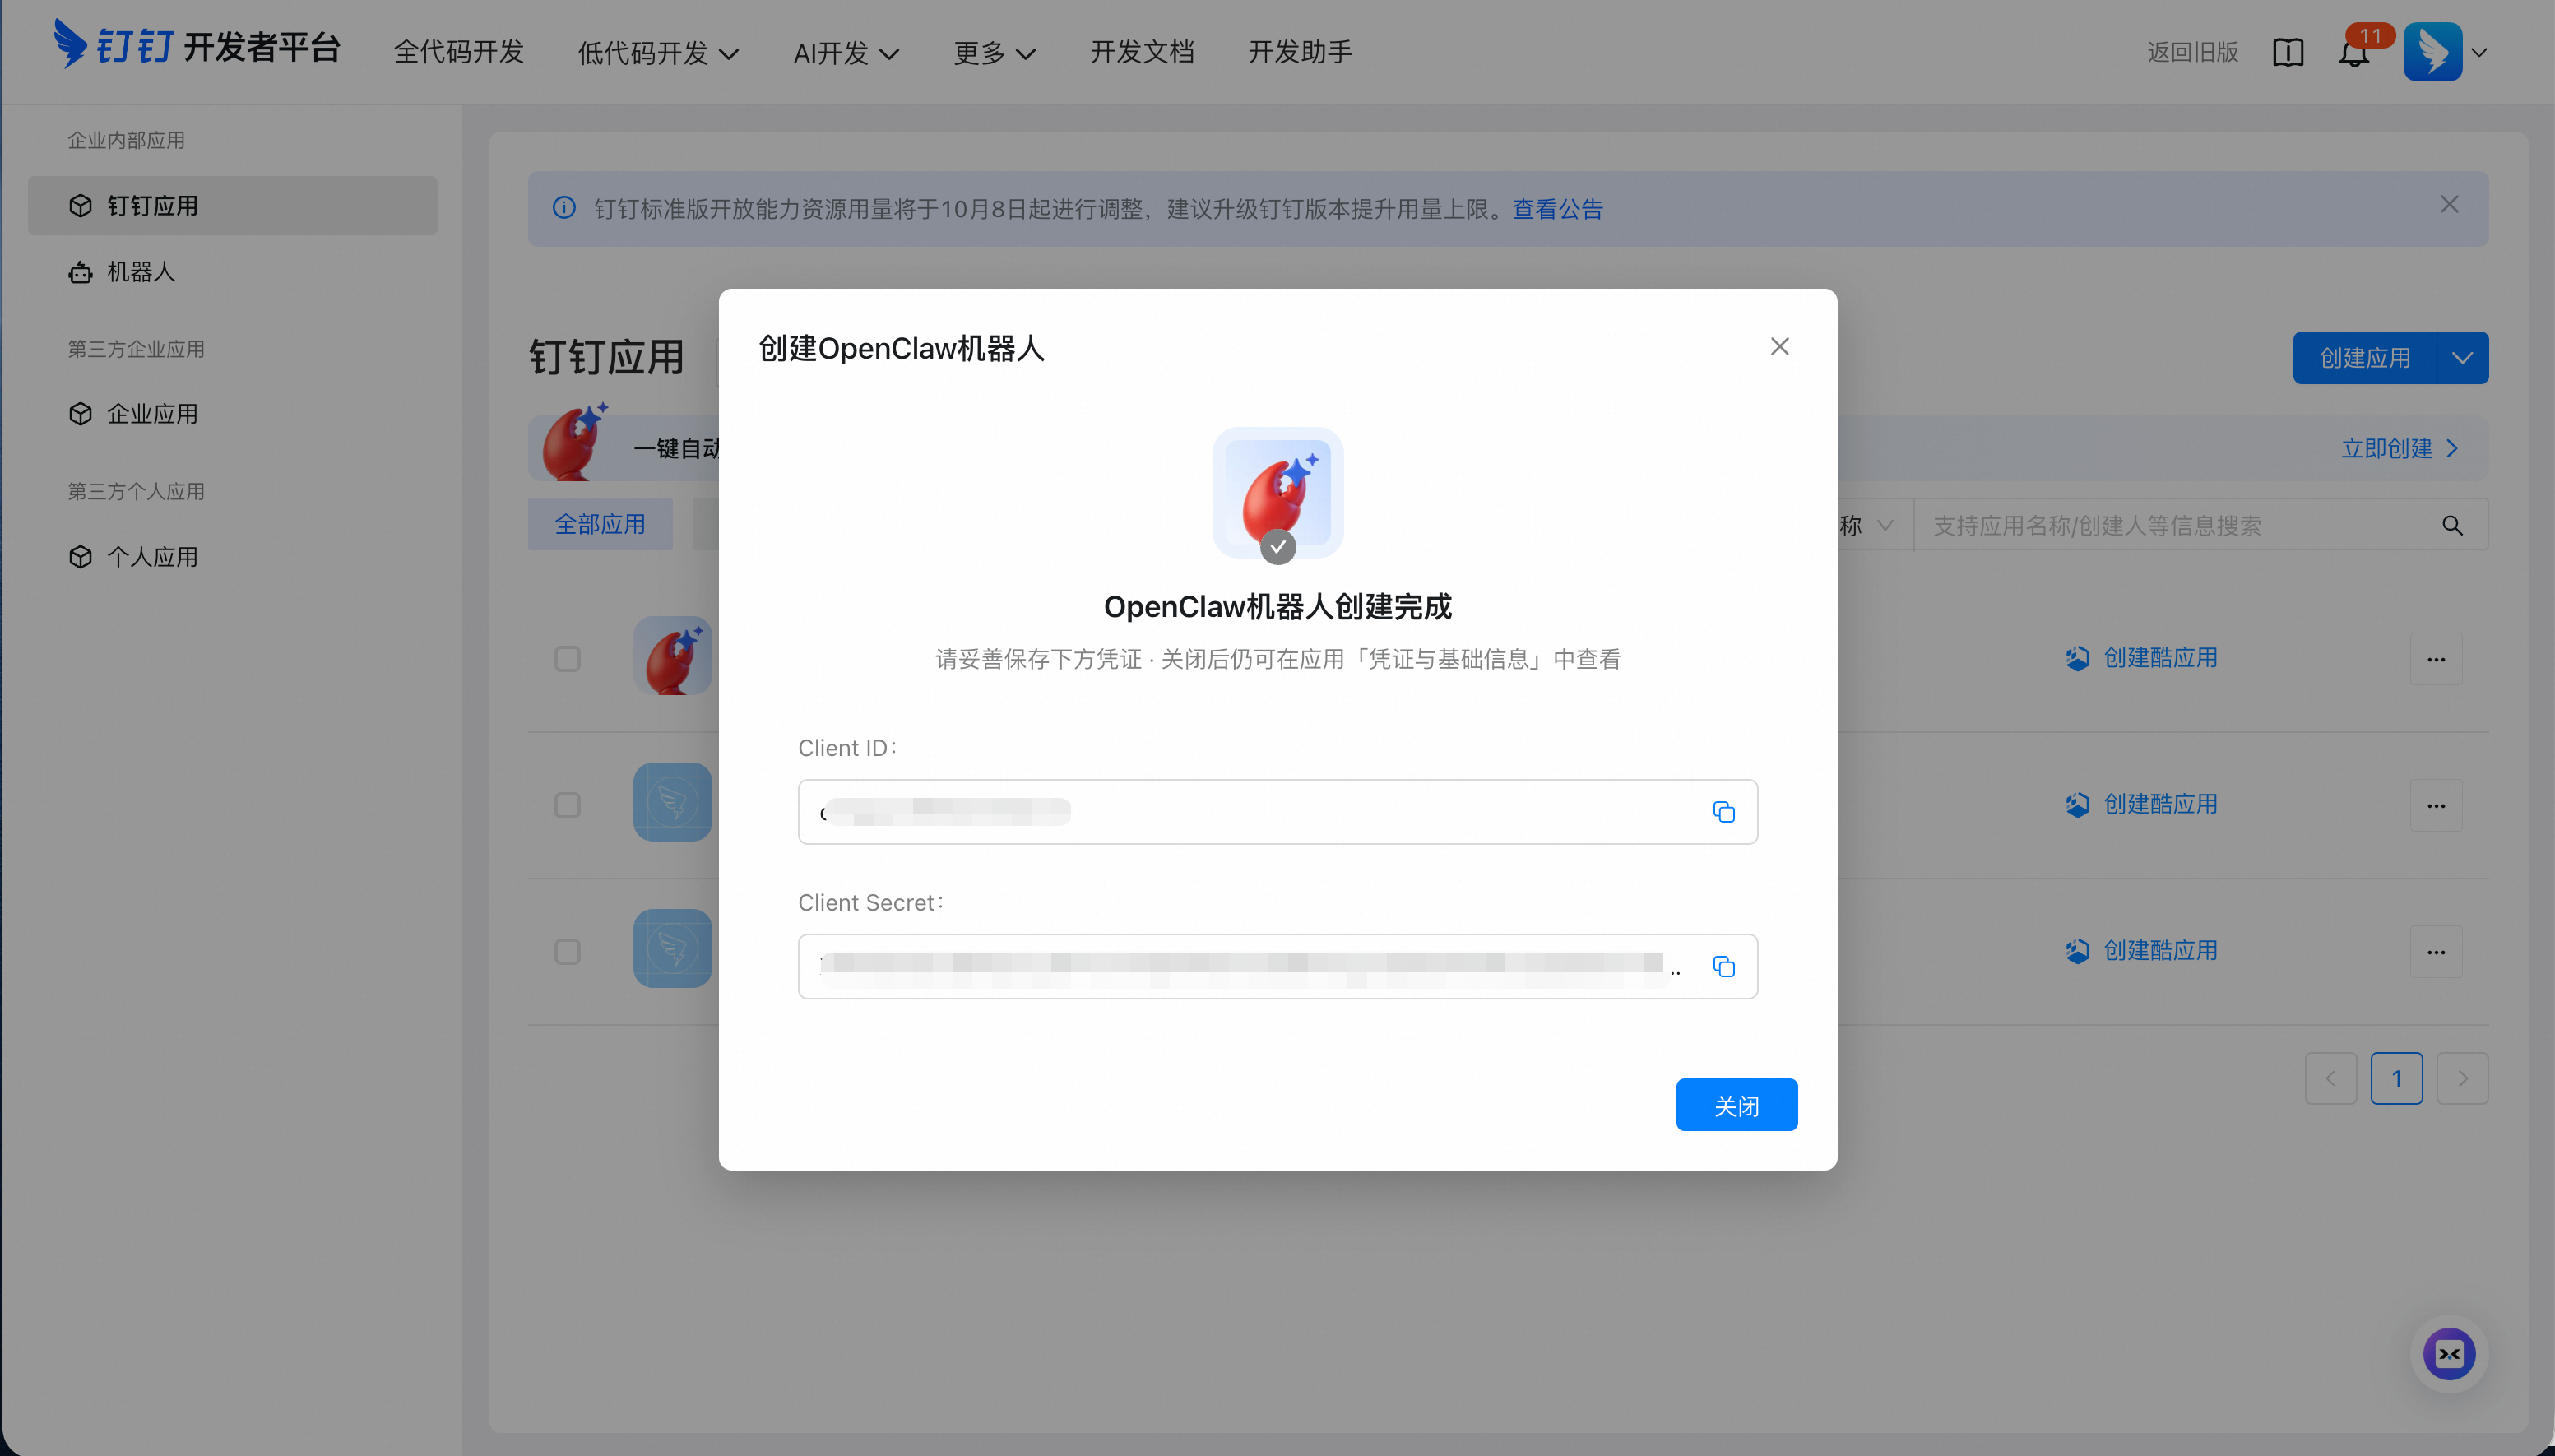
The platform automatically presets the ZeroClaw bot information. You can modify the configuration based on your business needs and then click OK to create the bot.
If you need to create multiple apps, we recommend changing the bot name or icon during creation for easier identification later.
After the app is created, copy and save its Client ID and Client Secret.
If you close the window, you can still view the Client ID and Client Secret by navigating to the created app and clicking Credentials and Basic Information in the left-side navigation pane.

2. Configure the DingTalk app
Return to the Simple Application Server console. Click the instance ID of the server where ZeroClaw is configured. On the Server Overview page, click the Application Details tab.
In the section, enter the copied Client ID and Client Secret of the DingTalk app, and then click Apply. Wait for the command to execute successfully.
3. Test the bot
You can test the bot by adding it to a new or existing group chat. In the group, interact with the bot by @mentioning it. Alternatively, you can search for the bot to start a private chat.
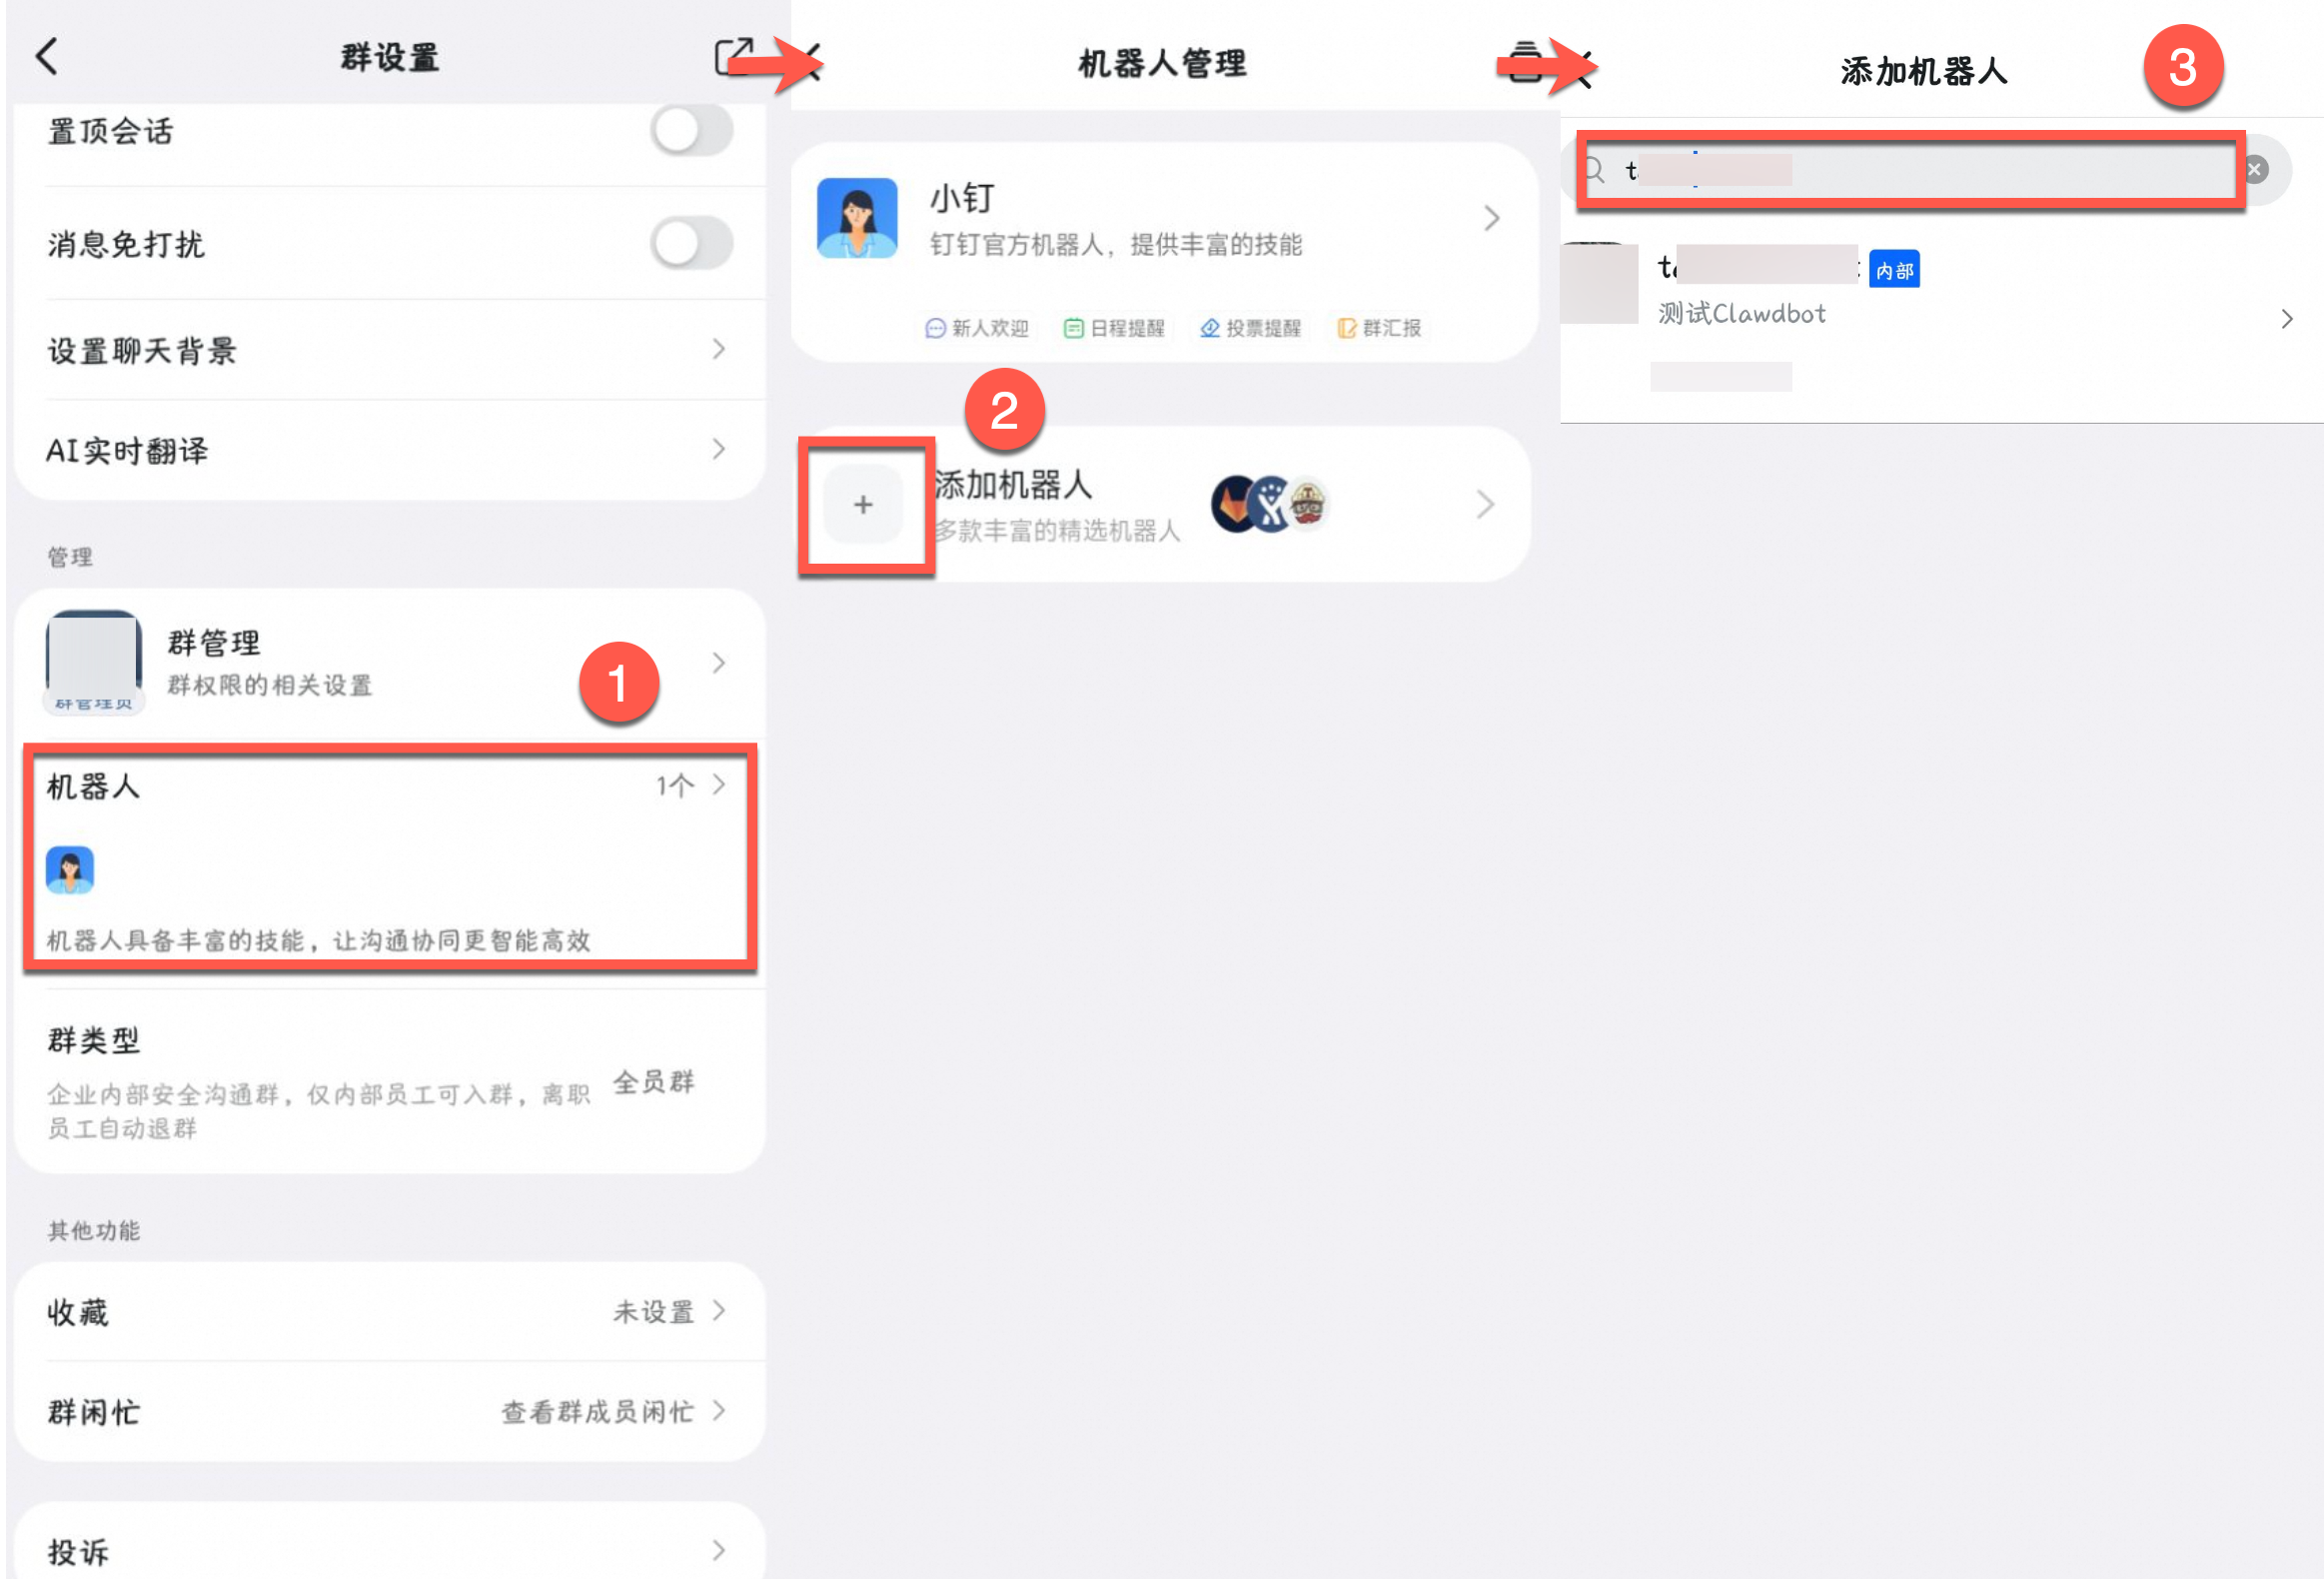
Group chat
On the DingTalk group's Group Settings page, click the Bot card. On the Bot Management page, click Add Bot. On the Add Bot page, enter the bot's name in the Search box and select it. Click Add, and then click Finish Adding.
In the DingTalk group, @mention the bot to interact with it. You can also find the bot by entering its name in the DingTalk search bar to start a private chat.
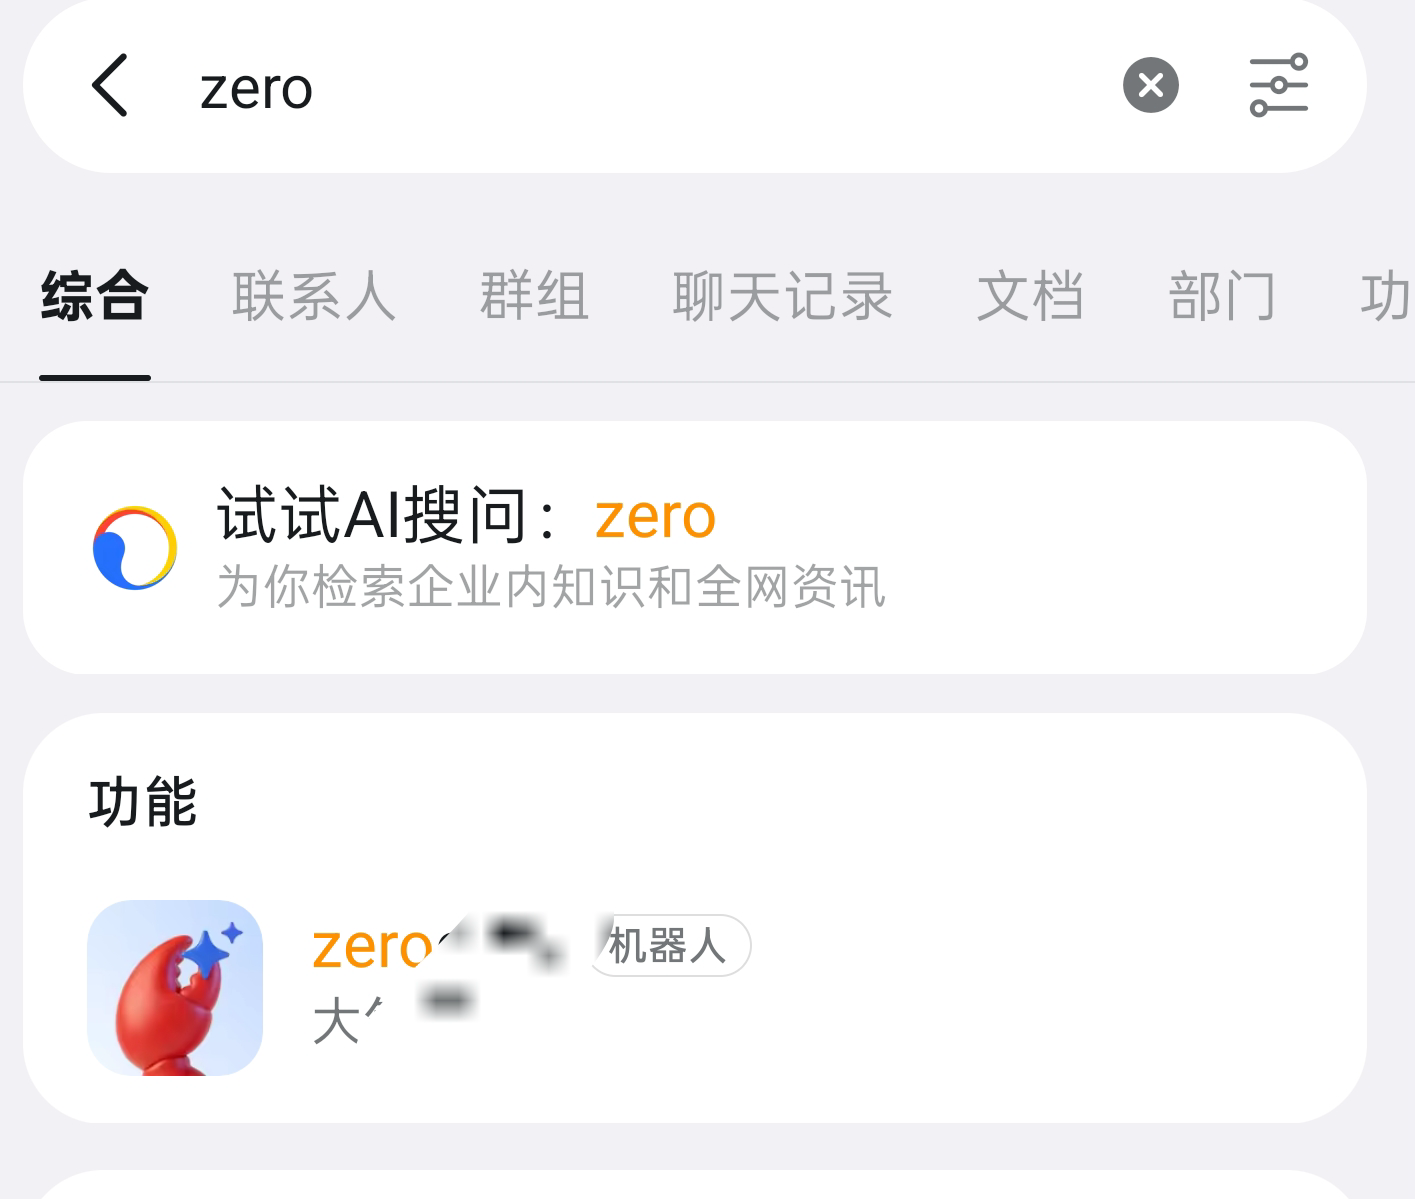
Private chat
In the search box at the top of DingTalk, search for your bot's name and click its profile picture to start a private chat.
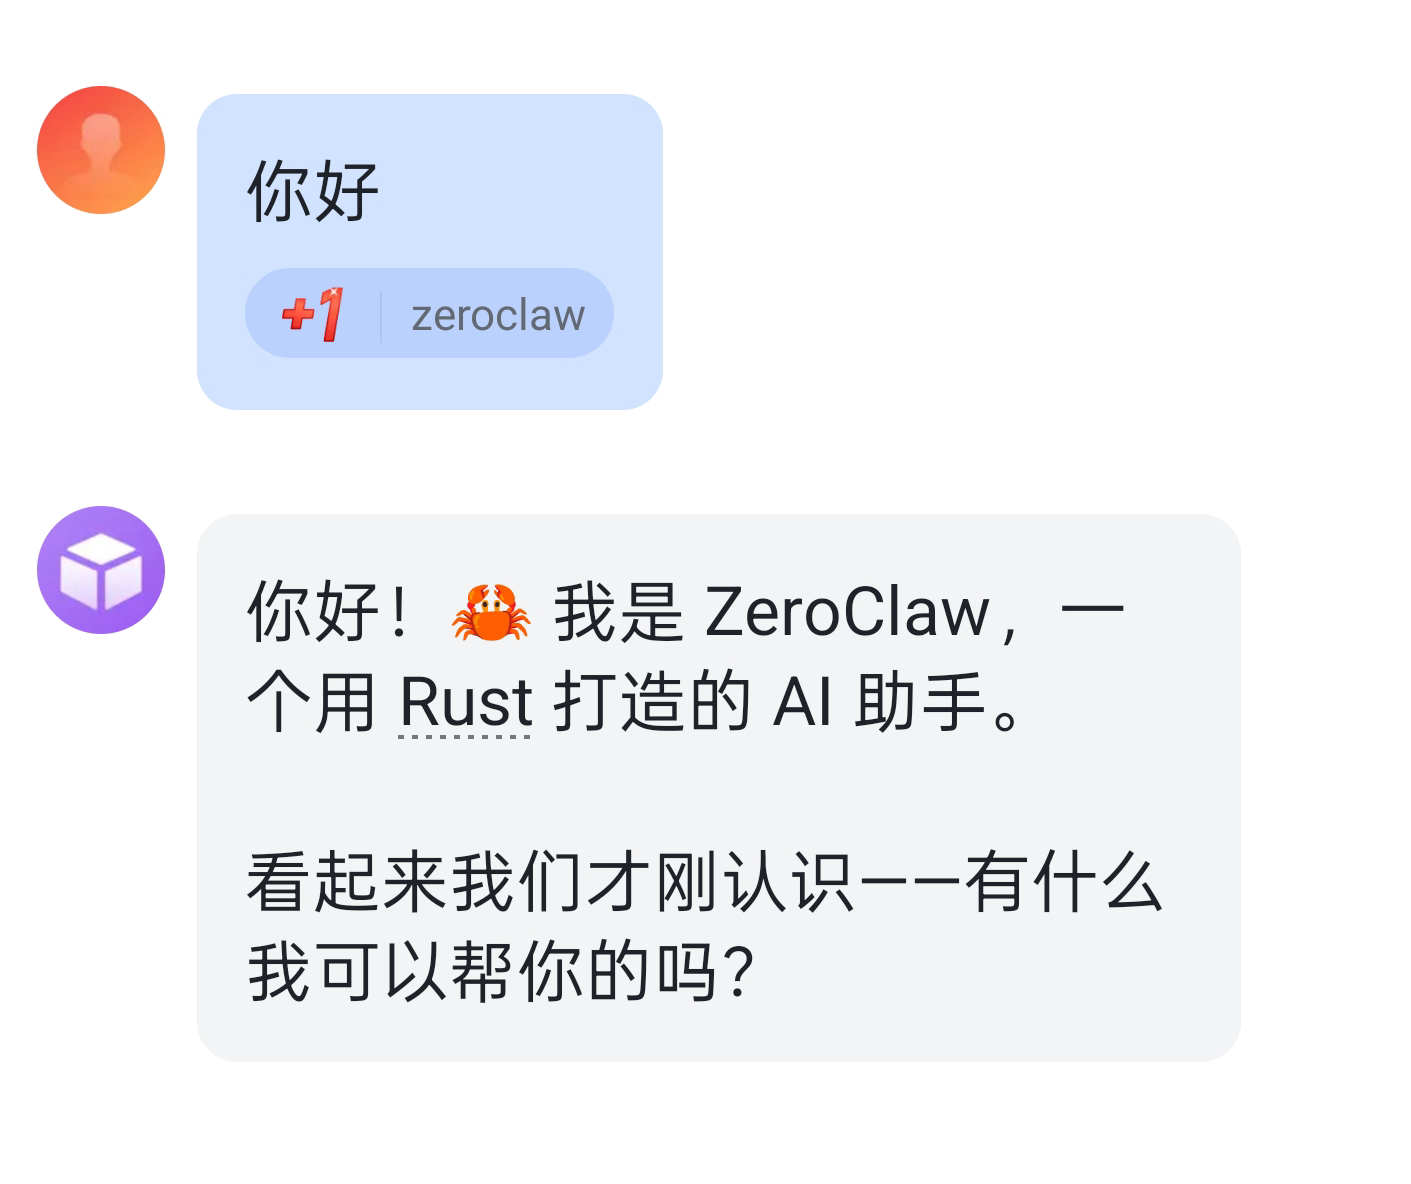
After entering the private chat, you can start a conversation directly with the bot.
Integrate with Lark
This section shows how to integrate ZeroClaw with Lark. This lets you interact with ZeroClaw in group chats or one-on-one chats.
1. Create a Lark application
Go to the Lark Open Platform, click Create Custom App, enter an application name and description, select an icon, and then click Create.
In the navigation pane on the left, click Credentials & Basic Info. Copy the App ID (in the format
cli_xxx) and App Secret.In the navigation pane on the left, click Permissions Management. Click Bulk Import/Export Permissions, paste the permission JSON configuration, click Next, Confirm New Permissions, and then click Request to Enable.
In the navigation pane on the left, click Add App Features. Click the Add by Feature tab, find the Bot card, and then click Configure.
Configure event subscriptions.
In the Simple Application Server console, go to the details page of the target instance. In the section, enter the App ID and App Secret that you obtained, and then click Apply.
In the Lark Open Platform, click Events & Callbacks in the navigation pane on the left. On the Event Configuration tab, click Subscription Method, select Use persistent connection to receive events, and then click Save.
On the Event Configuration page, click Add Event, search for the
im.message.receive_v1(Receive Message) event, and then click Confirm Add.
On the Version Management & Release page, create a version. Enter the App Version and Update Notes, click Save, and then submit for review and release.
2. Configure the bot
You can add the bot to a new or existing group chat. To test the bot, mention it with @bot in a Lark group, or search for it and start a private chat.
To use the bot in an external group, see the document Bots support external groups and one-on-one chats with external users.
Add the bot by choosing .
Click the bot's avatar and then click Send Message to send a private message to the bot.
Integrate with QQ
This section describes how to integrate ZeroClaw with QQ to interact with it in a one-on-one chat with a QQ bot.
1. Create a QQ bot
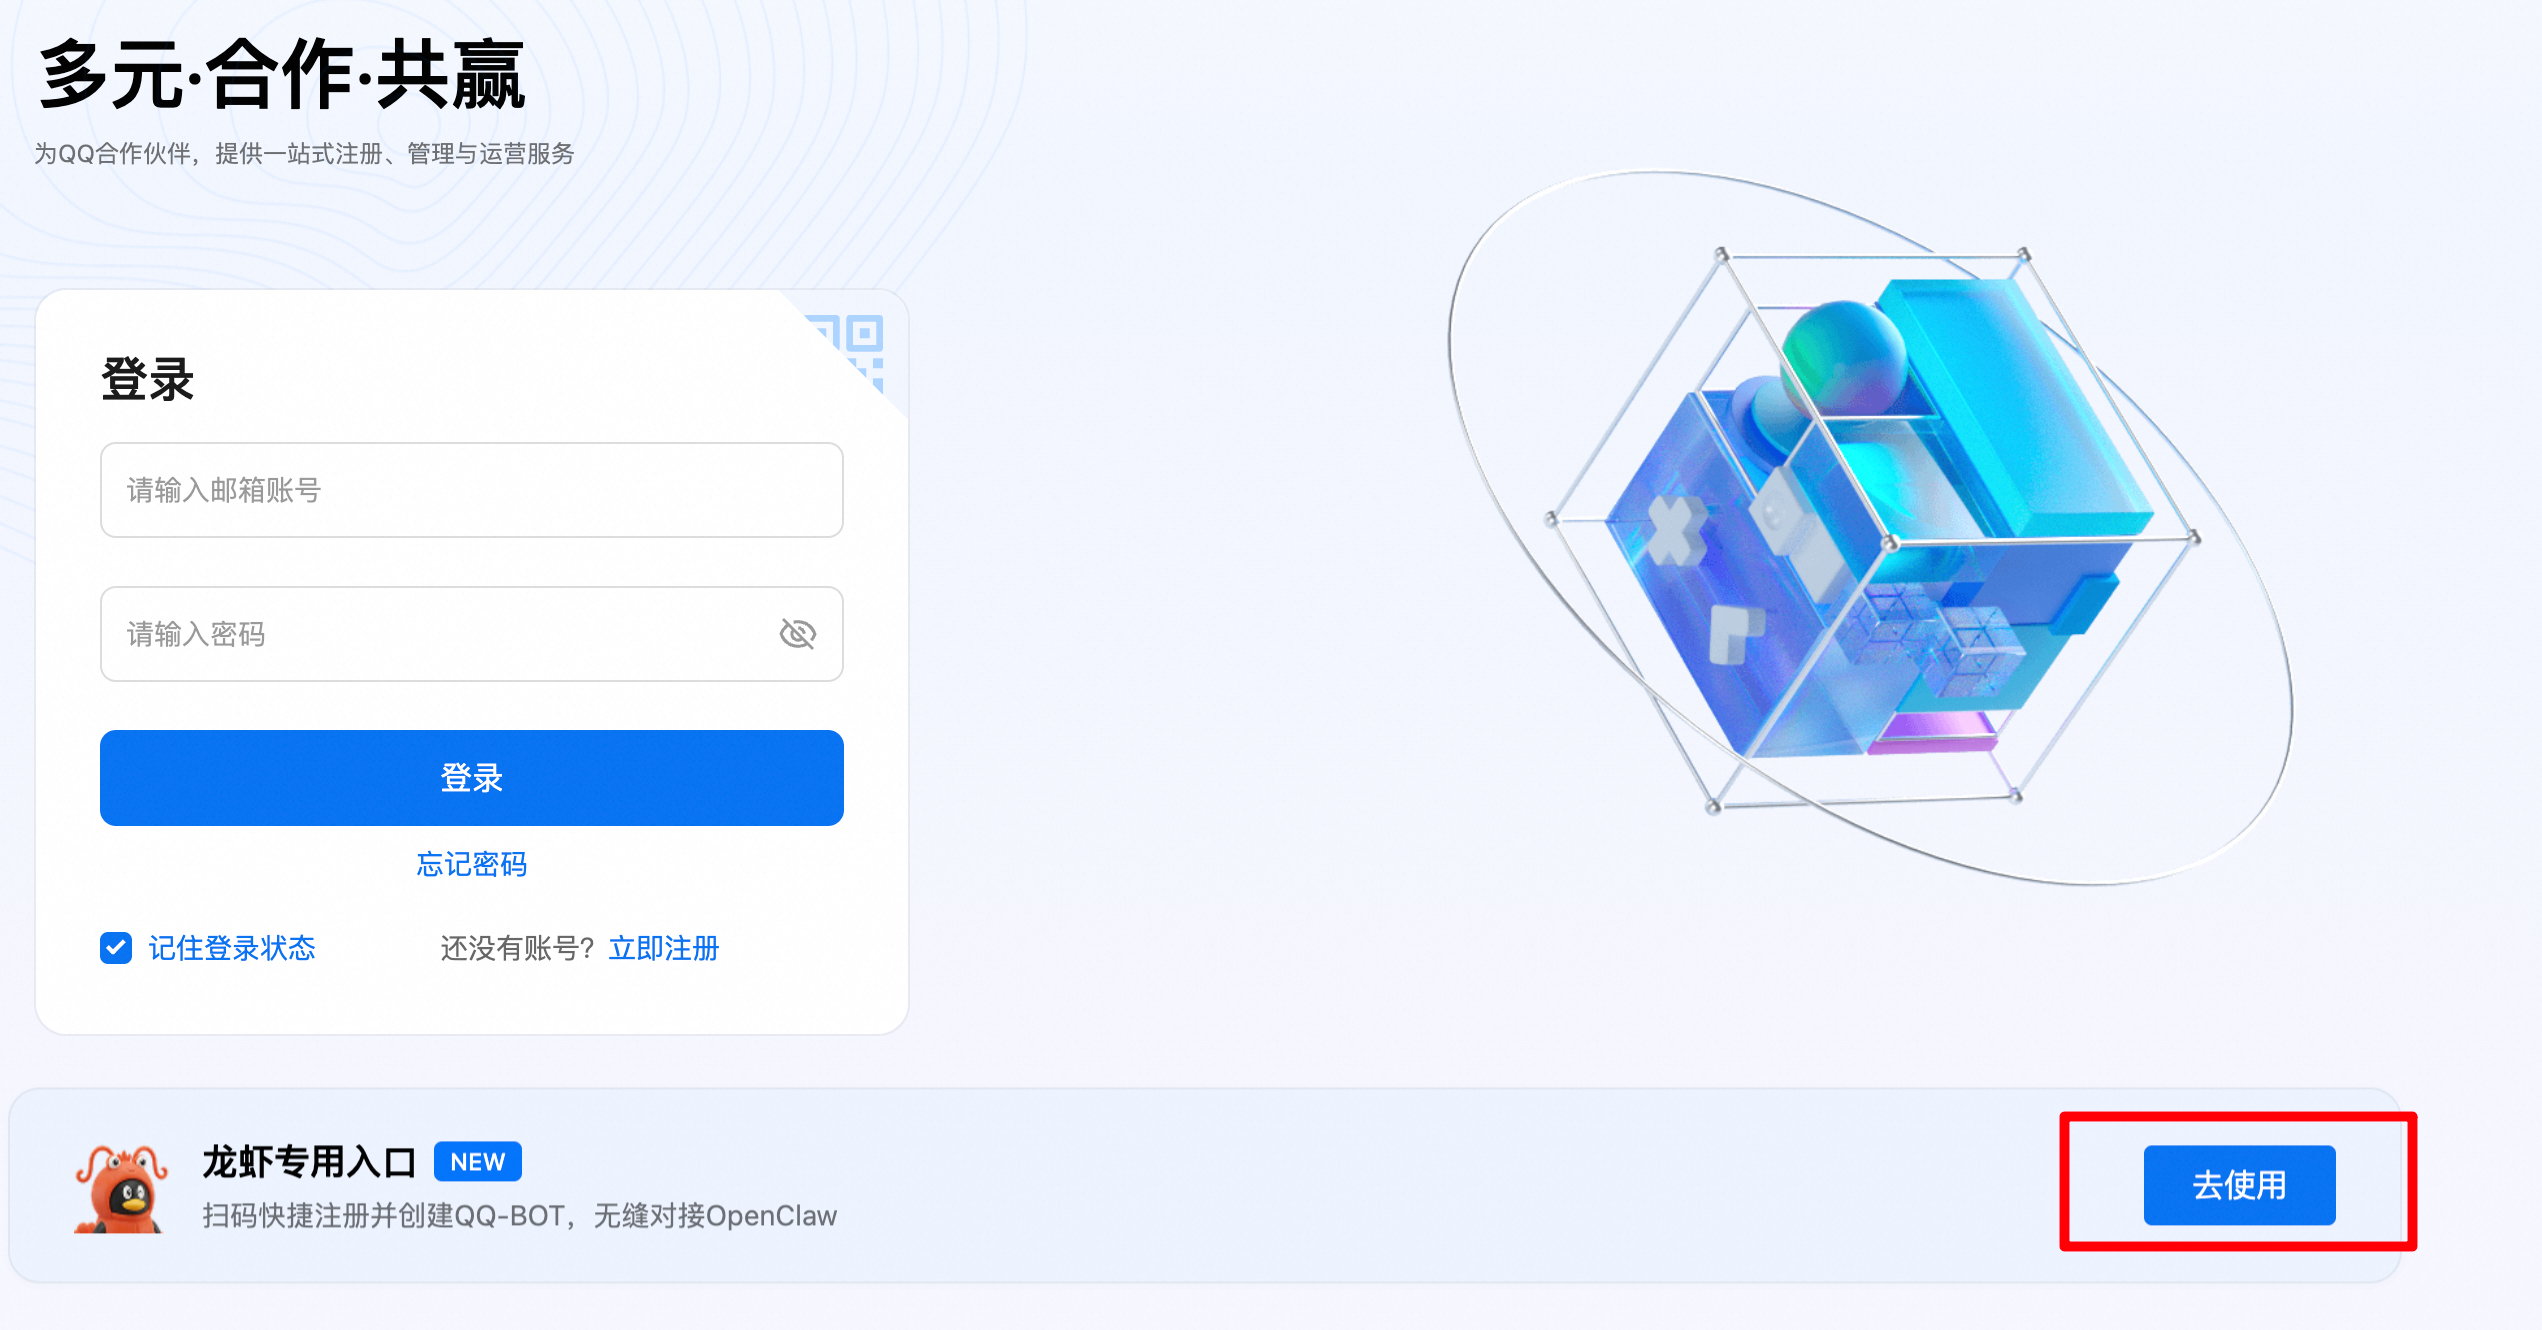
Go to the official Tencent QQ Open Platform website. In the Lobster-specific entrance section below, click Go to use.
In the mobile login area, scan the QR code to log in to your QQ account.
Click Create Bot to generate a new QQ bot. Save the bot's AppID and AppSecret.
ImportantKeep the copied key information in a safe place. The QQ bot's AppSecret (bot key) is not stored in plain text. If you view the AppSecret for the first time or forget it, you must regenerate it.
2. Configure the channel in the console
In , enter the App ID and App Secret that you obtained when you created the bot. Click Apply.
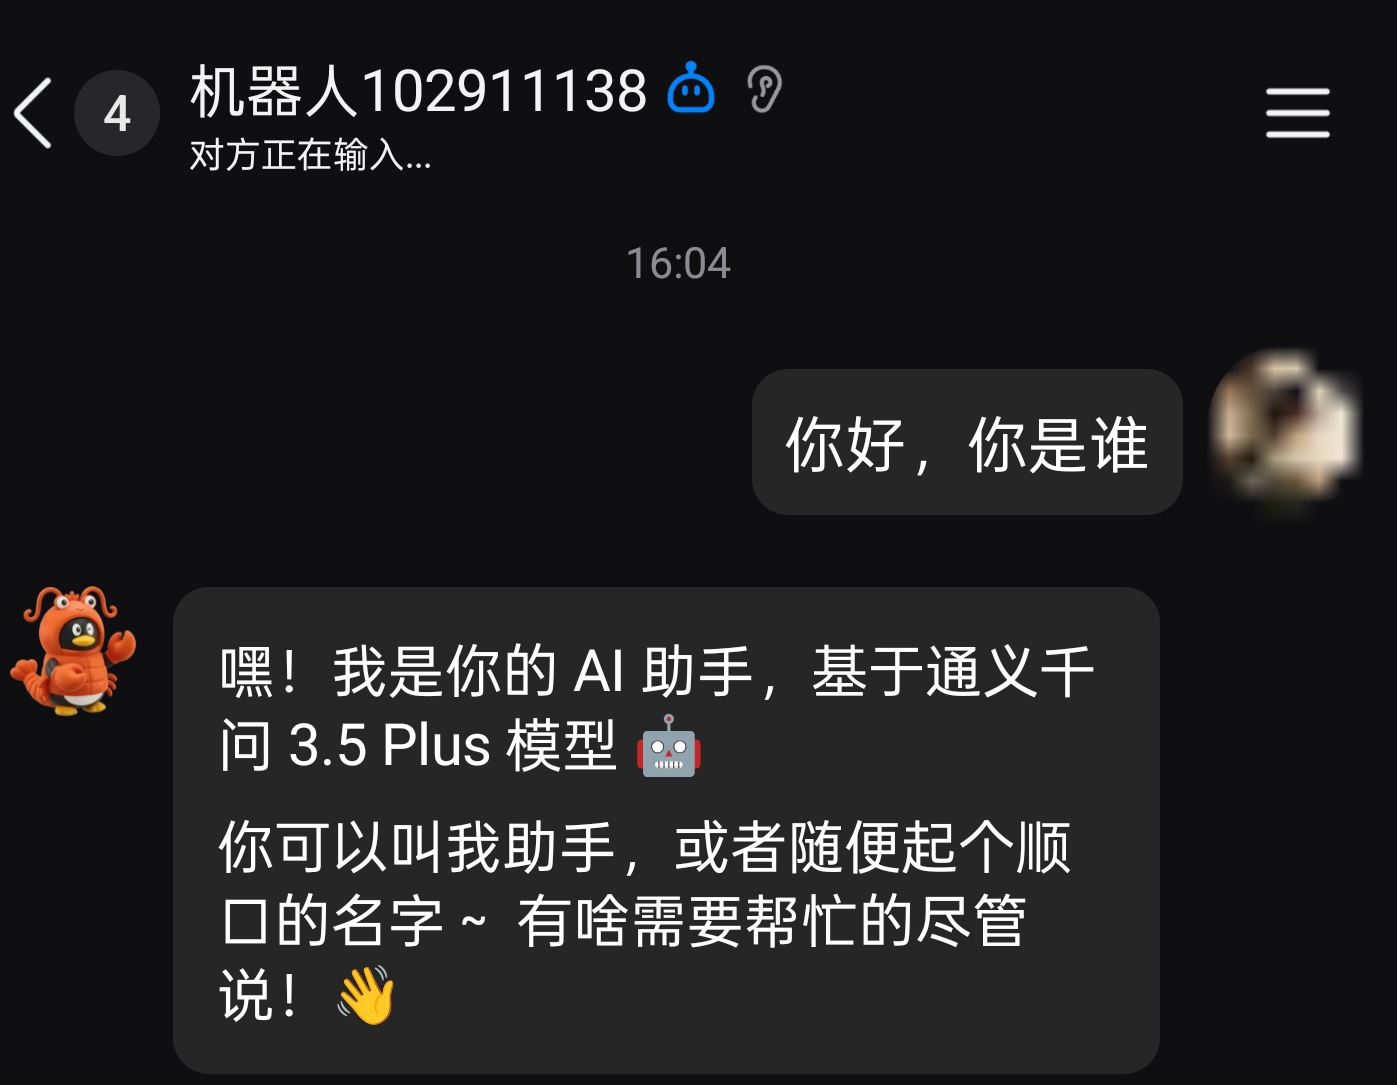
3. Verify the integration
Go to QQ and start a conversation with the bot you created.