
本文介绍如何在ACS集群中创建运行Android系统的Pod,以支持移动应用测试、云手机等场景。
适用范围
请提交工单申请以下权限。
特权容器白名单。
Android容器白名单。
暂不支持GPU算力及ARM架构。
创建Android Pod
创建Android Pod时,需要为工作负载配置注解(annotations)agent.alibabacloud.com/support-android: "true"来启用Android支持:
本文使用社区开源项目redroid提供的Android镜像。更多信息,请参见redroid-doc。
控制台
登录容器计算服务控制台,在左侧导航栏选择集群列表。
在集群列表页面,单击目标集群名称,然后在左侧导航栏,选择工作负载 > 无状态。
在无状态页面,单击使用YAML创建资源。将以下YAML内容复制到编辑器中,然后单击创建。
apiVersion: apps/v1 kind: Deployment metadata: name: android-example-deployment spec: replicas: 1 selector: matchLabels: app: android-pod template: metadata: labels: app: android-pod annotations: # 核心注解:启用安卓系统支持 agent.alibabacloud.com/support-android: "true" spec: containers: - name: android image: registry-cn-hangzhou.ack.aliyuncs.com/acs/redroid:12.0.0_64only-latest args: - androidboot.use_memfd=true - androidboot.redroid_net_ndns=2 - androidboot.redroid_net_dns1=100.100.2.136 - androidboot.redroid_net_dns2=100.100.2.138 ports: - containerPort: 5555 protocol: TCP securityContext: # 运行 Android 容器需要启用特权模式 privileged: true resources: requests: cpu: "4" memory: "8Gi" startupProbe: initialDelaySeconds: 10 exec: command: - /system/bin/sh - -c - "[[ 1 = $(/system/bin/getprop sys.boot_completed) ]]"创建完成后,在弹出的对话框中单击查看,确认Pod状态为Running。
kubectl
已使用kubectl连接Kubernetes集群。具体操作,请参见获取集群kubeconfig并通过kubectl工具连接集群。
使用以下内容创建
android-example-deployment.yaml文件。apiVersion: apps/v1 kind: Deployment metadata: name: android-example-deployment spec: replicas: 1 selector: matchLabels: app: android-pod template: metadata: labels: app: android-pod annotations: # 核心注解:启用安卓系统支持 agent.alibabacloud.com/support-android: "true" spec: containers: - name: android image: registry-cn-hangzhou.ack.aliyuncs.com/acs/redroid:12.0.0_64only-latest args: - androidboot.use_memfd=true - androidboot.redroid_net_ndns=2 - androidboot.redroid_net_dns1=100.100.2.136 - androidboot.redroid_net_dns2=100.100.2.138 ports: - containerPort: 5555 protocol: TCP securityContext: # 运行 Android 容器需要启用特权模式 privileged: true resources: requests: cpu: "4" memory: "8Gi" startupProbe: initialDelaySeconds: 10 exec: command: - /system/bin/sh - -c - "[[ 1 = $(/system/bin/getprop sys.boot_completed) ]]"执行以下命令创建应用。
kubectl apply -f android-example-deployment.yaml执行以下命令确认Pod状态为
Running。kubectl get pods -l app=android-pod预期输出:
NAME                                          READY   STATUS    RESTARTS   AGE
android-example-deployment-5fc67c7f9d-g9m5v   1/1     Running   0          12m
验证Android Pod
可使用开源工具scrcpy远程连接Android设备,显示设备画面并进行模拟点击、按键等操作。
下载scrcpy工具,后续操作以macOS系统作为示例。
将Pod的5555端口转发到本地。
kubectl port-forward deployment/android-example-deployment 5555:5555预期输出:
Forwarding from 127.0.0.1:5555 -> 5555
Forwarding from [::1]:5555 -> 5555
解压
scrcpy-xx.tar.gz文件并进入其目录,使用ADB工具连接Android设备。./adb connect localhost:5555预期输出:
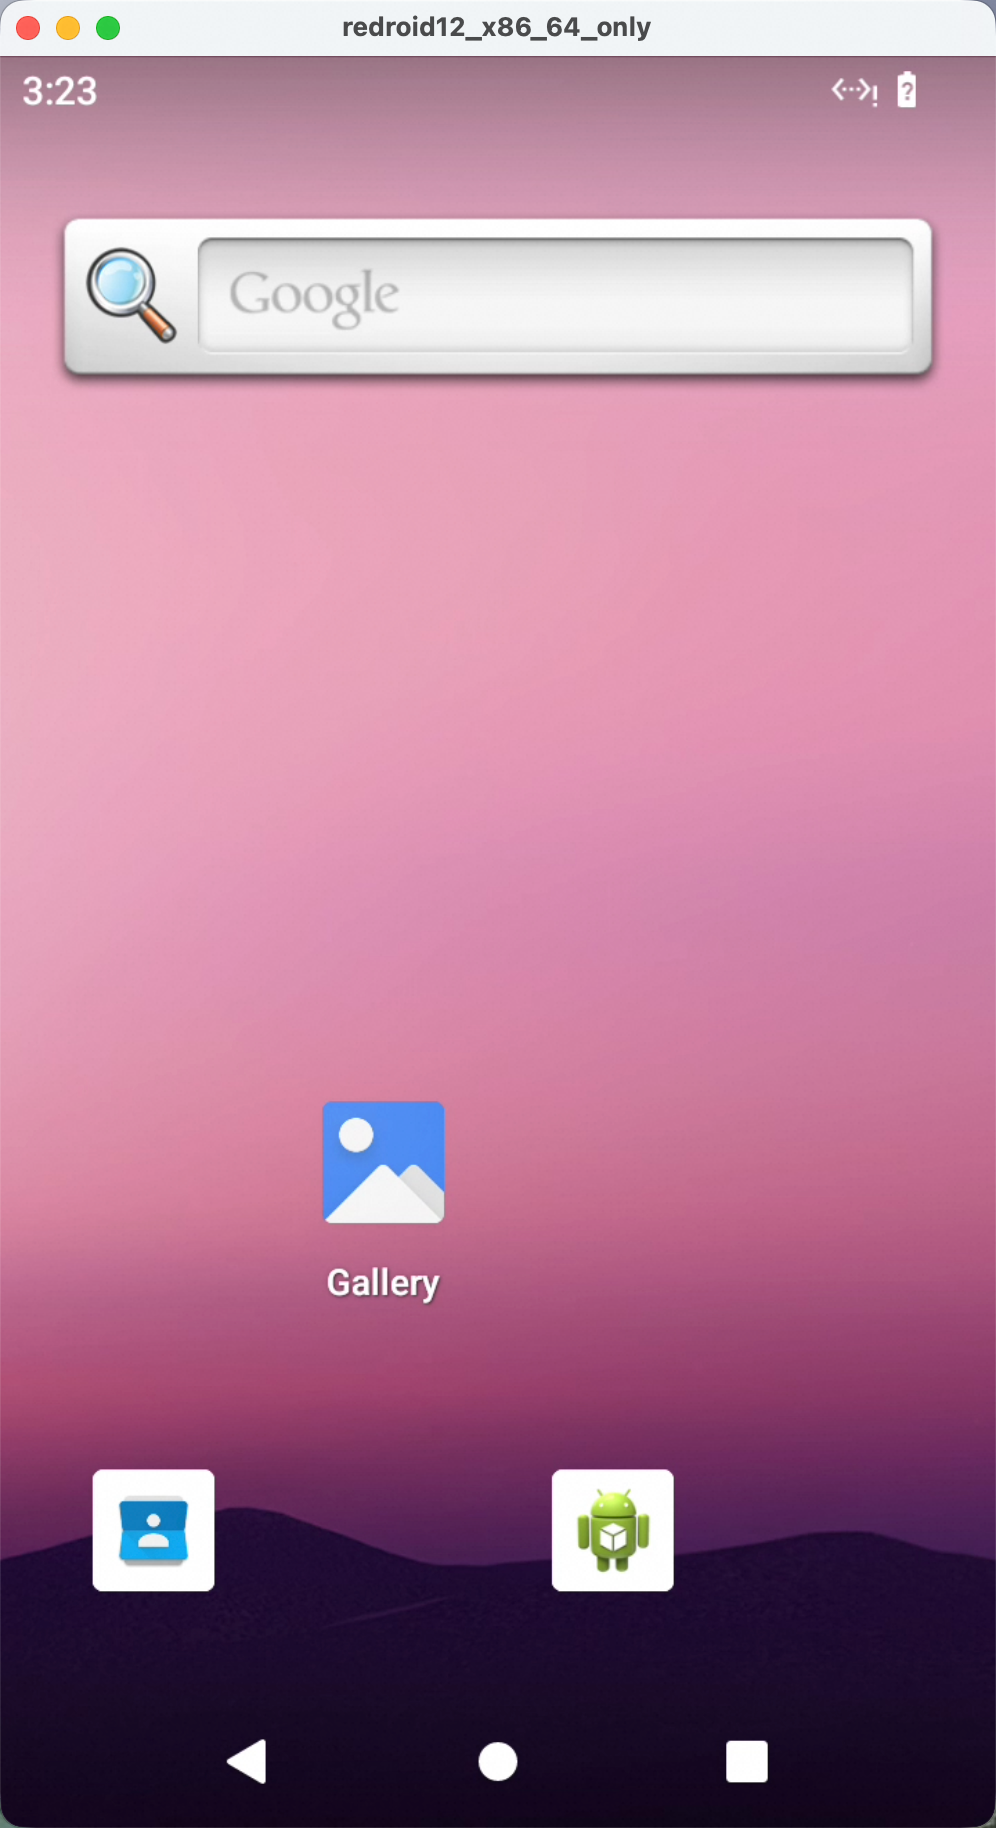
connected to localhost:5555使用scrcpy工具串流Android系统图形界面。
./scrcpy -s localhost:5555启动后会弹出一个窗口,显示Android系统桌面。可在该窗口中进行点击、滑动、按键等操作。
该文章对您有帮助吗?