Connect Power BI to AnalyticDB for MySQL
This topic describes how to connect Power BI to an AnalyticDB for MySQL cluster for real-time data analysis.
Prerequisites
-
You have installed Power BI.
NoteThis topic uses Power BI Desktop version 2.143.878.0 (English) as an example.
-
To connect to an AnalyticDB for MySQL cluster over the internet, you must first apply for a public endpoint.
-
To connect to a Spark JDBC endpoint, you must also create a Spark interactive resource group.
Connect to an AnalyticDB for MySQL endpoint
Use a custom connector (recommended)
Both the custom connector and the built-in MySQL connector for PowerBI support accessing data from AnalyticDB for MySQL in import mode. In addition, the custom connector also supports accessing data from AnalyticDB for MySQL in direct query mode. Therefore, we recommend that you use the custom connector to connect to an AnalyticDB for MySQL cluster to meet your requirements for accessing data in different modes.
Step 1: Install the MySQL ODBC driver
-
Download and install the Microsoft Visual C++ 2010 Service Pack 1 Redistributable Package MFC.
-
Download and install version 5.1.13 of the MySQL ODBC Driver.
-
Open the ODBC Data Source Administrator (64-bit). On the Drivers tab, verify that the MySQL ODBC driver is listed.
Step 2: Install the AnalyticDB for MySQL connector
-
Download the AnalyticDB.MySQL.mez connector.
-
Move the AnalyticDB.MySQL.mez file to the
Custom Connectorsfolder. This folder is in your Power BI documents directory, which is typically[Documents]\Power BI Desktop. If theCustom Connectorsfolder does not exist, create it.Important-
[Documents]refers to the documents directory of the current user account. For example, the default documents directory for the Administrator account isC:\Users\Administrator\Documents\Power BI Desktop. -
Each user account has a separate documents directory. Power BI cannot load connectors from another user's directory. Therefore, you must install and maintain the connector for each user account individually.
-
-
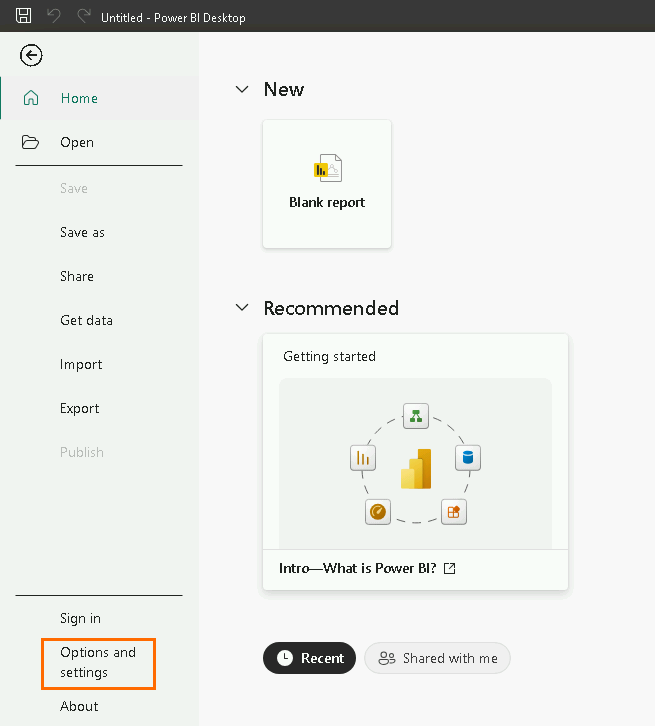
Open Power BI and select .
-
Click Security. In the Data Extensions section, select (Not Recommended) Allow any extension to load without validation or warning, then click Add Data Source.

-
In the Change Requires Restart dialog box that appears, click Add. Then, restart Power BI.
Step 3: Connect to AnalyticDB for MySQL
-
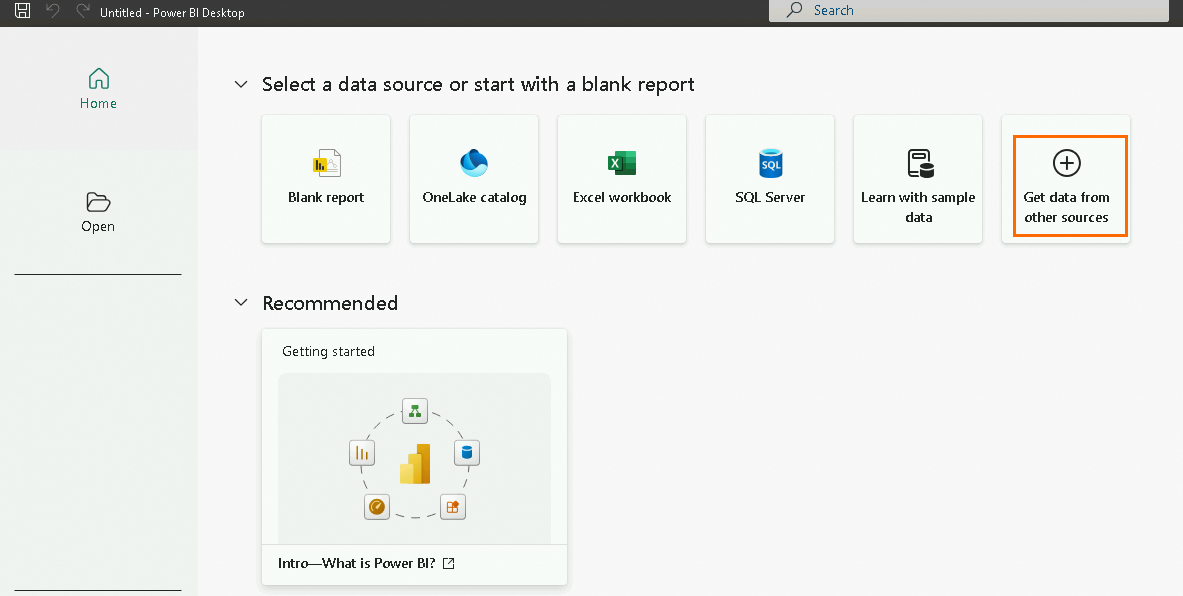
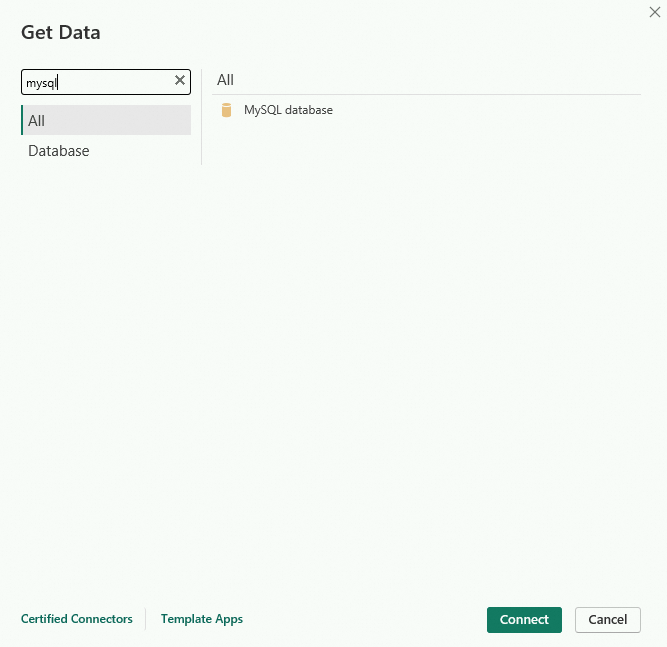
Open Power BI and click Get data from other sources.
-
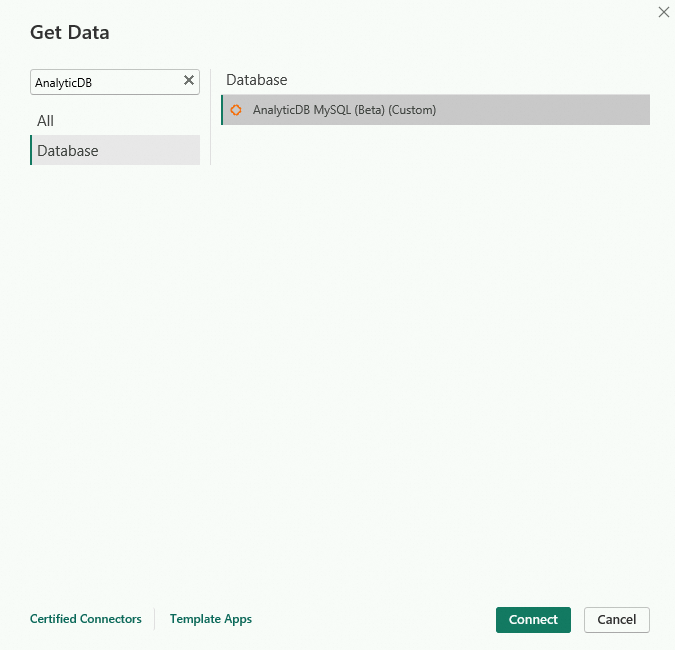
In the Get Data dialog box, select AnalyticDB MySQL(Beta)(Custom), then click Connect.
-
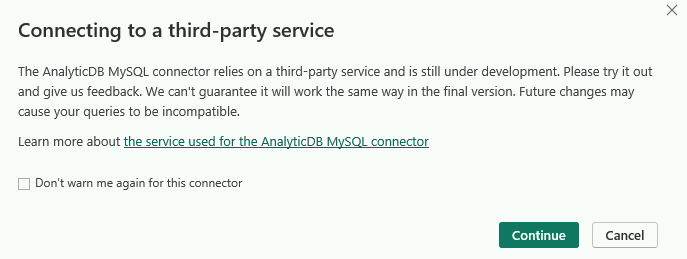
In the Connecting to a third-party service dialog box that appears, click Continue.
-
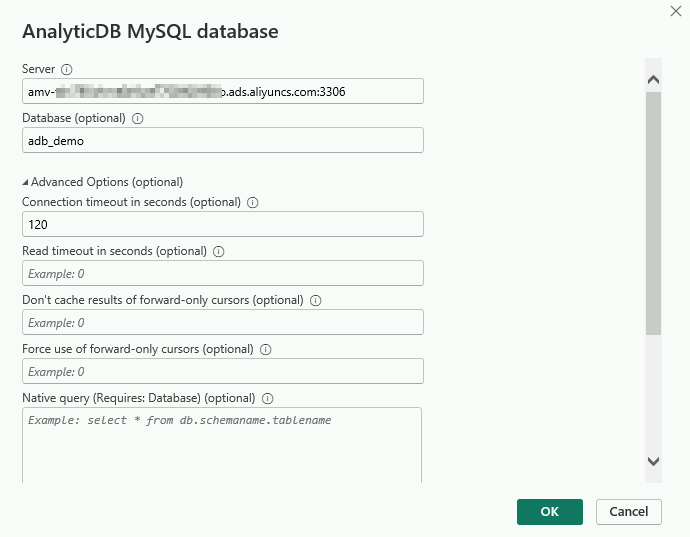
In the AnalyticDB MySQL database dialog box, configure the following parameters:

Parameter description:
Parameter
Required
Description
Server
Yes
The endpoint and port number of the AnalyticDB for MySQL cluster. The format is
<endpoint>:<port number>.-
Endpoint:
-
If Power BI is installed on an ECS instance, and the ECS instance and the AnalyticDB for MySQL cluster are in the same VPC, enter the VPC address.
-
If Power BI is installed on an on-premises server, enter the public endpoint.
-
-
The port number is fixed to 3306.
Database
No
The name of the database in the AnalyticDB for MySQL cluster.
Connection timeout in seconds
No
The connection timeout for the AnalyticDB for MySQL cluster, in seconds (s).
Read timeout in seconds
No
The read timeout, in seconds.
Write timeout in seconds
No
The write timeout, in seconds.
Don't cache results of forward-only cursors
No
Prevents Power BI from caching query results when using forward-only cursors.
Force use of forward-only cursors
No
Forces Power BI to use forward-only cursors when executing queries.
Native query
No
The SQL query to execute. If left empty, Power BI lists all tables in the Navigator dialog boxAnalyticDB for MySQL.
Data connectivity mode
Yes
The data connectivity mode. Valid values:
-
Import: Imports a copy of the data into Power BI.
-
DirectQuery: Connects directly to the live data source.
-
-
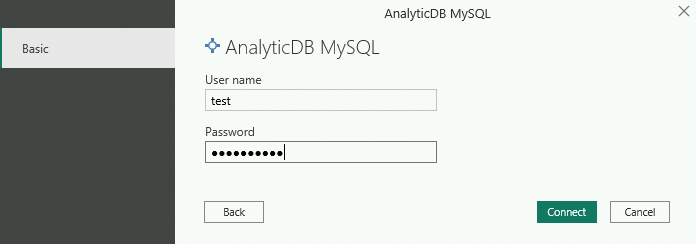
In the Completed dialog box, enter your credentials, then click Connect.
Parameter description:
Parameter
Description
User name
The username for your AnalyticDB for MySQLdatabase account.
Password
The password for the AnalyticDB for MySQLdatabase account.
-
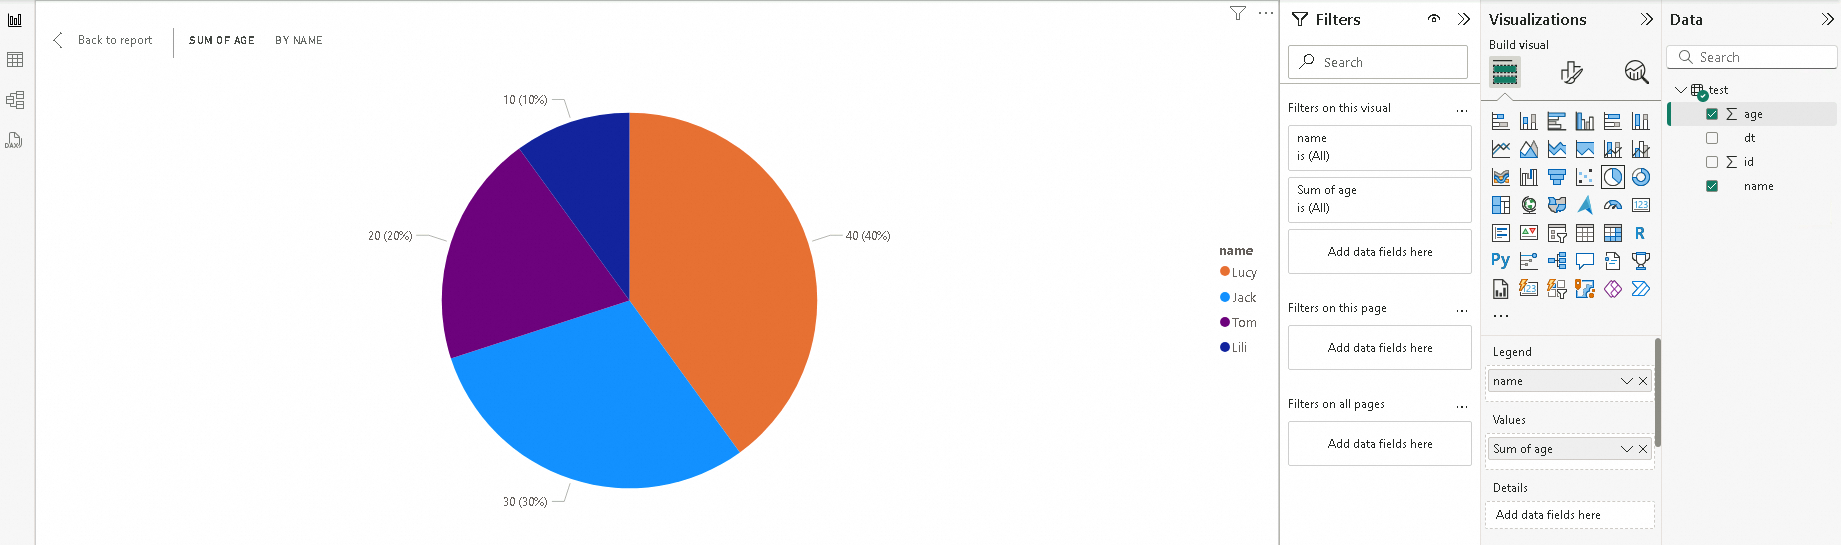
In the Navigator dialog box, select the target data table, preview it, and then click Load.
-
Once the data is loaded, you can begin your analysis. For more information, see the official Power BI documentation.
Use the built-in MySQL connector
-
Download and install the MySQL Connector.
-
Open Power BI and click Get data from other sources.
-
Select MySQL database, then click Connect.
NoteIf the MySQL Connector is not installed, Power BI prompts you to install it.
-
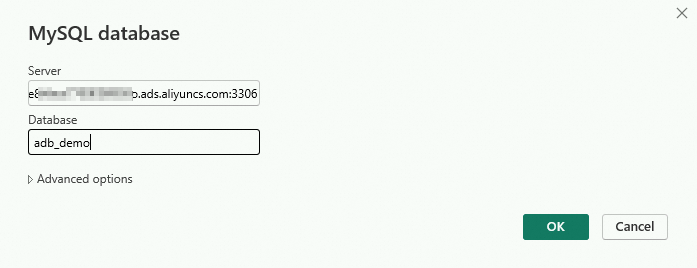
In the MySQL database dialog box, configure the following parameters, then click AnalyticDB MySQL.
Parameter description:
Parameter
Required
Description
Server
Yes
The endpoint and port number of the AnalyticDB for MySQL cluster. The format is
<endpoint>:<port number>.-
If Power BI is installed on an ECS instance, and the ECS instance and the AnalyticDB for MySQL cluster are in the same VPC, enter the VPC address.
-
If Power BI is installed on an on-premises server, enter the public endpoint.
Database
No
The name of the database in the AnalyticDB for MySQL cluster.
-
-
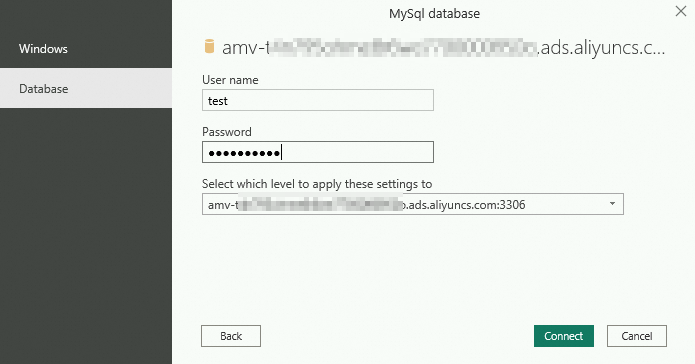
In the MySQL database dialog box, click the Database tab, enter your credentials, then click Connect.
Parameter description:
Parameter
Required
Description
User name
Yes
The username for your AnalyticDB for MySQLdatabase account.
Password
Yes
The password for the AnalyticDB for MySQLdatabase account.
-
In the Encryption Support dialog box that appears, click ODBC.
-
In the Navigator dialog box, select the target data table, preview it, and then click Load.
-
Once the data is loaded, you can begin your analysis. For more information, see the official Power BI documentation.


Connect to a Spark JDBC endpoint
Usage notes
After you connect Power BI to a Spark JDBC endpoint, you can only read data from and write data to tables that use the Xuanwu table engine. Tables that use the Xuanwu_V2 table engine are not supported.
Procedure
-
Download a driver.
Power BI can connect to a Spark interactive resource group by using either the Microsoft Spark ODBC Driver or the Simba Spark ODBC Driver. Download the required driver.
-
Microsoft Spark ODBC Driver.
-
-
Create a data source.
-
Open the ODBC Data Source Administrator (64-bit). On the User DSN tab, click Windows.
-
In the OK dialog box, select the driver you downloaded in Step 1, then click Finish.
-
In the Microsoft Spark ODBC Driver DSN Setup or Simba Spark ODBC Driver DSN Setup dialog box that appears, configure the following parameters:
Parameter
Description
Data source name
A custom name for the data source.
Description
An optional description for the data source.
Host(s)
The endpoint for the Spark interactive resource group. For information about how to obtain the endpoint, see Prerequisites.
Port
The port number for the Spark interactive resource group. This is fixed to 10000.
Database
The name of your AnalyticDB for MySQL database.
Mechanism
The authentication method. This topic uses User Name and Password as an example.
User name
The username for your AnalyticDB for MySQL database account and the name of your Spark interactive resource group. Use the format
resource_group_name/database_account_name.For example, if your resource group is named
testjoband your database account is namedtest, entertestjob/test.Password
The password for your AnalyticDB for MySQL database account.
Thrift transport
The connection protocol. Select SASL.
-
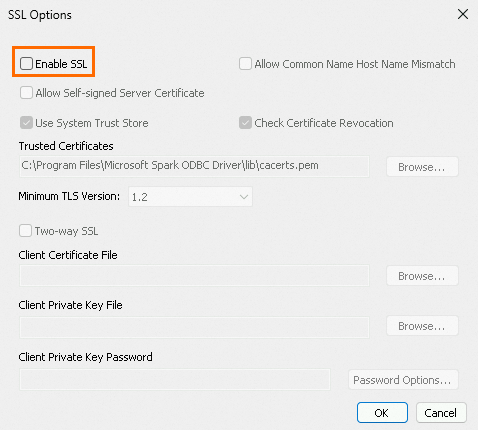
Click SSL Options. In the SSL Options dialog box, clear the Enable SSL check box, then click OK.
-
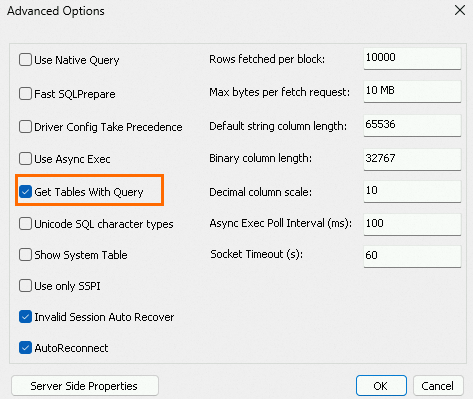
Click Advanced Options. In the Advanced Options dialog box, select the Get Tables with Query check box.
-
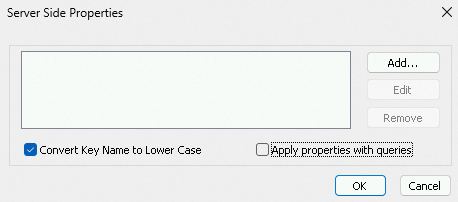
Click Server Side Properties, clear the Apply properties with queries check box, then click OK.
-
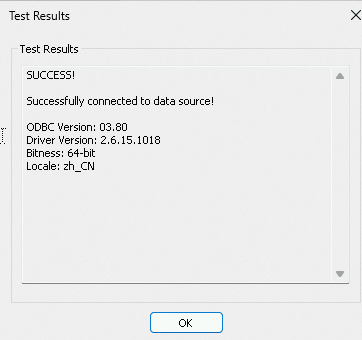
In the Microsoft Spark ODBC Driver DSN Setup or Simba Spark ODBC Driver DSN Setup dialog box, click Test to verify the connection.
If the response message contains
SUCCESS, it indicates that the ODBC connection to the AnalyticDB for MySQL Spark Interactive resource group is successful.
-
-
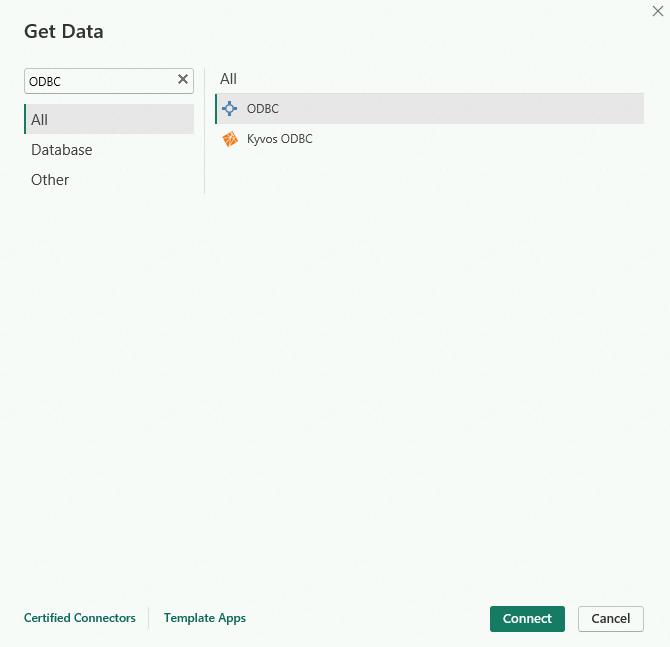
Open Power BI and click Get data from other sources.
-
In the Get Data dialog box, select ODBC, then click Connect.
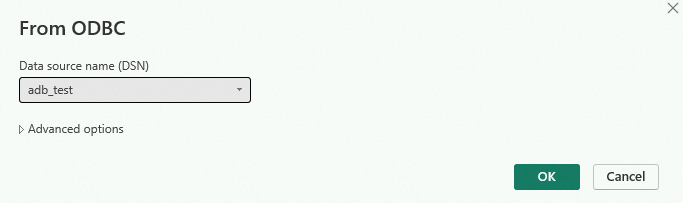
-
In the From ODBC dialog box, select the Data Source Name (DSN) you created (for example,
adb_test), then click OK. -
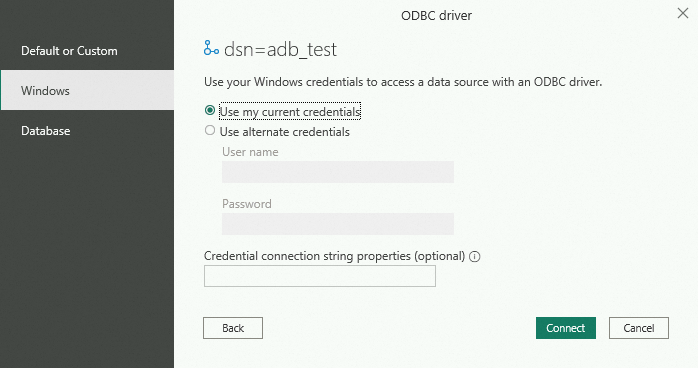
In the ODBC driver dialog box that appears, click the Windows tab, select Use my current credentials, then click Connect.
-
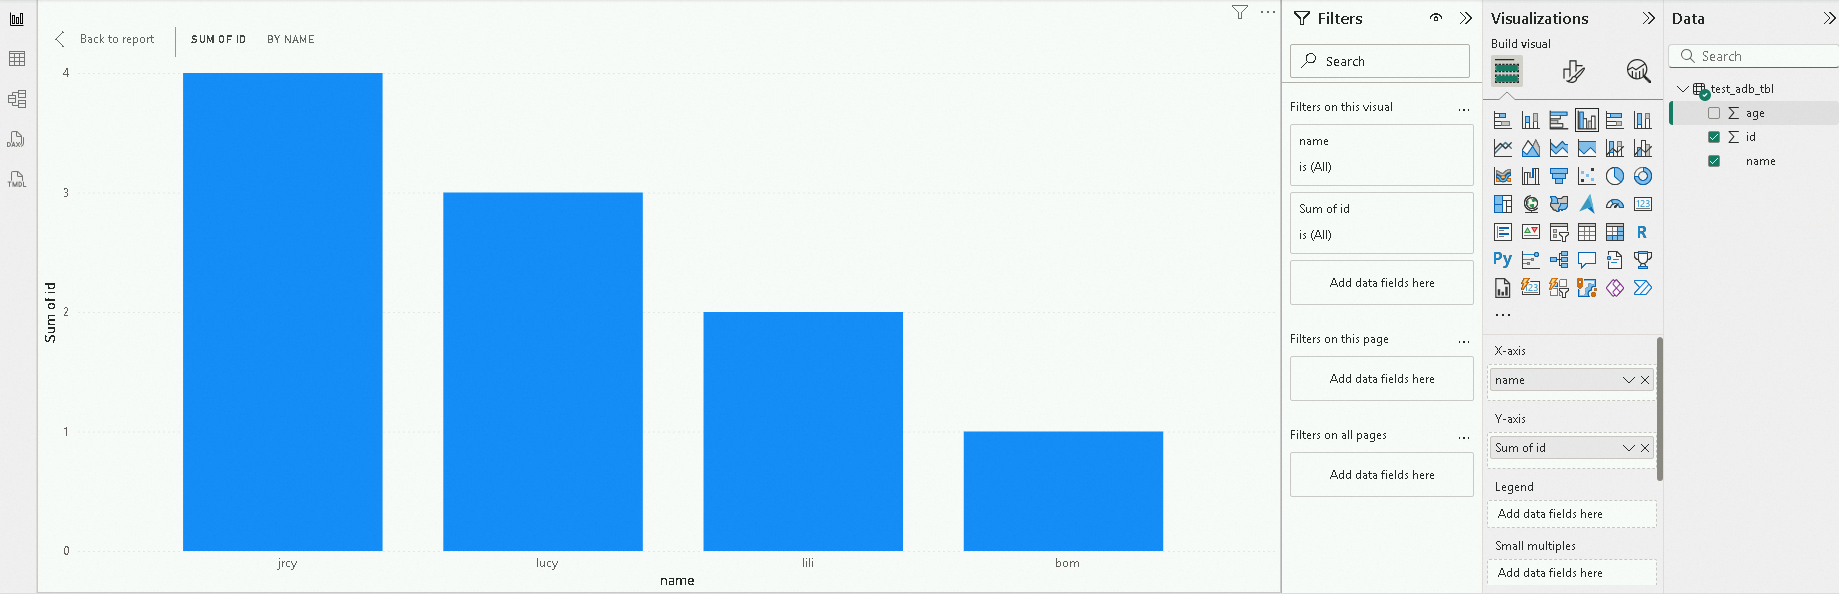
In the Navigator dialog box, select the target data table, preview it, and then click Load.
-
Once the data is loaded, you can begin your analysis. For more information, see the official Power BI documentation.