This topic explains how to scale out, scale in, restart, and update existing container instances. It also covers how to view application deployment records and roll back a component instance using its deployment records.
Prerequisites
You have deployed a code-based component instance. For more information, see Deploy a code-based component instance.View resource usage
- On the Application Deployment page, click the card for the target instance. In the Logs and Monitoring section of the Application Deployment Instance pane, click View Pod Usage.
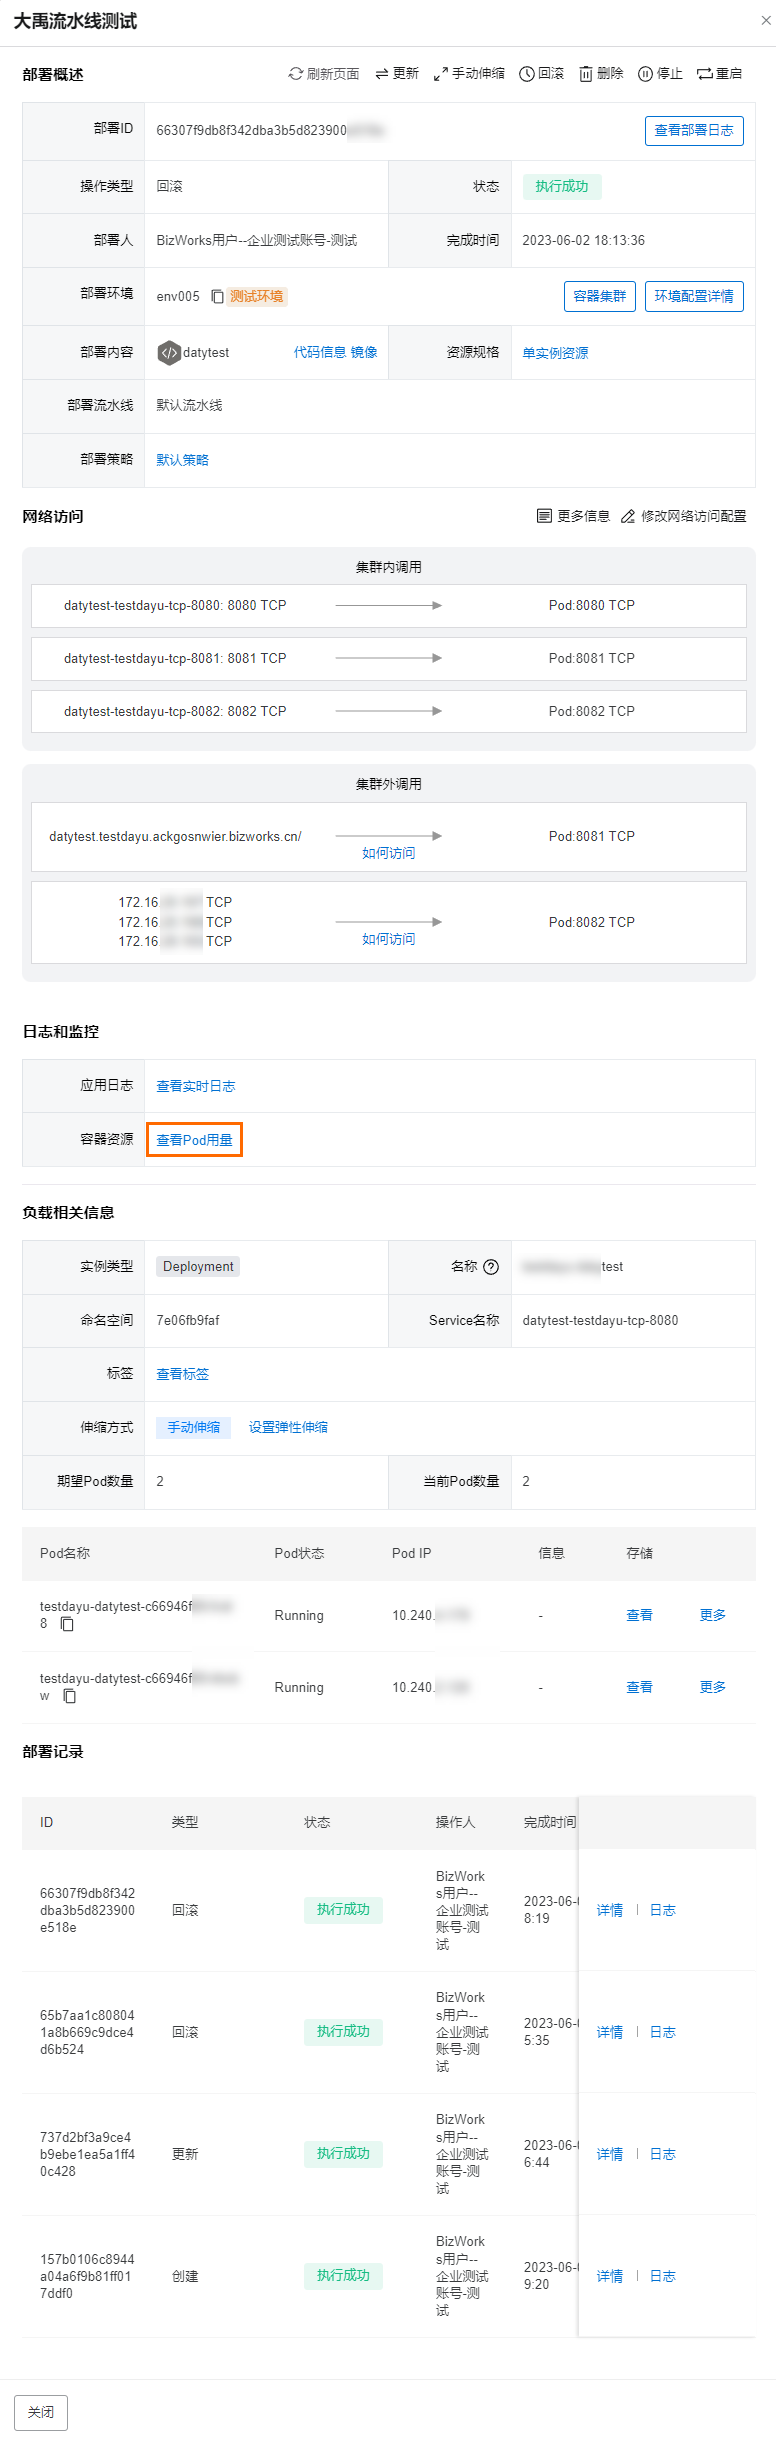
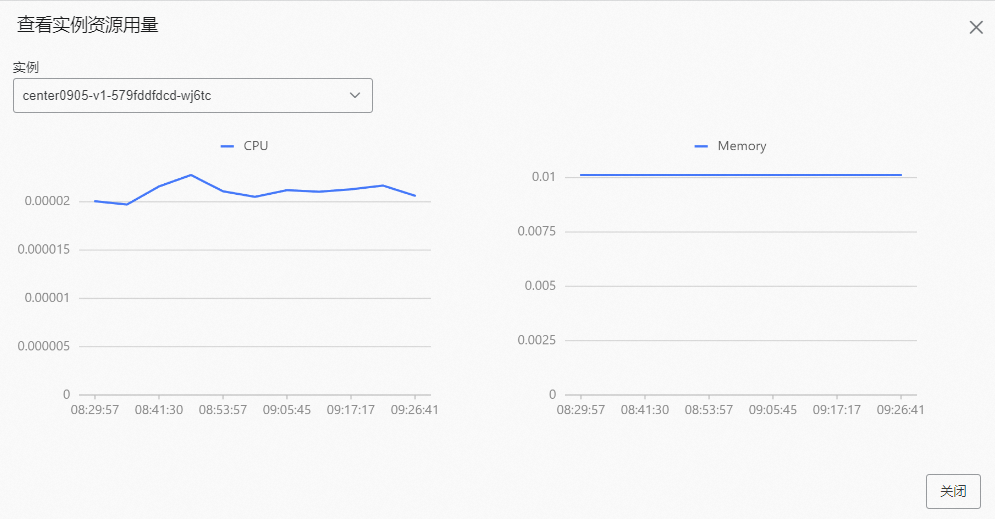
- In the View Instance Resource Usage dialog box, select the target instance from the Instance drop-down list.
View runtime logs
- On the Application Deployment page, click the card for the target instance. In the Logs and Monitoring section of the target component instance pane, click View Real-time Logs.
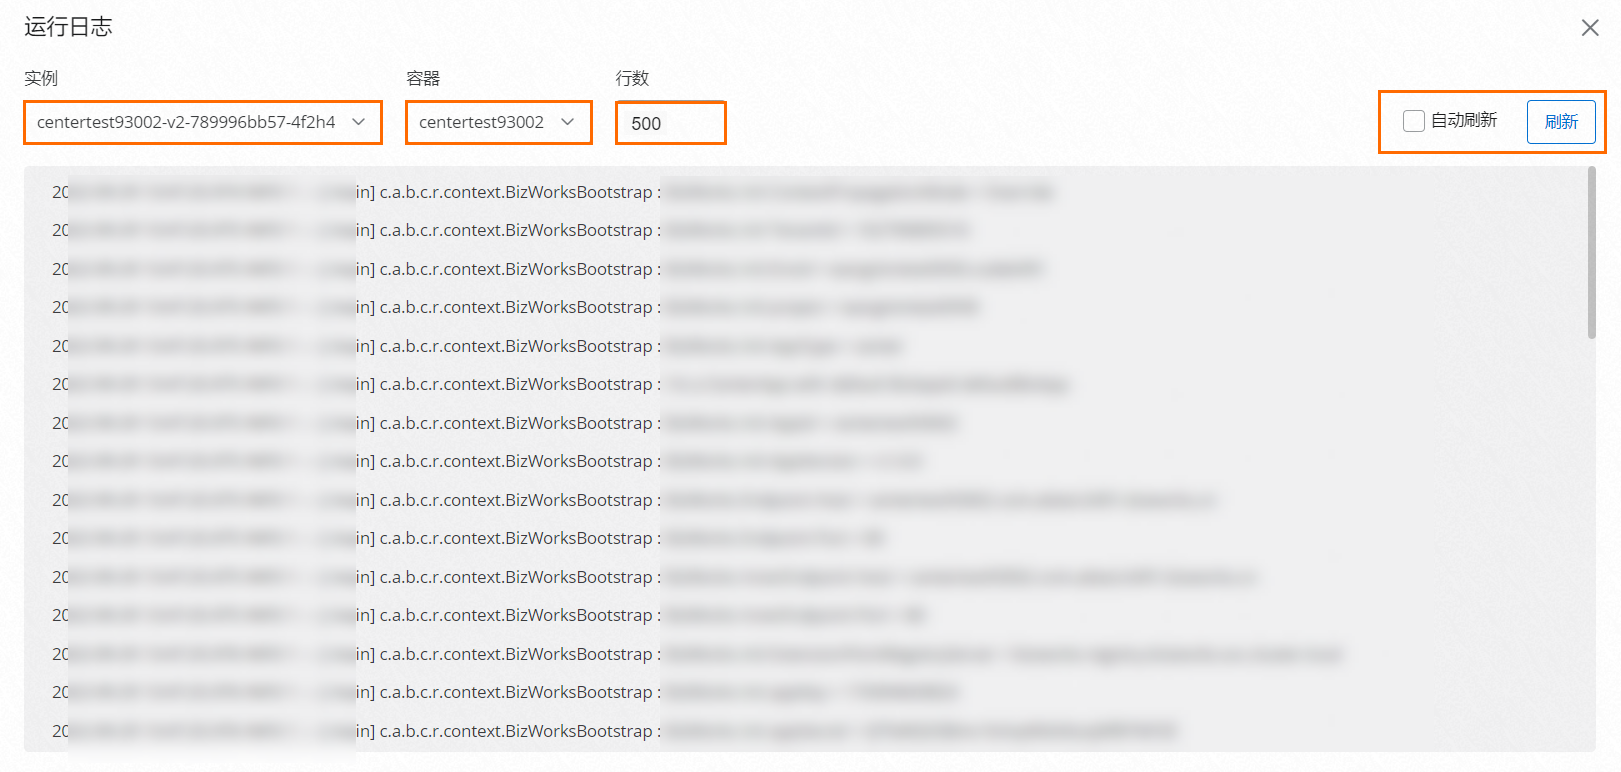
- In the Runtime Logs dialog box, select the target instance from the Instance drop-down list and the target container from the Container drop-down list. Set the Number of lines to display. You can also click Refresh in the upper-right corner of the dialog box or select the Auto-refresh checkbox.
Manually scale an instance
- On the Application Deployment page, click the card for the target component instance. In the target component instance pane, click Manual scaling.
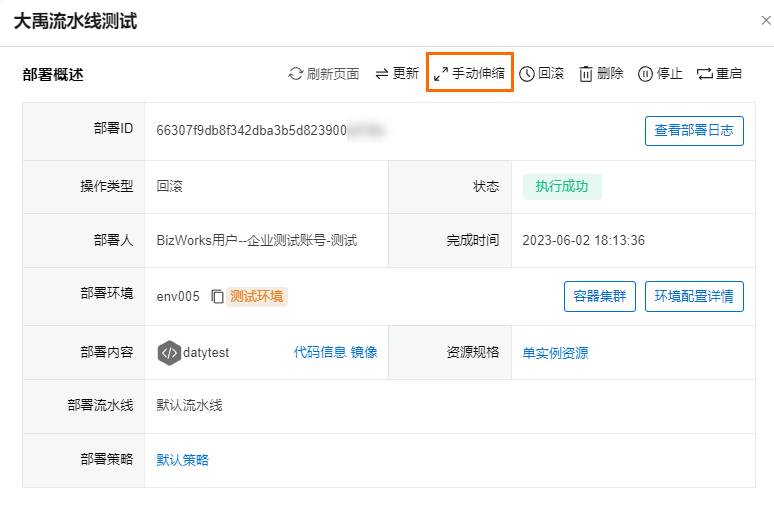
- In the Service Resource Adjustment dialog box, modify the Number of Instances and then click Confirm.
Configure auto scaling
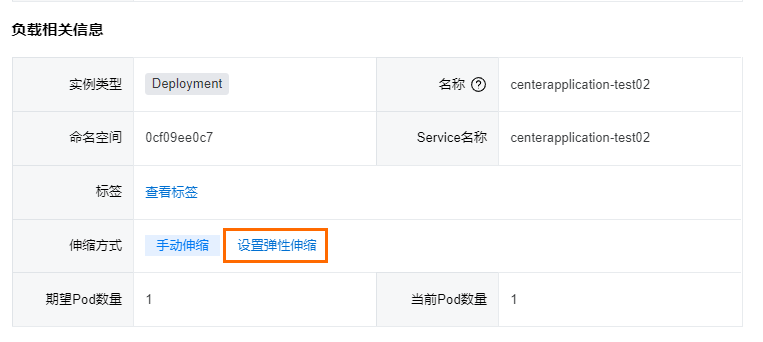
- In the Load-related Information section of the Application Deployment Instance pane, click Configure auto scaling.
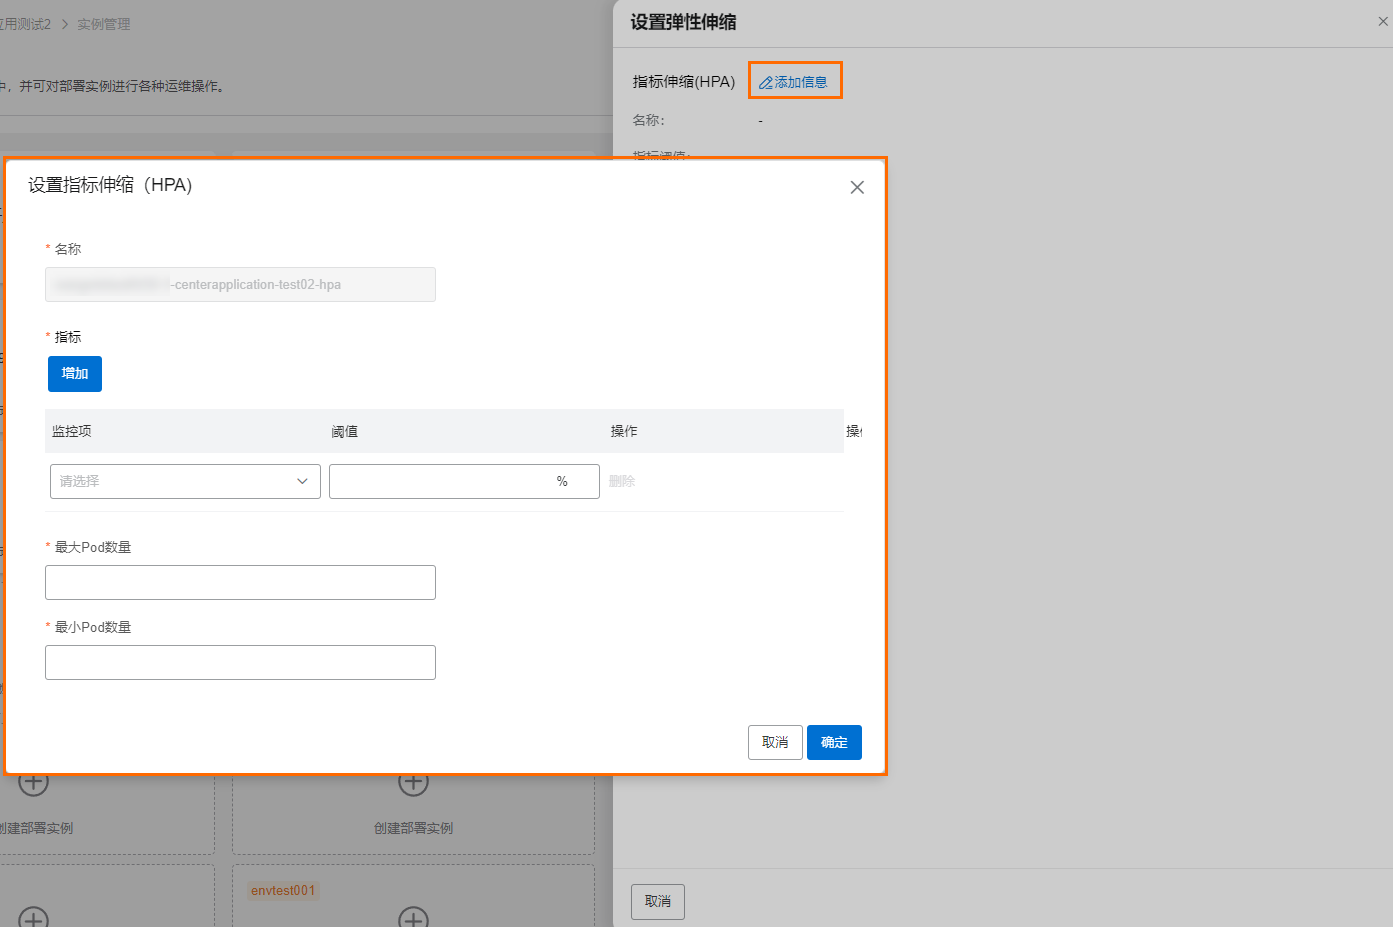
- On the Configure Auto Scaling pane, click Add Information. In the Configure Metric-based Scaling (HPA) dialog box, complete the configuration settings and then click OK.

Update an instance
- On the Application Deployment page, click the card for the target instance. In the target component instance pane, click Update.
- If the project lacks a configured image repository for code-based components, the Image Repository Not Configured message appears. You must configure one first.
For more information about how to configure an image repository in your project, see Configure an image repository.
- On the Update Instance Deployment - Deployment Configuration pane, modify the configuration information and then click Next.
- On the Update Instance Deployment - Environment Configuration pane, modify the configuration information and then click Start Deployment.
An Update successful message appears. The system generates a new instance ID and starts the deployment.
Roll back an instance
- On the Application Deployment page, click the card for the target instance. In the target component instance pane, click rollback.
- In the Rollback application deployment dialog box, select the version you want to roll back to and click Next.
- Select a rollback strategy, set the release parameters, and click rollback.
Restart an instance
- On the Application Deployment page, click the card for the target instance. In the target component instance pane, click Restart.
Important To ensure business continuity, the system performs a rolling restart by deploying a new instance before it stops the old one.
- In the confirmation dialog box, click Restart.
Stop an instance
- On the Application Deployment page, click the card for the target instance. In the target component instance pane, click Stop.
- In the confirmation dialog box, click Stop.
Note The system stops the instance by scaling in the number of instances to 0.
Start an instance
- On the Application Deployment page, click the card for the target instance. In the target component instance pane, click Start.
- In the confirmation dialog box, set the Number of instances to start and then click Start.
Delete an instance
- On the Application Deployment page, click the card for the target instance. In the target component instance pane, click Delete.
- In the confirmation dialog box, click Delete.
Note The system deletes all environment context for the instance in this environment, including pods, networks, and historical deployment records.
Terminate a failed instance
- On the Application Deployment page, click the card for the target component instance whose deployment status is Deployment Failed. In the target component instance pane, click Terminate.
- In the confirmation dialog box, click Terminate Deployment.
View deployment records and logs
- On the Application Deployment page, click the card for the target component instance. In the Deployment Records section of the target component instance pane, view the deployment records. Each deployment record lists details such as ID, Type, Status, Operator, Completion Time, and Package Address. In the Operations column, click Details or Logs to view the corresponding information.
- To view detailed pipeline logs for a deployment, click Logs next to the corresponding deployment record ID.
The results are as follows:
- If you selected the default pipeline for Deployment Pipeline, the pipeline deployment logs are shown in the following figure.
- If you selected a third-party pipeline for Deployment Pipeline, the pipeline deployment logs are shown in the following figure.
You can click View More Operational Records to view more operational records on the Pipeline Instance page.
If a custom pipeline was selected for Deployment Pipeline, the deployment logs appear as follows.
This example uses a pipeline with an added Pipeline Control task to illustrate the deployment logs for a custom pipeline.
In the Instance Change Record dialog box, the pipeline displays five stages in sequence: Code Checkout, Maven, Create Image, Pipeline Control, and Deploy. A green checkmark next to each stage indicates it is complete. When the Deploy to Target Environment node is selected in the left-side pane, the right-side log area shows the Docker image push logs and application deployment status, ultimately displaying "Check deployment status [Deployment Successful]".
The deployment log details for a process in an approval workflow are as follows. In the Instance Change Record panel, the pipeline progress shows the execution status of each stage: Code Checkout, Maven, Create Image, Pipeline Control, and Deploy. The current Pipeline Control stage is shown as Pending for Approval.
Click View Progress to see the specific approval progress. The approval process details page displays the process instance ID, creation time, creator, and running status, which is currently In Progress. The business information section shows the associated central application, and you can click the View link for more details. The approval progress is presented as a timeline: the Start Node has been completed by the initiator, and the process is currently at the Manual Approval node, which requires all designated approvers to pass (countersign). It shows that two people are pending approval. The Approve and Reject buttons are available at the bottom of the page for approvers.
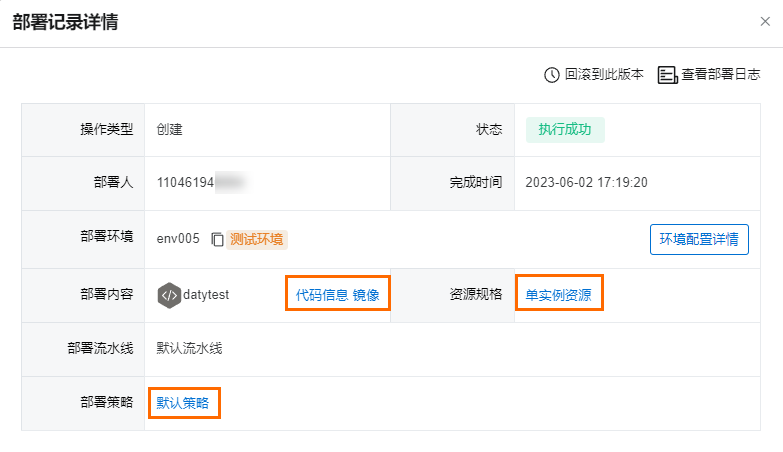
Alternatively, in the Deployment Records section of the instance details panel, click Details next to the target deployment record. In the Deployment Record Details panel, click Approval Progress to go to the approval progress details page. You can also find the target deployment record in the list and click Details to view its detailed information. The deployment record details include fields such as Operation Type, Status, Deployer, Completion Time, Deployment Environment, Deployment Content, Deployment Pipeline, and Deployment Policy. The Approval Progress button next to the status bar is the entry point for viewing the progress.
To terminate the deployment process of a custom pipeline, click Terminate Process in the Instance Change Record dialog box. In the confirmation dialog box, click OK. The deployment log details page shows the pipeline stage bar (including Code Checkout, Maven, Create Image, Pipeline Control, and Deploy), with status icons indicating whether each stage is completed, in progress, or not started. You can select a specific build step on the left to view its corresponding log output on the right. The Terminate Process button in the upper-right corner allows you to stop the current pipeline execution at any time.
Optional: View the detailed deployment configurations for a specific deployment record.
Click Details next to the target deployment record ID.
On the Deployment Record Details panel, you can view information such as Deployment Content, Resource Specifications, and Deployment Strategy.
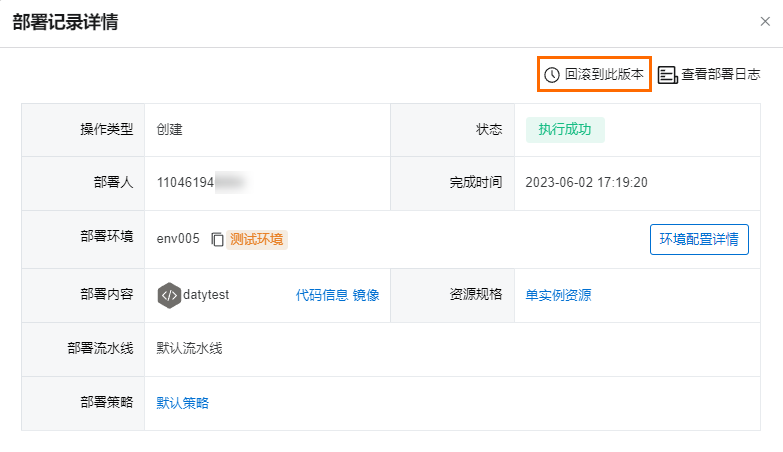
To roll back to this version, click Roll back to this version. In the Roll back application deployment dialog box, configure the rollback policy and Release volume, and then click Roll back.
View container cluster information
- On the Application Deployment page, click the card for the target instance. In the target component instance pane, click Container Cluster.
- In the Container Cluster dialog box, click the links to the right of View BizWorks Managed Cluster Information and Access Workloads Deployed on the Cluster to view related container cluster information.
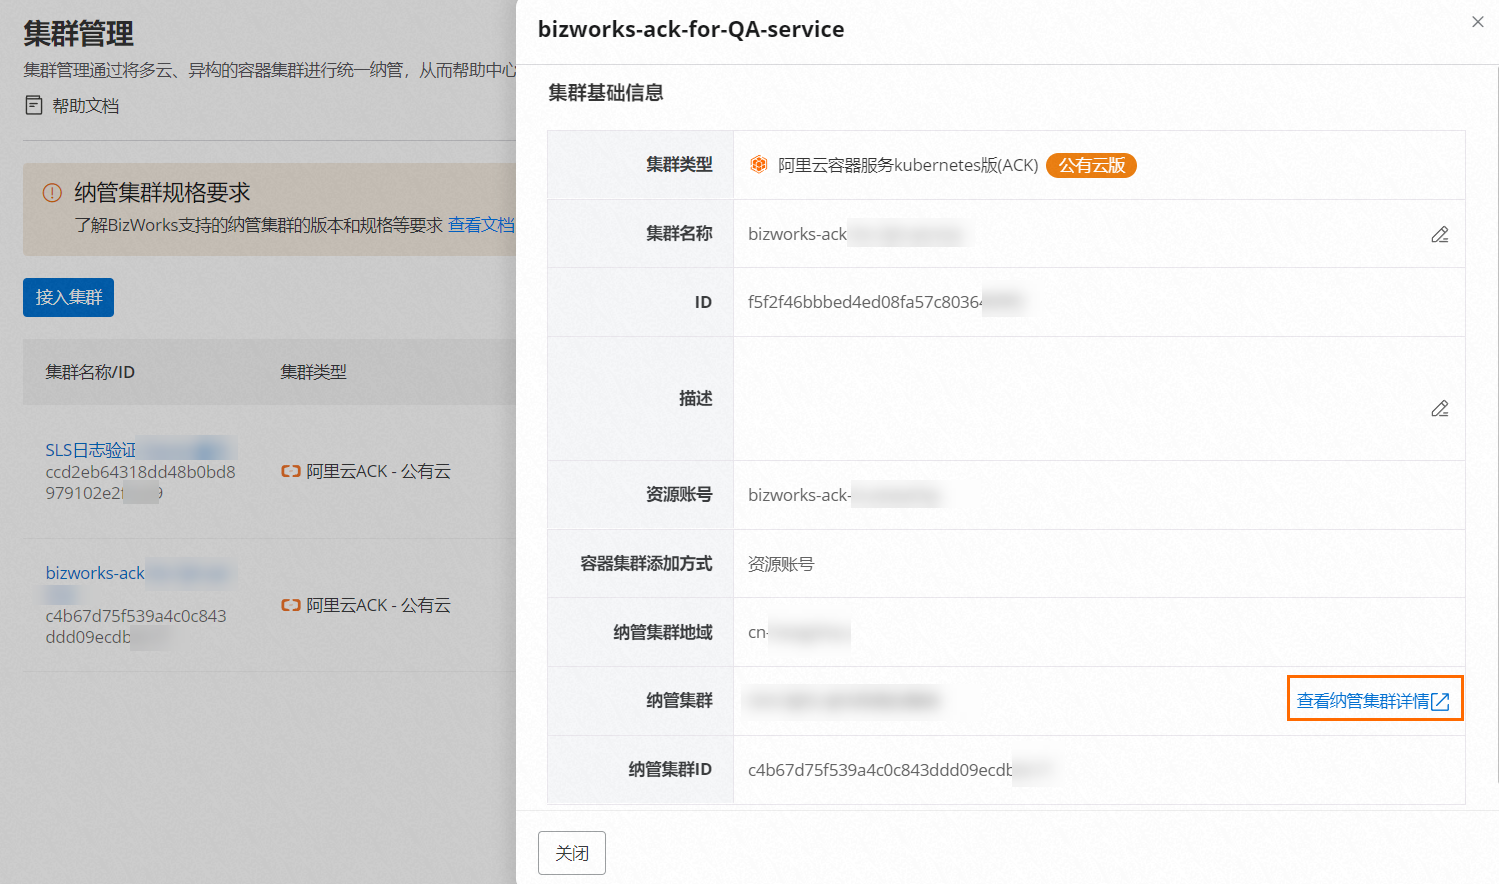
- Click the link to the right of View BizWorks Managed Cluster Information. On the Cluster Management page, view the basic information of the managed cluster. You can click View Managed Cluster Details to view the cluster details.
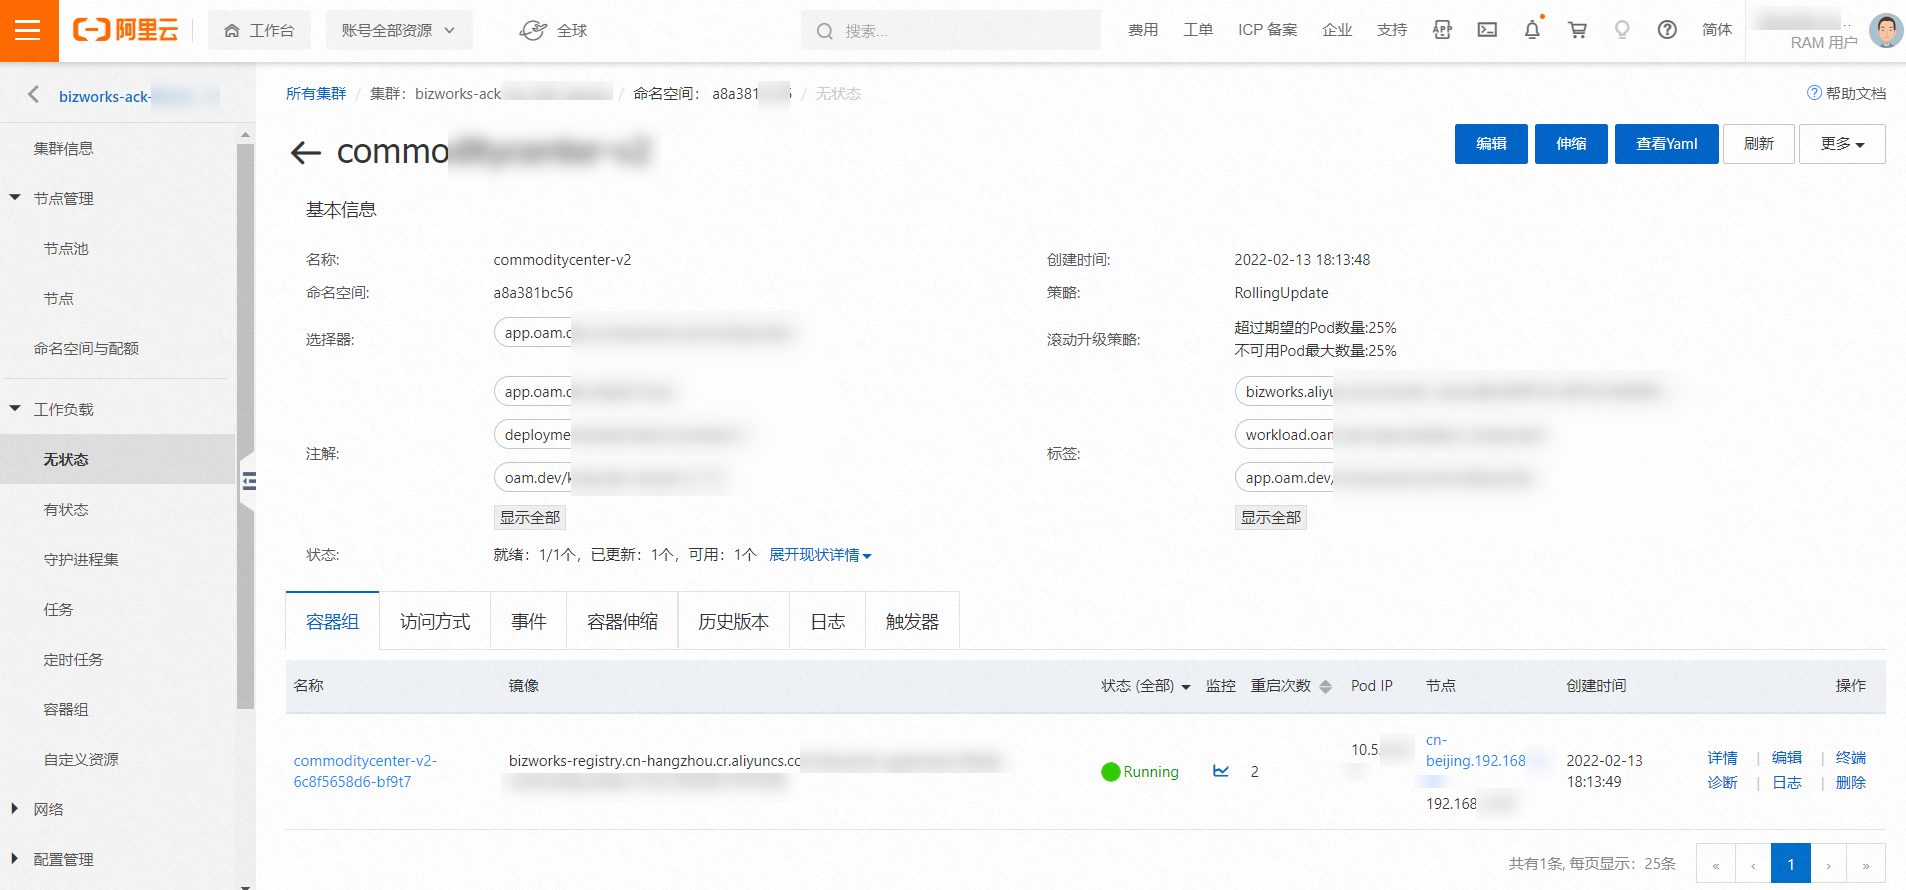
- Click the link to the right of Access Workloads Deployed on the Cluster to view the details of the related workload in the Container Service for Kubernetes (ACK) console.
- Click the link to the right of View BizWorks Managed Cluster Information. On the Cluster Management page, view the basic information of the managed cluster. You can click View Managed Cluster Details to view the cluster details.
- When you are finished, click Close.

Update and view network configuration
Update network configuration
- On the Application Deployment page, click the card for the target component instance. In the Network Access section of the target component instance pane, click Modify Network Access Configuration. The Network Access section has two subsections: Intra-cluster Access, which shows service port mapping rules, and External Access, which shows external endpoints.
- In the Modify Network Access Configuration dialog box, make the required changes and then click Save.
View network configuration
- On the Application Deployment page, click the card for the target component instance. In the Network Access section of the target component instance pane, view the network configuration relationships.
- Click How to Access.
View instructions for network access over HTTP or TCP/UDP.
- Click More Information.
View information about the created Service and Ingress resources.
View pipeline variables
