In the My data module, you can manage data pages and upload data. This topic describes these features.
Go to My data
In the navigation pane on the left of the Space Building Platform, click My data.
Data group management
On the My data groups tab, you can group and manage data by type. The following features are supported:
Feature |
Description |
Add group |
Click the After you add the group, it appears at the bottom of the My data groups list. |
Move data into a group |
Click the |
Edit group |
Click the |
Delete group |
Click the |
 icon to the right of the My Data Groups list, and in the New Group dialog box that appears, enter a custom group name and click OK to add a new data group category.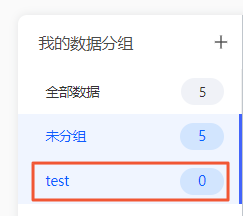
 icon on a data entry. Drag the data to a group in the list on the left. In the confirmation dialog box that appears, click OK to move the data to the group.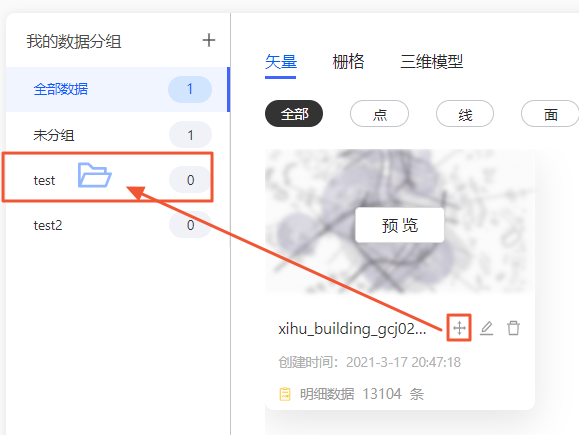
 icon to the right of the group list. In the pop-up window that appears on the left, change the name and click a blank area to save.
 icon to the right of the group list. In the pop-up window, click OK to delete the group.
Data management
On the Data Management page, you can upload and manage data. The page provides the following features:
Feature |
Description |
Upload data |
On the Data Management page, you can upload data of six main types: Vector, Raster, Geo-service, 3D Model, 3D Tile, and Business Data. The supported data formats vary by data type. |
Preview data |
Move the mouse pointer over a data entry and click Preview. On the preview page, you can switch between two modes to view how the data is displayed. There are two display modes for spatial map data. To switch between them, click the
|
Edit data |
Move the mouse pointer over a data entry and click the |
Delete data |
Move the mouse pointer over a data entry and click the |
Switch data types for viewing |
At the top of the Data Management page, click the Vector, Raster, Geo-service, 3D Model, 3D Tile, or Business Data tab to view data of different types. The Vector tab includes three subtypes: Point, Line, and Polygon. Click the icon for a subtype to view its data. |
Search for data |
In the search box in the upper-right corner of the Data Management page, enter keywords and click the |
Sort data |
Click the sort drop-down list in the upper-right corner of the Data Management page. You can sort the data in three ways: Sort by name, Sort by creation time, and Sort by modification time. |
Remote sensing image recognition |
This feature is available only when the Vector data type is selected. It helps you detect features such as building footprints, green spaces, and water bodies from remote sensing images and automatically converts them into vector data. This is an ideal way to quickly obtain urban base data. Click Remote Sensing Image Recognition. In the Remote Sensing Image Recognition dialog box, select the source remote sensing image data to process, and click Start Recognition.
Note
If no data is available in the Remote Sensing Image Recognition dialog box, first upload a Tiff file on the Raster tab. |
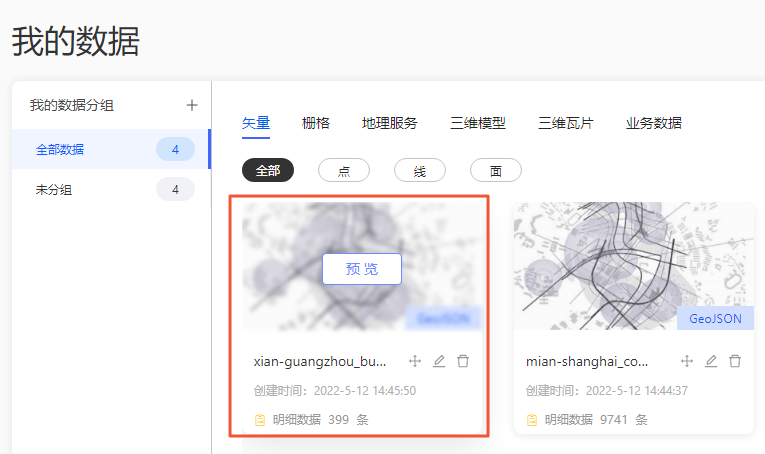
 or
or  icon in the upper-right corner of the data preview page.
 icon. In the pop-up window, change the data name and click OK to save the change.
 icon. In the pop-up window, click OK to delete the data.
 icon to find data.