Smart theme
The Smart Theme feature helps you apply suitable color schemes to your data visualizations and quickly resolve color matching issues. This topic describes how to use the Smart Theme feature in DataV.
My subject
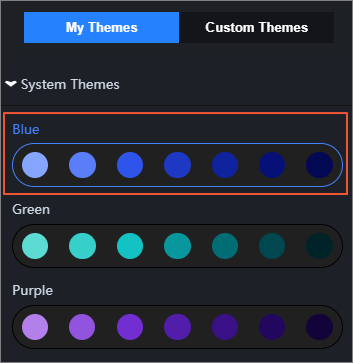
The My themes module lets you select built-in system themes and use your saved themes. On the My themes page, you can perform the following operations:
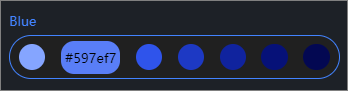
View color values in system themes: Hover your mouse over a system theme. Then, hover over a color block to view its color value.
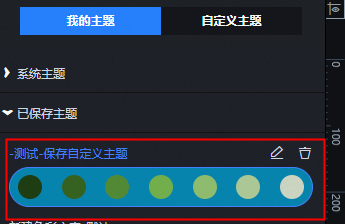
Manage saved themes
Action
Description
Select a saved theme
Click the Saved themes drop-down list to view your saved custom themes in the Saved themes list. Click a theme to preview its effect directly in the visualization.
ImportantBy default, the Saved themes list is empty.
Edit a theme name
Click the
 icon to change the name of the selected theme.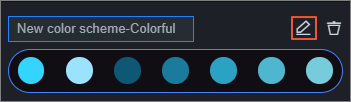
Delete a theme
Click the
 icon to delete the selected theme.
 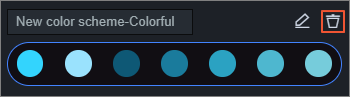 Important
Deleted themes cannot be restored. Proceed with caution.
Modify a color block
Select a color block in a saved theme and click the
 icon in the block. In the color picker, choose your desired color. Click anywhere outside the color picker to apply the change. Note
In the My themes panel, you can customize the color of any color block in a saved theme. You cannot modify the colors of system themes because they use fixed color schemes.

Custom themes
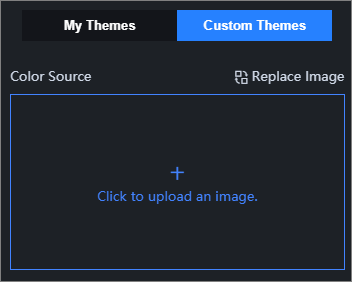
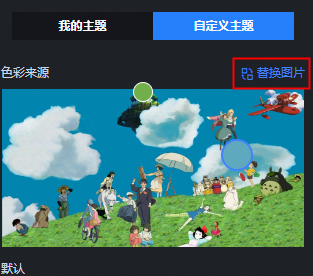
The Custom themes module lets you upload a custom image and generate multiple themes based on it. On the Custom themes page, you can perform the following operations. 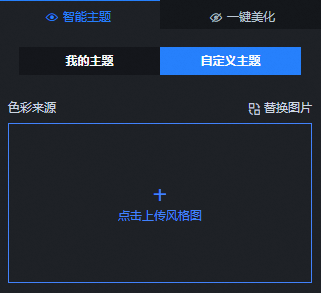
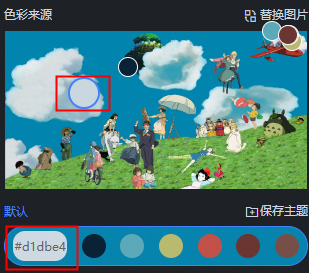
Modify theme color values: Click a generated custom theme. Then, click a color block in the theme and drag the corresponding color sampling circle on the image to adjust the color.
Save a theme
On the Custom themes page, select one of the generated themes.
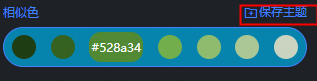
Click Save theme in the upper-right corner of the selected theme. Change the theme name and click Confirm to save the current theme.
After you save the theme, the system automatically navigates to the My themes page. The saved custom theme appears in the Saved themes list.
Replace an image: On the Custom themes page, click Replace image or click the image in the Color source box to select a new image and generate new custom themes.
Procedure
Log on to the DataV console.
On the My Visualizations page, create a PC visualization using a template or click Edit on an existing visualization.
On the canvas editor page, click the
icon at the top of the page.In the Beautify Toolbox panel, click Smart Theme.
If the Smart Theme feature is not enabled, click the
icon or Quick Start on the page to enable it.NoteClick the
icon to the left of Smart Theme to show or hide the feature.On the Smart Theme management page, configure a theme.
The Smart Theme management page contains the My themes and Custom themes modules.
My themes
Click .
In the System themes list, select a theme.
Preview the effect of the theme on the canvas. If you are satisfied, click Apply in the lower-right corner of the page.
If the visualization contains components that do not support the Smart Theme feature, a message appears, listing the unsupported component types or names.
If you are not satisfied with the theme, click Cancel to discard the changes.
In the dialog box, click Confirm to apply the selected theme to the visualization.
ImportantApplying a theme overwrites the existing visualization configuration. This action cannot be undone.
Custom themes
Click .
On the Custom themes page, click Click to upload style image in the Color source module.
Upload a custom style image. Only JPEG, JPG, and PNG files are supported.
NoteAfter the style image is uploaded, the system automatically generates theme palettes and applies the default palette style to the visualization. You can preview the effect of the default theme palette on the canvas.
On the uploaded style image, drag the color sampling circles to customize the colors of the themes.
Preview the effect of the theme on the canvas. If you are satisfied, click Apply in the lower-right corner.
If the visualization contains components that do not support the Smart Theme feature, a message appears, listing the unsupported component types or names.
If you are not satisfied with the theme, click Cancel to discard the changes.
In the dialog box, click Confirm to apply the selected theme to the visualization.
ImportantApplying a theme overwrites the existing visualization configuration. This action cannot be undone.
After you configure the theme, preview and publish the visualization to view the effect of the smart theme online.
 icon at the top of the page.
 icon or Quick Start on the page to enable it.
 icon to the left of Smart Theme to show or hide the feature.