Component packages let you upload completed components for centralized management and share them with specific users.
Create a component package
Access the DataV console.
-
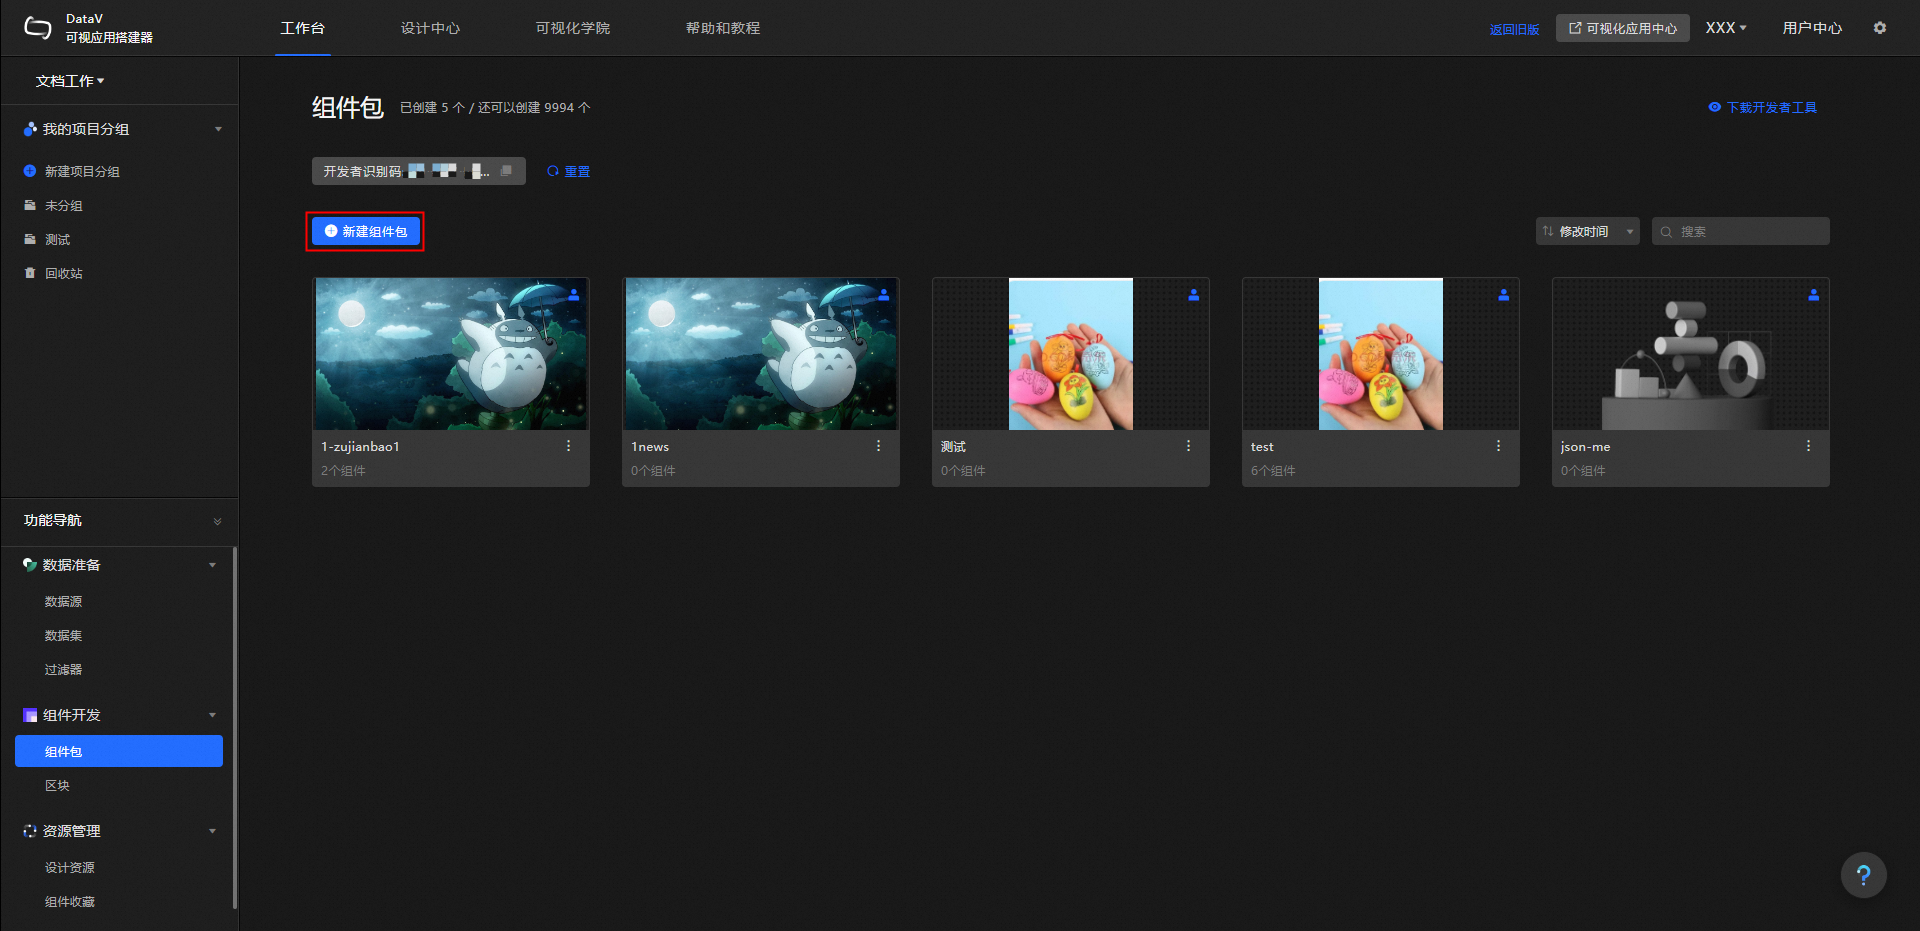
On the Workbench page, under Component Development, click Component Packages.
-
On the component package development page, click New Component Package.
-
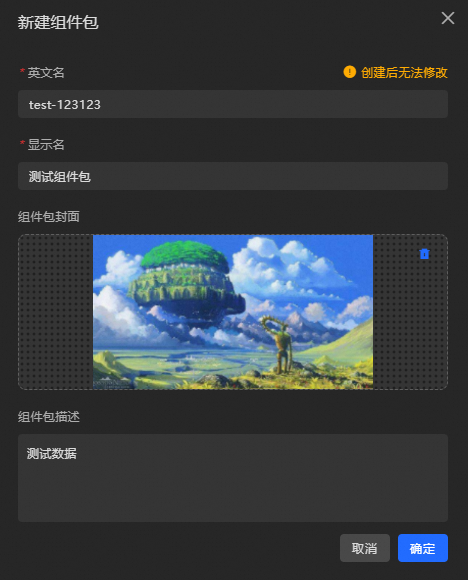
In the New Component Package dialog box, enter the component package information as described in the following table. Then, click OK.
Parameter
Description
English Name
The English name of the component package. The name must be 20 characters or less. It can contain only letters, numbers, periods (.), and hyphens (-). The name cannot contain spaces or start with a number. The format must be
xxx.xxxorxxx-xxx. A recommended format iscompany-name.package-nameorcompany-name-package-name. This name cannot be changed after the package is created. Example:alibaba-interaction.Display Name
The display name of the component package. The name must be 20 characters or less. It can be changed after the package is created.
Component Package Thumbnail
Click the Widget Package Thumbnail image area to replace the image, or drag and drop an image onto it. The image must not exceed 200 KB.
Component Package Description
Enter a description for the component package. The description must be 100 characters or less and can be changed at any time.
-
After you create the component package, it is submitted for review. The review is typically completed within one to two days.
NoteFor urgent requests, you can search for and join the DingTalk group that is specified in the announcement bar at the top of the DataV console home page. Then, contact a DataV technical support engineer.
-
If the package is approved, go to Component Development > Component Packages > Component Package Development to view the package and upload your components.
ImportantAfter the component package is created, you receive a developer ID. Keep this ID in a secure place. This ID is your credential for logging on to the DataV developer console. For more information, see Quick Start for component development.
-
If the package is rejected, check for the following errors in the package information.
-
The English name contains invalid characters or a reserved keyword.
-
The display name contains a reserved keyword.
-
The cover image is invalid.
After you check the information, click the Refresh icon. In the Edit Component Package dialog box, correct the information and resubmit it for review. You can also click the Delete icon to delete the rejected package and create a new one.
NoteIf the package is still not approved after you check and correct the information, contact a DataV technical support engineer.
-
-
Upload components
After you create a component package, upload your completed components to it.
-
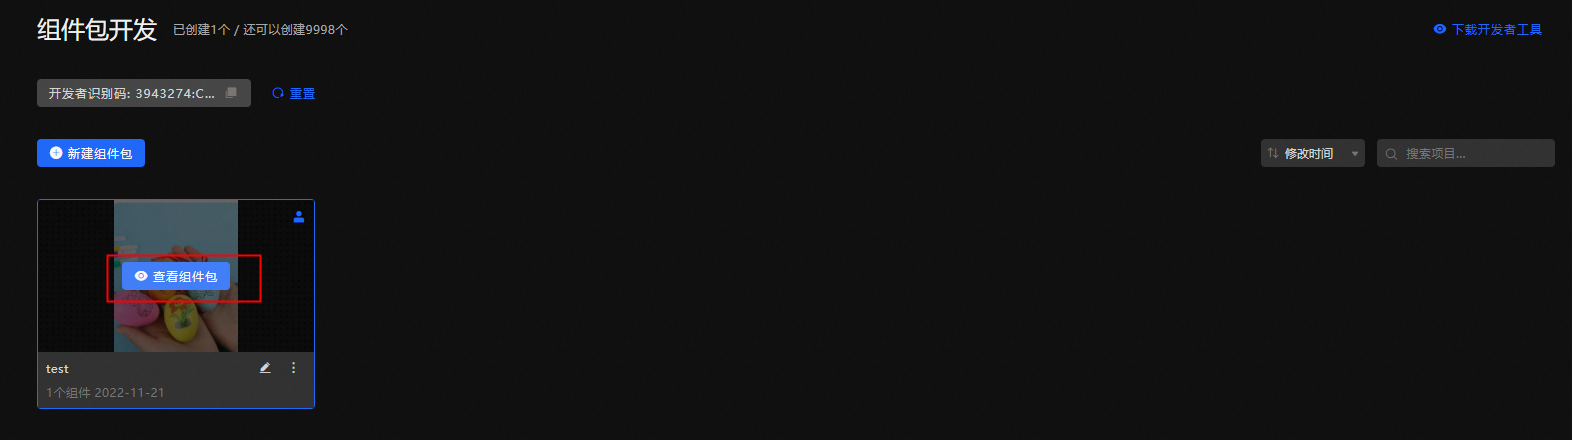
On the Component Package Development page, hover over an approved component package and click View Component Package.
-
On the Component Package List page, click Upload Component.
-
In the Upload Component dialog box, click the dashed-line box or drag your component package file into the box.
ImportantThe component package file must be in .tar.gz format and no larger than 20 MB.
-
After the upload is complete, click Save. Your component is then uploaded to the DataV component package.
ImportantUsers of the Enterprise Edition can upload up to three custom components per package. Users of the Professional Edition or Premium Edition can upload an unlimited number of custom components.
Authorize component packages
Authorize a component package to share its components with other users.
This feature is available only to users of the Professional Edition and Premium Edition. To use this feature, you must upgrade DataV to the Professional Edition or Premium Edition.
Access the DataV console.
-
On the Workbench page, under Component Development, click Component Packages.
-
On the component package development page, select the package that you want to authorize.
-
Click the
 icon in the upper-right corner of the component package.
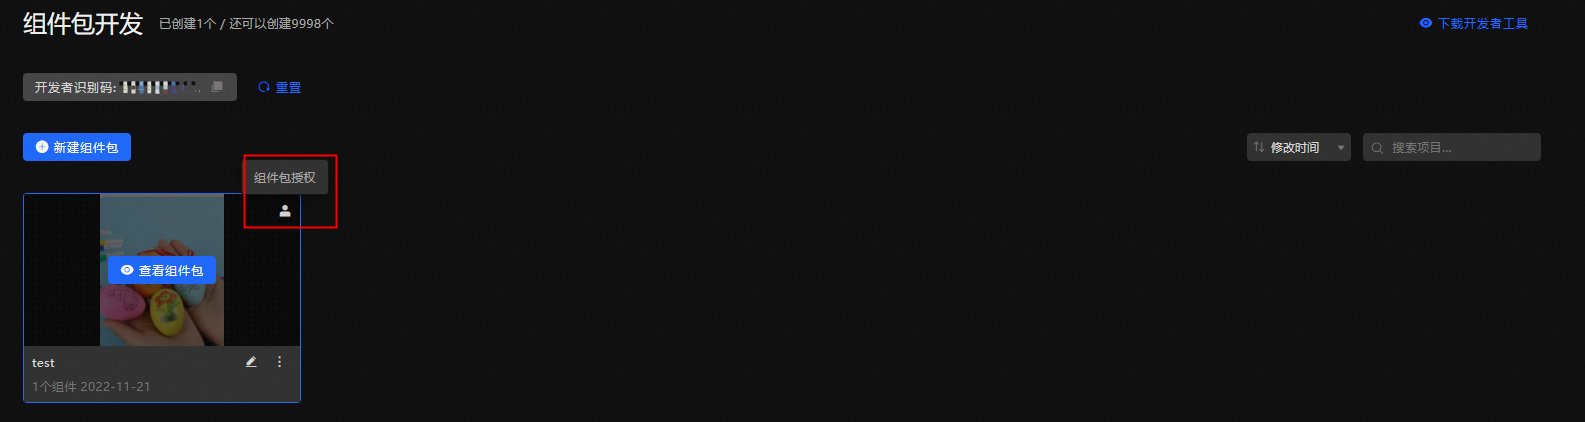
-
In the Component Package Authorization dialog box, enter the following information.

Parameter
Description
User ID
Enter the user ID of the person to authorize. To find a user ID, hover over the username in the upper-right corner of the page.
ImportantThe user ID is case-sensitive.
Authorization Level
Two authorization levels are available:
-
Subscriber: Can only see officially published components on the My Components page.
-
Developer: Can develop and upload components, and view both in-review and published components on the My Components page.
Expiration Date
Click the date selector to set an expiration date for the authorization.
-
-
After the authorization is successful, you can click the
icon again to grant more authorizations or view Authorization Records. You can search the records by user ID.

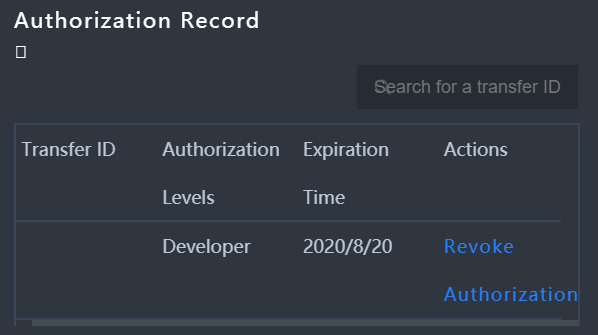
Find authorized users and revoke authorization
Use the Authorization Records section to find authorized users or revoke their access.
-
In the search box in the upper-right corner of the Authorization Records section, enter a user ID to find a specific user.
-
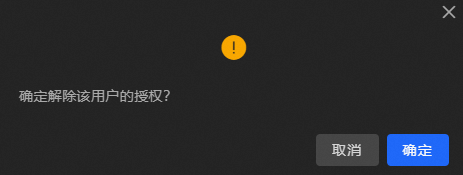
Select a user and click Revoke Authorization in the Actions column to revoke their authorization.
ImportantA revoked authorization cannot be restored. Proceed with caution.
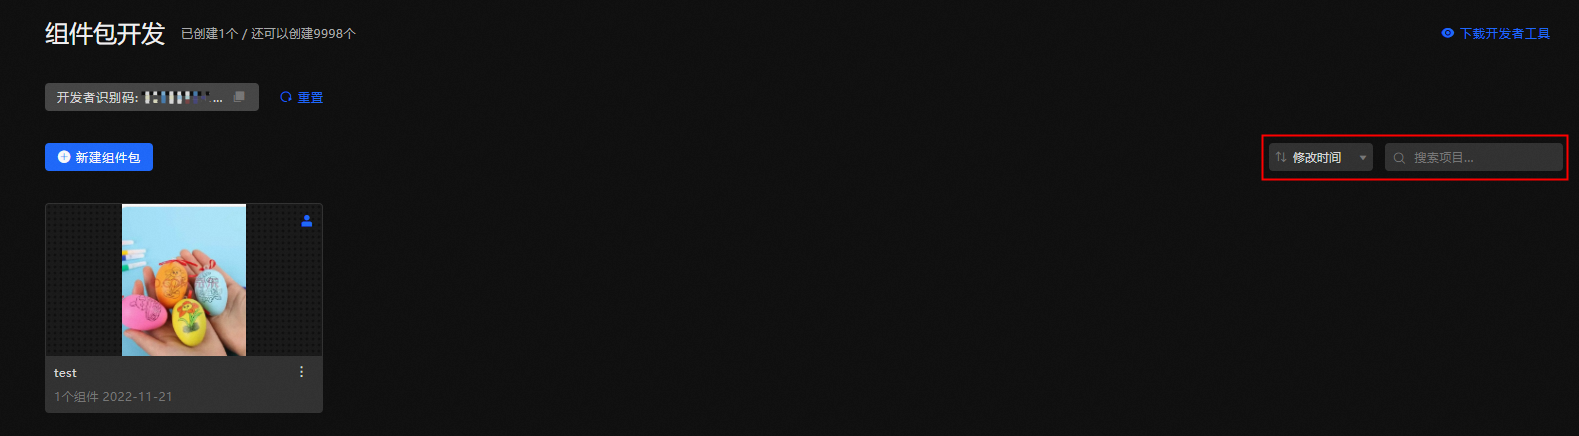
Search for a component package
Access the DataV console.
-
In the Component Development section, click Component Packages to go to the component package development and management page.
-
In the upper-right corner of the component package page, you can perform the following actions.
-
Click the sort option to sort the component packages by Name, Modification Time, or Creation Time.
-
Click the search box and enter a package name to find a specific component package.
-
Rename a component package
Click the  icon in the lower-right corner of the component package to change its display name.
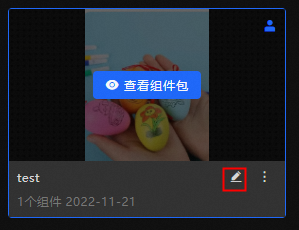
Edit a component package
Click the  icon in the lower-right corner of the component package and select Edit Component Package. You can change the display name, cover image, and description. The English name cannot be changed.
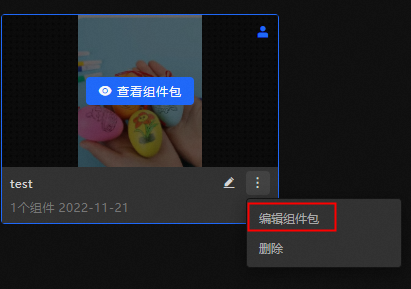
Delete a component package
Click the icon in the lower-right corner of the component package and select Delete.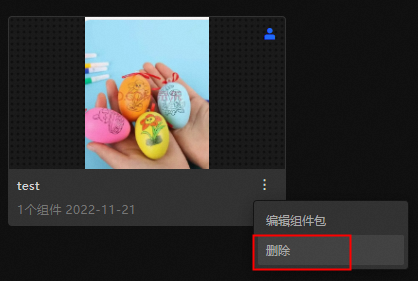
A deleted component package cannot be recovered. Proceed with caution.