The demo app describes the application development flow and business logic. Before you develop your own application, you must complete the operations for the demo app that are described in this document.
Prerequisites
- You have created a product on the IoT Platform and completed related operations, such as defining product functions and configuring the application.
- You have created a proprietary application on the IoT Platform and downloaded the source code for the demo app. For more information, see Create a proprietary app.
Usage
The demo app uses Cocoapods to manage dependency libraries and modules. Cocoapods 1.2.0 or later is supported.
Demo app source code structure
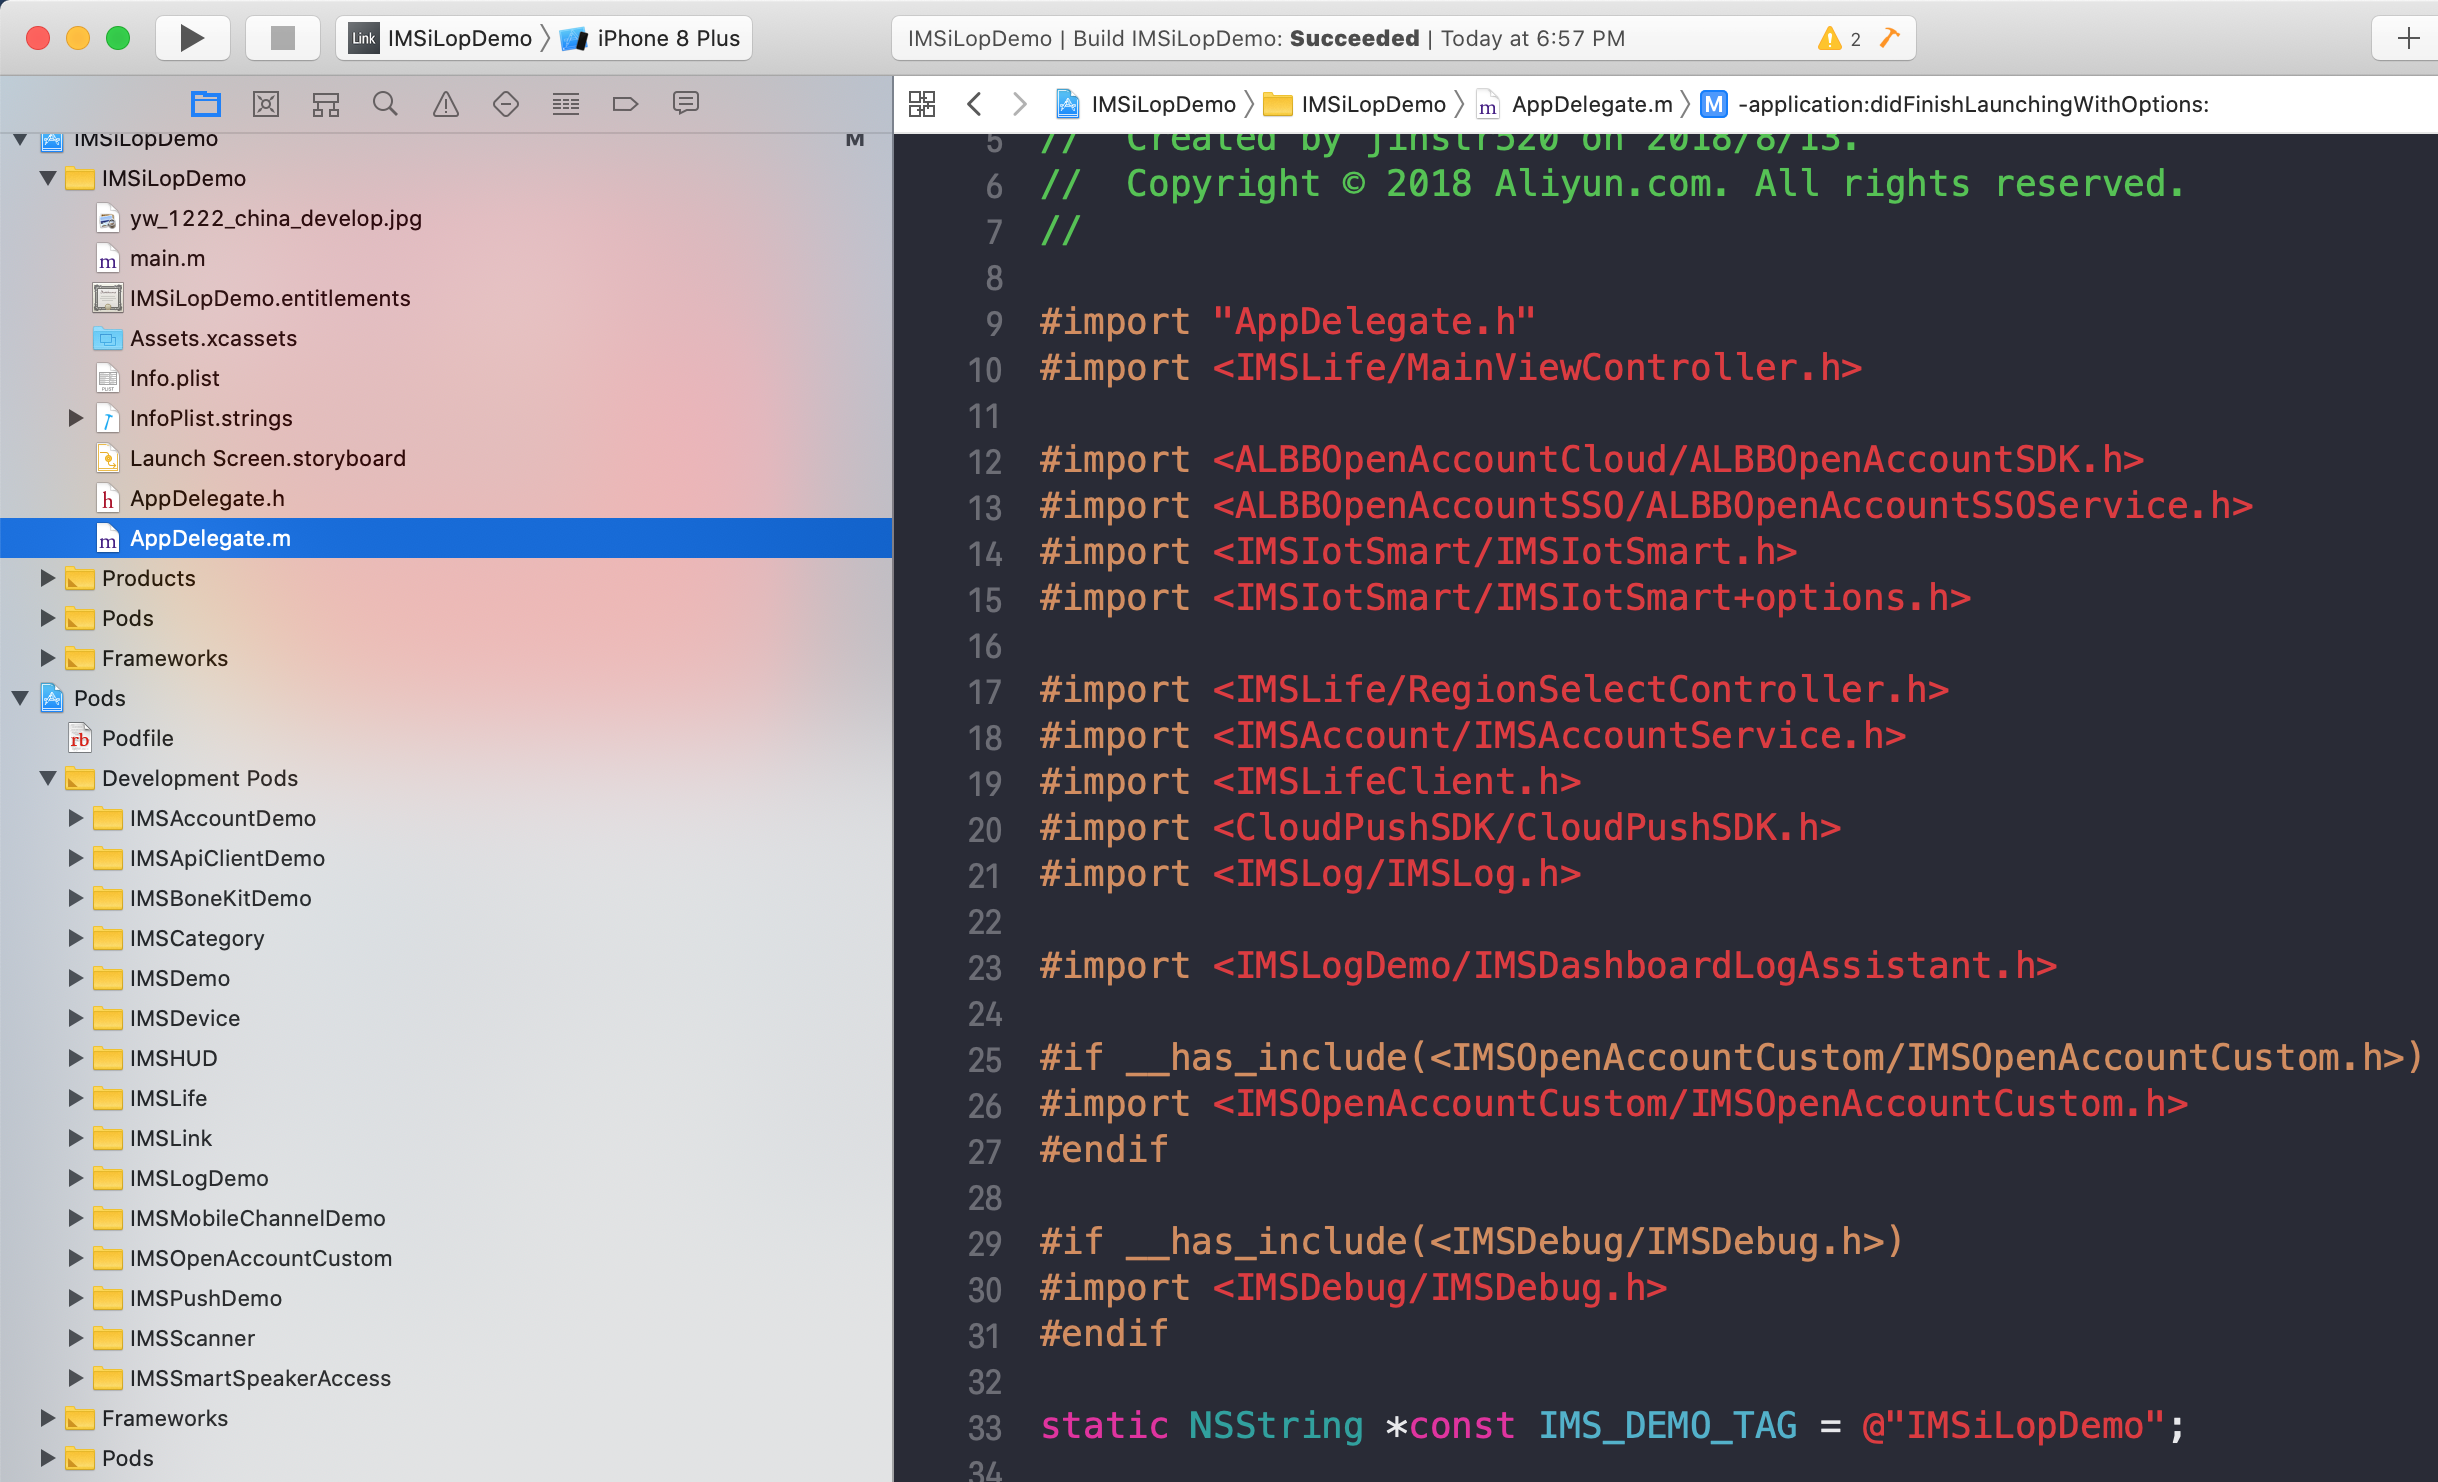
The demo app uses CocoaPods to manage business modules. The main project includes a security image, a launch screen, and the AppDelegate implementation.
yw_1222_china_production.jpg is the security image, which you can download from the IoT Platform. Launch Screen.storyboard is the launch screen. AppDelegate handles SDK initialization, switches between the logon and home pages, and processes the Mobile Push logic.
The SDK initialization uses a unified interface. For more information, see SDK initialization.
The UI of the demo app is organized into tabs and is primarily implemented by the IMSLife and IMSLink libraries in Pods.
- IMSLife provides a feature demonstration for the business demo and includes the main framework for the app. It supports device discovery, network provisioning, device attachment, and functions to retrieve and control device status.
- IMSLink is based on the basic software development kit (SDK). It is primarily used to implement the middle tab, which is the debug page.
- The main Pod libraries are SDK code samples:
- IMSAccountDemo: A demo for accounts. It provides functions for account logon and logoff.
- IMSApiClientDemo: A demo for the API channel. It is used to request services from IoT Platform interfaces.
- IMSBoneKitDemo: A demo for the BoneMobile container. It demonstrates the container's capabilities and interfaces.
- IMSLogDemo: A demo for the logging feature.
- IMSMobileChannelDemo: A demo for the persistent connection channel. It demonstrates functions such as subscribing to and sending messages.
- IMSPushDemo: A demo for Mobile Push. It demonstrates how to submit notification messages.
Run the demo app
- Create a proprietary app in the console and download the demo app. For more information, see Create a proprietary app.
- Integrate the security image. For more information, see Integrate the security image.
Note Do not rename the security image. Renaming the security image will cause the SDK initialization to fail. After you download the image, place it directly in the `code-based project` folder of the application.
- Compile and run the demo app in Xcode.
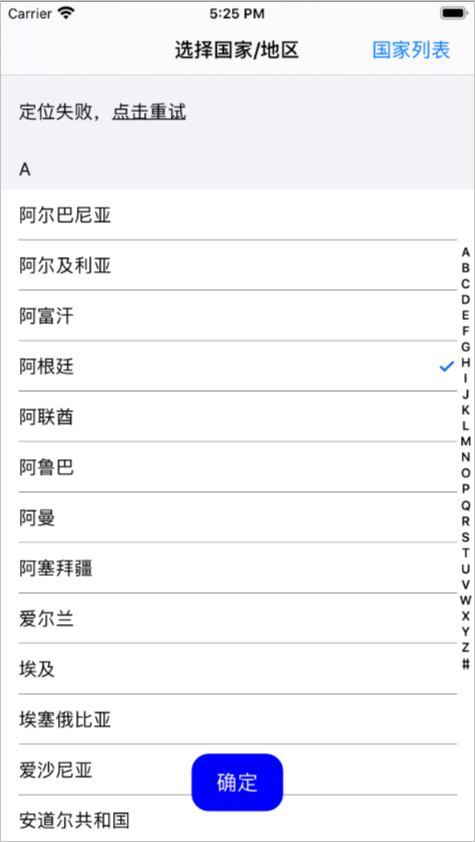
When the demo app starts, the country/region selection page appears. Select a country or region to proceed to the app logon interface.
Demo app business logic
- Log on to the proprietary app.
- Start the app and select a country or region.
- After you select a country or region, the logon interface appears.
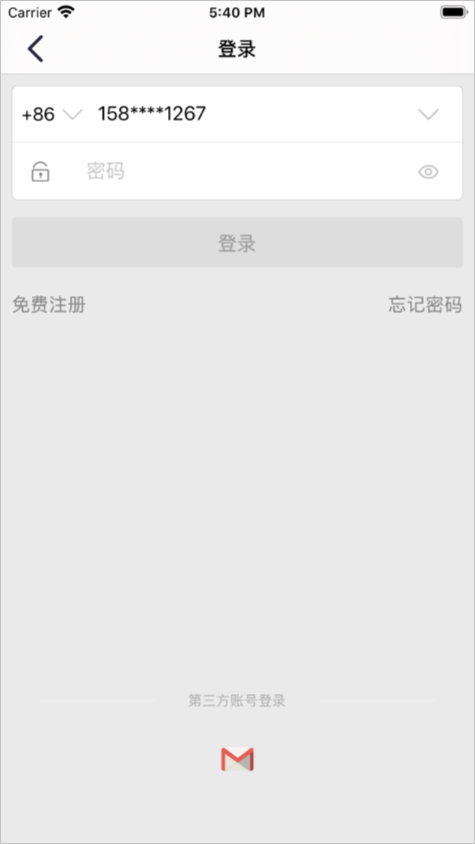
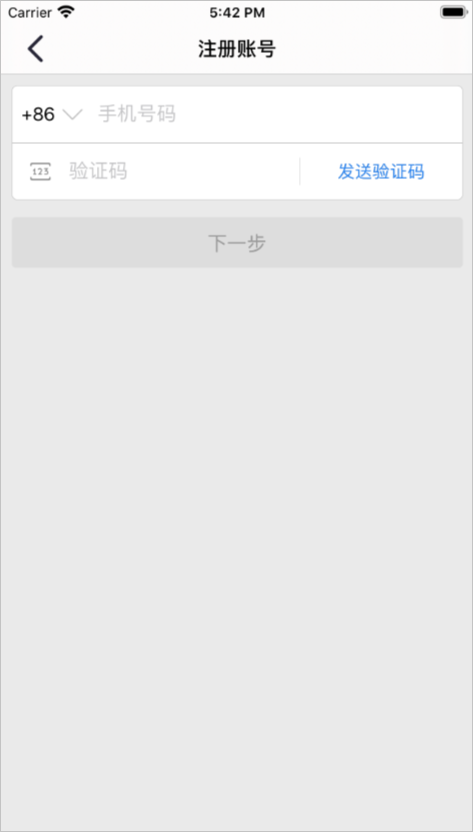
- Click Register for free to open the registration page.
- Enter the mobile number that you want to use for registration and click Send SMS verification code.

- In the SMS verification code field, enter the received verification code and click Next.
- Set the logon password to complete the logon process.
- Start the app and select a country or region.
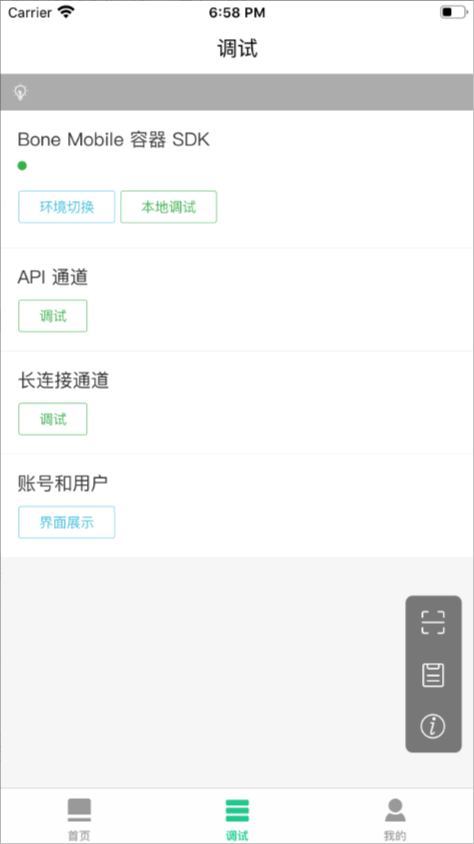
- Set up the debug interface.
IMSSDKEntryProtocol is the entry protocol for displaying each SDK module. All SDK usage examples follow this display entry protocol. For example,
@interface SDKEntryApiClient () <IMSSDKEntryProtocol>is the demo for the API channel SDK.When the demo project starts, the
getAllClassesmethod finds classes that follow the@protocol IMSSDKEntryProtocolprotocol. The method then uses the DisplayLevel in thegetSDKDisplayConfigof each class to display them in order on the home page. The source code samples for each SDK module are in the LocalPods directory. To help you study the sample source code, the following table maps the submodule source filenames to their display names.File name Interface display name SDKEntryBoneKit Bone Mobile Container SDK SDKEntryApiClient API Channel SDKEntryMobileChannel Persistent Connection Channel SDKEntryAccount Account and User SDKEntryPush Mobile Application Push - Control the default virtual device.
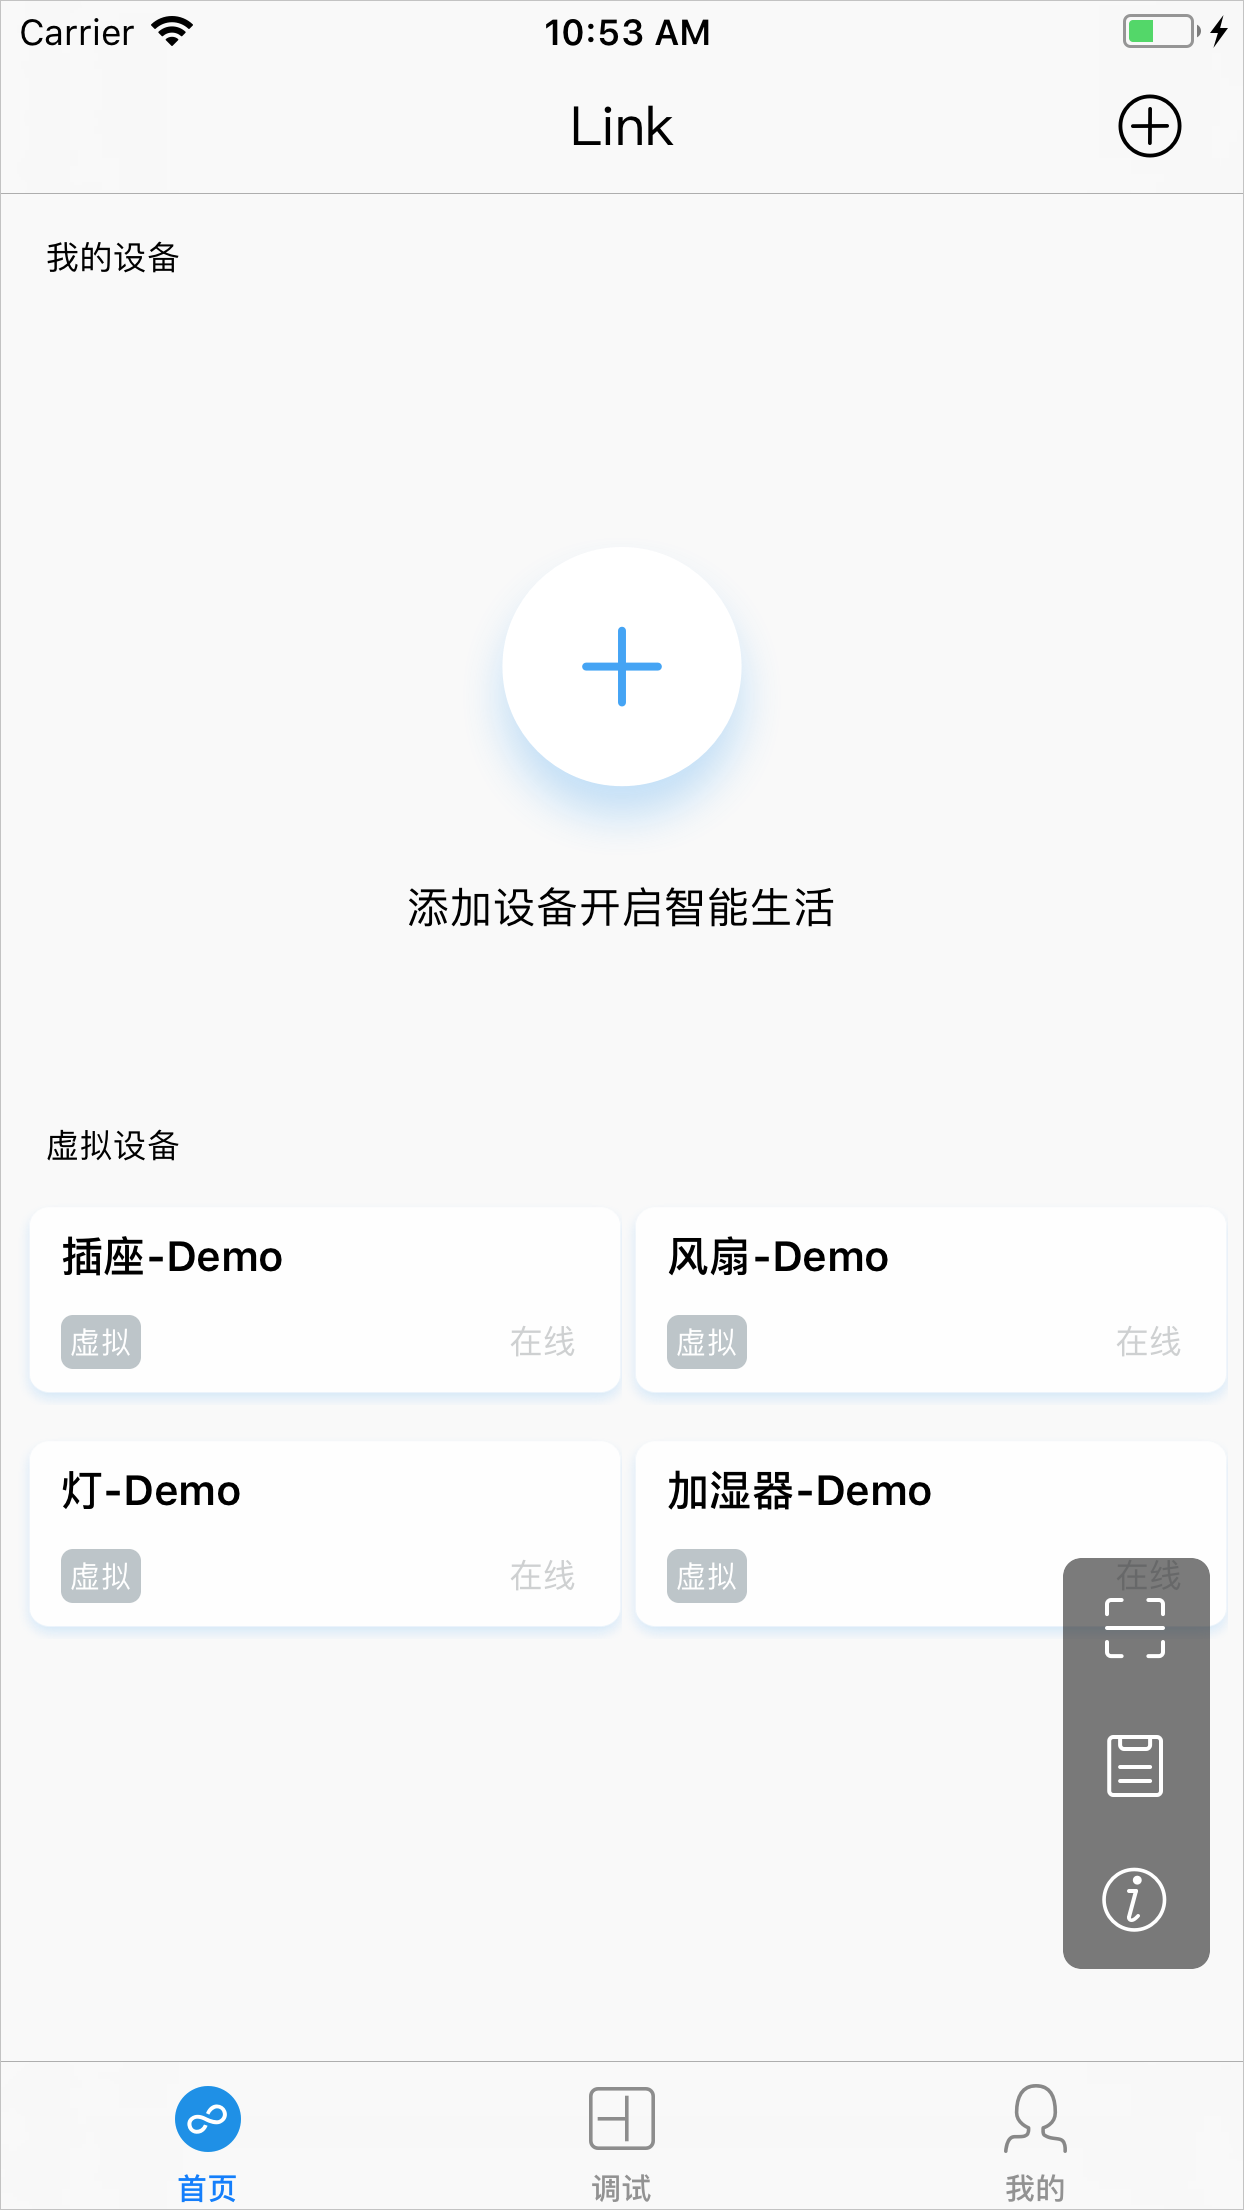
- Navigate to the home page, as shown in the following figure.
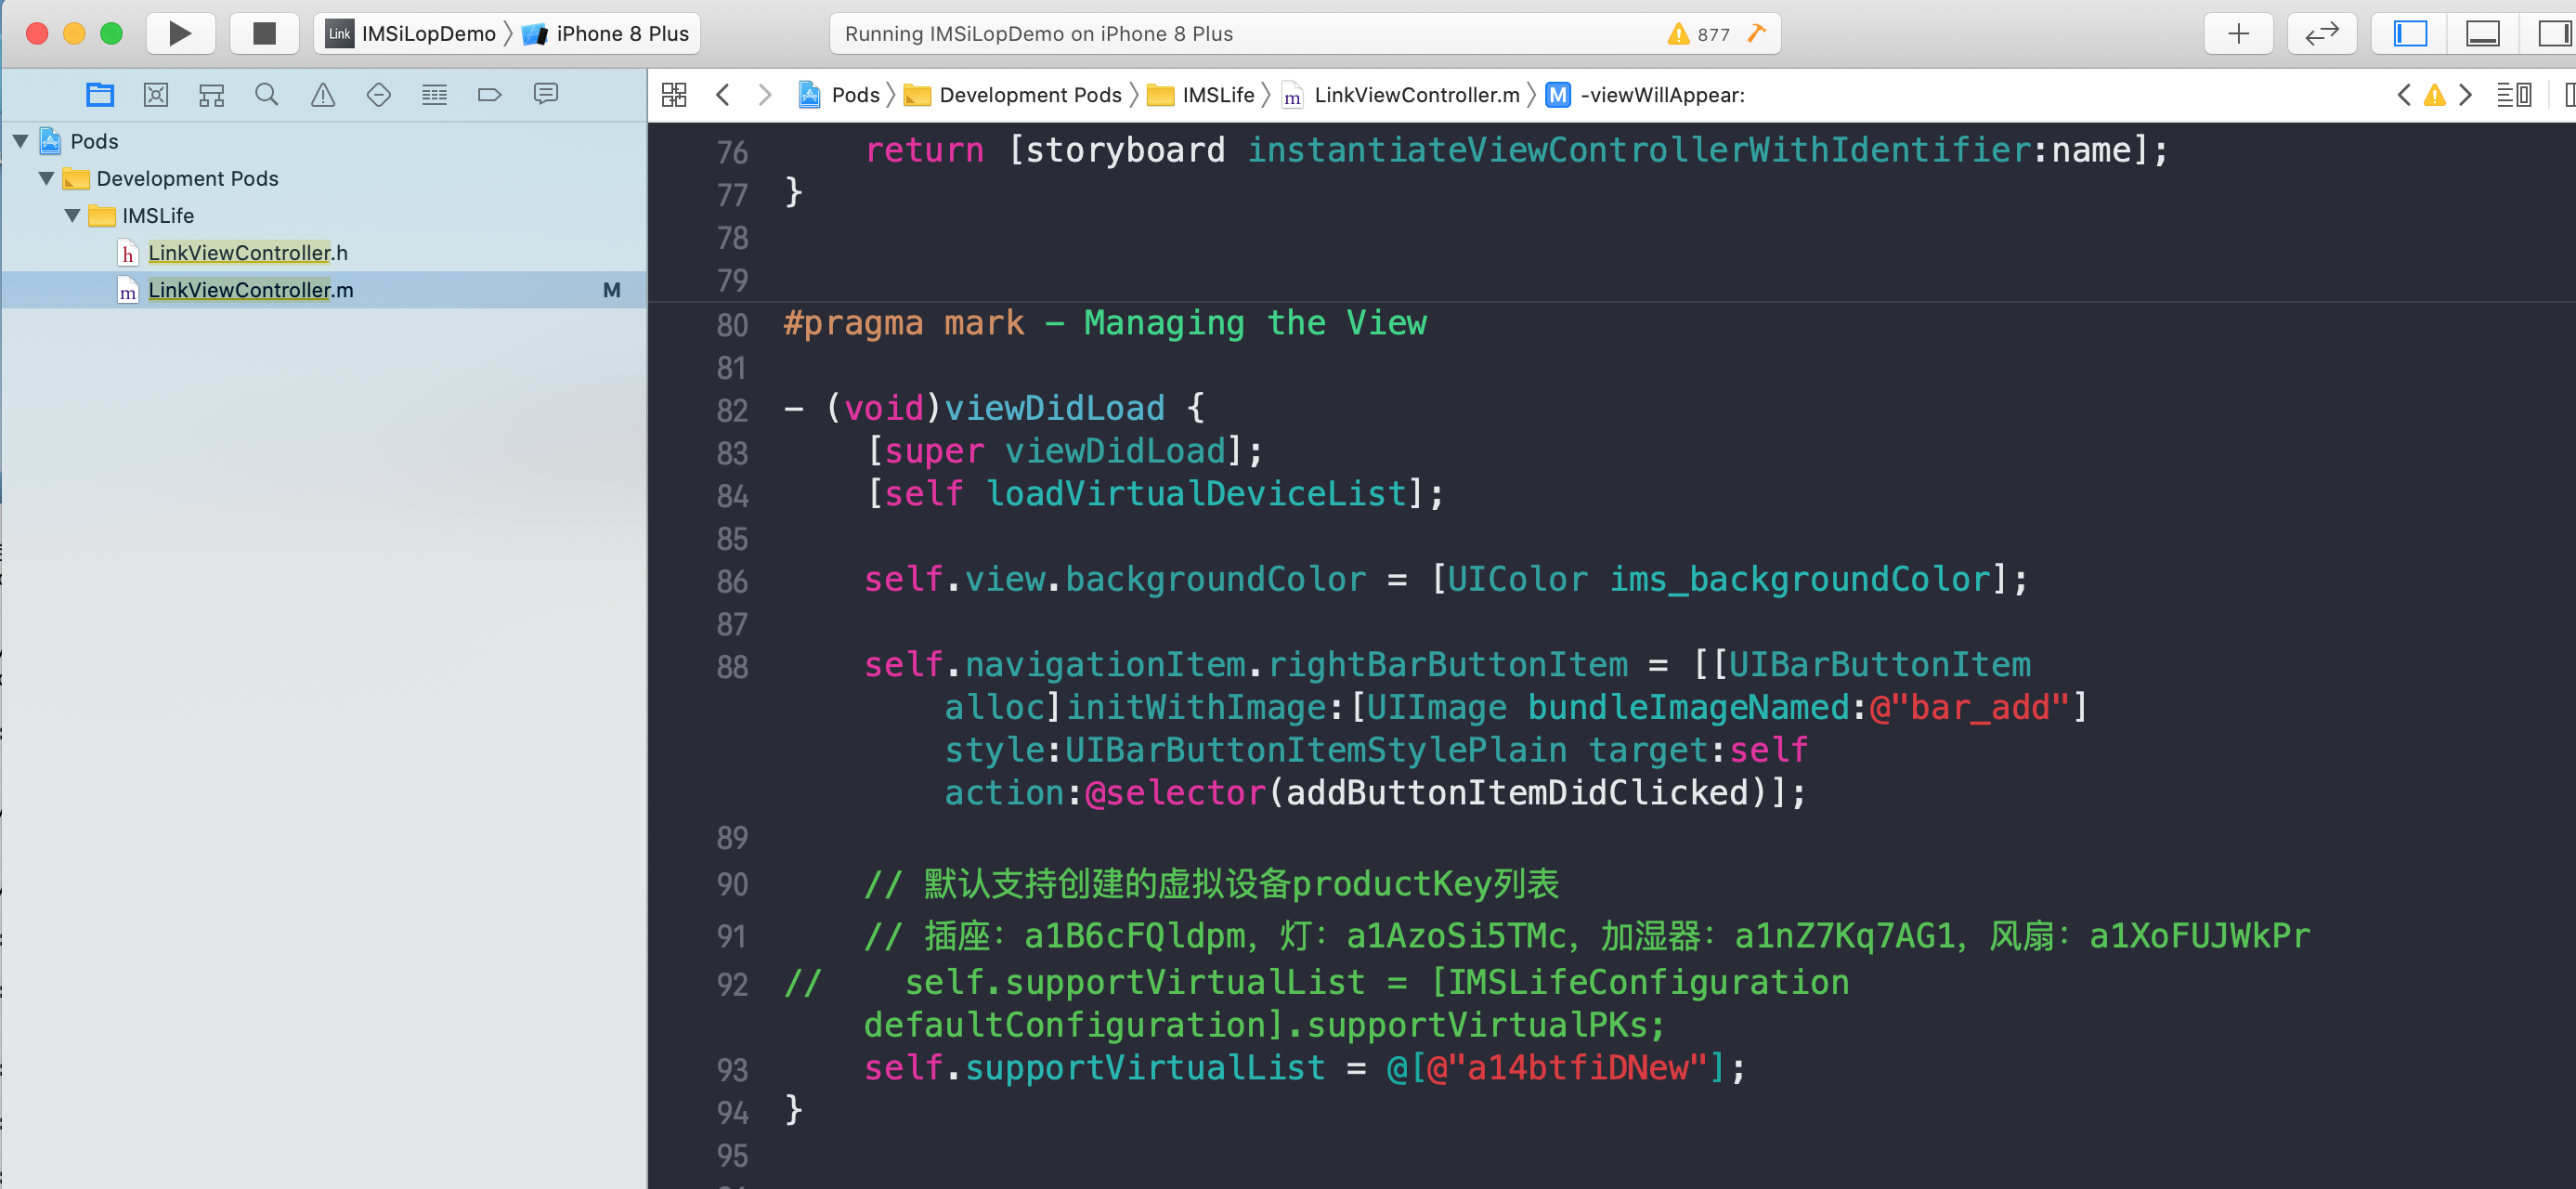
The four virtual devices shown are not created by default. To create and test these virtual devices, you must modify the code. In the LinkViewController.m file, add the productKey of the product that you created in your project to the supportVirtualList variable. Then, compile and run the project.
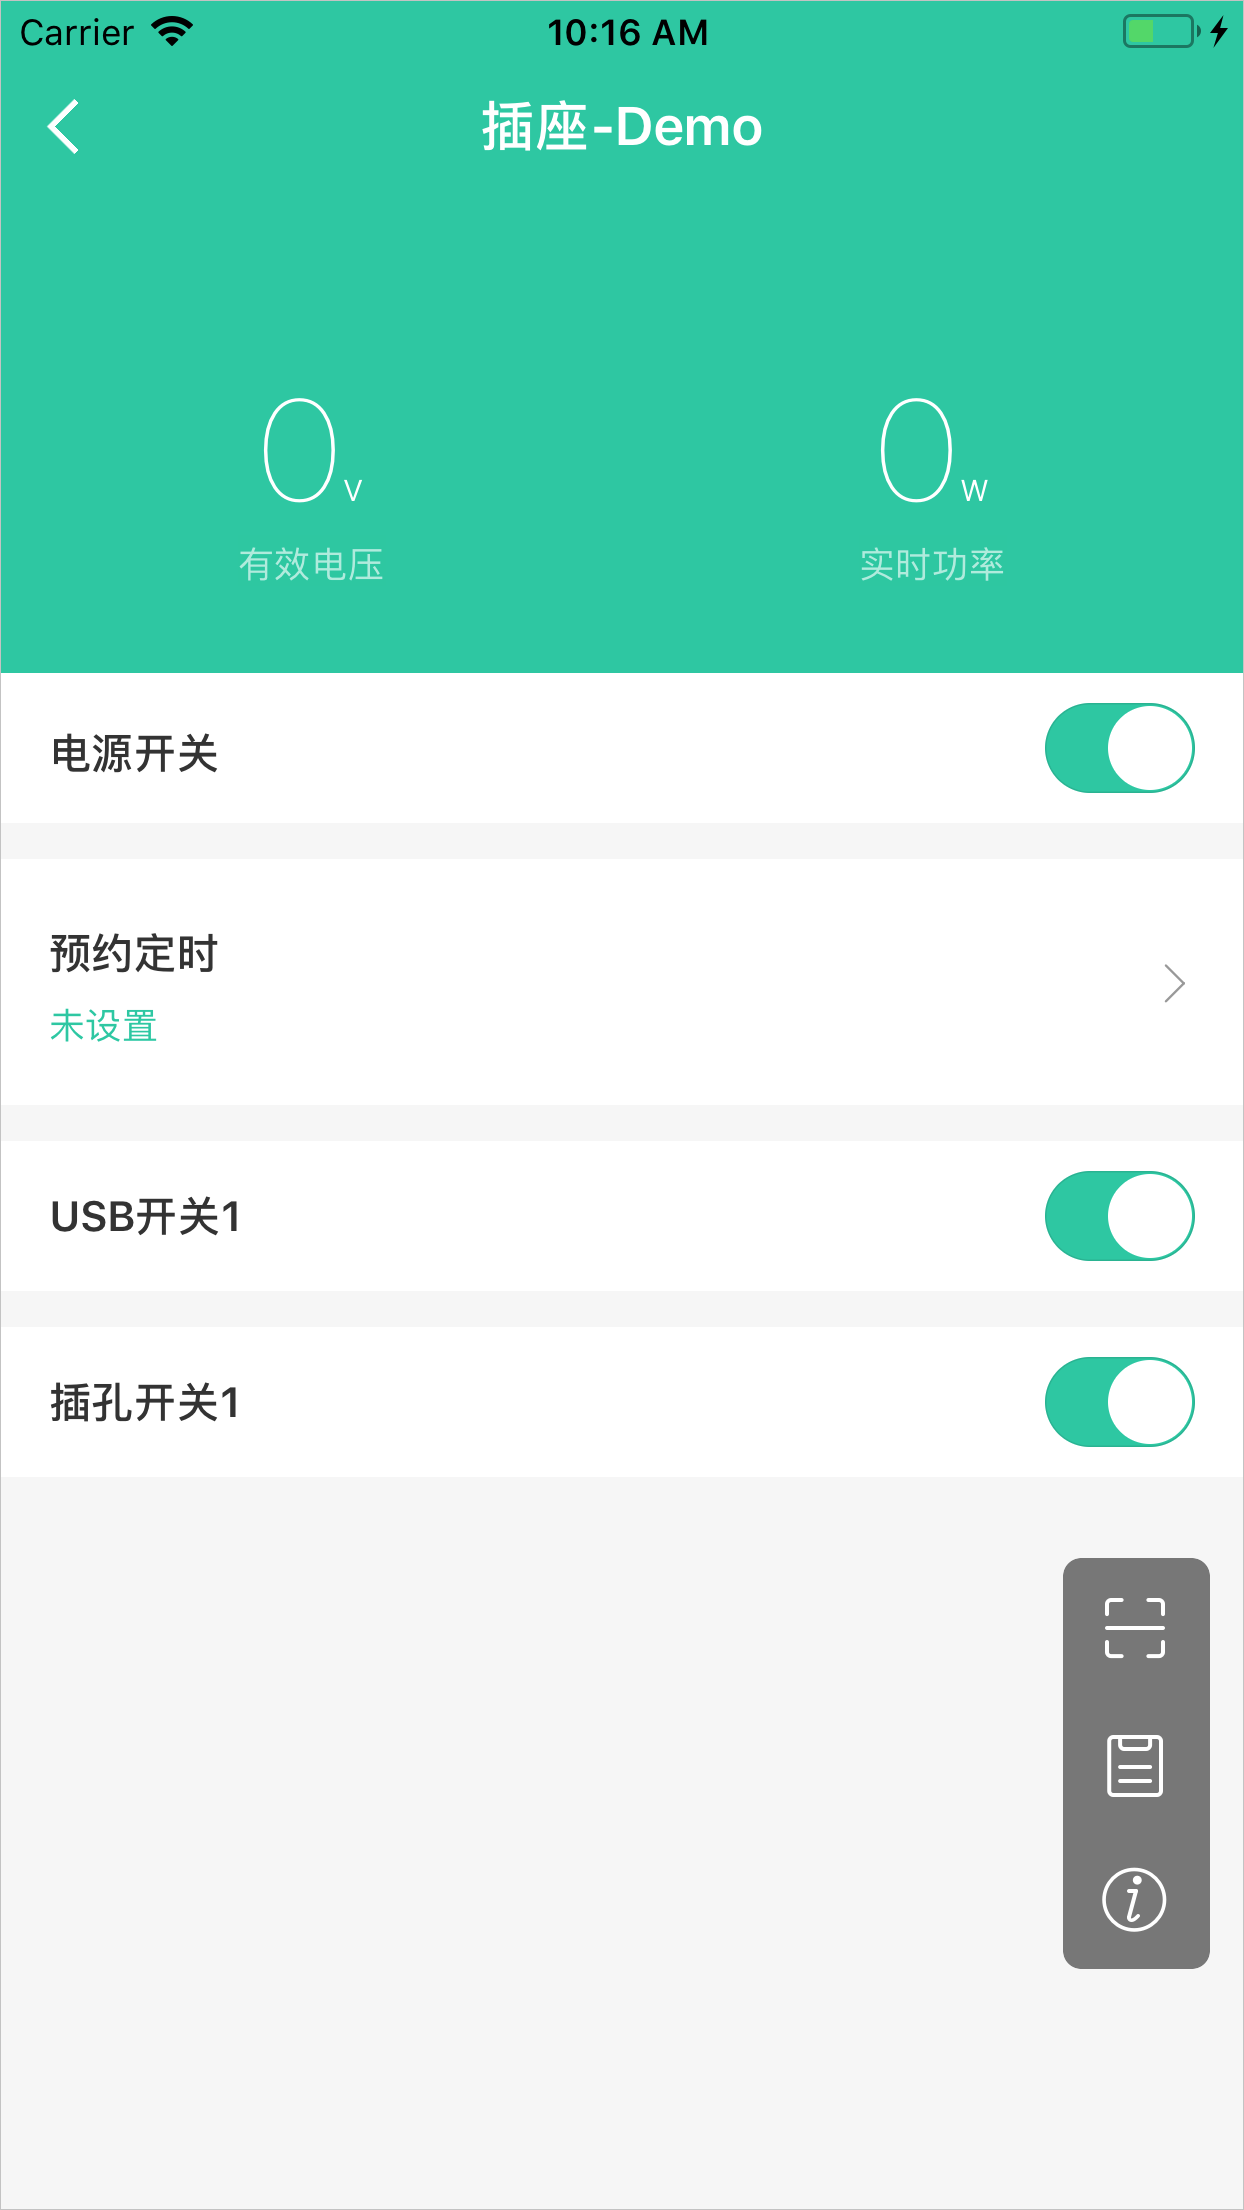
- (void)viewDidLoad { [super viewDidLoad]; self.view.backgroundColor = [UIColor ims_backgroundColor]; self.navigationItem.rightBarButtonItem = [[UIBarButtonItem alloc]initWithImage:[UIImage bundleImageNamed:@"bar_add"] style:UIBarButtonItemStylePlain target:self action:@selector(addButtonItemDidClicked)]; // After you create a device in the console, you can set the productKey list to automatically generate virtual devices. // For example: @[a1B6cFQldpm, a1AzoSi5TMc, a1nZ7Kq7AG1, a1XoFUJWkPr] self.supportVirtualList = @[]; } - Click a device to open its panel page.
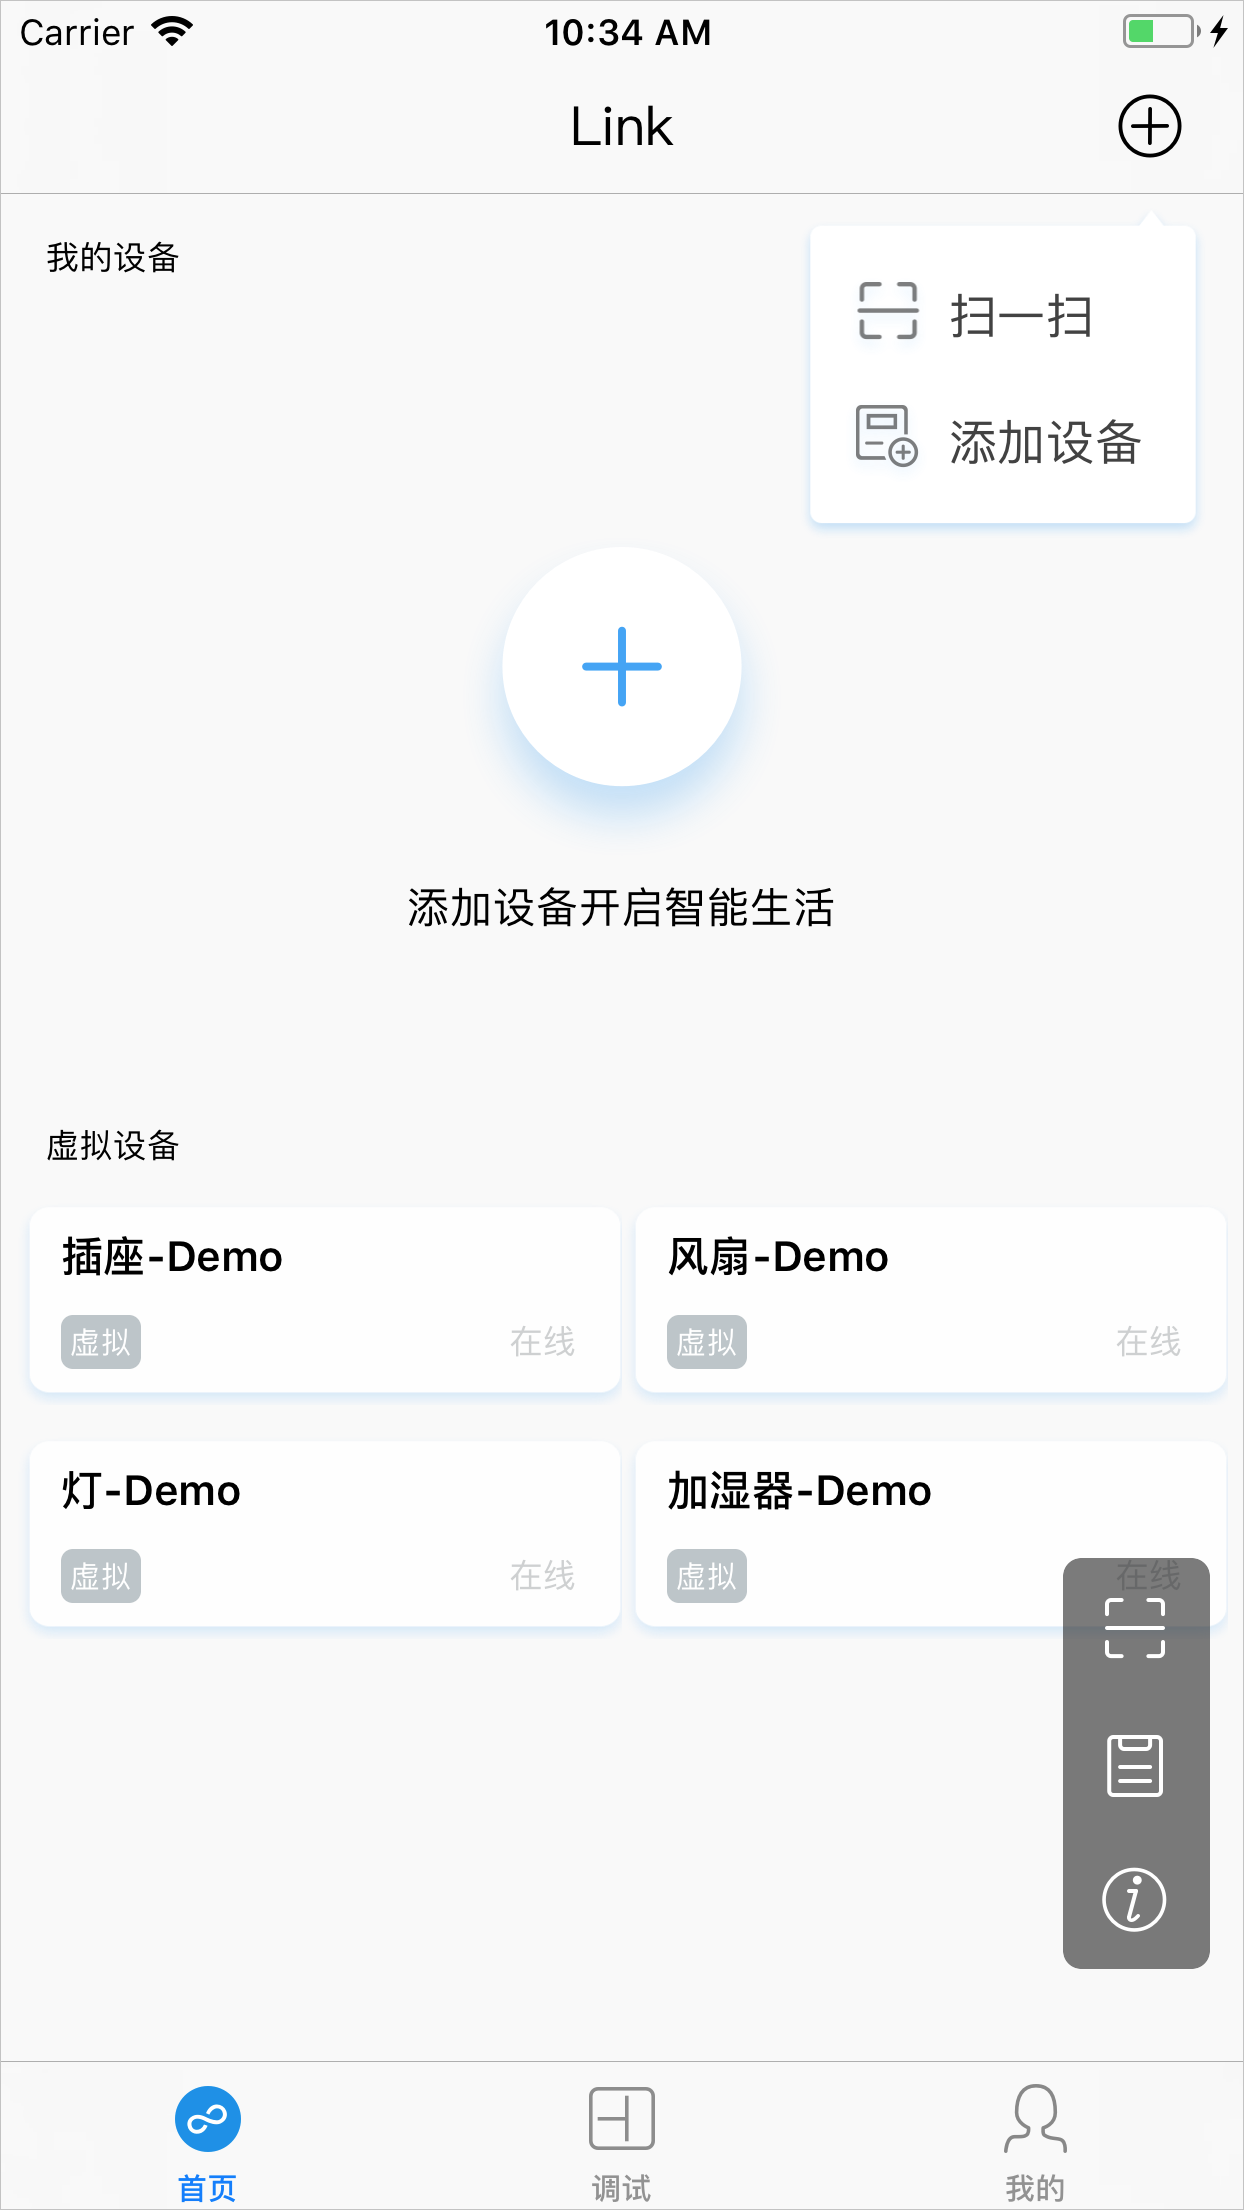
- Navigate to the home page, as shown in the following figure.
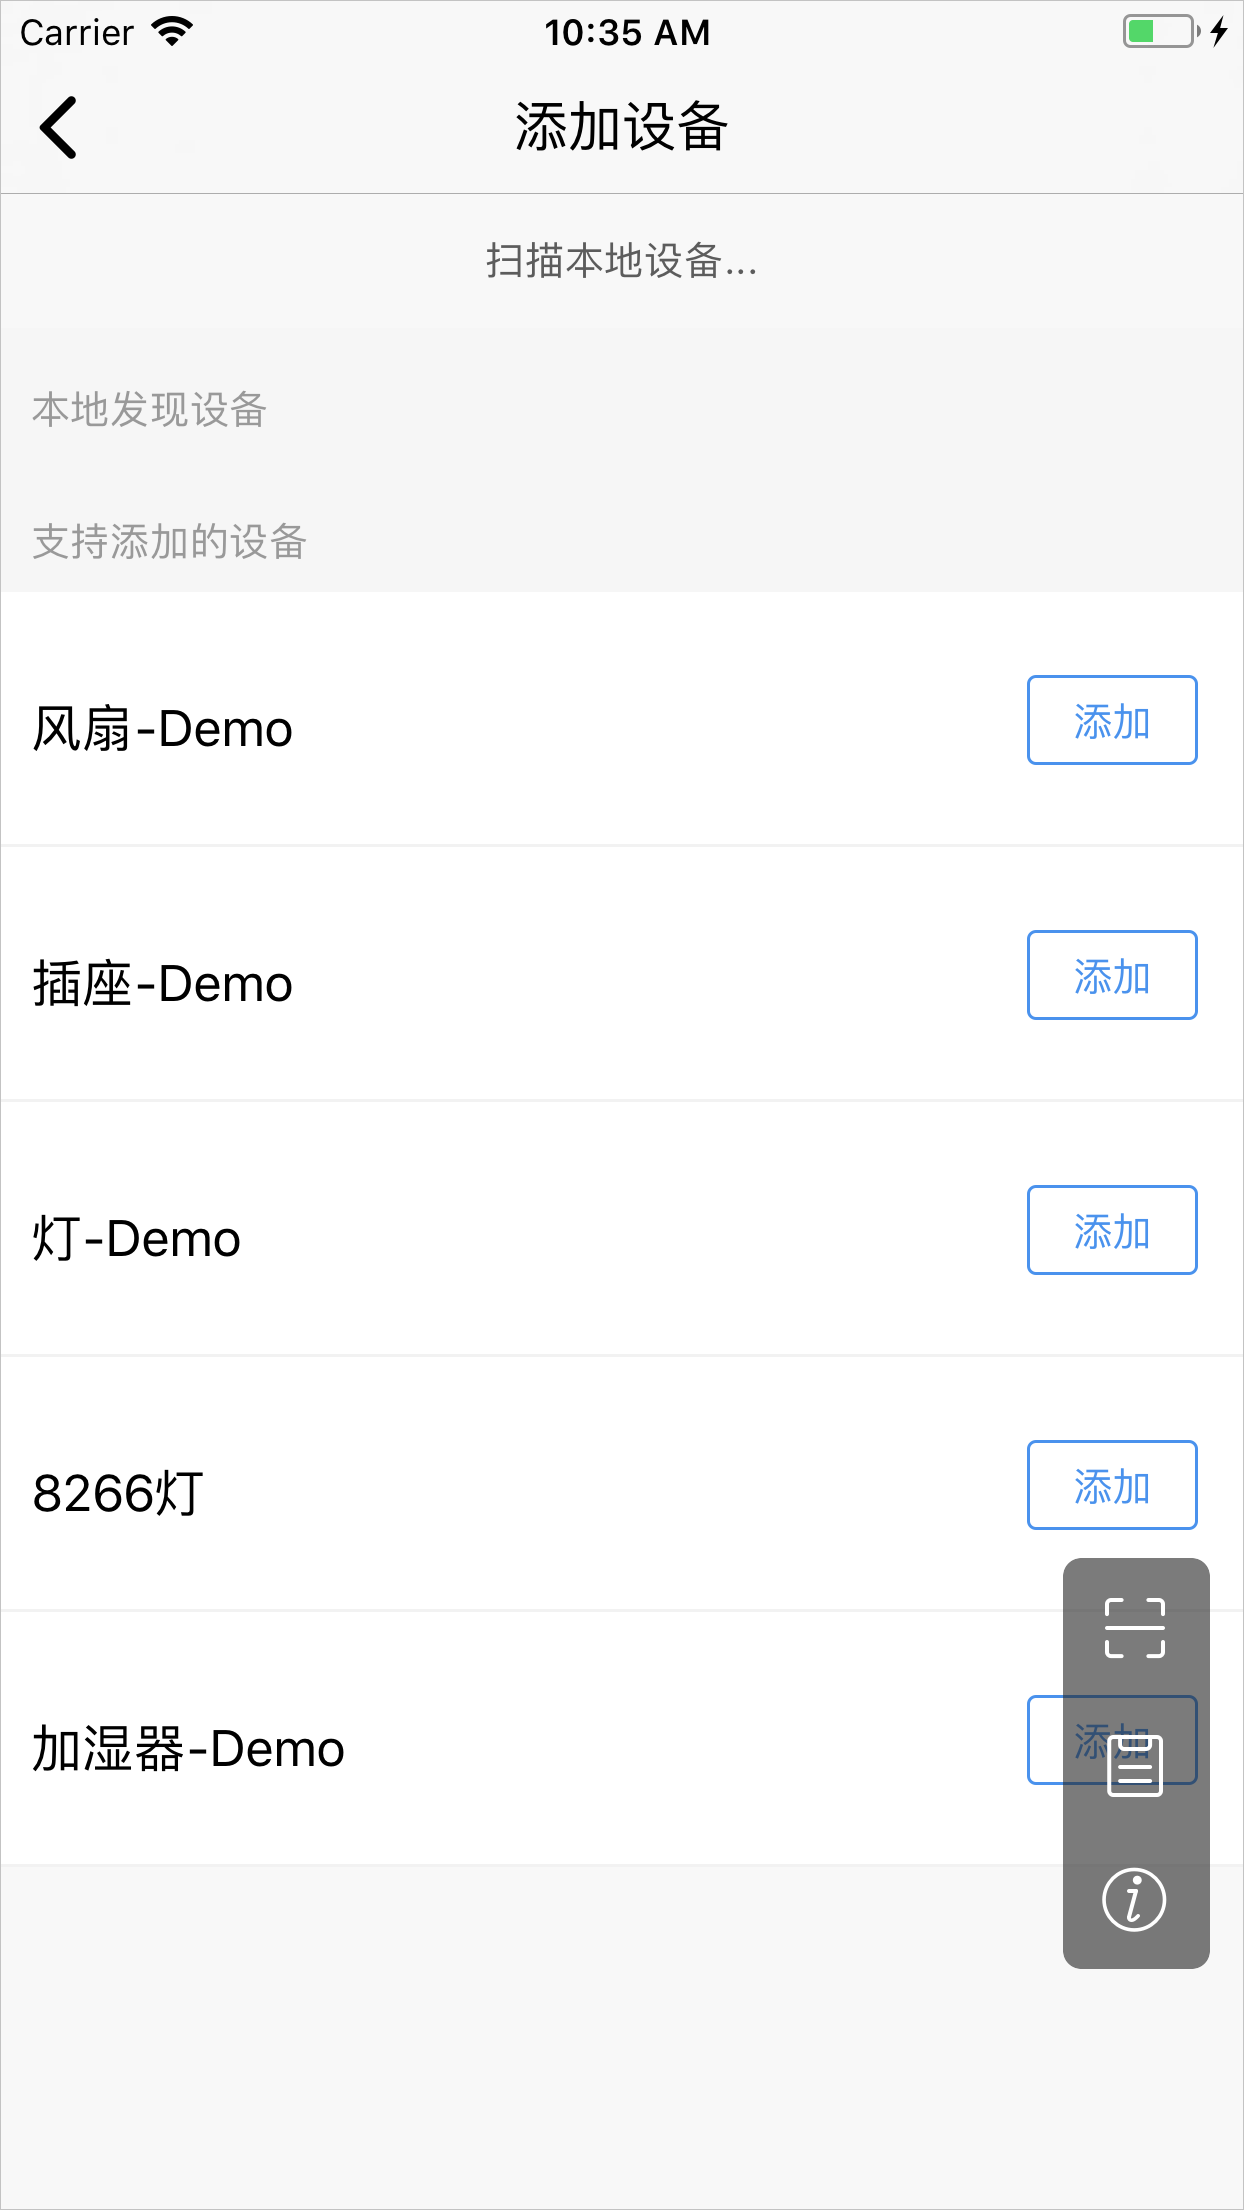
- Add a device.
- Click the plus sign (+) in the upper-right corner of the home page and select Add Device.
- Select a device category to go to the Add Device page.
To add a device from the product list, use the product that corresponds to the project. Currently, no physical devices are available for this step. To test this flow, you must develop a proprietary device.
You can add devices in two ways.
- From the product list: Add a supported device, as shown in the figure above.
- Local discovery: If a device supports the zero-configuration network provisioning solution, it appears as a discovered on-premises device, as shown in the figure above.
- Click the plus sign (+) in the upper-right corner of the home page and select Add Device.
Create a virtual device for a product
If you do not have a physical device to test the end-to-end flow, you can use a virtual device for testing and development. This section describes how to create a virtual device for your product.
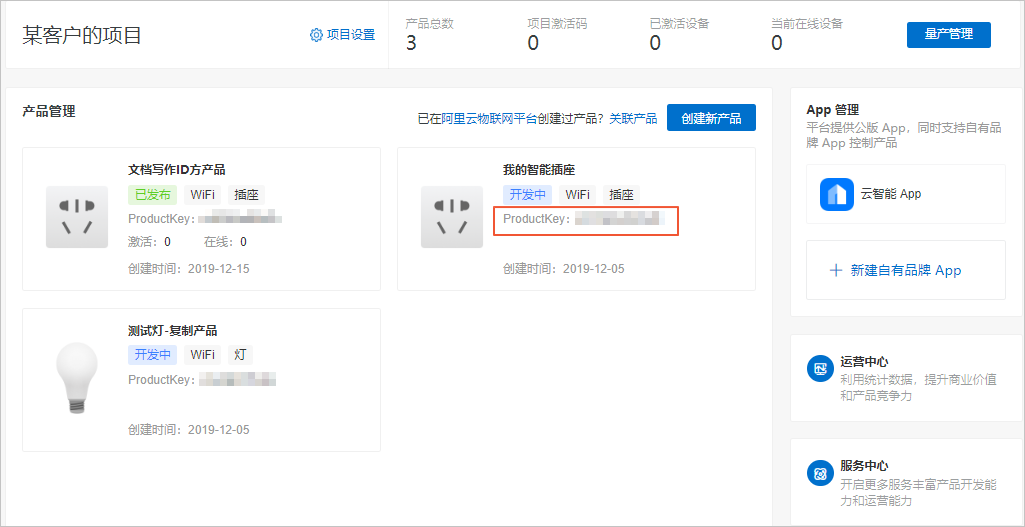
- In LinkViewController.m, replace the sample productKey with the productKey of your product.
self.supportVirtualList = @[@"axxxxeW",@"axxxxNe"];
Note You can create one virtual device for each product. To create virtual devices for multiple products, separate the productKeys with commas. For example:self.supportVirtualList = @[@"a14btFiDNeW", @"a1PCB67lxlP"];. - Compile and run the app in Xcode.
If the `localMsg` in the project displays the message "This route does not exist. Please confirm with technical support.", you must configure the device panel. To do this, go to Product > Human-Computer Interaction in the IoT Platform console.
- Log on to the app again to use the virtual device and test the controls for your product.