In Global Settings, you can manage all workspaces for the current tenant. This includes viewing, creating, editing, and deleting workspaces.
Create a workspace
This topic uses the creation of a standard workspace as an example. For the steps to create a cell-based workspace, see Create a cell-based workspace.
Prerequisites
You have workspace administrator permissions.
Procedure
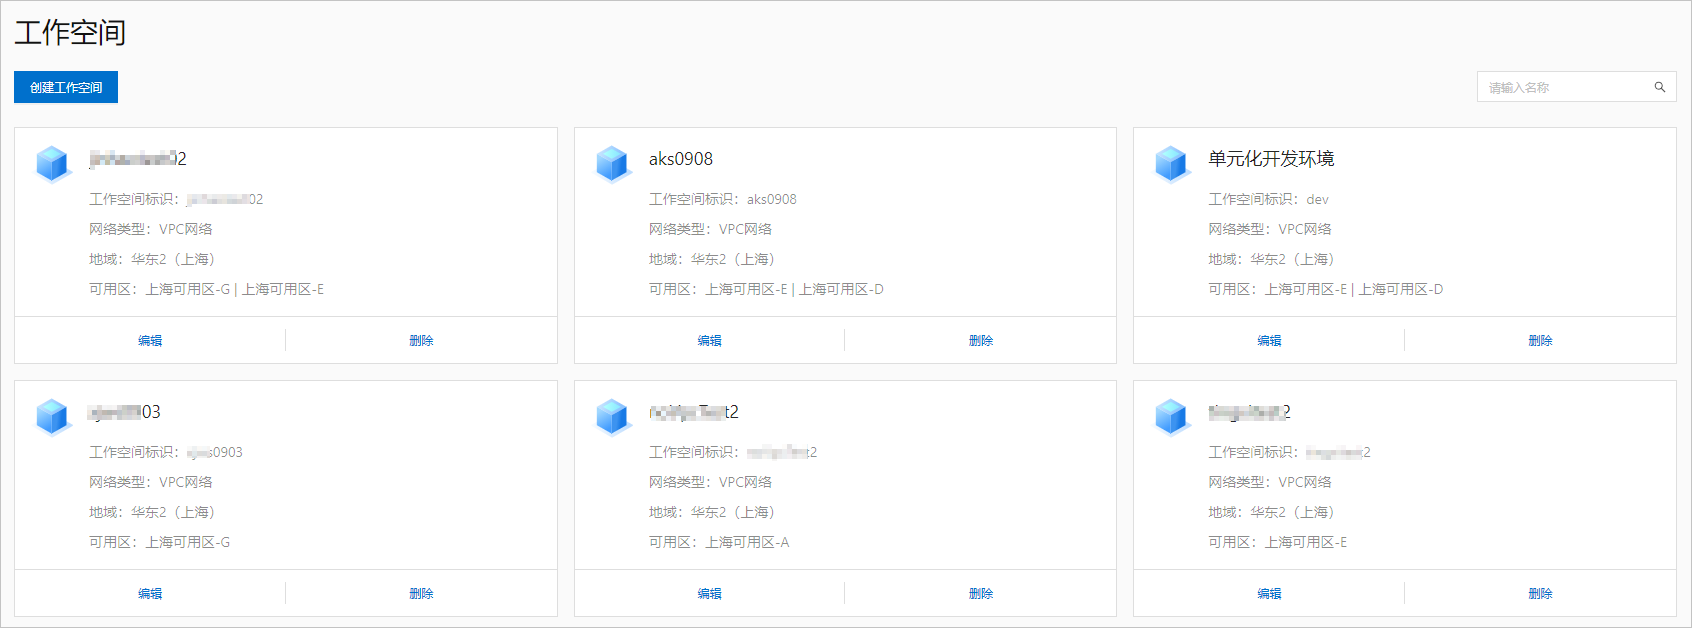
Log on to the console. In the navigation pane on the left, click the Global Settings icon in the lower-left corner to go to the Workspace Management page.
Click Create Workspace, select the Standard Workspace type, and then click Create.
Standard Workspace: A standard workspace is an organizational tool in SOFAStack. It groups and isolates resources for different purposes or stages. You can assign a workspace to each stage of your development and operations and maintenance (O&M) flow. For example, a development workspace can be in a single data center (a single zone), and a production workspace can be in two data centers (two zones).
Cell-based Workspace: This workspace type adds cell-based capabilities to a standard workspace. It is used for active-active and disaster recovery scenarios. A cell-based workspace is a collection of standard workspaces. You can use cell-based workspace groups to isolate user resources. Clusters in different workspace groups are isolated from each other.
On the Create Workspace page, enter the following basic information.
Workspace ID: The unique identifier for the workspace. It must be globally unique and cannot be changed after creation. For example: dev, test, or prod.
Workspace Name: The display name for the workspace. For example: Development Workspace, Test Workspace, or Production Workspace.
Region: The region where the workspace is located. Each workspace must belong to a region.
Network Type: The network type for the workspace. The only supported network type is virtual private cloud (VPC).
Import VPC: Enable this option to reuse an existing VPC and attach it to the workspace.
Zone: The zones configured for the workspace. You can select up to two zones. The workspace can import resources only from these configured zones. Other products, such as Classic Application Service and Disaster Recovery, use the workspace's zones for grouped deployments and switchovers.
NoteYou can select multiple zones, but each zone must have exactly one vSwitch.
Configure two zones to support architectures such as dual-data center high availability (HA).
Click Next to go to the Create VPC page.
If you enabled Import VPC in the previous step, you do not need to create a VPC in this step. This page only displays information about the VPC that will be imported.
If you did not enable Import VPC in the previous step, create a VPC in this step and enter the following information:
VPC Name: The name must be 2 to 128 characters long. It must start with a letter and can contain digits, underscores (_), and hyphens (-). The name cannot start with http:// or https://. We recommend that you use the same name as the workspace.
VPC CIDR Block: The CIDR block for the VPC. This setting cannot be changed after the VPC is created. The private IP addresses of all resources in the VPC, such as ECS, RDS, and SLB instances, are allocated from this CIDR block. The available CIDR blocks are:
10.0.0.0/9
172.16.0.0/12
192.168.0.0/16
vSwitch: Create a vSwitch for each zone. vSwitches in the same VPC can communicate with each other. Click Add vSwitch and enter the following information:
Name: Enter a name for the vSwitch.
Zone: Select the zone for the vSwitch. vSwitches in different zones within the same VPC can communicate with each other. Deploy vSwitches in different zones to enable cross-zone disaster recovery.
Custom CIDR Block: Disabled by default. If enabled, enter a CIDR block. The vSwitch CIDR block can be the same as the VPC CIDR block or a subnet of it.
Subnet Mask: If Custom CIDR Block is disabled, select a subnet mask and a CIDR block. The default subnet mask for a VPC is /16, such as 172.31.0.0/16, which provides up to 65,536 private IP addresses. The mask can range from /16 to /29, which provides from 4 to 65,532 addresses.
Description: Optional. Enter a description for the vSwitch.
Click Next to go to the Create Security Group page. Click Add Security Group and enter the following information:
Security Group Name: Enter a name 2 to 128 characters in length. It must start with a letter and can contain letters, digits, hyphens (-), and periods (.).
Description: This field is optional. You can enter a description 2 to 256 characters in length. It cannot start with
http://orhttps://.
Click OK. On the Create Security Group page, you can add security group rules or click Submit.
Switch the current workspace
On any page in the console, the name in the upper-right corner, such as default, indicates the current workspace. Hover the pointer over the name to select a different workspace from the list and set it as the current workspace.
Delete a workspace
Make sure the current workspace is not the one you want to delete. If it is, switch to another workspace first.
For more information, see Delete a workspace.
Delete resources
Before you can delete a workspace, you must delete all resources and application deployment packages within it.
Switch to the target workspace.
Go to the Resource Management > Workspace Management page to view an overview of the resources in the workspace.
Delete the resources in the workspace one by one.
Delete application deployment packages
Switch to the target workspace.
Go to the Classic Application Service > Application Deployment > Deployment Package Management page to view the list of deployment packages in the workspace.
Delete the deployment packages in the workspace one by one.
Delete the workspace
Go to the Global Settings page, select the workspace that you want to delete, and click Delete.
In the dialog box that appears, click OK.