The platform provides a two-in-one QR code for network provisioning and app download to improve the success rate of device provisioning. If you use the public app for delivery, you can print this QR code on the device or its packaging. This allows consumers to scan a single QR code to download the app, provision the network, and attach the device.
Procedure
- Log on to the IoT Platform console.
- Go to the Batch Production page for the product.
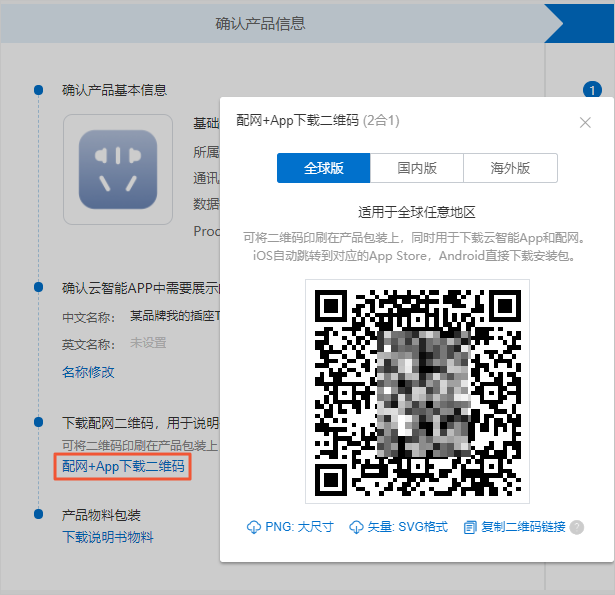
- In the Confirm Product Information area, click Network Provisioning + App Download QR Code to generate the two-in-one QR code for the product. The following figure shows an example.
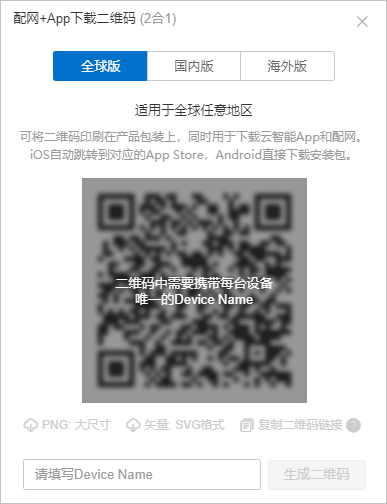
If your product connects to the network using Cellular (2G/3G/4G), the QR code must contain the unique DeviceName for each device. In this case, enter the DeviceName of the device in the input box and click Generate QR Code to generate the two-in-one QR code image.
- Download the QR code.You can download the QR code as a large PNG image or an SVG vector graph. You can also use a link to generate the QR code. These options are available below the QR code and ensure high resolution for printing.
Usage notes
When a consumer uses the Cloud Intelligence app to scan the two-in-one QR code for network provisioning, the process varies depending on the device's connection method.
- For devices that require network provisioning, such as Wi-Fi and Zigbee devices: After the QR code is scanned, the app displays an interface to enter the SSID and password. After the network is successfully provisioned, the device is attached and the main device panel opens.
- For devices that do not require network provisioning, such as Ethernet, cellular, and Bluetooth devices: After the QR code is scanned, the device is attached directly, and the main device panel opens.