The tenant resource isolation feature in OceanBase prevents interference between different users within the same tenant. This feature allows users to run tasks independently, securely, and efficiently in an environment with shared compute resources.
Background information
The resource isolation feature partitions tenant resources into multiple logical units. This prevents one unit from over-consuming resources and affecting other units. Effective resource control can also reduce the number of clusters, which lowers O&M complexity and management costs.
OceanBase uses resource groups to implement resource isolation. Accounts are then assigned to these resource groups to use the allocated resources.
Prerequisites
You can enable the fencing optimization feature when purchasing an instance.
NoteThe isolation optimization feature must be enabled through a whitelist. For more information, see Isolation optimization.
The database version must meet the following requirements:
For 3.x series databases, the version must be V3.2.4 or later, and the instance must have 14 or more CPU cores.
For 4.x series databases, the version must be V4.2.1 or later, and the instance must have 8 or more CPU cores.
Manage resource groups
Log on to the OceanBase Management Console .
In the navigation pane on the left, click Instance List.
In the instance list, find the target cluster instance and click its name to open the Cluster Instance Workbench.
(Optional) If you are using the resource isolation feature for the first time, you can enable it in the Cluster Instance Workbench.
To the right of Tenant Resource Isolation, click Enable.

In the dialog box that appears, review the notes for enabling resource isolation, and then click OK.
ImportantThe instance restarts when you enable the resource isolation feature. Ensure that your application has a reconnection mechanism. Proceed with caution.

In the navigation pane on the left, click Tenant Management. In the tenant list, click the target tenant to open the Tenant Workbench page.
In the navigation pane on the left, click Resource Management.
On the Resource Management page, you can view the information about the resource groups.
Create a resource group
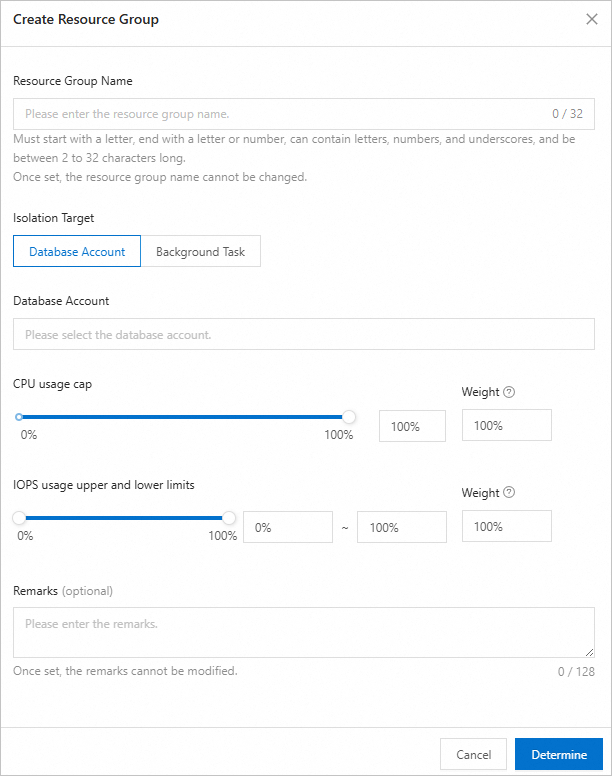
On the Resource Management page, click Create Resource Group.

In the Create Resource Group dialog box, configure the resource group.
Parameter
Description
Resource Group Name
The name of the resource group.
Isolation Object
Select to isolate by Database Account or Background Task. This creates a mapping that directs all SQL statements from the selected account or task to use the resources of this resource group.
Database Account
From the drop-down list, select the account to assign to the resource group.
Background Task
From the drop-down list, select the background task to assign to the resource group.
CPU Usage Limit
The maximum CPU resources that the resource group can use.
NoteThe CPU limit for each resource group can be set to 100%. If resource contention occurs between groups, the system allocates resources based on the weight of each group.
IOPS Usage Limit
The maximum IOPS that the resource group can use.
NoteThe IOPS limit for each resource group can be set to 100%. If resource contention occurs between groups, the system allocates resources based on the weight of each group.
Remarks
Enter remarks for the resource group.
Click OK. Resource isolation takes effect after the resource group is created.
Edit a resource group
On the Resource Management page, find the target resource group and click Edit in the Actions column.

On the Edit Resource Group page, modify the resource group configuration.
Parameter
Description
Isolation Object
Select to isolate by Database Account or Background Task. This creates a mapping that directs all SQL statements from the selected account or task to use the resources of this resource group.
Database Account
From the drop-down list, select the account to assign to the resource group.
Background Task
From the drop-down list, select the background task to assign to the resource group.
CPU Usage Limit
The maximum CPU resources that the resource group can use.
NoteThe CPU limit for each resource group can be set to 100%. If resource contention occurs between groups, the system allocates resources based on the weight of each group.
IOPS Usage Limit
The maximum IOPS that the resource group can use.
NoteThe IOPS limit for each resource group can be set to 100%. If resource contention occurs between groups, the system allocates resources based on the weight of each group.
Click OK.
Delete a resource group
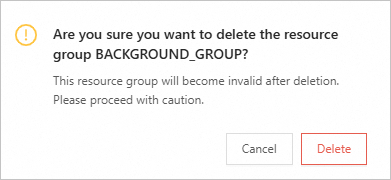
On the Resource Management page, find the target resource group, click the More icon in the Actions column, and then click Delete.

In the dialog box that appears, confirm the information and click Delete.