The Alibaba Cloud proprietary channel and some vendor channels support custom notification sounds. You can specify a sound for a notification channel by setting the sound file path when you create the channel. This topic describes how to implement custom notification sounds for Mobile Push.
Channel support
Category |
Channel list |
Notes |
Channels that support custom sounds |
|
|
Channels that do not support custom sounds |
|
Custom sounds for Android
Alibaba Cloud proprietary channelcustom ringtone implementation
For Android 8.0 and later, you can specify a sound when you create a custom notification channel on the client.
Procedure:
1. Place the sound file in the client project
For example, if your sound file is named alicloud_notification_sound.mp3, place it in the app/src/main/res/raw/ folder of your client project. The full path is app/src/main/res/raw/alicloud_notification_sound.mp3.
2. Create a custom notification channel on the client
When you create the notification channel, call setSound() to specify the sound for the channel.
if (Build.VERSION.SDK_INT >= Build.VERSION_CODES.O) {
    NotificationManager mNotificationManager = (NotificationManager) getSystemService(Context.NOTIFICATION_SERVICE);
    // The ID of the notification channel.
    String channelId = "${channel_id}"; // Provide this ID to your backend developers and O&M engineers. It corresponds to the AndroidNotificationChannel parameter during a push.
    // The name of the notification channel visible to users.
    CharSequence name = "${channel_description}";
    int importance = NotificationManager.IMPORTANCE_HIGH;
    NotificationChannel mChannel = new NotificationChannel(channelId,
                                          name, importance);
    // Configure the properties of the notification channel.
    //  Custom sound
    mChannel.setSound(Uri.parse("android.resource://" + this.getPackageName() + "/" + R.raw.alicloud_notification_sound), Notification.AUDIO_ATTRIBUTES_DEFAULT);
    // Finally, create the notification channel in the notification manager.
    mNotificationManager.createNotificationChannel(mChannel);
}
3. Configure parameters for server-side push notifications
When you push a notification from the server-side, configure the AndroidNotificationChannel parameter.
The following table describes the AndroidNotificationChannel field.
Name |
Type |
Description |
AndroidNotificationChannel |
string |
When you push a notification from the server-side, set the AndroidNotificationChannel parameter to the channel_id that was used when the notification channel was created on the Android client. |
For more information about AndroidNotificationChannel, see Advanced push.
When you push a notification from the server-side, set the parameter based on the channel_Id of the notification channel created in Step 2. The following code provides an example:
PushRequest pushRequest = new PushRequest();
...
pushRequest.setAndroidNotificationChannel("${channel_id}"); // Set the channel ID.
...Calling setSound() to specify a sound has no effect on Xiaomi devices when you create a channel on the client. Therefore, custom sounds for the Alibaba Cloud proprietary channel are not supported on Xiaomi devices.
The sound is a property of the notification channel. After a notification channel is created, all messages pushed to this channel use the sound that was set during creation. The sound cannot be changed later.
Implement custom sounds for the Huawei channel
The Huawei channel provides two methods to implement custom sounds. The first method is to include the sound file path field in the first service and communication message that you push to the application. The second method is to use a custom notification channel. The second method is available only for applications with a data processing location outside China. This method is not available for applications with a data processing location in China.
Method 1: Include the sound file path field in the first service and communication message
On February 28, 2023, Huawei released the Notice on Huawei Message Classification Adjustment. On systems with EMUI 10.0 and later, push messages are classified into two categories: Service and communication and News and marketing.
Service and communication messages use sound alerts. News and marketing messages are delivered silently.
Message type |
Alert method |
Push limit |
Service and communication |
Lock screen, sound, vibration |
Unlimited |
News and marketing |
Silent notification. The message is displayed only in the notification bar. |
The number of daily pushes is limited based on the application category. For more information, see Detailed Rules for Push Quota Management |
You can set a custom notification sound by including the sound file path field when you first push a service and communication message to the application.
Procedure:
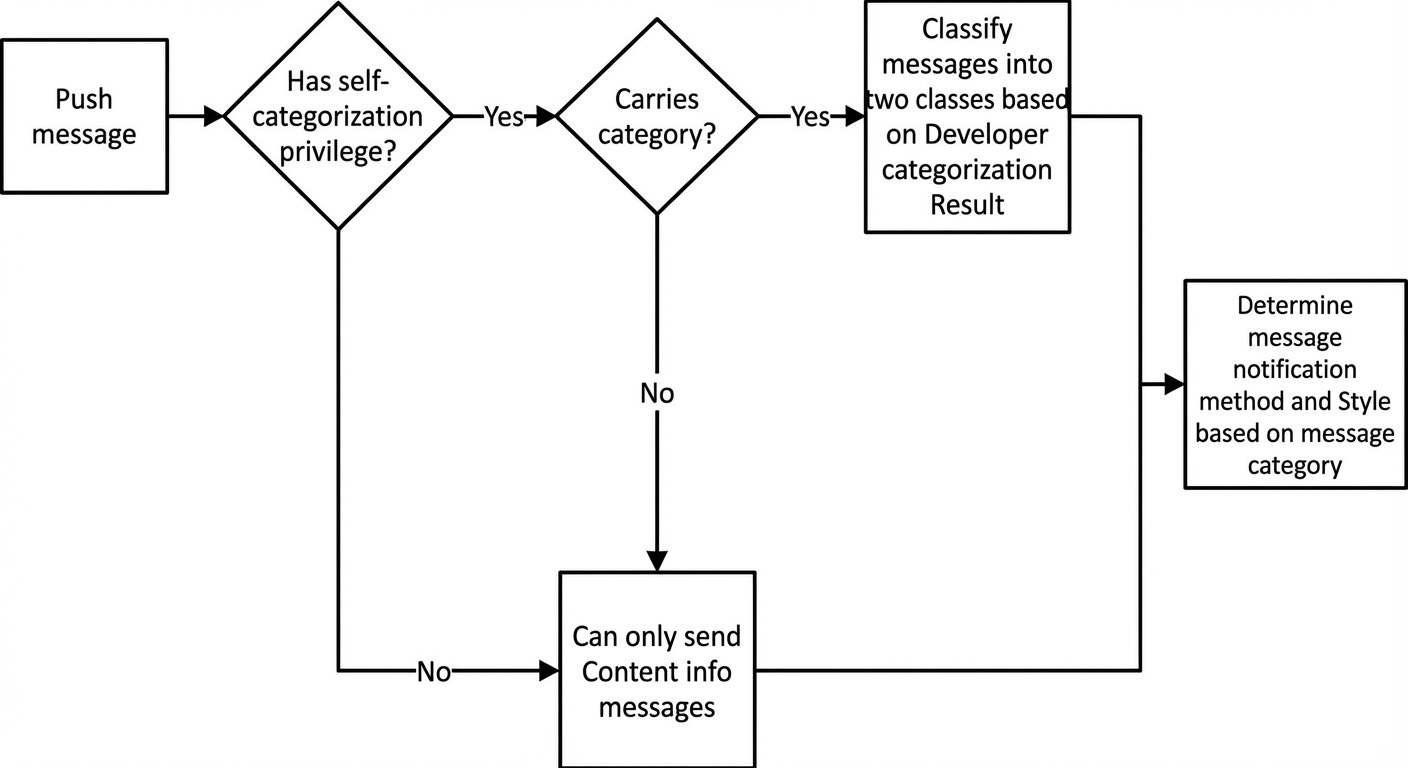
1. Request self-categorization permissions for service and communication messages
As described in Huawei's Self-Classification Rights Application, apply for self-classification rights for your application in the Service and Communication message category.
2. Place the sound file in the client project
For example, if your sound file is named alicloud_notification_sound.mp3, place it in the app/src/main/res/raw/ folder of your client project. The full path is app/src/main/res/raw/alicloud_notification_sound.mp3.
3. Configure parameters for the first server-side push of a service and communication notification
When you push a notification from the server-side, configure the AndroidMusic and AndroidMessageHuaweiCategory parameters.
The following table describes the AndroidMusic and AndroidMessageHuaweiCategory fields.
Name |
Type |
Description |
AndroidMusic |
string |
The notification sound for the Huawei channel. Specify the name of the audio file located in the app/src/main/res/raw/ folder of the client project. Do not include the file format extension. If this parameter is not set, the default sound is used. |
AndroidMessageHuaweiCategory |
string |
The category value for the cloud notification that corresponds to the message type for which you requested self-categorization permissions. For example, if you requested the Work Reminders message type, the corresponding cloud notification category value is WORK. For more information about the mappings, see Message Classification Standards. |
For more information about AndroidMusic and AndroidMessageHuaweiCategory, see Advanced push.
When you push the first service and communication notification, call setAndroidMusic() to set the sound. The parameter value is the name of the sound file on the client, without the file format extension. You must also set the cloud notification category value based on the message type for which you requested self-categorization permissions in Step 1. The following code provides an example:
PushRequest pushRequest = new PushRequest();
...
pushRequest.setAndroidMusic("alicloud_notification_sound"); // The path to the sound file in the /raw/ folder. Do not include the file format extension.
pushRequest.setAndroidMessageHuaweiCategory("WORK"); // The cloud notification category value for the message type for which you requested self-categorization permissions in Step 1.
...You must include the sound file path field in the first push of a service and communication message to set a custom notification sound. After a notification channel is created, all messages pushed to this channel use the sound that was set during creation. The sound cannot be changed later.
Method 2: Use a custom notification channel
The Huawei channel allows applications outside China to use custom notification channels. You can create a custom notification channel on the client and set a custom notification sound by setting the sound file path property for the channel.
Procedure:
1. Place the sound file in the client project
For example, if your sound file is named alicloud_notification_sound.mp3, place it in the app/src/main/res/raw/ folder of your client project. The full path is app/src/main/res/raw/alicloud_notification_sound.mp3.
2. Create a custom notification channel on the client
When you create the notification channel, call setSound() to specify the sound for the channel.
if (Build.VERSION.SDK_INT >= Build.VERSION_CODES.O) {
    NotificationManager mNotificationManager = (NotificationManager) getSystemService(Context.NOTIFICATION_SERVICE);
    // The ID of the notification channel.
    String channelId = "${channel_id}"; // Provide this ID to your backend developers and O&M engineers. It corresponds to the AndroidNotificationChannel parameter during a push.
    // The name of the notification channel visible to users.
    CharSequence name = "${channel_description}";
    int importance = NotificationManager.IMPORTANCE_HIGH;
    NotificationChannel mChannel = new NotificationChannel(channelId, name, importance);
    // Configure the properties of the notification channel.
    //  Custom sound
    mChannel.setSound(Uri.parse("android.resource://" + this.getPackageName() + "/" + R.raw.alicloud_notification_sound), Notification.AUDIO_ATTRIBUTES_DEFAULT);
    // Finally, create the notification channel in the notification manager.
    mNotificationManager.createNotificationChannel(mChannel);
}
3. Configure parameters for server-side push notifications
When you push a notification from the server-side, configure the AndroidNotificationChannel and AndroidNotificationHuaweiChannel parameters.
The following table describes the AndroidNotificationChannel and AndroidNotificationHuaweiChannel fields.
Name |
Type |
Description |
AndroidNotificationChannel |
string |
When you push a notification from the server-side, set the AndroidNotificationChannel parameter to the channel_id that was used when the notification channel was created on the Android client. |
AndroidNotificationHuaweiChannel |
string |
Sets the importance parameter for Huawei notification message classification. This determines the notification behavior on the user's device. Valid values:
|
For more information about AndroidNotificationChannel and AndroidNotificationHuaweiChannel, see Advanced push.
When you push a message from the server-side, set the parameters based on the channel ID of the notification channel that you created in Step 2. You must also set the importance parameter to NORMAL. The following code provides an example:
PushRequest pushRequest = new PushRequest();
...
pushRequest.setAndroidNotificationChannel("${channel_id}"); // Set the channel ID.
pushRequest.setAndroidNotificationHuaweiChannel("NORMAL"); // Set the importance parameter.
...The custom notification channel method is available only for applications with a data processing location outside China. It is not available for applications with a data processing location in China.
The sound is a property of the notification channel. After a notification channel is created, all messages pushed to this channel use the sound that was set during creation. The sound cannot be changed later.
Implement custom sounds for the Xiaomi channel
On February 1, 2023, Xiaomi released the New Rules for Push Message Classification. Push messages are classified into two categories: Private messages and Public messages. Private messages support custom notification sounds.
Message type |
Classification principle |
Push content |
Control rule |
Alert method |
Request method |
Private message |
Messages that users actively subscribe to, expect to receive, or need to know promptly. Missing these messages may have negative consequences. |
Instant messages, personal accounts, personal assets, personal subscriptions, personal schedules, device information, orders and logistics, and work information. |
No daily limit on the number of pushes. No limit on the number of messages a user can receive. |
Sound, vibration |
Request on the push operations platform. For more information, see "Channel Request and Access Method". |
Public message |
Messages that users do not expect to receive and have a low level of interest in. |
News, content updates, lifestyle information, follow recommendations, algorithmic recommendations, platform activities, interactive information, and other messages. |
The number of daily pushes and received messages is strictly limited. For specific rules, see "Message Restriction Description". |
None |
Private messages support custom channels. You must request custom channels on the Xiaomi Push operations platform. When you make the request, you can specify the notification sound for the channel.
Procedure:
1. Place the sound file in the client project
For example, if your sound file is named alicloud_notification_sound.mp3, place it in the app/src/main/res/raw/ folder of your client project. The full path is app/src/main/res/raw/alicloud_notification_sound.mp3.
2. Request a custom channel on the Xiaomi Push operations platform
Request a custom channel of the Private message type as described in the Channel Request and Access Method. When you make the request, enter the URI of the sound file in the custom sound field.
3. Configure the channel ID generated by the Xiaomi Push operations platform for server-side push notifications
After you complete the channel request in Step 2, Xiaomi assigns a channel ID to the generated channel.
When you push a message from the server-side, set the parameters based on the channel ID assigned by Xiaomi.
When you push a notification from the server-side, configure the AndroidNotificationXiaomiChannel parameter.
The following table describes the AndroidNotificationXiaomiChannel field.
Name |
Type |
Description |
AndroidNotificationXiaomiChannel |
string |
The channel_id generated when you request a custom channel on the Xiaomi Push operations platform. You must request this on the Xiaomi platform. For more information, see this request link.
Note
A single application can request a maximum of 8 channels for the Xiaomi channel. Plan accordingly. |
For more information about AndroidNotificationXiaomiChannel, see Advanced push.
The following code provides an example:
PushRequest pushRequest = new PushRequest();
...
pushRequest.setAndroidNotificationXiaomiChannel("${channel_id}"); // Set the channel ID for the Xiaomi channel. This must match the channel ID from the Xiaomi Push operations platform.
...
Implement custom sounds for the OPPO channel
OPPO currently has an old message classification method, Message Classification Description, and a new method, OPUSH Message Classification Rules. The new method does not support custom sounds. Only the Private message type in the old method supports custom sounds.
November 20, 2024 is the cutoff date. Applications that enable Opush after this date can use only the new message classification method and cannot use custom sounds. Applications that enabled Opush before this date can choose to use either the new or the old method. If you use the old method, you can use custom sounds.
Procedure:
1. Place the sound file in the client project
For example, if your sound file is named alicloud_notification_sound.mp3, place it in the app/src/main/res/raw/ folder of your client project. The full path is app/src/main/res/raw/alicloud_notification_sound.mp3.
2. Request a custom channel for the application on the OPPO Push operations platform
Log on to the OPPO Push operations platform. Choose Configuration Management -> Channel Configuration -> Register Channel.
Request a custom channel of the Private message type:
3. Create a custom notification channel on the client
When you create the notification channel, call setSound() to specify the sound for the channel. The ID of this notification channel must be the same as the Channel ID you entered when you requested the custom channel on the OPPO Push operations platform.
if (Build.VERSION.SDK_INT >= Build.VERSION_CODES.O) {
    NotificationManager mNotificationManager = (NotificationManager) getSystemService(Context.NOTIFICATION_SERVICE);
    // The ID of the notification channel. This must be the same as the Channel ID you entered when you requested the custom channel on the OPPO Push operations platform.
    String channelId = "${channel_id}"; // Provide this ID to your backend developers and O&M engineers. It corresponds to the AndroidNotificationChannel parameter during a push.
    // The name of the notification channel visible to users.
    CharSequence name = "${channel_description}";
    int importance = NotificationManager.IMPORTANCE_HIGH;
    NotificationChannel mChannel = new NotificationChannel(channelId, name, importance);
    // Configure the properties of the notification channel.
    //  Custom sound
    mChannel.setSound(Uri.parse("android.resource://" + this.getPackageName() + "/" + R.raw.alicloud_notification_sound), Notification.AUDIO_ATTRIBUTES_DEFAULT);
    // Finally, create the notification channel in the notification manager.
    mNotificationManager.createNotificationChannel(mChannel);
}
4. Configure parameters for server-side push notifications
When you push a notification from the server-side, configure the AndroidNotificationChannel parameter.
The following table describes the AndroidNotificationChannel field.
Name |
Type |
Description |
AndroidNotificationChannel |
string |
When you push a notification from the server-side, set the AndroidNotificationChannel parameter to the channel_id. The channel_id used when creating the notification on the Android client must be the same as the private message channel_id requested from OPPO. |
For more information about AndroidNotificationChannel, see Advanced push.
When you push a message from the server-side, set the parameter based on the channel ID of the notification channel created in Step 3. The following code provides an example:
PushRequest pushRequest = new PushRequest();
...
pushRequest.setAndroidNotificationChannel("${channel_id}"); // Set the channel ID.
...Only applications that enabled Opush before November 20, 2024 can use the old message classification method and support custom sounds.
The sound is a property of the notification channel. After a notification channel is created, all messages pushed to this channel use the sound that was set during creation. The sound cannot be changed later.
Implement custom sounds for the FCM channel
For Android 8.0 and later, you can specify a sound when you create a custom notification channel on the client.
Procedure:
1. Place the sound file in the client project
For example, if your sound file is named alicloud_notification_sound.mp3, place it in the app/src/main/res/raw/ folder of your client project. The full path is app/src/main/res/raw/alicloud_notification_sound.mp3.
2. Create a custom notification channel on the client
When you create the notification channel, call setSound() to specify the sound for the channel.
if (Build.VERSION.SDK_INT >= Build.VERSION_CODES.O) {
    NotificationManager mNotificationManager = (NotificationManager) getSystemService(Context.NOTIFICATION_SERVICE);
    // The ID of the notification channel.
    String channelId = "${channel_id}"; // Provide this ID to your backend developers and O&M engineers. It corresponds to the AndroidNotificationChannel parameter during a push.
    // The name of the notification channel visible to users.
    CharSequence name = "${channel_description}";
    int importance = NotificationManager.IMPORTANCE_HIGH;
    NotificationChannel mChannel = new NotificationChannel(channelId,
                                          name, importance);
    // Configure the properties of the notification channel.
    //  Custom sound
    mChannel.setSound(Uri.parse("android.resource://" + this.getPackageName() + "/" + R.raw.alicloud_notification_sound), Notification.AUDIO_ATTRIBUTES_DEFAULT);
    // Finally, create the notification channel in the notification manager.
    mNotificationManager.createNotificationChannel(mChannel);
}
3. Configure parameters for server-side push notifications
When you push a notification from the server-side, configure the AndroidNotificationChannel parameter.
The following table describes the AndroidNotificationChannel field.
Name |
Type |
Description |
AndroidNotificationChannel |
string |
When you push a notification from the server-side, set the AndroidNotificationChannel parameter to the channel_id that was used when the notification channel was created on the Android client. |
For more information about AndroidNotificationChannel, see Advanced push.
When you push a message from the server-side, set the parameter based on the channel ID of the notification channel created in Step 2. The following code provides an example:
PushRequest pushRequest = new PushRequest();
...
pushRequest.setAndroidNotificationChannel("${channel_id}"); // Set the channel ID.
...The sound is a property of the notification channel. After a notification channel is created, all messages pushed to this channel use the sound that was set during creation. The sound cannot be changed later.
Custom sounds for iOS
Implement custom sounds for the APNs channel
1. Client settings
Add the audio file to the Bundle Resources of your Xcode project. Ensure that the file is included in the application's build target.
Ensure that your custom sound file meets iOS requirements. The file must be in aiff, wav, or caf format.
The audio duration cannot exceed 30 seconds. Otherwise, the default system sound is used. For more information, see the Apple Developer Documentation.
2. Server-side configuration
Use the Advanced push API to push notifications to iOS devices. The key parameter is described in the following table:
Name |
Type |
Description |
iOSMusic |
string |
The iOS notification sound. Specify the name of the audio file stored in the app bundle or the Library/Sounds folder of the sandbox. If you specify an empty string (""), the notification is silent. If you do not set this parameter, the value defaults to default, which is the system alert sound. |
The following code provides an example:
PushRequest pushRequest = new PushRequest();
...
pushRequest.setIOSMusic("Basso.aiff"); // Set the iOS notification sound.
...Apple's push notification service does not support testing remote notifications on an emulator. You must test on a real device.
Custom sounds for HarmonyOS
Client project configuration
Place your custom sound file in the /resources/rawfile path of your project. For example, if the sound file is named alert.mp3, its full path is /resources/rawfile/alert.mp3.
Server-side push configuration
Only the PushV2 and MassPushV2 APIs support custom sounds for HarmonyOS. The Push and MassPush APIs do not.
When you use the PushV2 API to push notifications, configure the following parameters:
Name |
Type |
Description |
Sound |
string |
The sound file specified here must be placed in the Supported file formats include MP3, WAV, and MPEG. If you do not set this parameter, the default system sound is used. |
SoundDuration |
integer |
The playback duration for the custom notification sound. This parameter must be used with the The unit is seconds. The value range is [1, 60]. The custom notification sound specified in the |
The following code provides an example:
...
PushTask.PushTaskNotificationHmos pushTaskNotificationHmos = new PushTask.PushTaskNotificationHmos()
        .setSound("alert.mp3")
        .setSoundDuration(1);
...The custom sound feature for HarmonyOS cannot be tested on an emulator. You must test this feature on a real device.