Create your first application
Wanxiaozi3.0 is an AI website building product from Alibaba Cloud. Describe your website requirements in natural language, and the AI generates a complete website for you. This tutorial walks you through creating, refining, and publishing your first website.
Step 1: Access an application
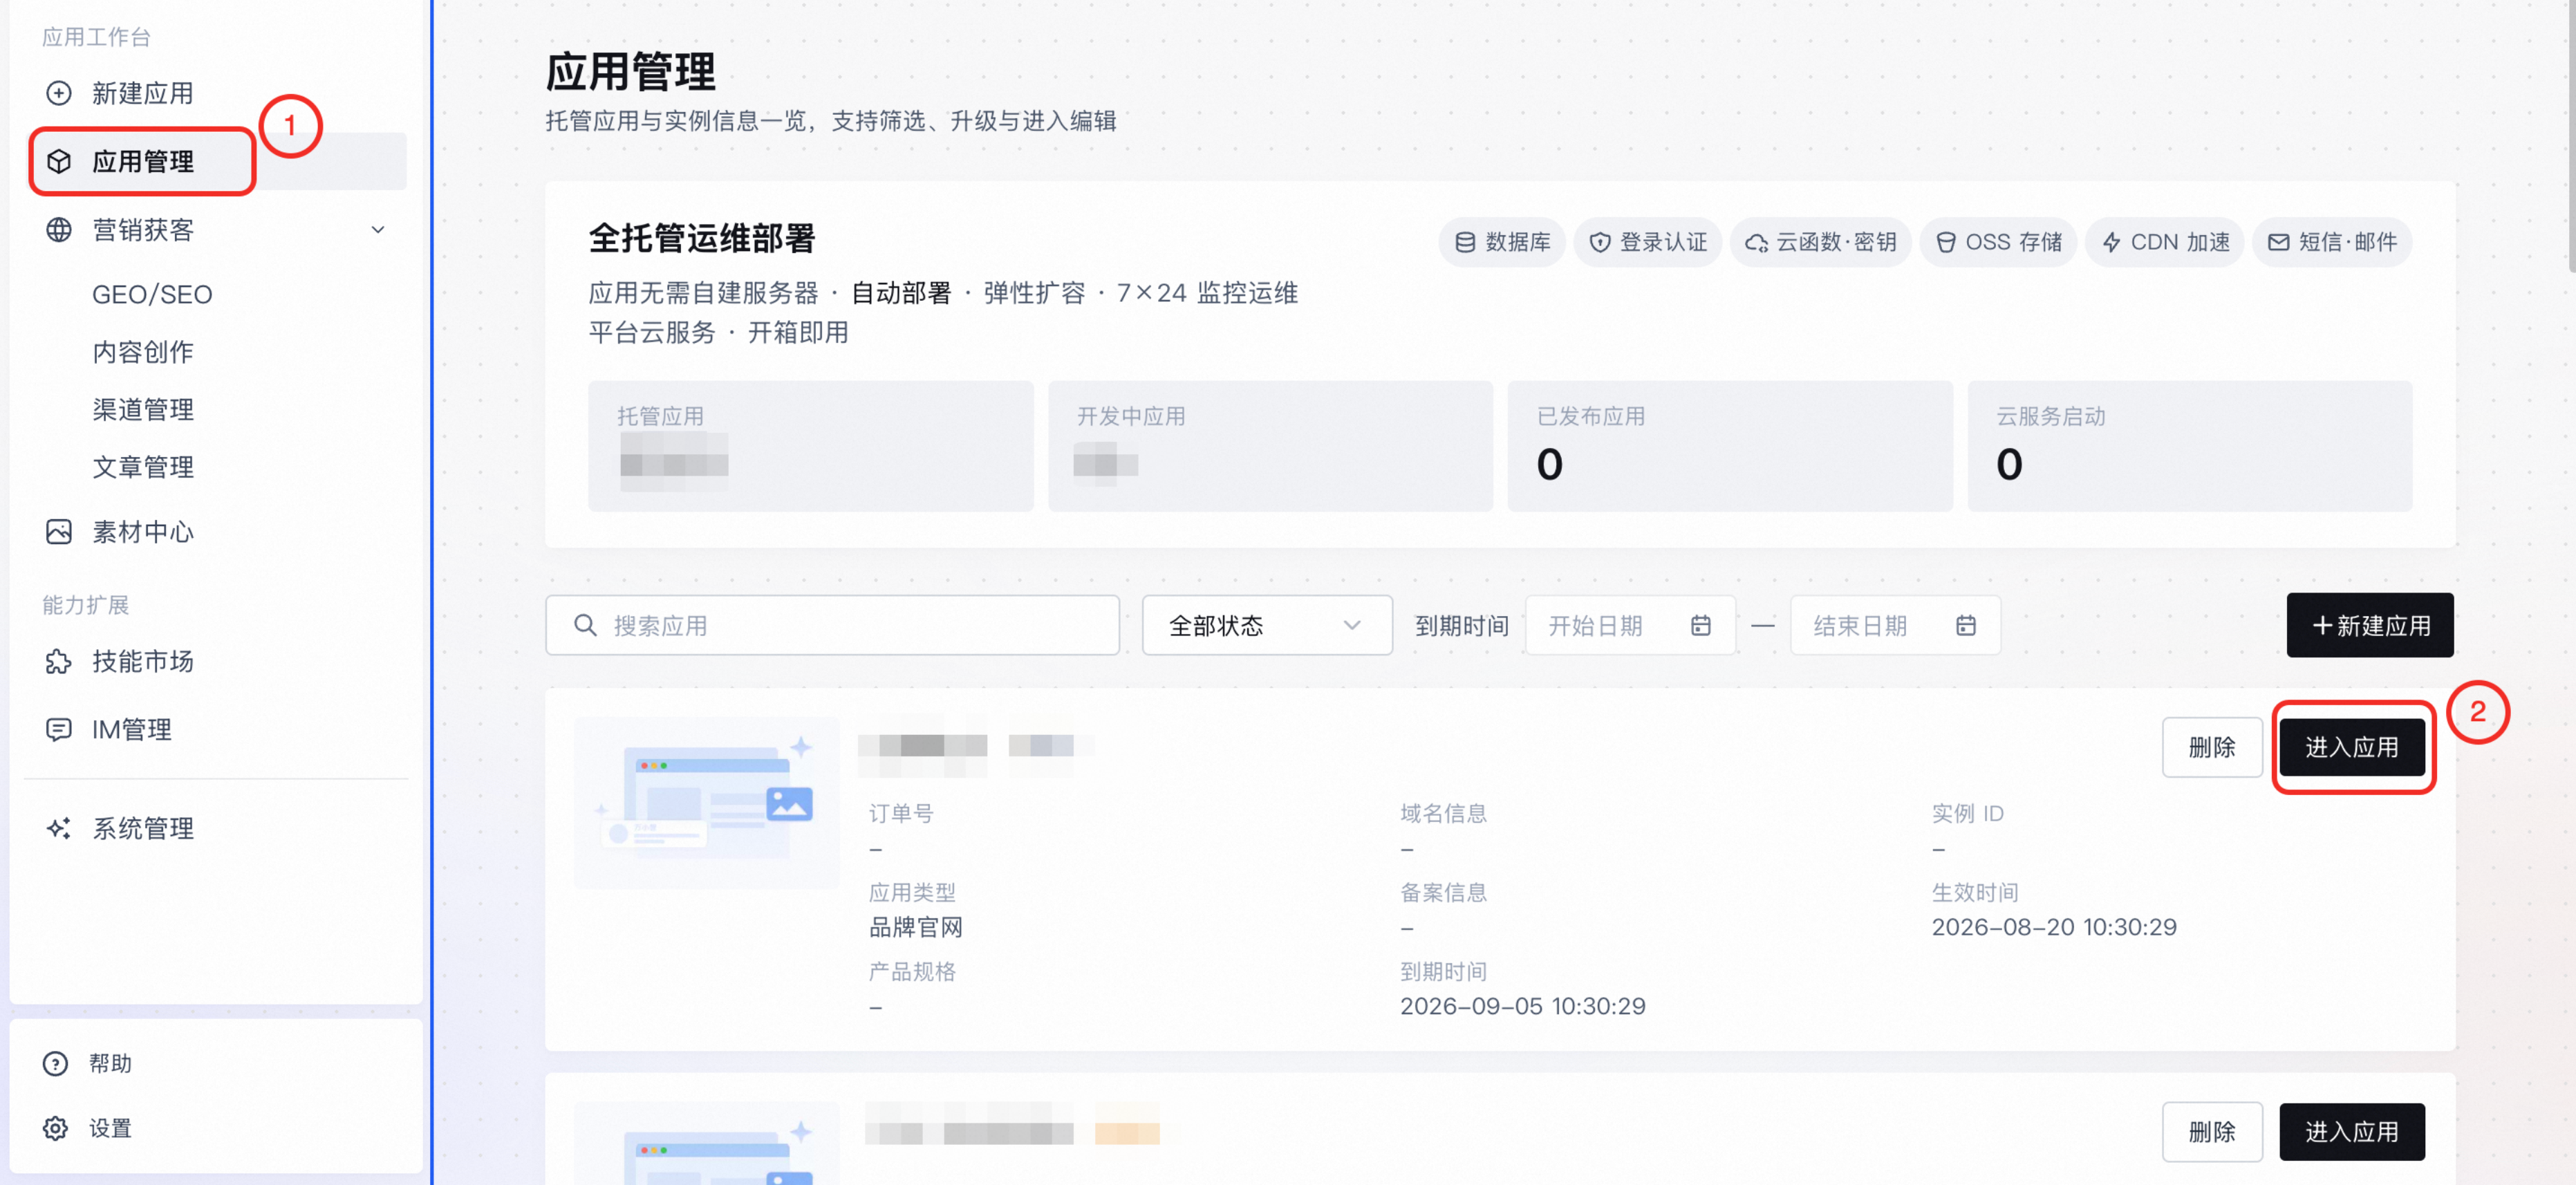
Choose the path that matches your situation: create a new application, or open an application that you already created.
Create a new application
Visit Wanxiaozi. If you are not logged on, log on with your Alibaba Cloud account.
After you log on, the Create New Application page opens. At the top of the page, select an application type: Website Application or Mini Program Application. This topic uses a website application as an example.
Access an existing application
If you have purchased Wanxiaozi and created an application, you do not need to create another application.
|
|
Step 2: Define your website
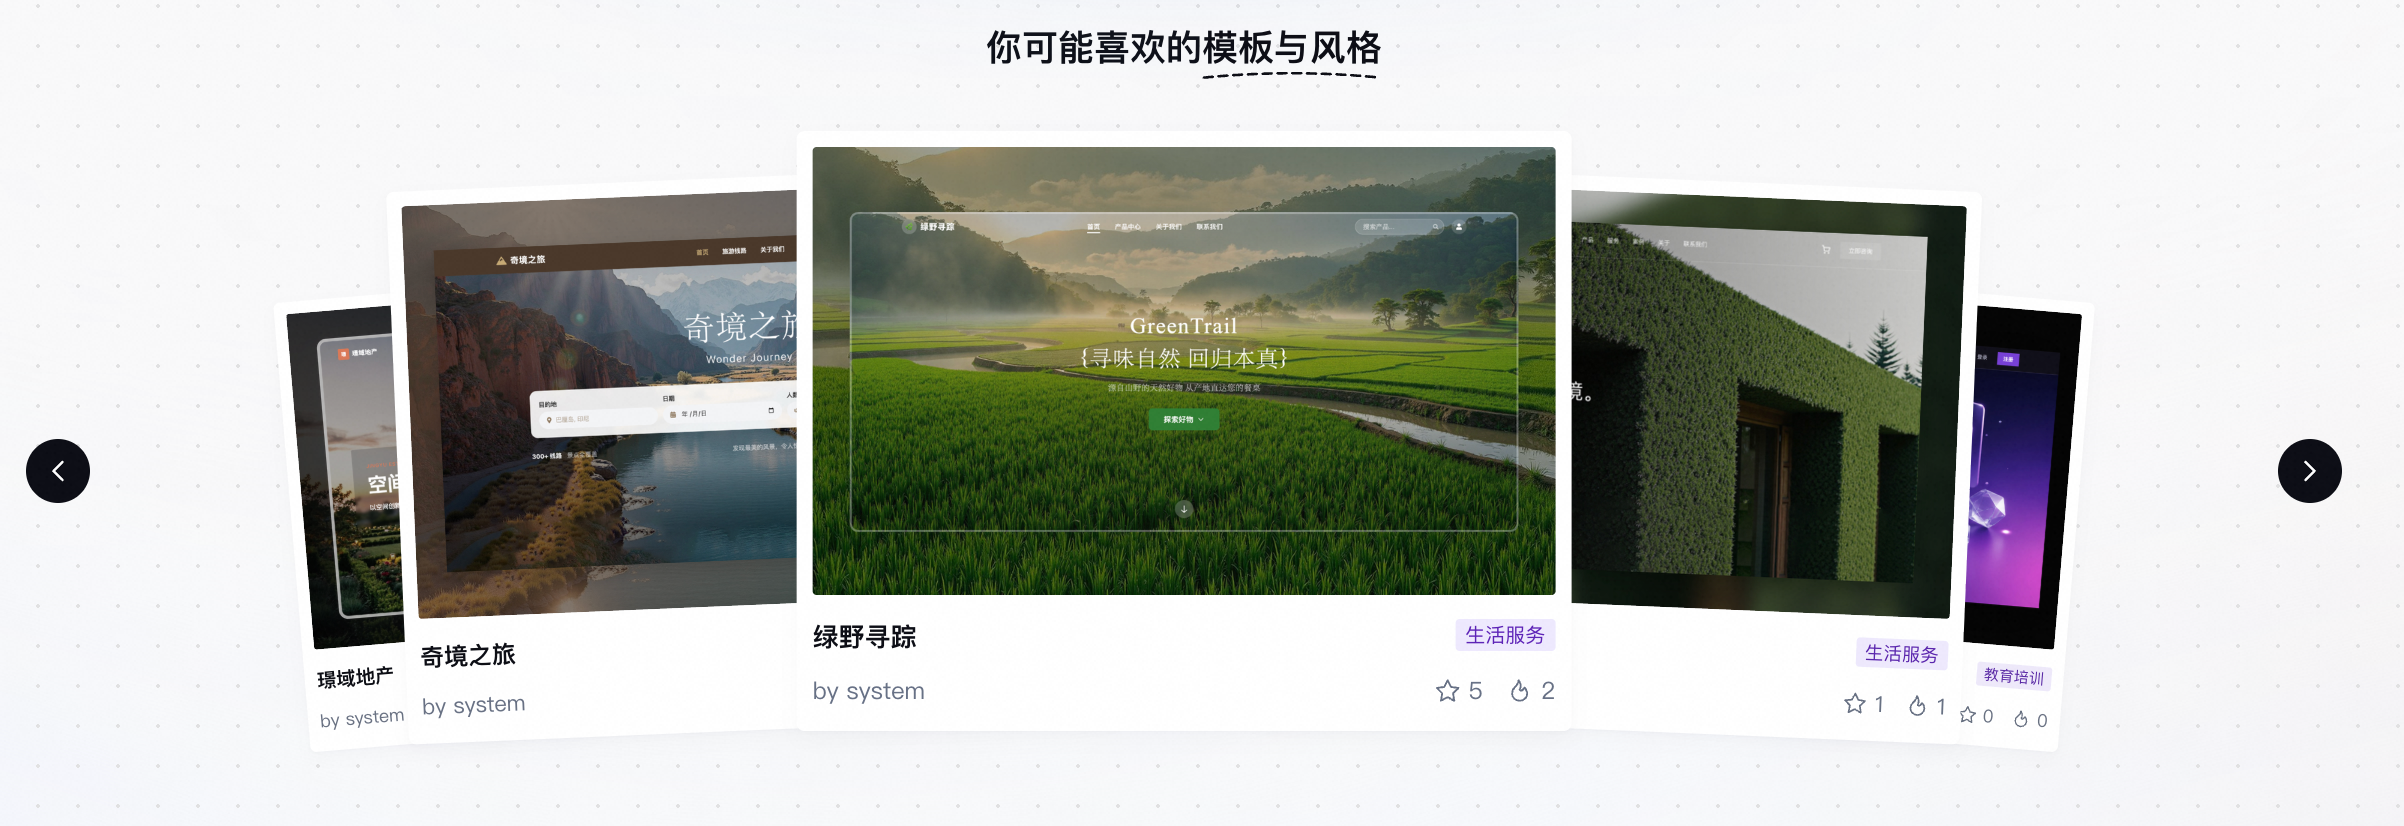
Wanxiaozi offers two mutually exclusive ways to define your website. Choose one before you continue:
Input website requirements (Recommended): Describe your own idea and let the AI build the website from scratch. You purchase an edition later, when you publish in Step 7.
Use a featured case template: Start from a pre-built website template. This path requires you to select and purchase an edition in Step 2, before you edit the website.
Input website requirements: Provide the AI with your initial idea for the website. The AI uses this idea as the basis for generating the website. You can enter your requirements in either of the following ways:
|
|
Use a featured case template: Perform the following steps on the Create New Application page. Case templates are not available when you access an existing application.
|
|
 to use speech input.

Step 3: Refine requirements through conversations with AI
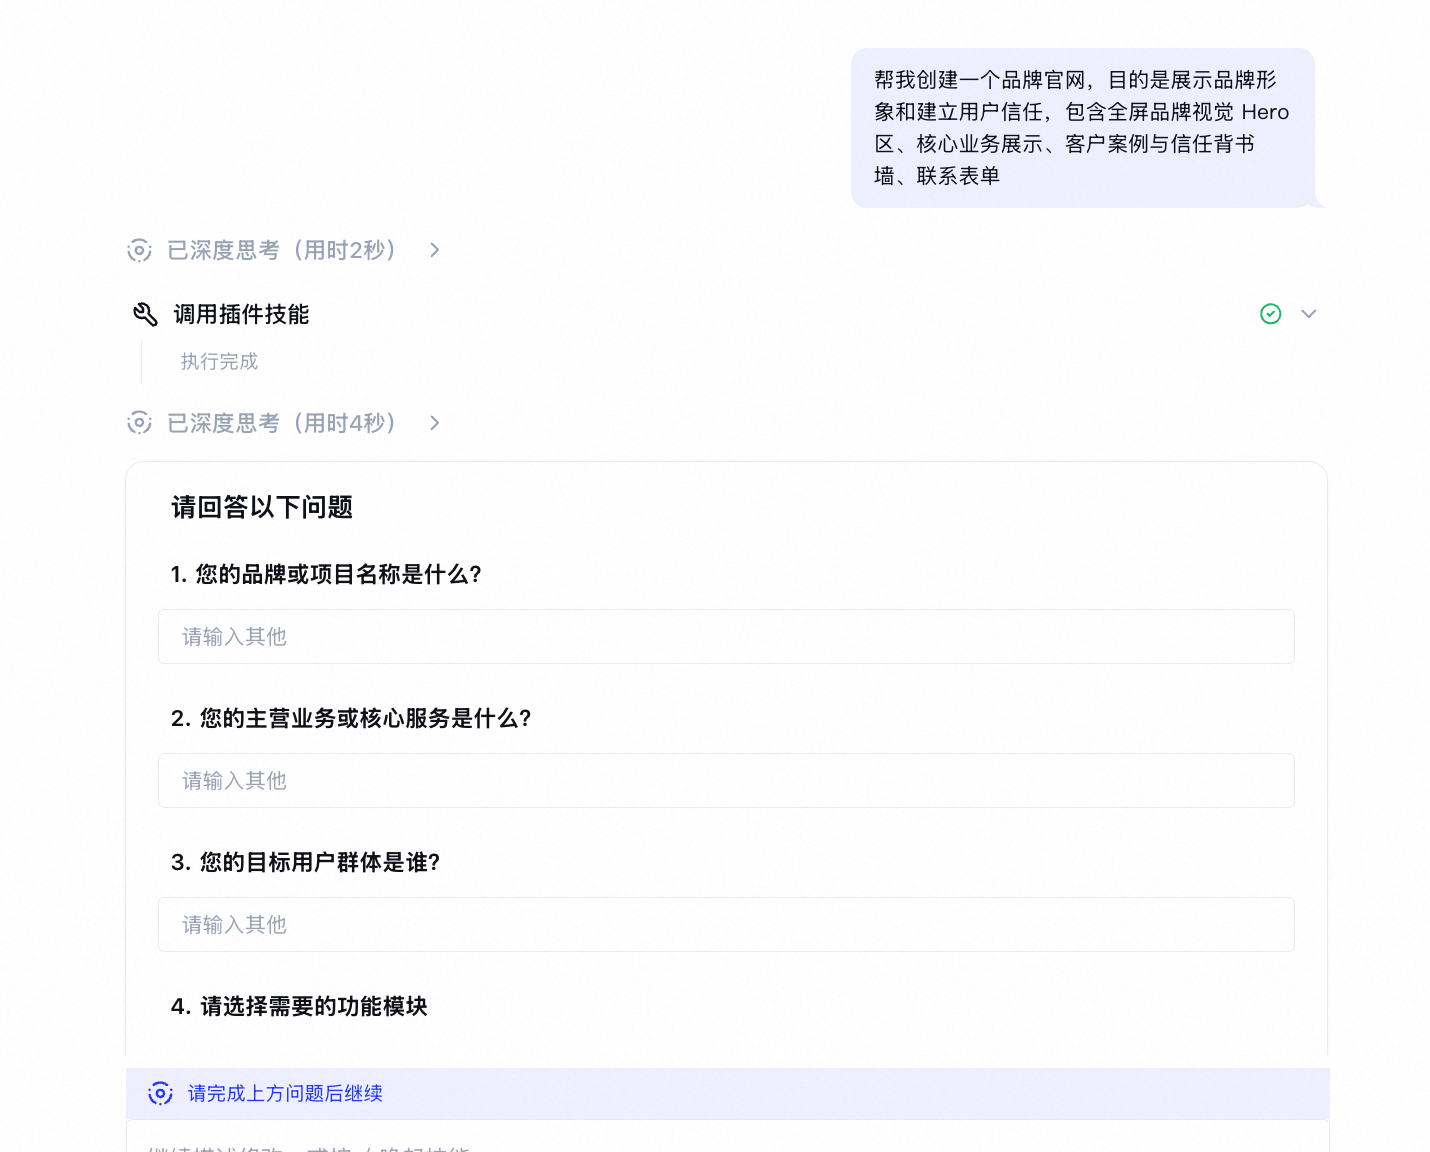
Use several rounds of conversation with the AI to add details to your website and make sure that the final output meets your expectations.
|
|
Step 4: Confirm the requirement document
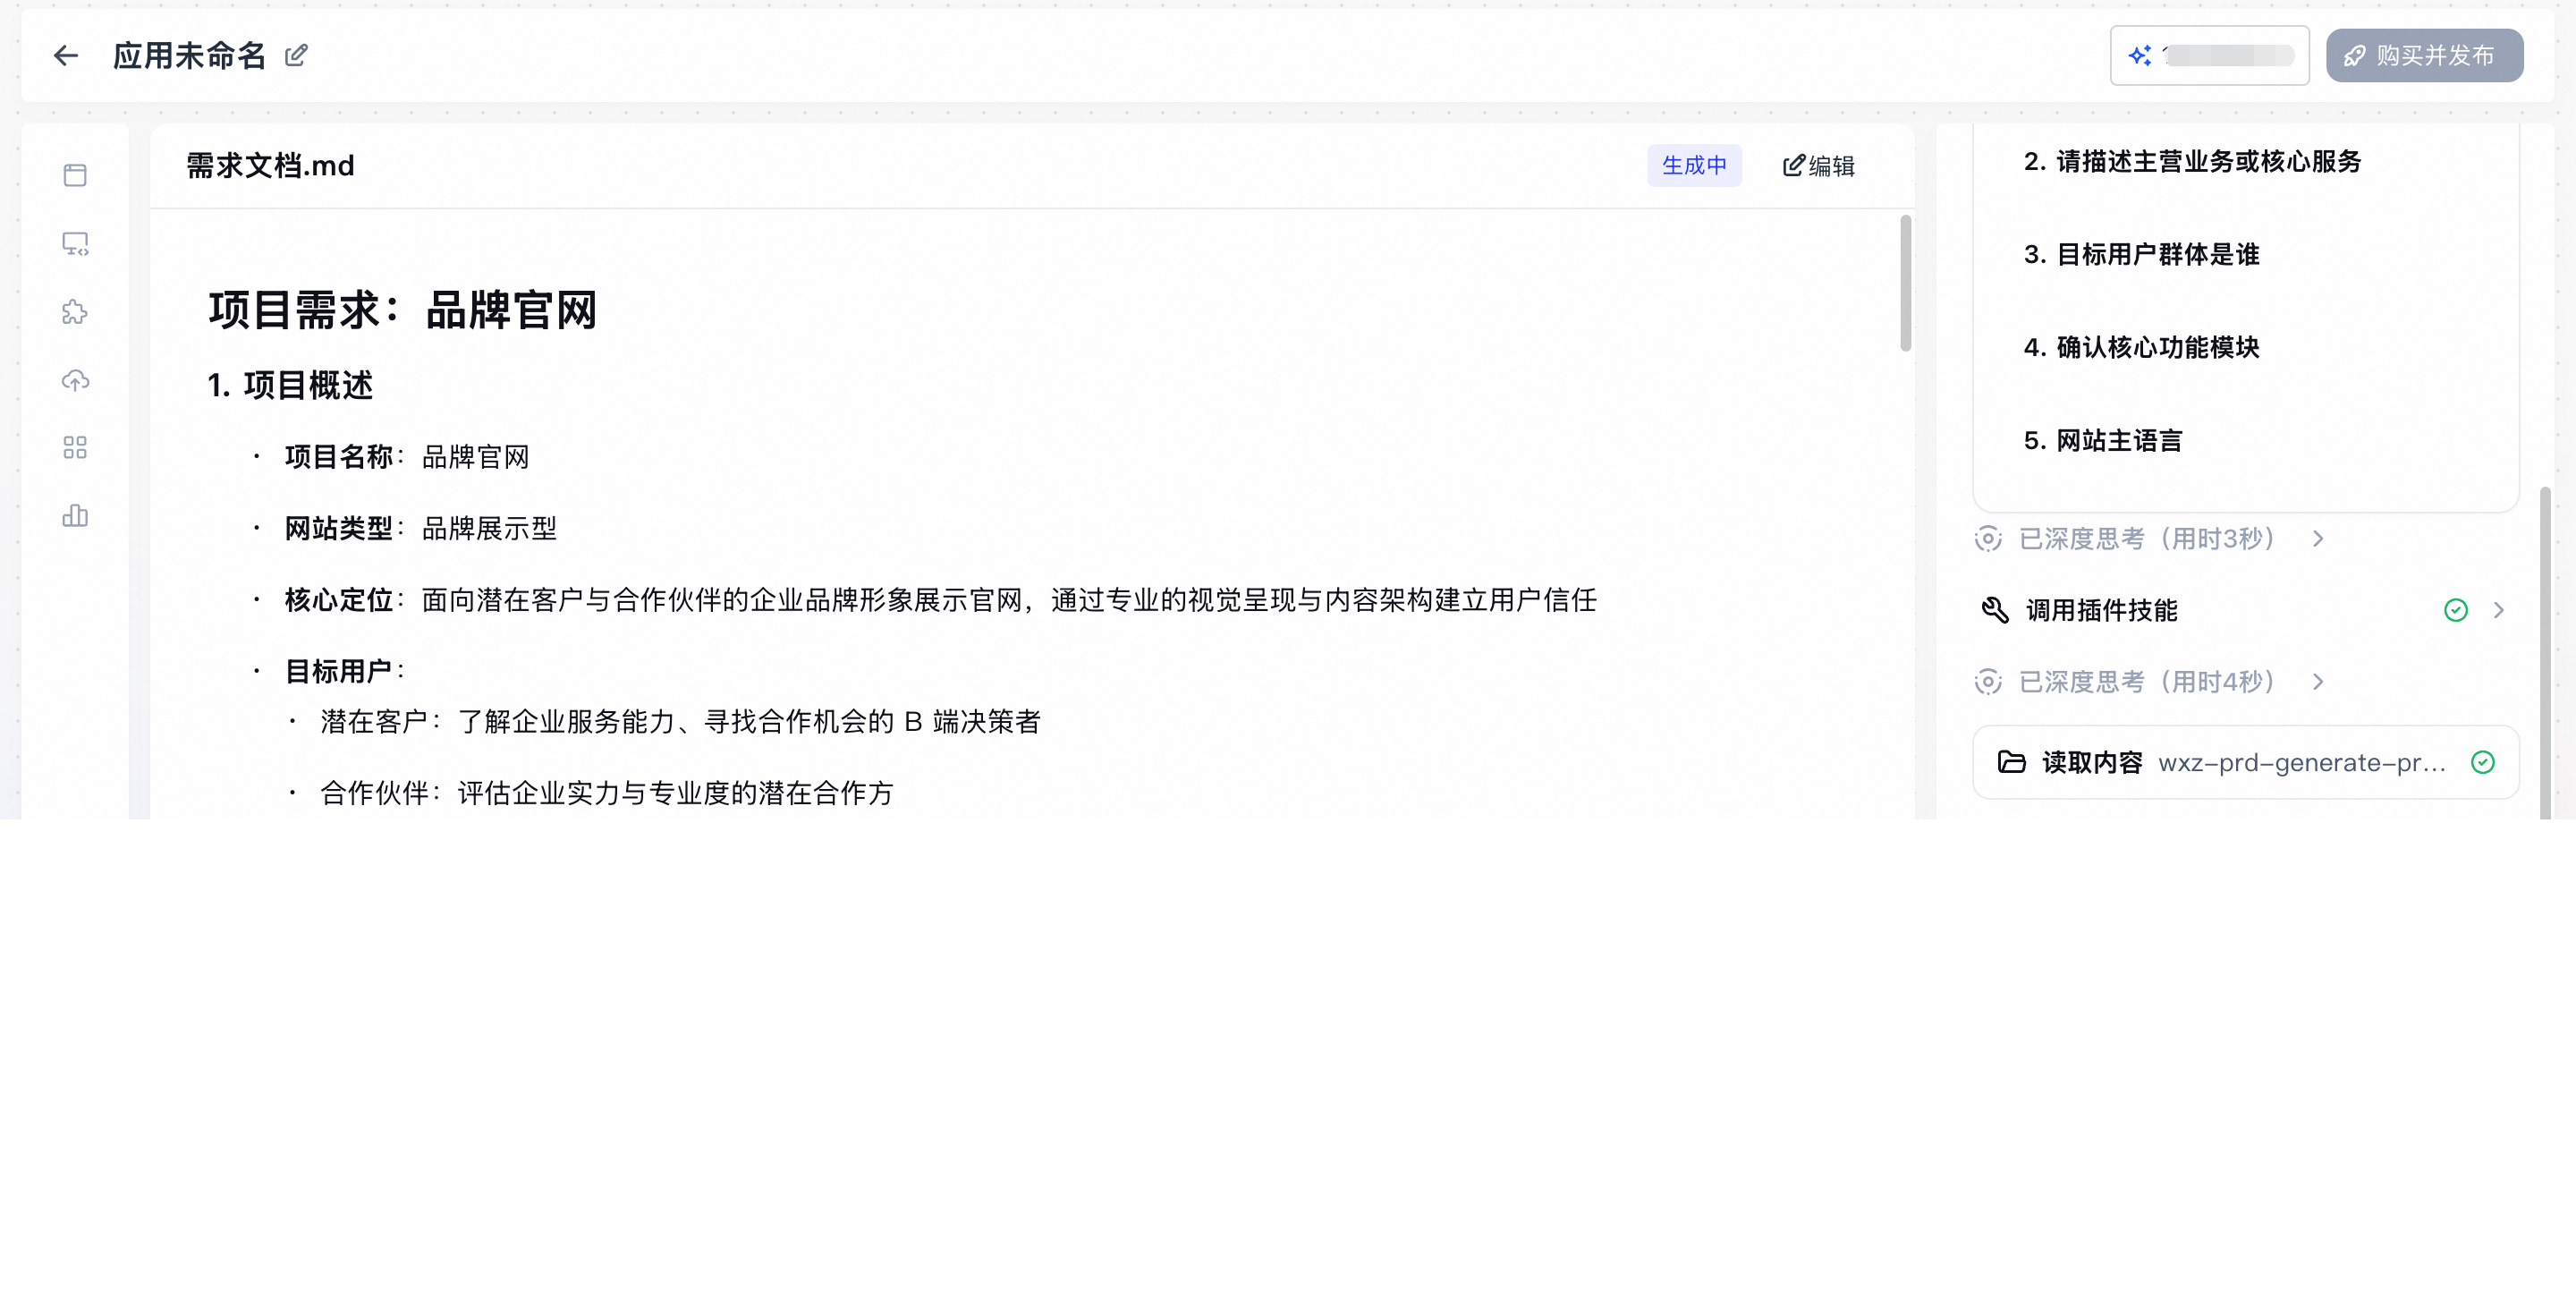
Review and confirm the website blueprint to authorize the AI to start building the website.
|
|
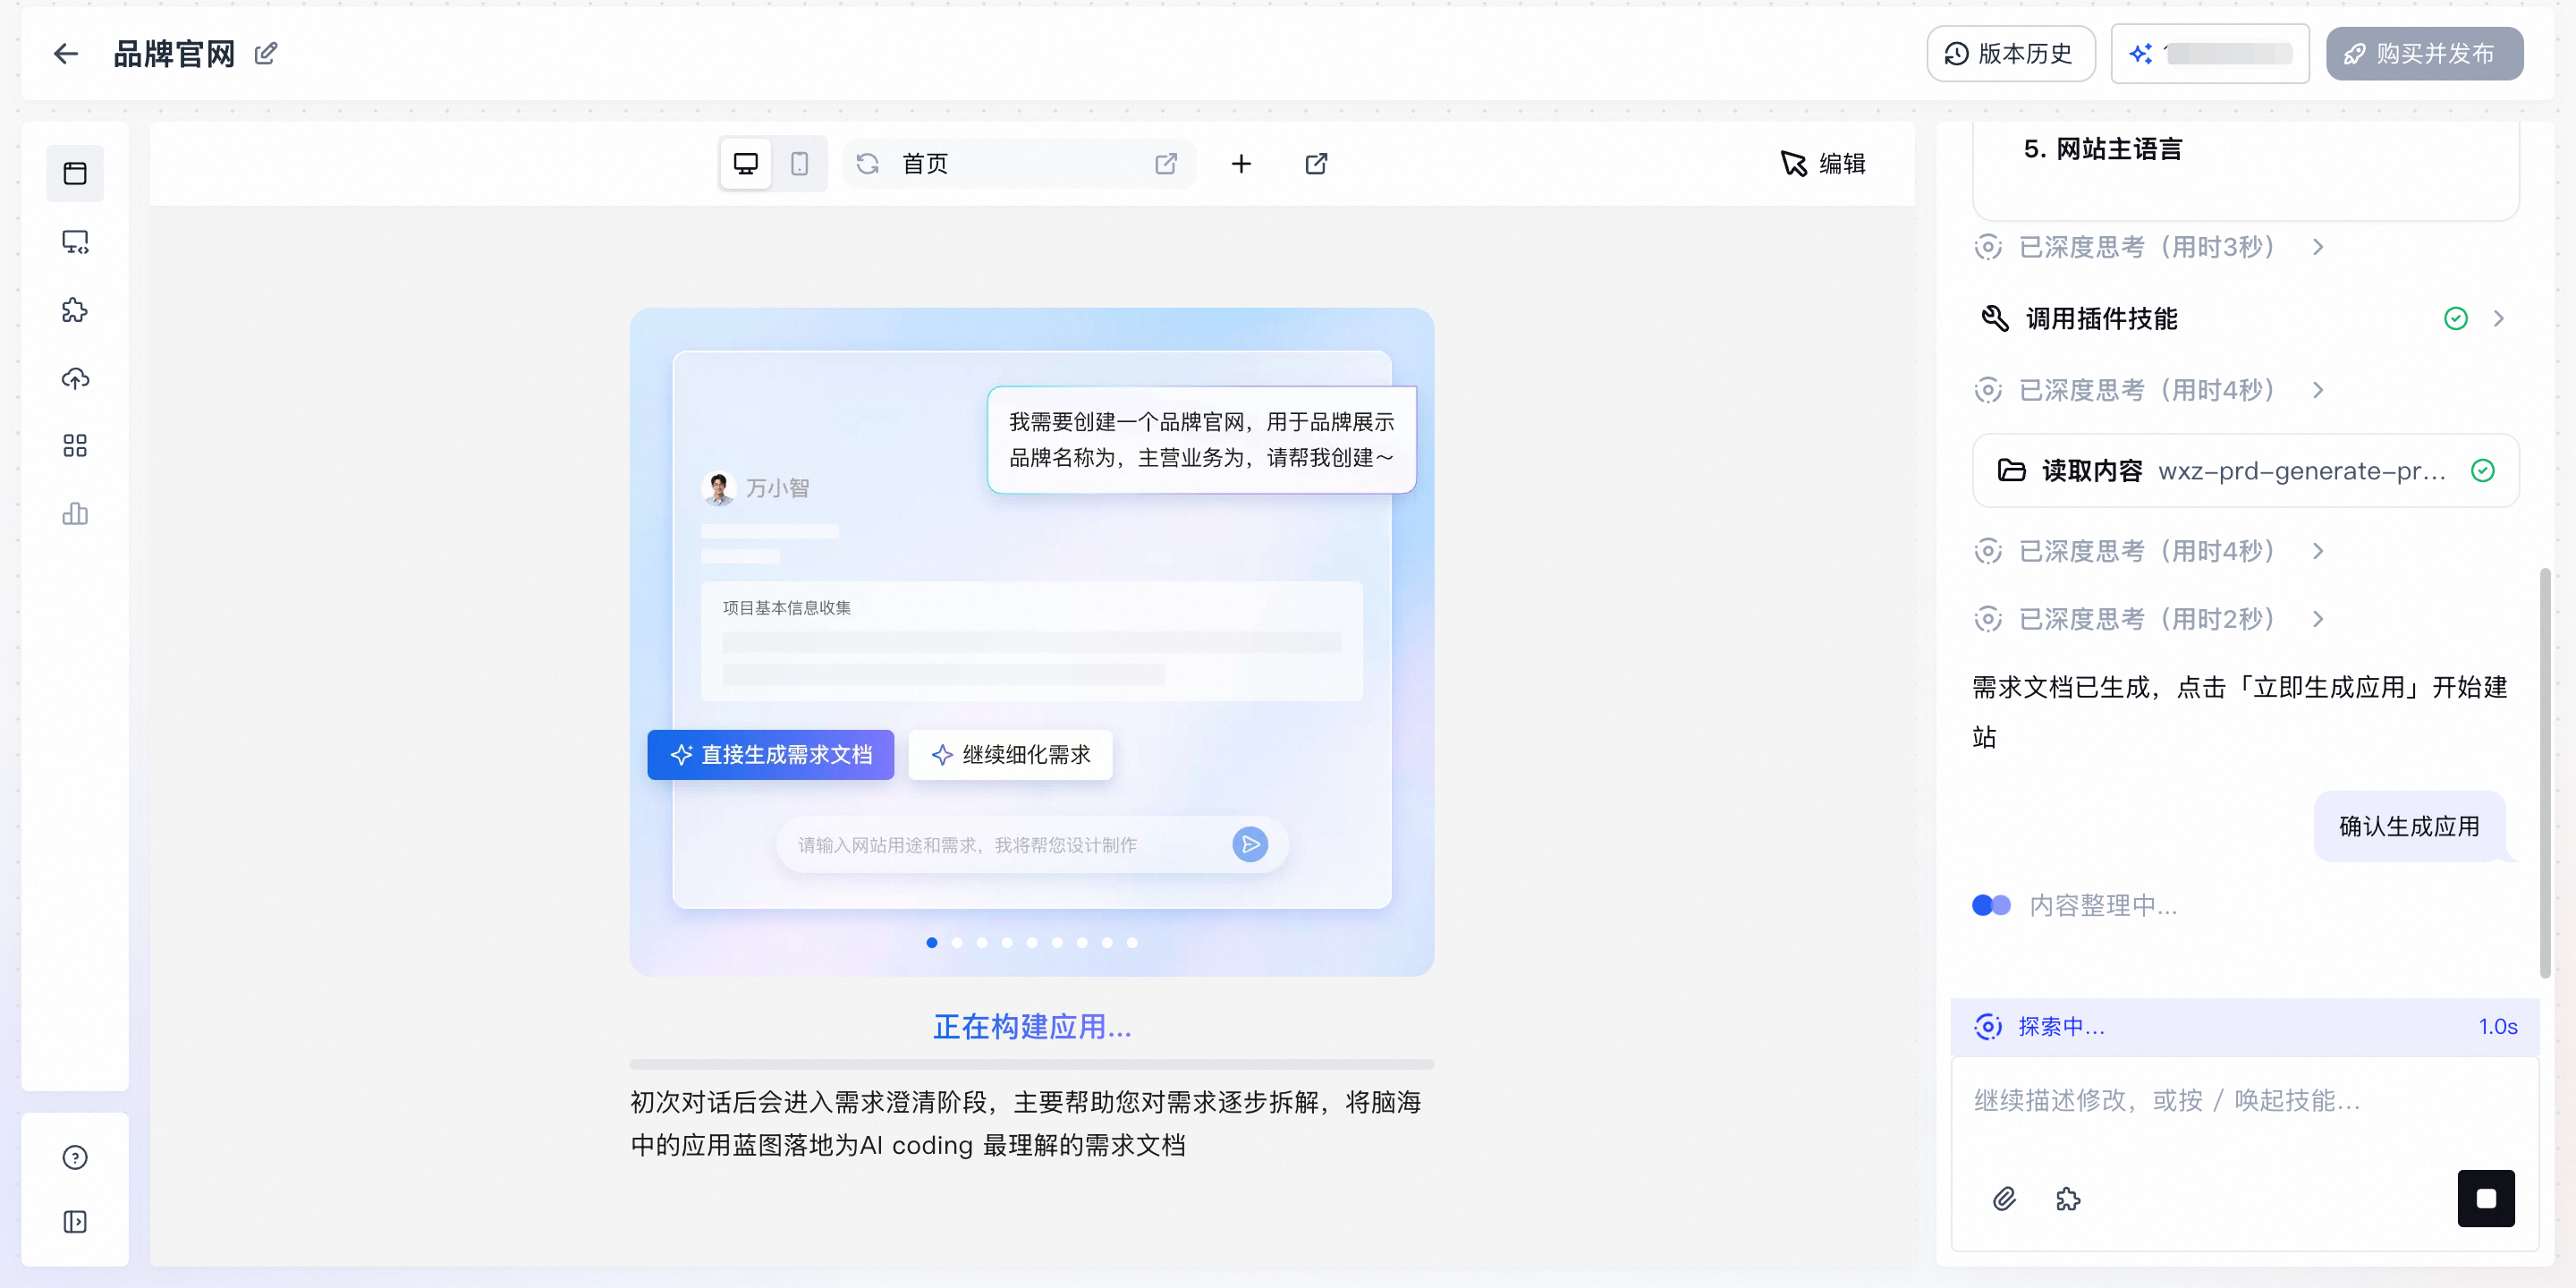
Step 5: Wait for the website to be generated
Wait for the AI to finish generating the code and building the website. Do not continue to Step 6 until the page displays a preview of your website.
|
|
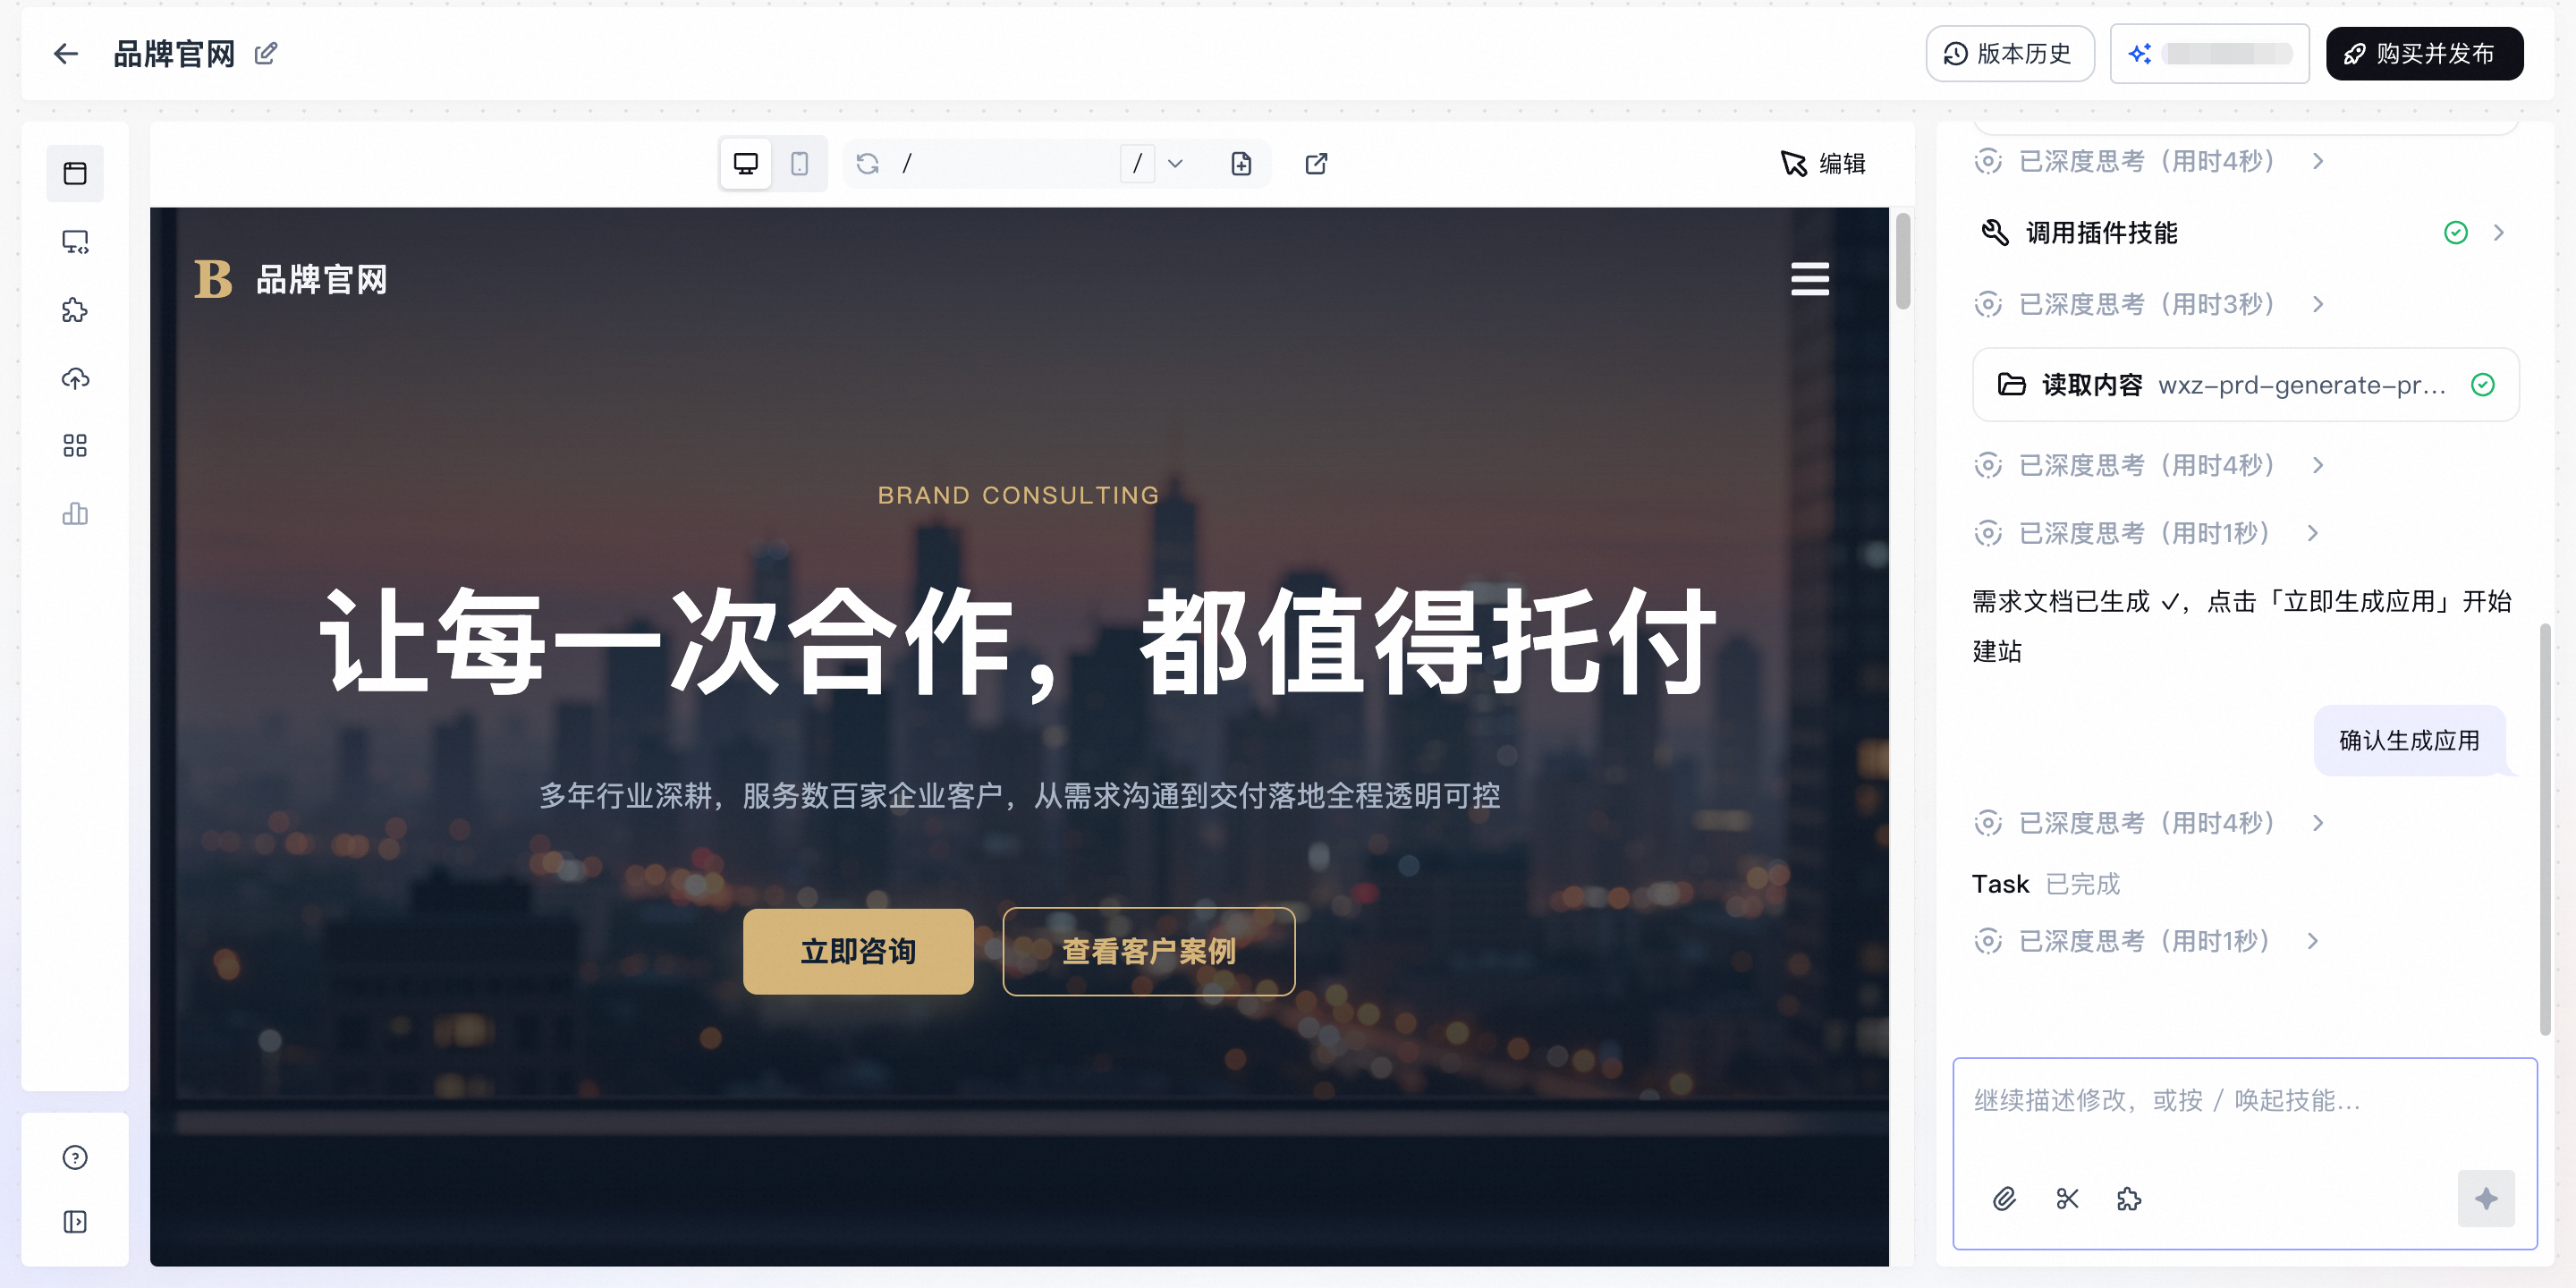
Step 6: Preview and edit the website
View the website that the AI generated, make visual adjustments, or use conversations with the AI to request further changes. After the website is generated, you can perform the following actions on the preview page:
|
|
Step 7: Publish and go live
Publishing an application converts the version that you are currently editing into an official version. For your first publication, you must purchase an edition. To make the website accessible over the public network, you must also bind a domain name.
Publish the application
On the application preview page, click Buy and Publish in the upper-right corner of the page.
For your first publication, you must purchase an edition. The system displays the Edition Selection dialog box. Select an edition based on your business needs.
For detailed specifications and pricing for each edition, see Billing.
In the dialog box, configure the deployment node and the purchase duration, and then click Buy Now in the corresponding edition card to complete the payment.
After the payment is complete, return to the preview page and click Publish at the top of the page.
After you modify the website, click Publish to make the latest version official. For more information, see Application publish.
Bind a domain name (optional)
To make the website accessible over the public network, bind a domain name.
In the application editor, click Development > Deployment > Domain Management in the left-side navigation pane.
Click Bind Domain and enter your domain name.
If the domain name is registered with Alibaba Cloud and belongs to the current Alibaba Cloud account, the system automatically configures the DNS record.
If the domain name is registered with another service provider or does not belong to the current Alibaba Cloud account, add a DNS record with the applicable domain name registrar. For more information, see Domain management.
NoteWebsites that use deployment nodes in the Chinese mainland must complete an ICP filing before they can be accessed through a domain name.
Manage all applications
To view and manage all the applications that you create, visit the application management page: in the left-side navigation pane of the Domain Names console, choose Wanxiaozi AI Website Building to open your Application Space.
On an application card, click Enter Application to continue editing the application.
In the application editor, use the left-side navigation pane to manage requirement documents, code, assets, domain names, SEO, and more.