Manually install an Apache+MySQL+PHP environment on Alibaba Cloud Linux 3
This topic describes how to install an Apache+MySQL+PHP environment on an Alibaba Cloud Linux 3 system.
Details
Alibaba Cloud reminds you:
If you perform risky operations, such as modifying instances or data, make sure that your instances have disaster recovery and fault tolerance capabilities to protect your data.
If you modify the configurations or data of instances, such as Elastic Compute Service (ECS) and ApsaraDB RDS instances, create snapshots or enable features such as RDS log backup.
If you have granted permissions or submitted security information, such as logon credentials, on the Alibaba Cloud platform, change them promptly.
Connect to the Linux instance using the management terminal. For more information, see the ECS remote connection user guide.
Install the Apache+MySQL+PHP environment
The following resources and versions are used in this example:
Operating system: Alibaba Cloud Linux 3.2104 LTS 64-bit on an ECS instance
Apache version: 2.4.37
MySQL version: 5.7.41
PHP version: 7.4.19
The installation steps are the same for other versions of Alibaba Cloud Linux 3.2104. The component versions that are installed depend on the versions available at the time of installation.
When you use Yellowdog Updater, Modified (YUM) to install Apache, MySQL, and PHP, the installed versions depend on the YUM source that is used. The versions may differ from those used in this topic because the YUM source is subject to change.
Step 1: Install Apache
Run the following command to check the Apache version number.
httpd -vThe following output indicates that the Apache version is 2.4.37.

Run the following commands to start the Apache service and set it to start on boot.
systemctl start httpd
systemctl enable httpd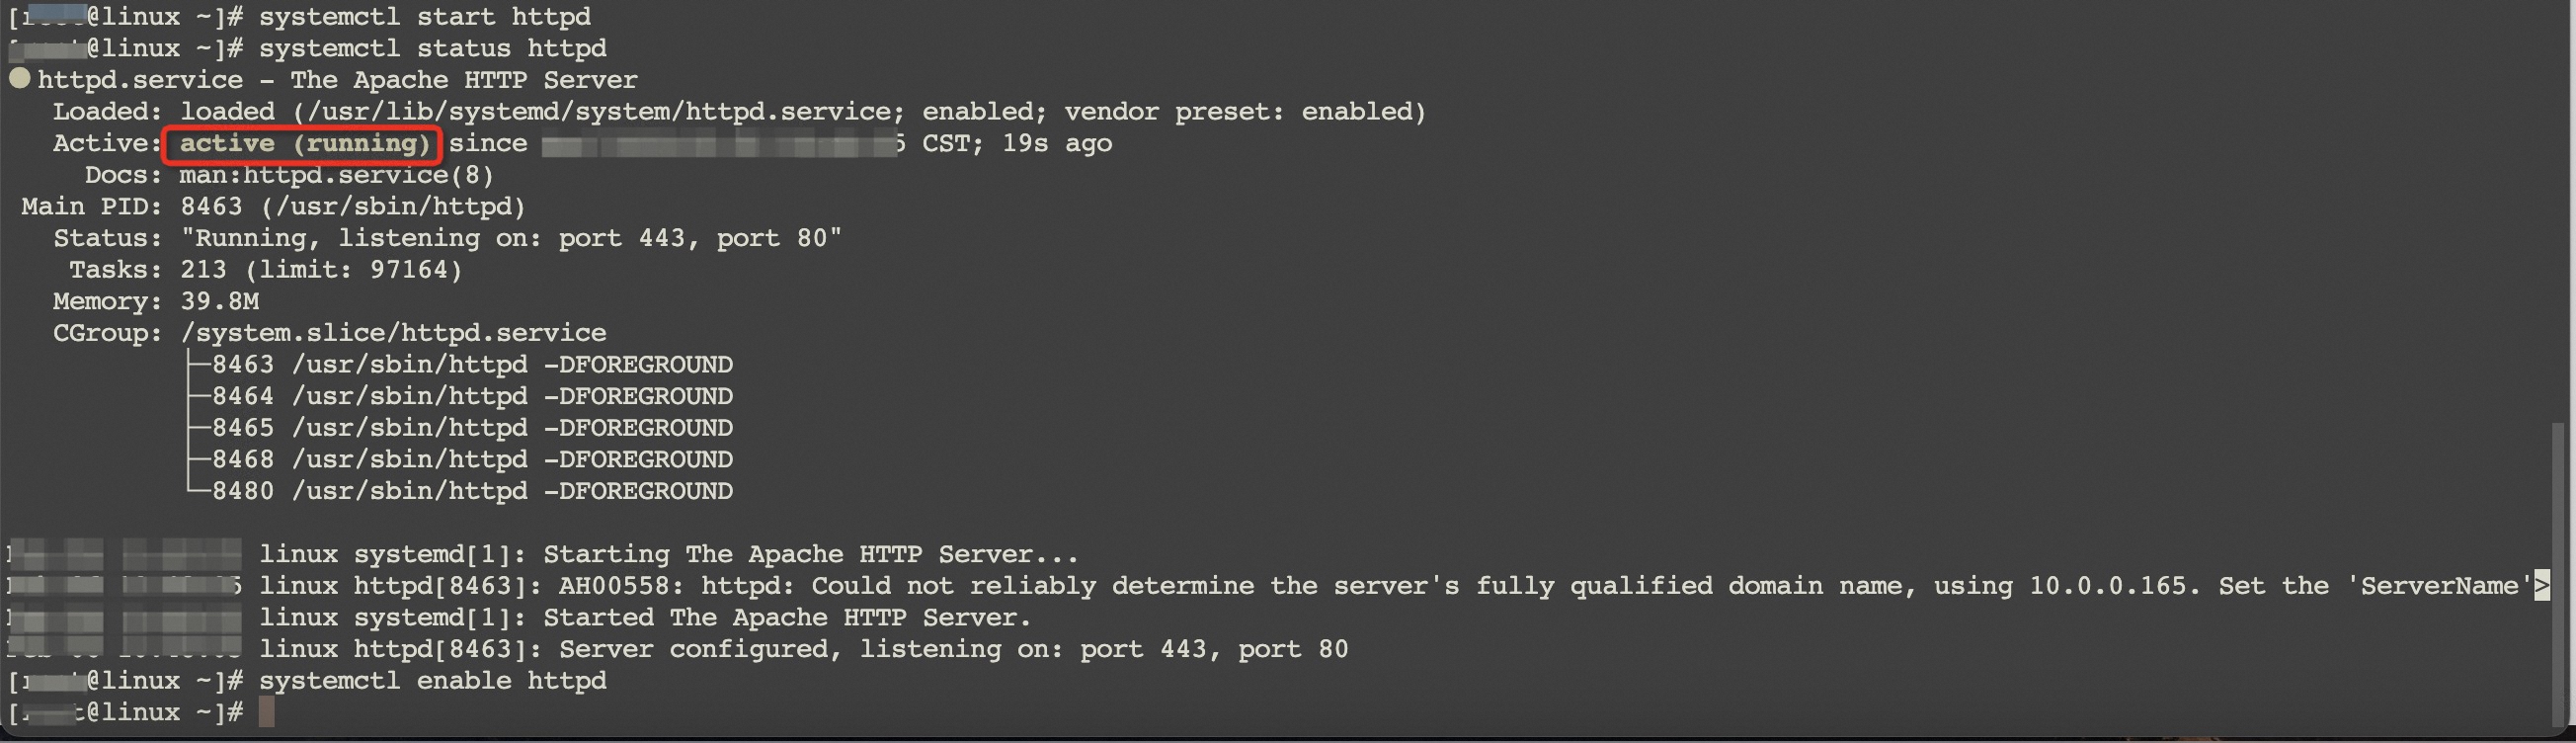
Step 2: Install MySQL
Run the following command to check the MySQL version number.
mysql -VThe following output indicates that MySQL is installed.

You can run the following command to start MySQL.
systemctl start mysqld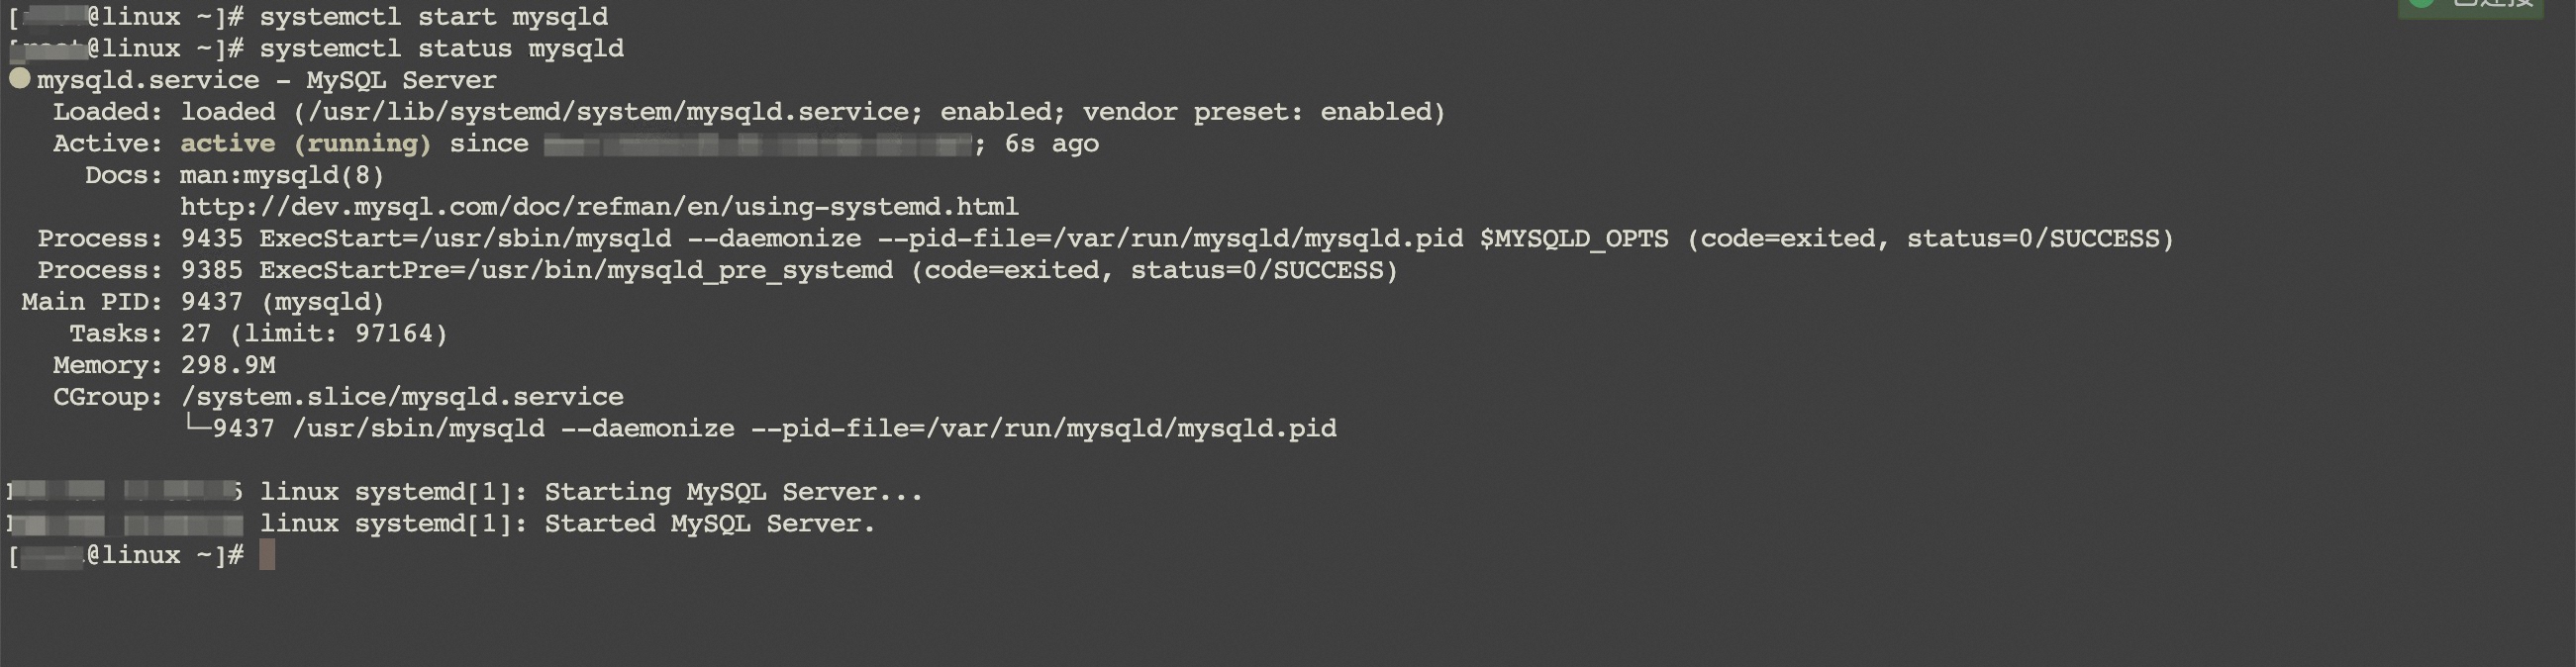
Step 3: Install and configure PHP
Run the following command to check the PHP version.
php-fpm -v
Run the following command to create a test file in the Apache website root directory.
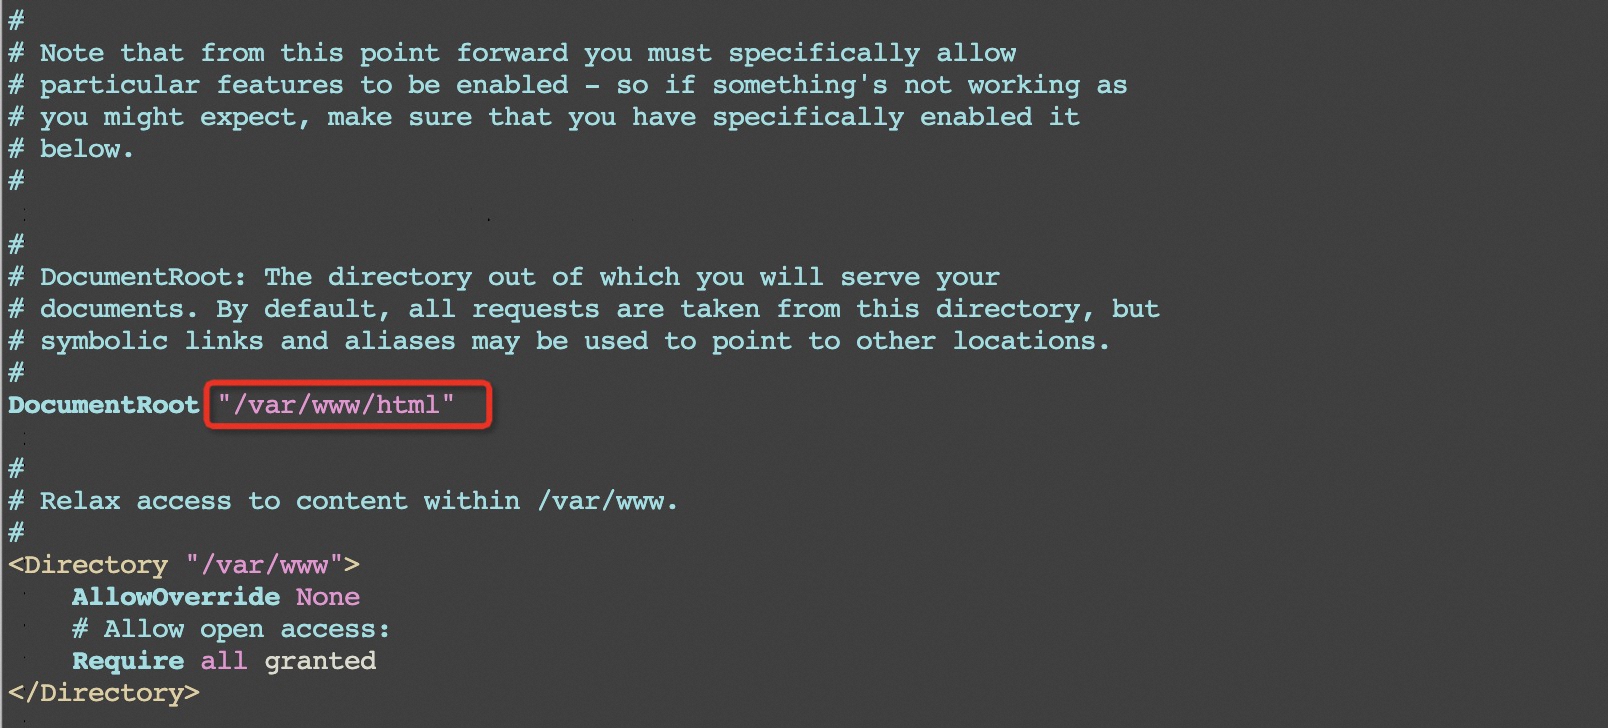
echo "<?php phpinfo(); ?>" > /var/www/html/phpinfo.phpIn this command,
/var/www/htmlis the website root directory. You can find the path of the website root directory by checking the value of theDocumentRootparameter in the/etc/httpd/conf/httpd.confconfiguration file.