Set up an Apache, MySQL, and PHP environment on Alibaba Cloud Linux 2
更新时间:
复制 MD 格式
Step 1: Install Apache
Verify the installation.
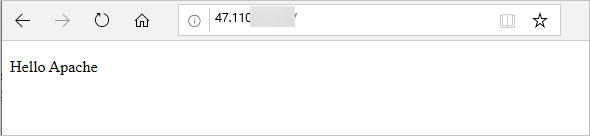
In the address bar of your browser, enter
http://<public IP address of the instance>and pressEnter.If a page similar to the following one is displayed, the Apache service has started successfully.
Step 2: Install MySQL
Step 3: Install PHP
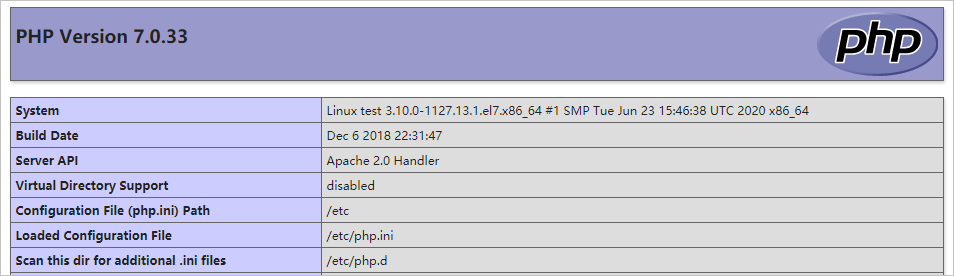
In the address bar of your browser, enter
http://<public IP address of the instance>/phpinfo.phpand pressEnter.If a page similar to the following one is displayed, the installation is successful.
该文章对您有帮助吗?